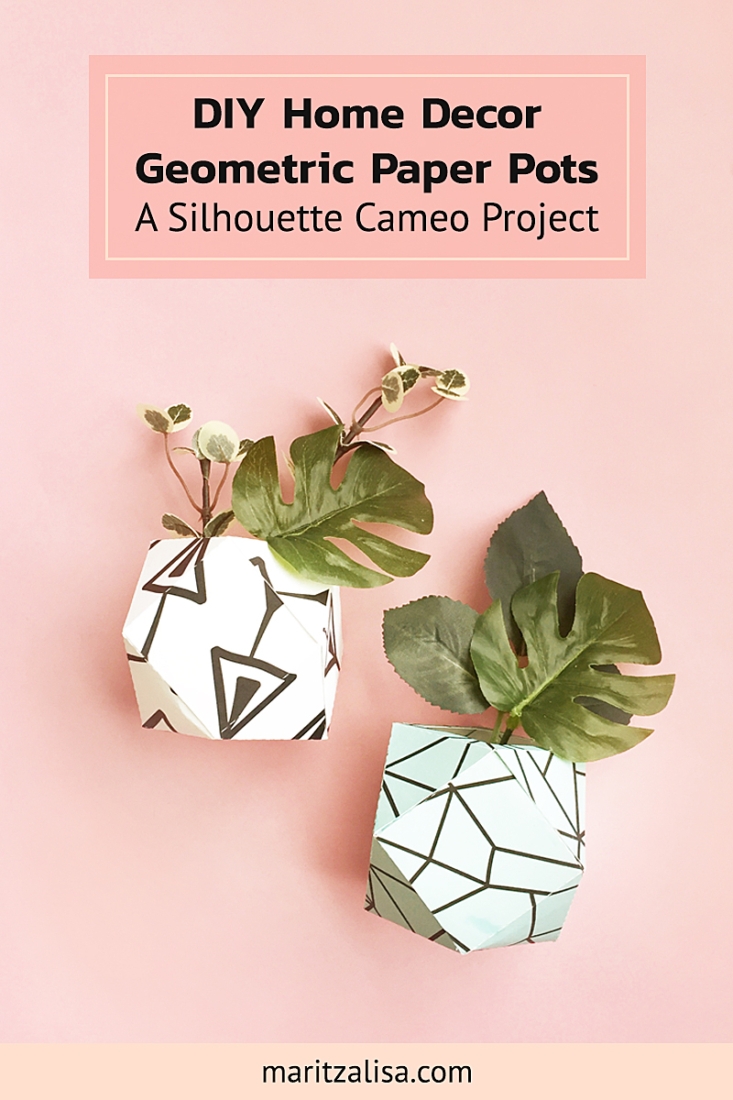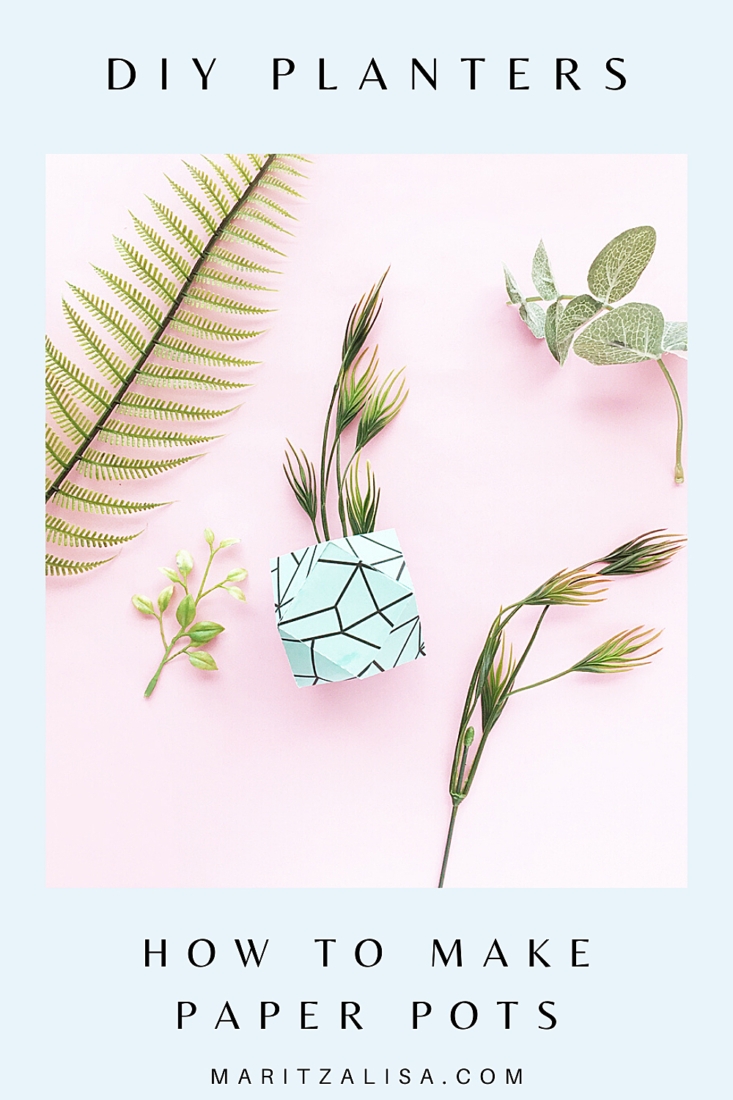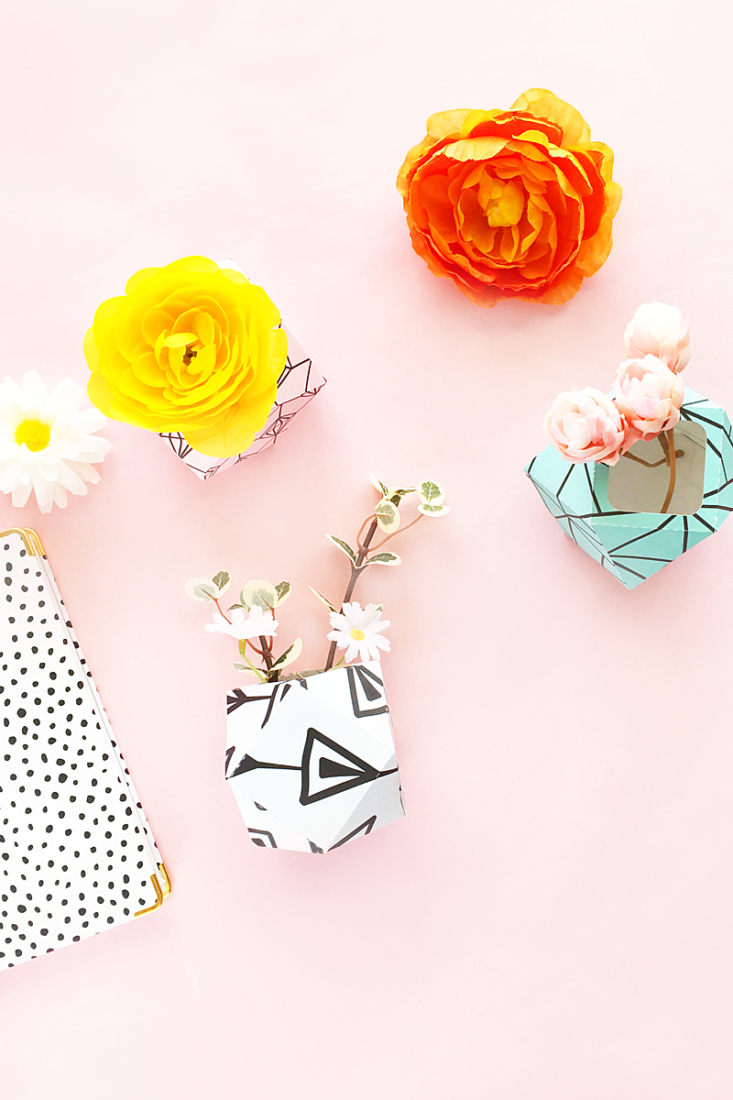
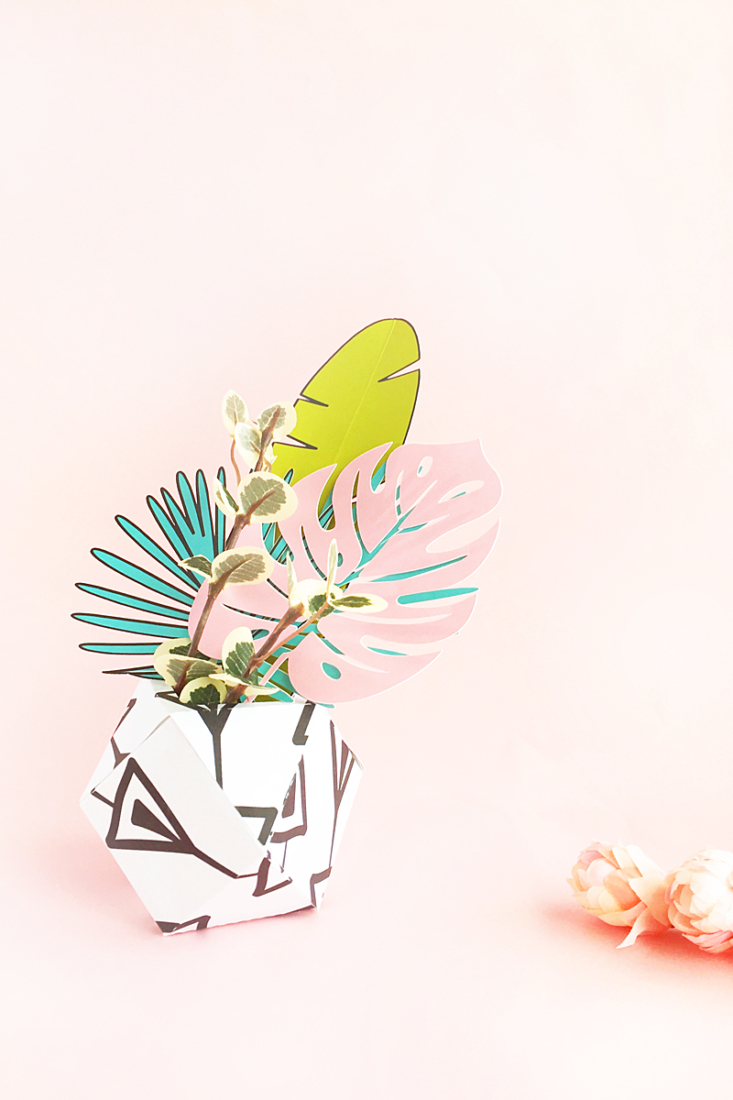
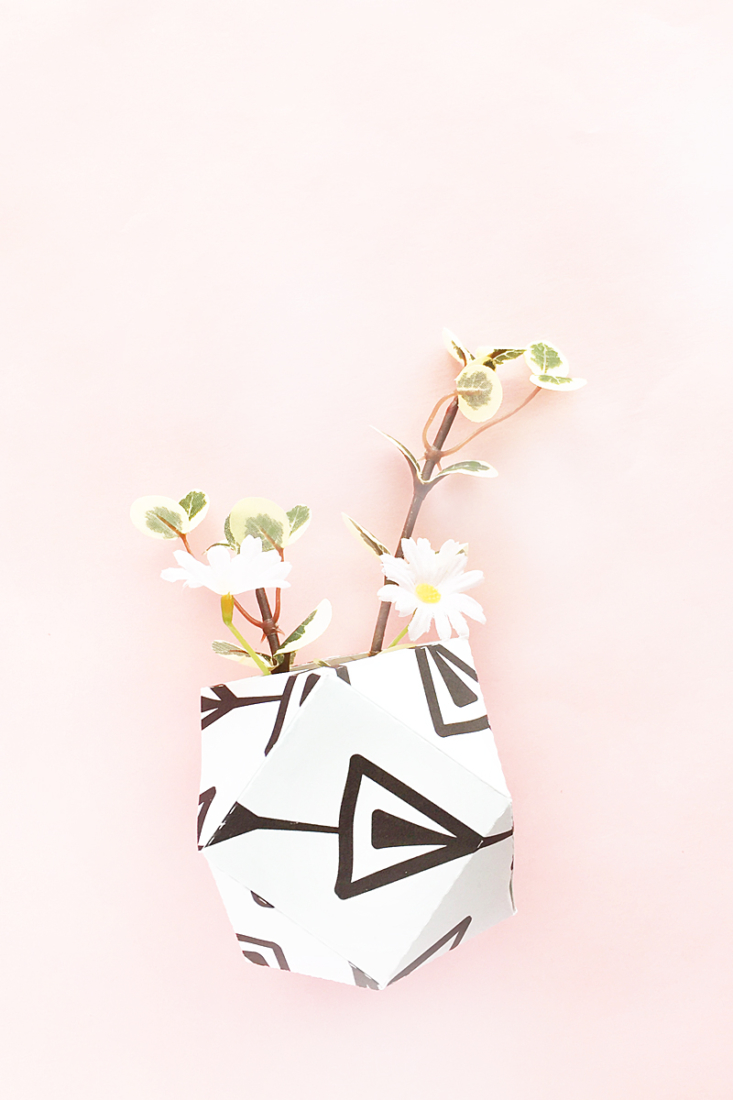
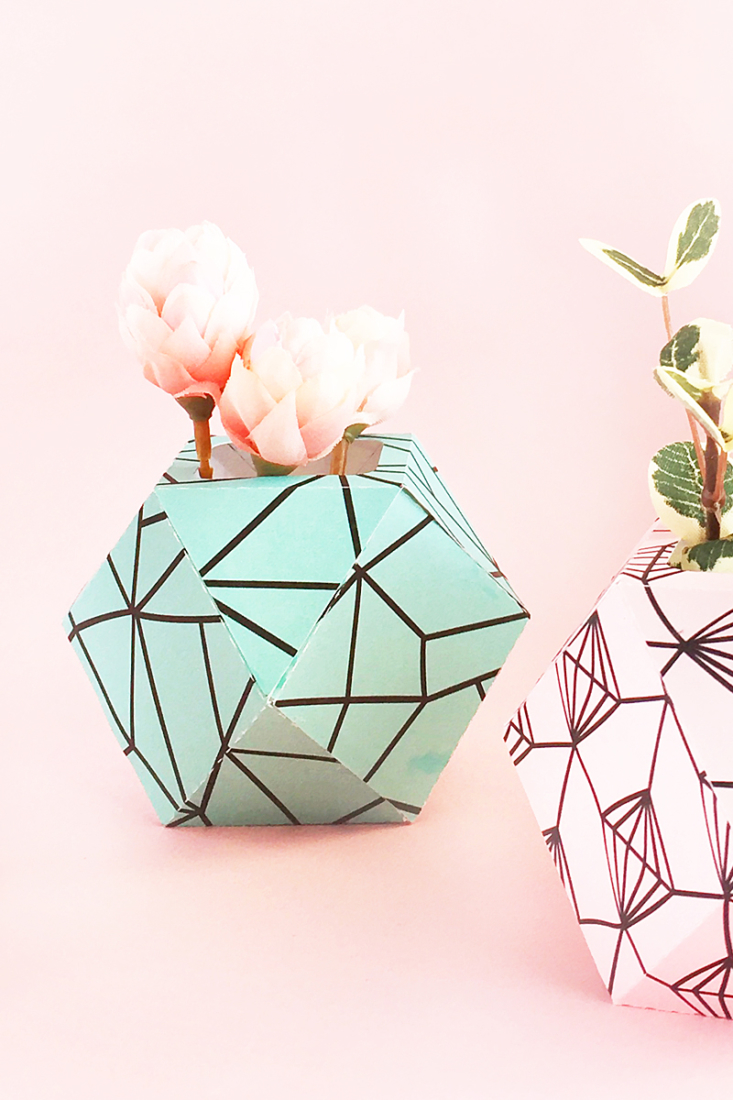
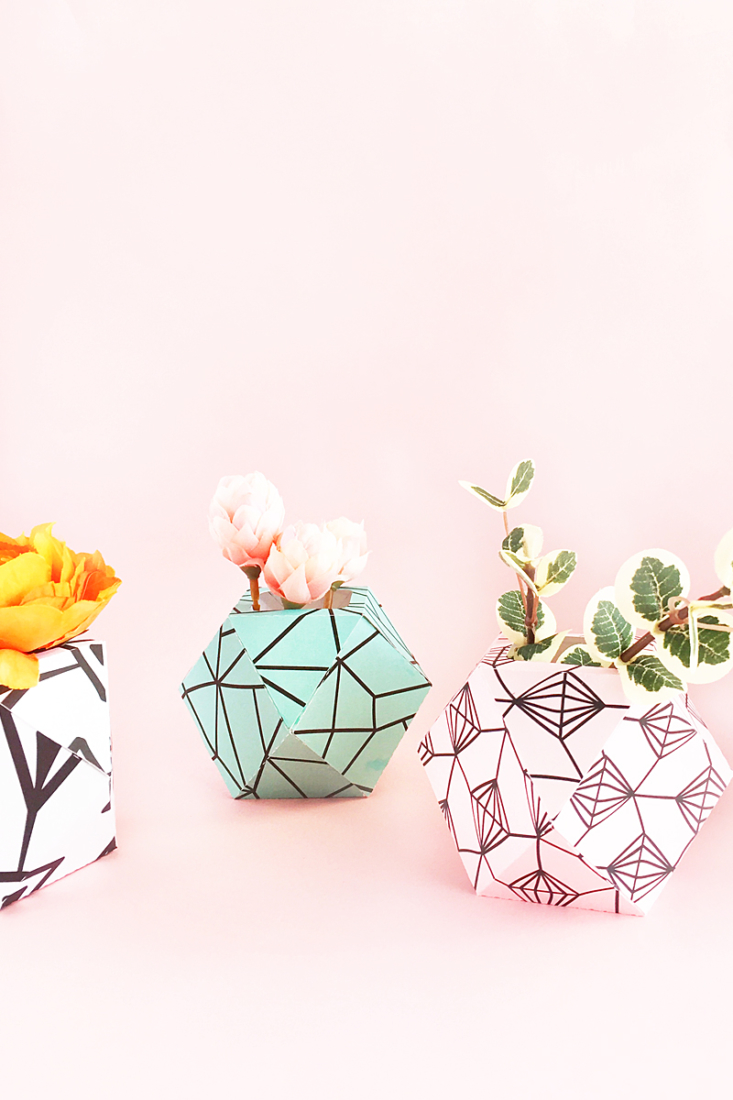
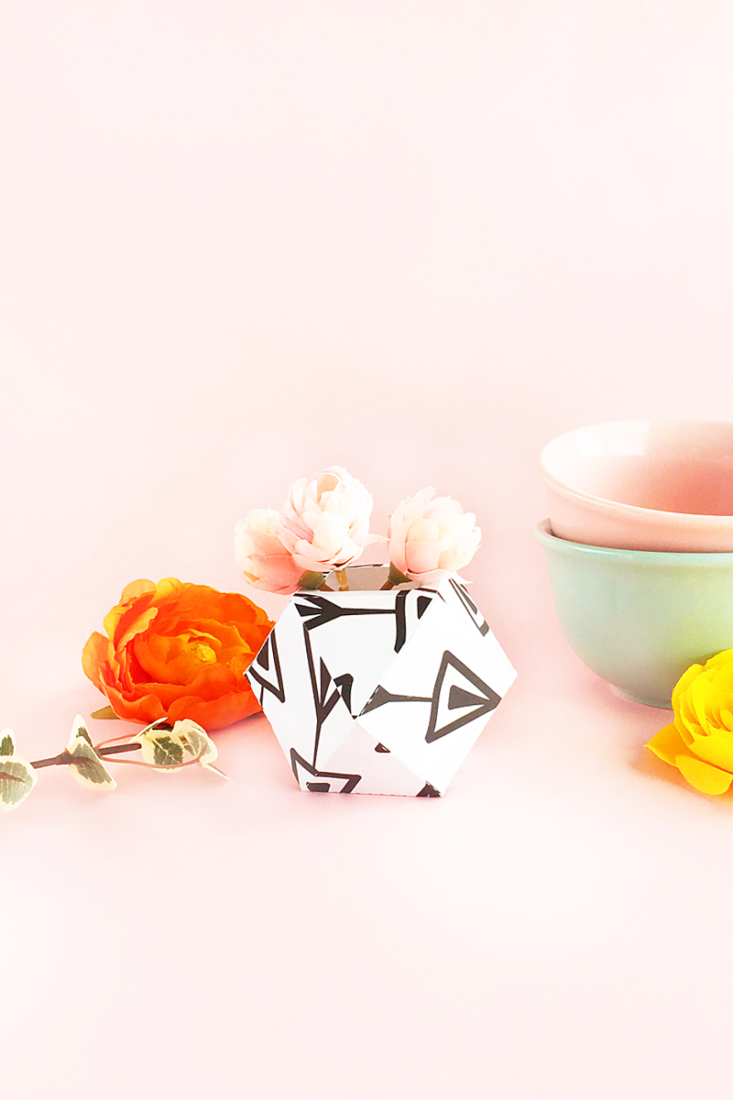
When it comes to plant life in my house, we go faux as you can tell from here and here. I have quite a bit of fake leaves and flowers from craft stores and I thought these DIY Patterned Paper Planters would be pretty little pot holders for them for my desk or shelf. You can use your cutting machine or cut by hand – read on to find out how!
What You Need – DIY Patterned Paper Planters
- Silhouette Studio (there is a free version!)
- Silhouette cutting machine (I used the CAMEO)
- I used the planter from this geometric pot and plant design from the Silhouette Design Store
- Colored and/or patterned thick cardstock. I got my pattern at Creative Market then printed it on cardstock before sending to cut on my Silhouette CAMEO
- Glue
- Scissors if you cutting by hand
*This post contains affiliate links for products that I use and love!
Instructions
- Download and open your geometric pot and plant in Silhouette Studio
- Place the planter design in the print/cut area
- Now load your patterned cardstock on to your cutting machine
- Send to cut using cardstock settings
- Fold along the dashed lines and glue the tabs to create the geometric shape
If you don’t have your silhouette cutting machine yet, no problem! You can use the free Silhouette Studio version software, then send to your printer and cut them out by hand. Remember to make the lines thicker so that you can see where to cut and fold.
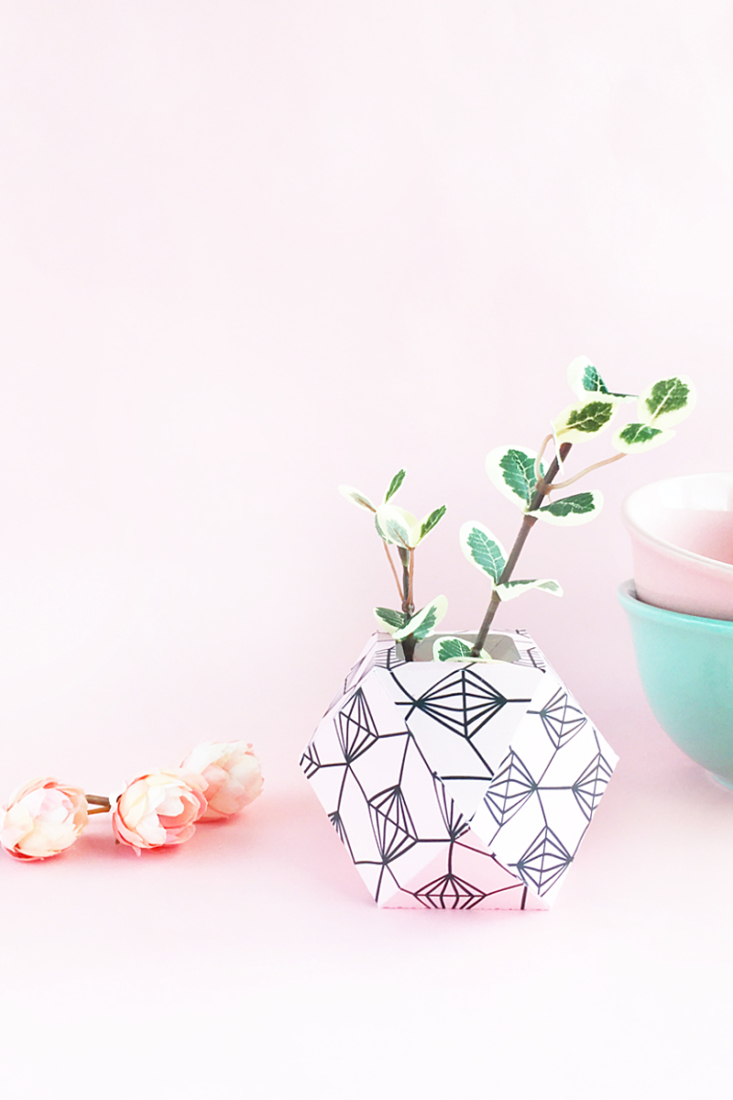
And that’s it! Tell me in the comments below – What faux fauna will you fill your pretty planters with?
Looking for some more inspiration? Take a look at my Home Decor DIY Projects, and craft a little longer with me!
