
A lot of folks I know are heading south for Thanksgiving and the Holidays. Are you heading somewhere fun soon? Then, you should totally try making this DIY Personalized Luggage Tag. Once again I’m using my favorite medium – temporary tattoo paper! If you’re not traveling, but know someone who is, this little monogrammed luggage tag will also make the perfect DIY Gift! Read on for the super easy step by step instructions!
*This post contains affiliate links for products that I use and love!
What You Need To Know About Temporary Tattoo Paper:
News Alert! Not really, but I use Temporary Tattoo Paper A LOT. If you’re new to this little blog and using this fun and versatile medium, I thought I’d share an introduction that will hopefully answer any questions you may have before using it for your personalized luggage tag.
You can make all sorts of temporary tattoos with Silhouette America’s Temporary Tattoo Paper. The temporary tattoos you make are perfect for kids’ and adults’ party favors and sporting events. What’s also fantastic about these tattoos is that you can apply them to other smooth surfaces like your luggage tags!
Silhouette makes a range of temporary tattoo paper options:
- Clear
- Gold
- Silver
- White
For today’s nail art project, we will use the gold sheets for our luggage tags.
Materials: DIY Personalized Luggage Tag
- Silhouette Studio (there is a free version available for download!)
- Temporary Tattoo Paper
- Silhouette Cutting Machine (I own the CAMEO)
- Wet cloth or sponge
- Luggage Tag with a smooth surface
How To Make A Personalized Luggage Tag
Select Your Font In Silhouette Studio
- Open Silhouette Studio
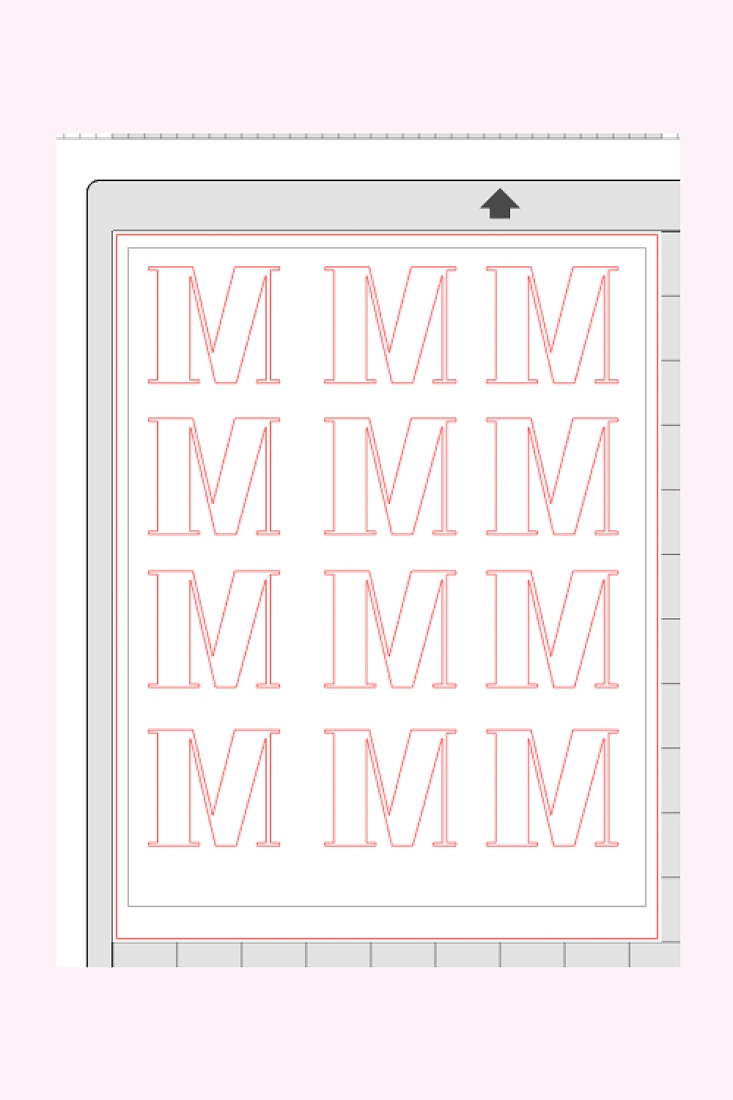
- Use the text tool to determine how you want your monogram to look on your luggage tag. Play around with different sizes and fonts. I ended up using Abril FatFace
- Resize your monogram text so that it will fit on your luggage tag
- Mirror your monogram text so that it appears reversed. This is so that when the temporary tattoo is applied to the surface face down, it will appear the correct way
- Place your text in the printable area of the Silhouette Studio software
Send Your Monogram Text To Cut
- Load your gold temporary tattoo paper into your Silhouette cutting machine with the metallic color side up
- Send your monogram text to cut from the Silhouette Studio software using “Temporary Tattoo Paper – Metallic” settings and adjusting the blade settings as indicated
Apply Your Monogram Temporary Tattoo To Your Luggage Tag
- Once your monogram is cut, remove it from the gold sheet
- Peel off the clear adhesive layer from the gold text
- Apply the monogram tattoo text gold side down on your luggage tag, and cover with a wet cloth or sponge for 10-15 seconds until the white paper backing slides off easily

And that’s it! You’ve made your own personalized luggage tag with gold temporary tattoo paper! Tell me in the comments below how it turned out!


Looking for some more fun and crafty inspiration? Take a look at some of my other DIY Temporary Tattoo Projects!