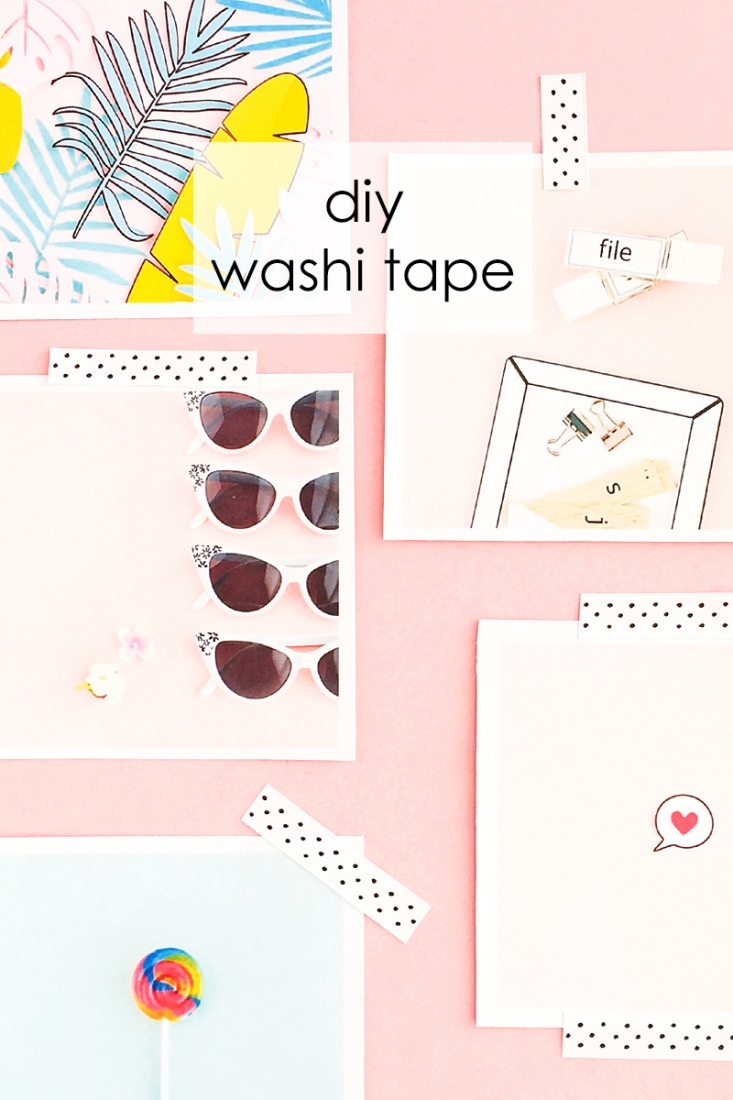
I can’t believe it’s been a week since Valentine’s Day. I’m still obsessing over pretty packaging so I thought a quick and easy DIY Polka Dot Washi Tape post would be perfect for today. Washi tape or decorative tape is such a cute way to package your gifts. I used some for the teachers’ Valentine’s gifts last week, and need to make some more. So, fire up that printer of yours, grab some sticker paper and let’s make some cute decorative tape!
DIY Polka Dot Washi Tape – Materials:
- Silhouette Studio
- Craft Knife
- Cutting Mat
- Polka dot pattern – I used the pattern that came with this Sofy Font on Creative Market
- Printable sticker paper
- Printer
Instructions:
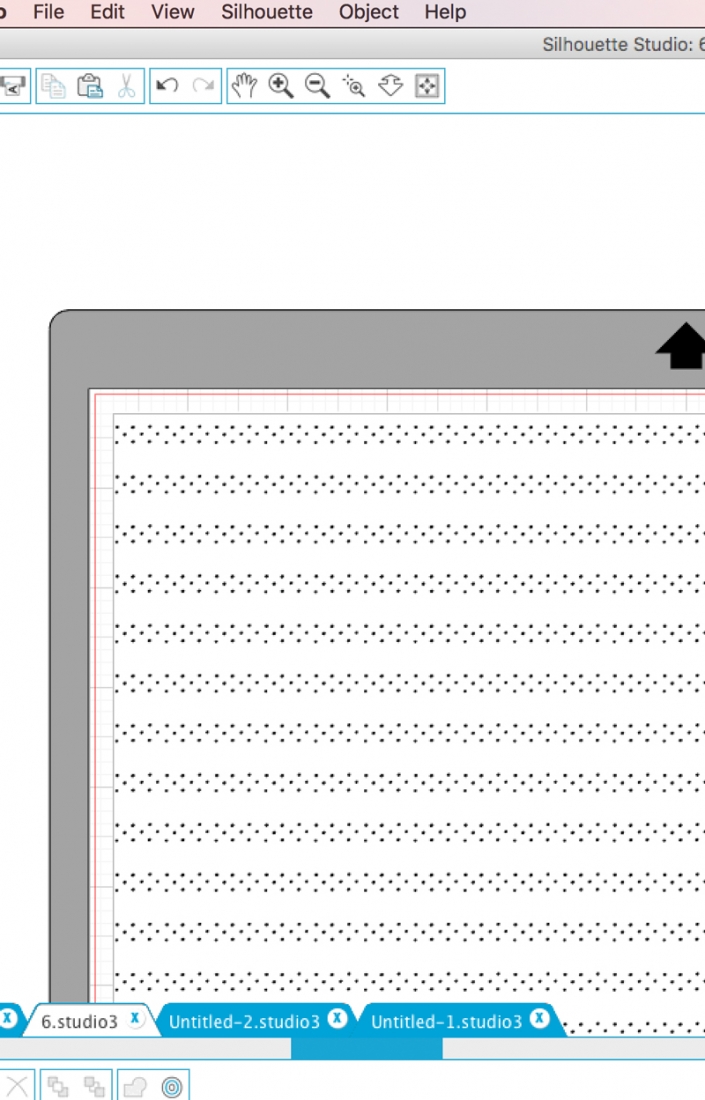
- In Silhouette Studio, open and resize your pattern and place the top right of the box in the print/cut area (note: I used the square image from the paper folder – 9.jpg)
- Use the replicate tool throughout the page
- Print on sticker paper
- Cut strips of the polka dot pattern with a craft knife and cutting mat
- Cut smaller pieces as needed then adhere to your tags, packages, journals or mood boards
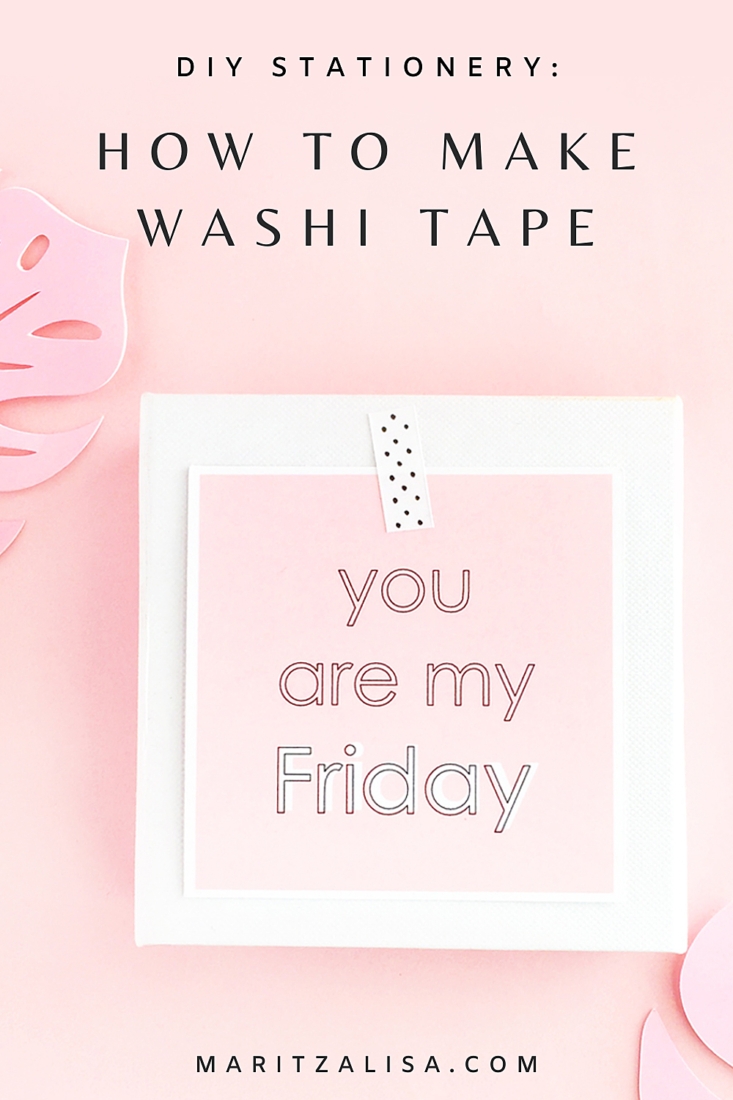
Now you have some lovely polka dot washi tape on hand. What will you use it for?




4 Comments on DIY Polka Dot Washi Tape
Comments are closed.
This is sooo cute! <3 I'd love to give it a go sometime! Amazing photography too 😉
https://busybeeblogweb.wordpress.com
Thanks so much, Tabi! So happy you like it!
Maritza, I love all your proyects and your pictures <3
Thank you, Koral! I love all your pretty DIYs too! xoxoxox