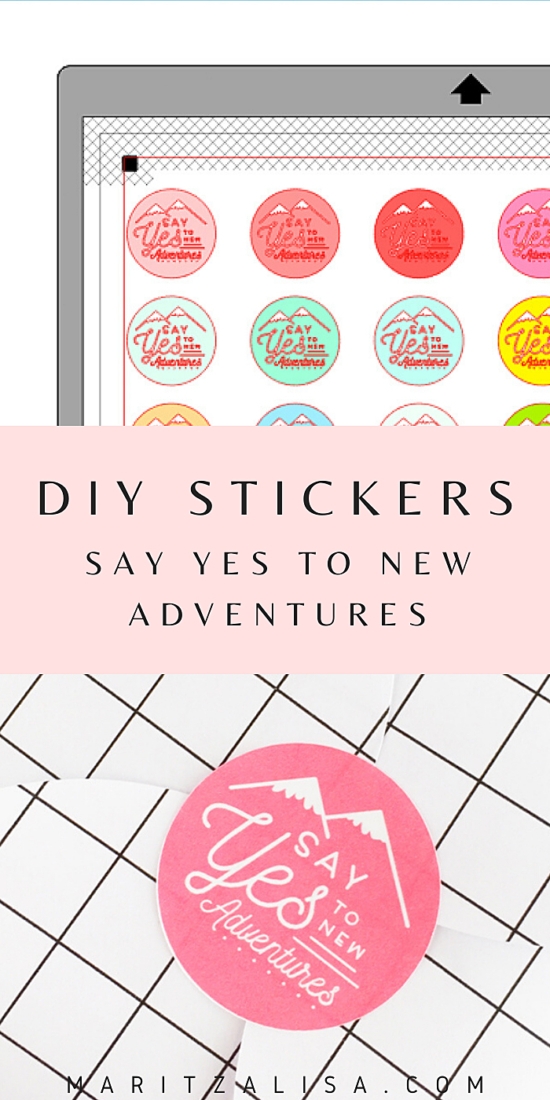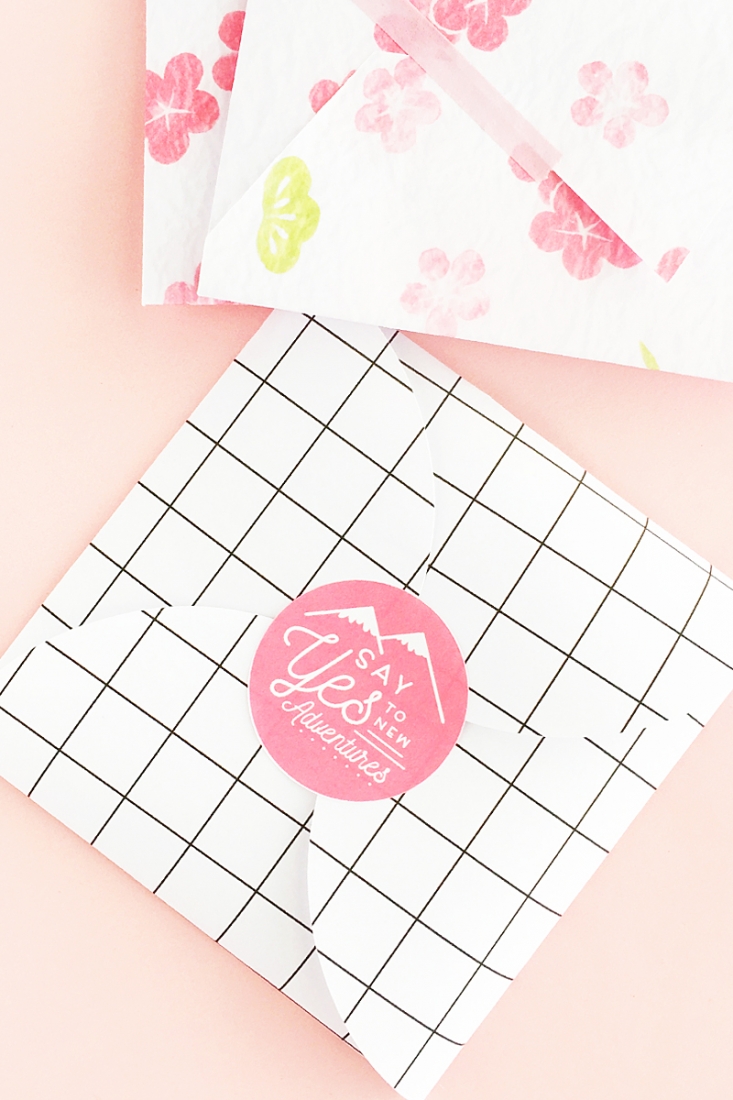
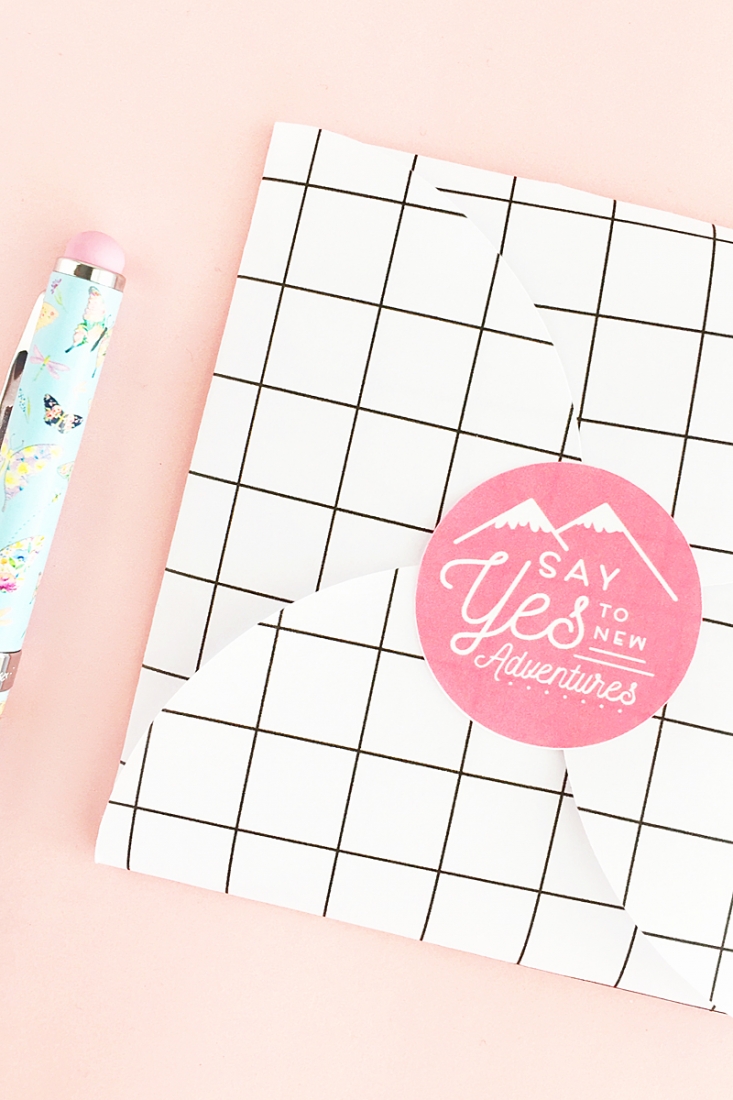
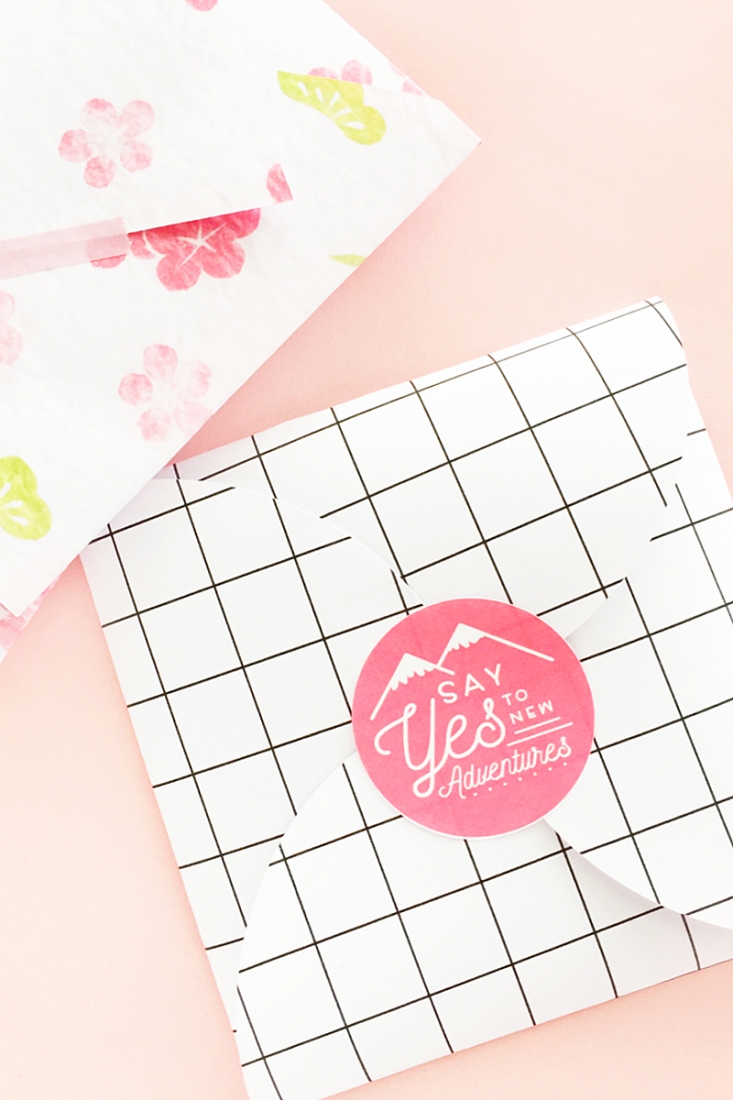
It’s a new month and I have to say that saying goodbye to summer is the hardest for me. I love the warmth and sunshine and sundresses and flip-flops and…. well, you get the idea. But every new change brings opportunity and why not spread positivity with these DIY Say Yes To New Adventures Envelope Seals? These envelope seals can be made with Silhouette’s free shape this week and imagine the smiles you will bring when your loved ones receive such a happy message…
DIY Say Yes To New Adventures Envelope Seals – The What
- Silhouette Studio (there is a free version! I used v3)
- Silhouette cutting machine ( I used the CAMEO 3)
- Silhouette white printable sticker paper
- Printer
- Say Yes To New Adventures design
*This post contains affiliate links for products that I use and love!
DIY Say Yes To New Adventures Envelope Seals – The How
- In Silhouette Studio, open your design and ungroup
- Your design comes with 2 versions – 1 black and 1 white. Select the entire black image and resize (I resized mine to about 1 inch)
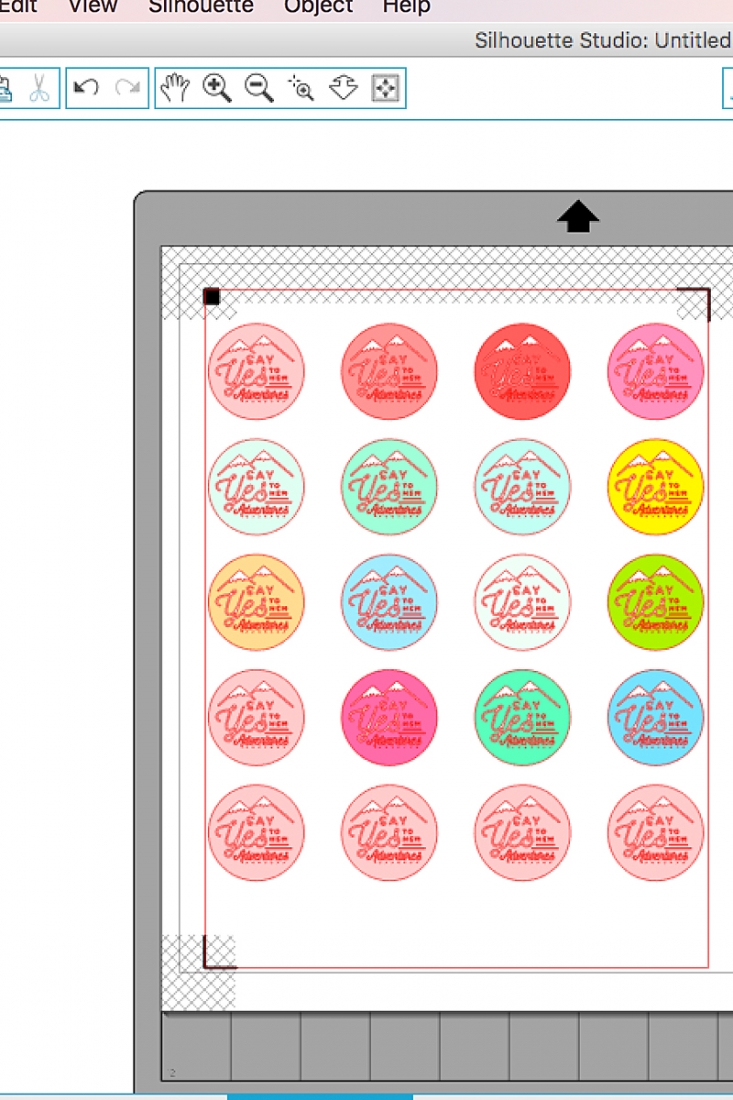
- No move the image to the printable area and change the colors and only set the outer circle to cut
- Fill the page with copies of your design and show the registration marks for print and cut
- Load your printer with sticker paper and send your designs to print
- Load your Silhouette cutting machine with the sticker paper and send to cut using sticker paper settings
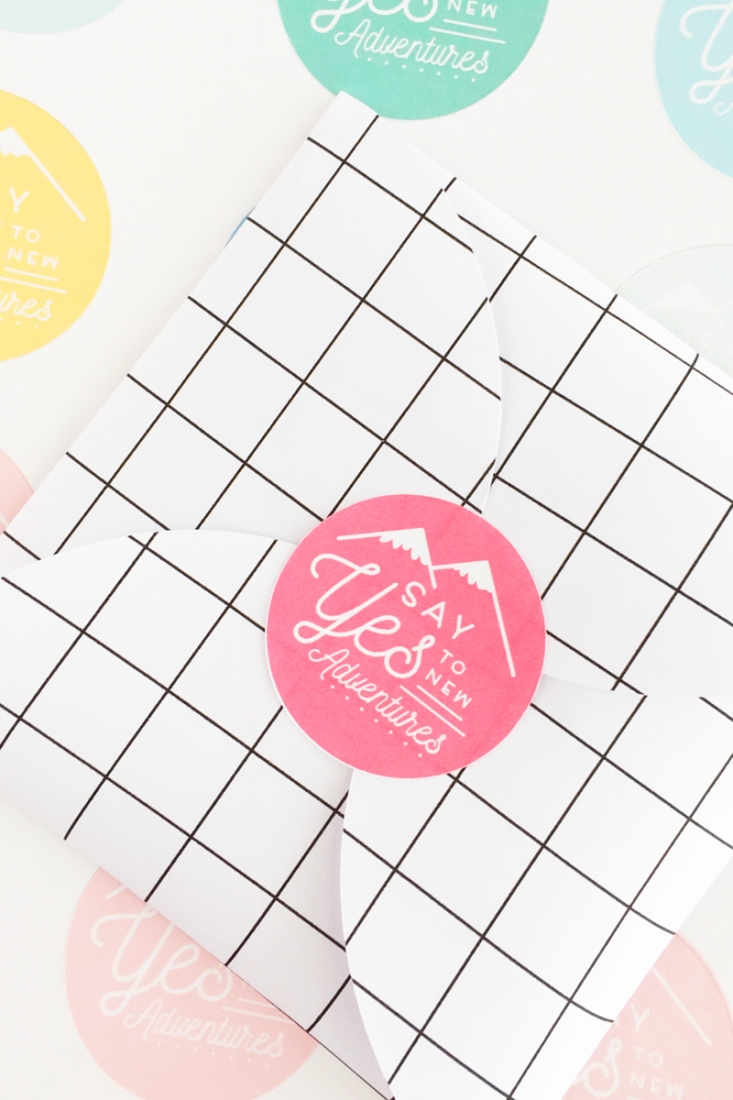
And that’s it! Now that you have these sweet little seals for your envelopes and packages, tell me in the comments below how many people you plan to send them to.
Looking for some more inspiration? Take a look at my other Silhouette projects!
