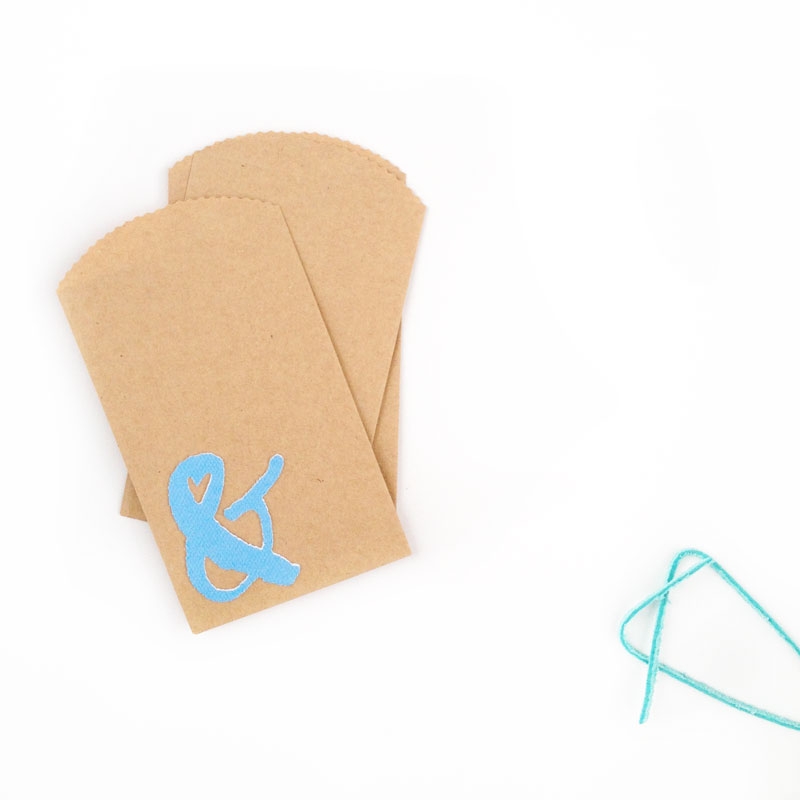
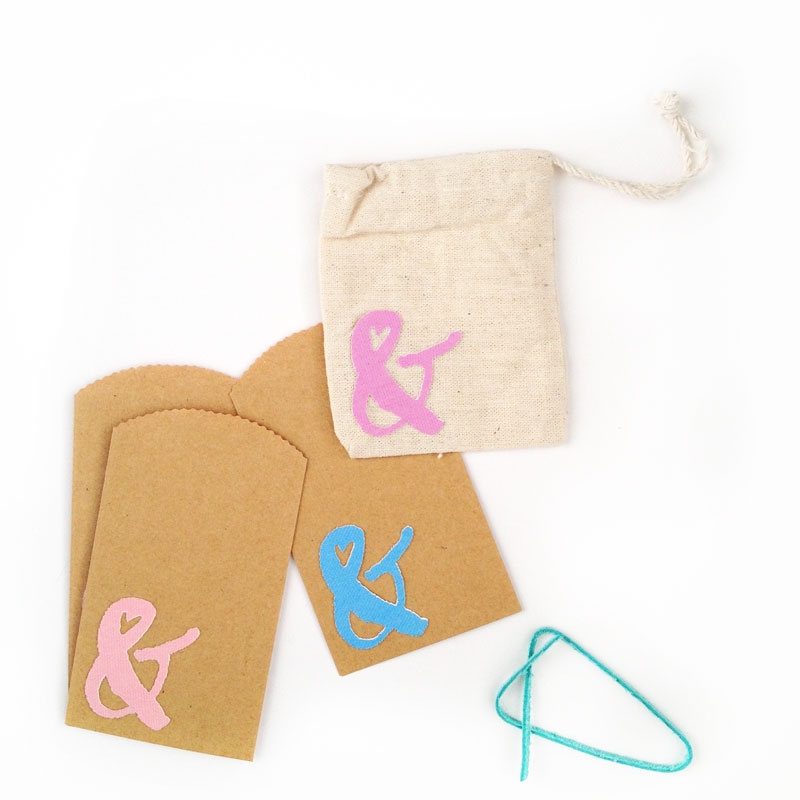
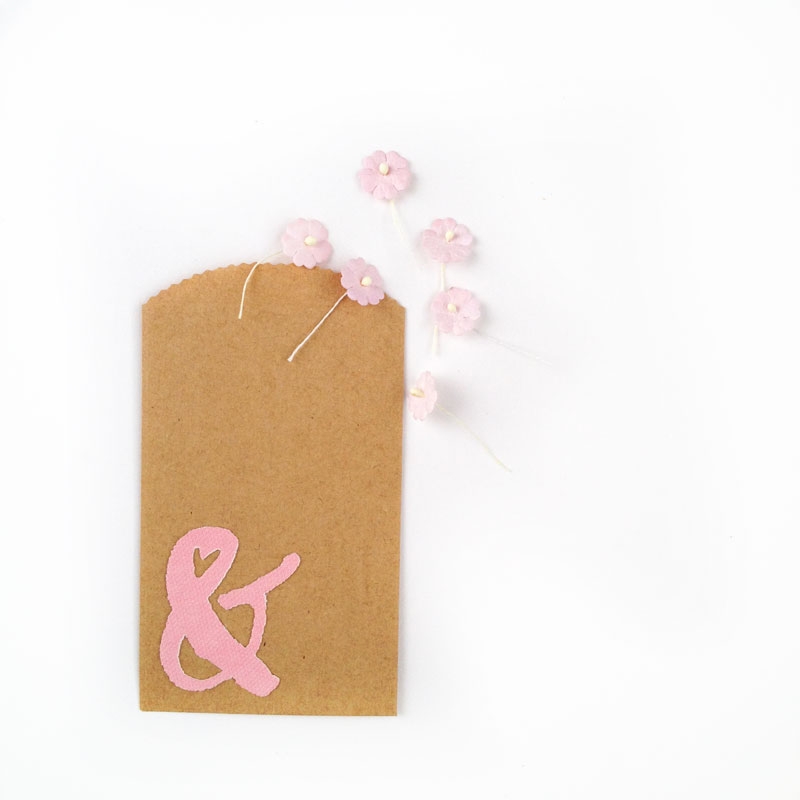
Happy Monday! I thought we’d kick off the week with some DIY Stationery. Ampersands are everywhere. Did you catch this instaDIY by Jeana? How awesome is it?!
With all the gorgeous fonts that are out there, how can we not make stickers out of them? The inspiration? Over the weekend, Angie sent me the happiest of mail – her newest font, Snowberry {cue in the jumpy claps!}. It’s not just a lovely hand-painted brush font, my friends. She kicks it up a notch with 2 sets of Uppercase letter forms, each with their own personality. Oh and did I mention that Angie also included a sassy set of ornaments too? All the details are right here in the font’s description. Once I installed the 3 font files, I saw this sweet little ampersand (in the ornaments) and had to do something with it. Cue in the fabric stickers!
The What
- Silhouette cutting machine
- Silhouette Studio
- Cutting mat
- Printer
- Ampersand (any ol’ one will do, but I’m kinda partial to the Snowberry‘s)
- Printable Cotton Canvas
The How
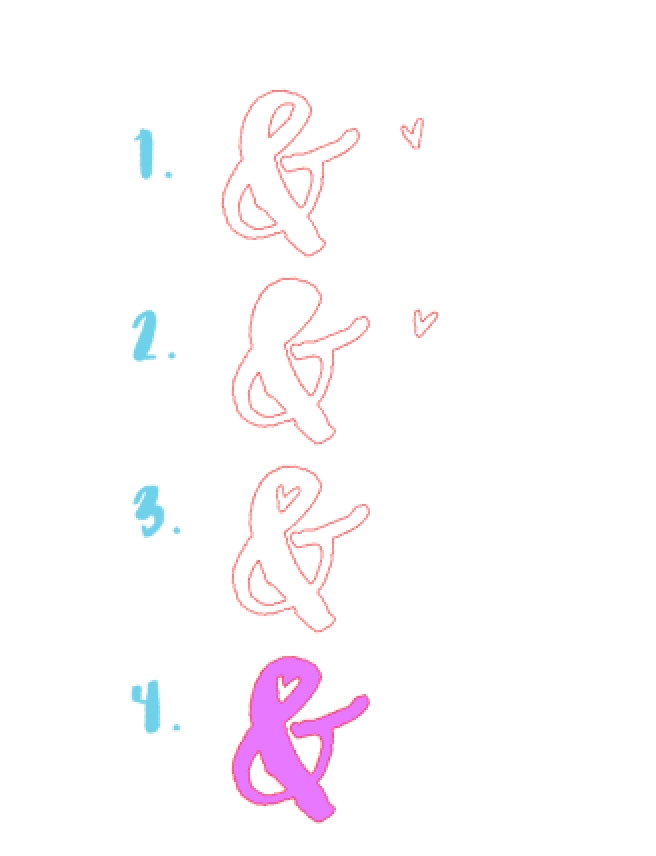
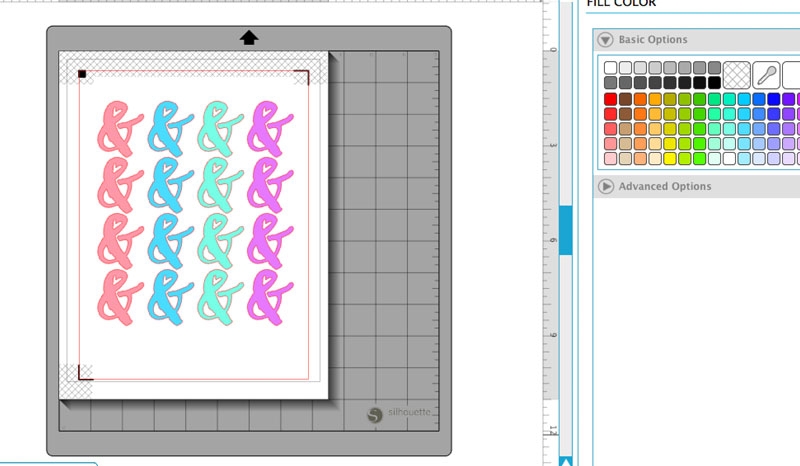
- Open a new document in Silhouette Studio, and type your ampersand. I used the one from typing “6” in the Snowberry Ornaments font, and the little heart? Lowercase x
- Optional: Ungroup each character, then release the compound path for the ampersand
- Optional: Replace the inner (top) hole with the heart
- Fill with color
- Send to print and cut using Printable Cotton Canvas settings, (similar to this project)
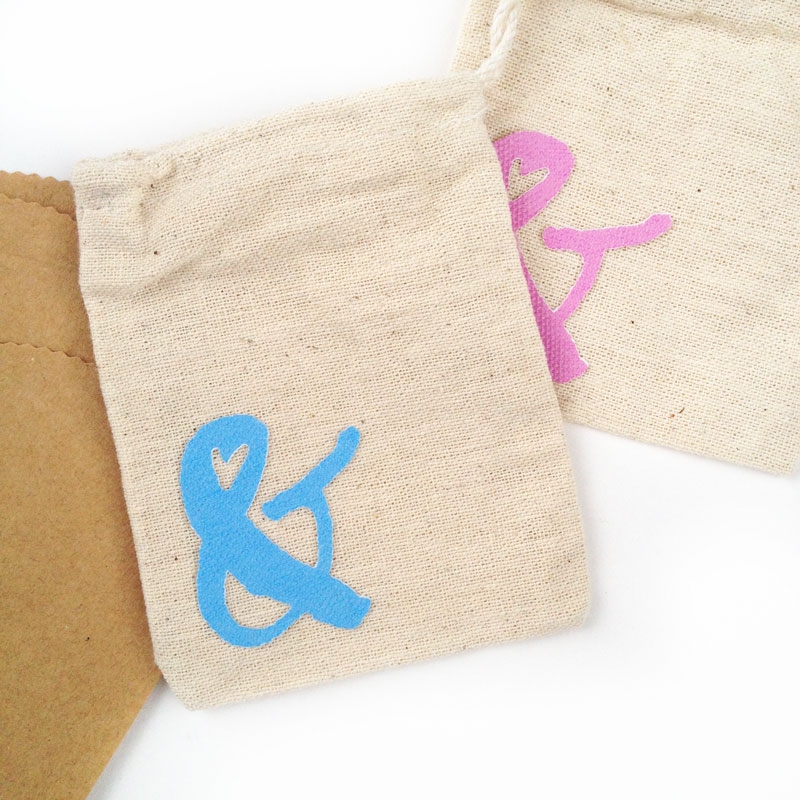
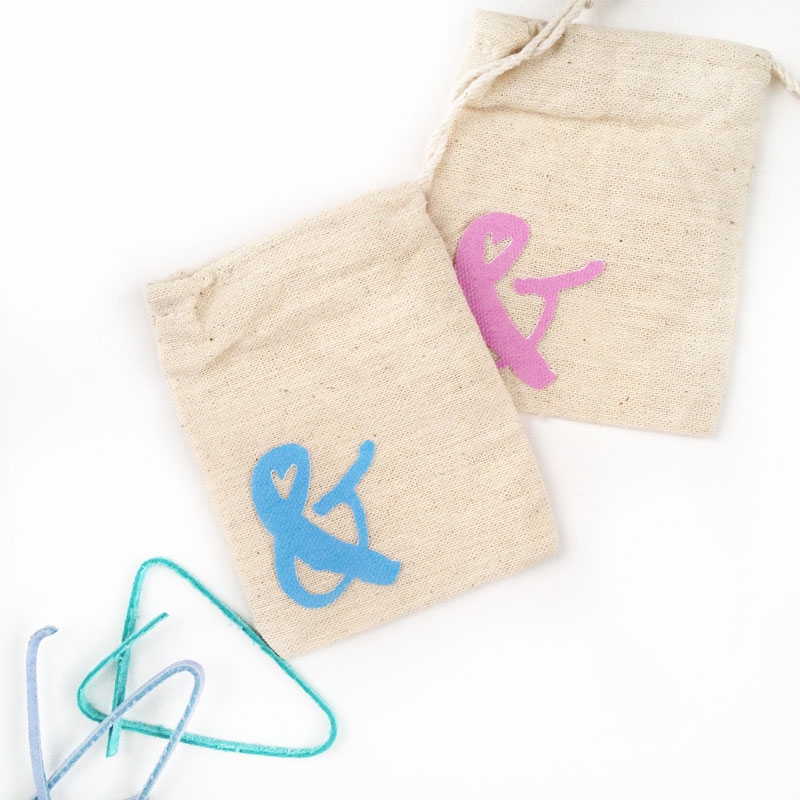
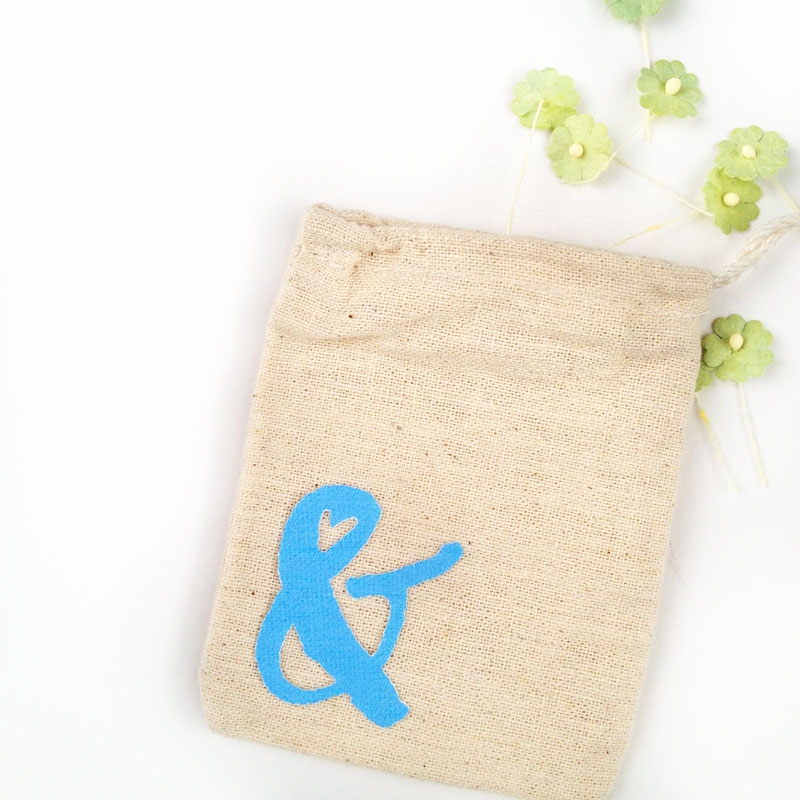
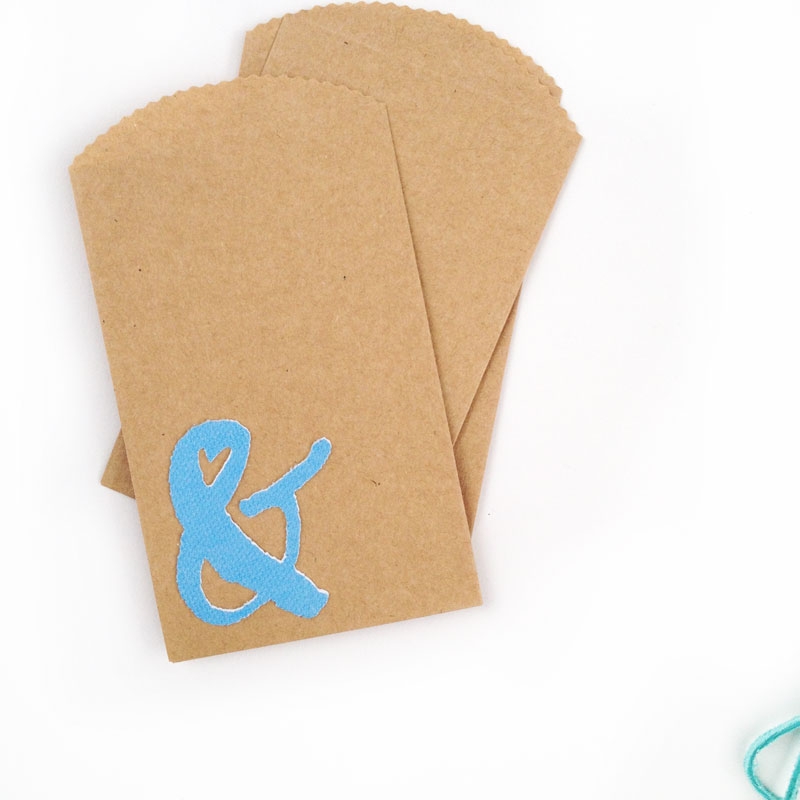
Once your fabric stickers are ready, peel them off and use them to decorate your pretty packages! If you plan to use them on fabric bags, reinforce with fabric glue. How will you use your new ampersand stickers?

Looking for other Print and Cut tutorials? Check out my collection for inspiration.
2 Comments on DIY Stationery – Fabric Ampersand Stickers
Comments are closed.
These are so cute!
Thanks, Alexis! 🙂