DIY Stationery - Mini Flap Envelopes - Maritza Lisa: Create these sweet envelopes to add to your stationery collection. Click through for the tutorial

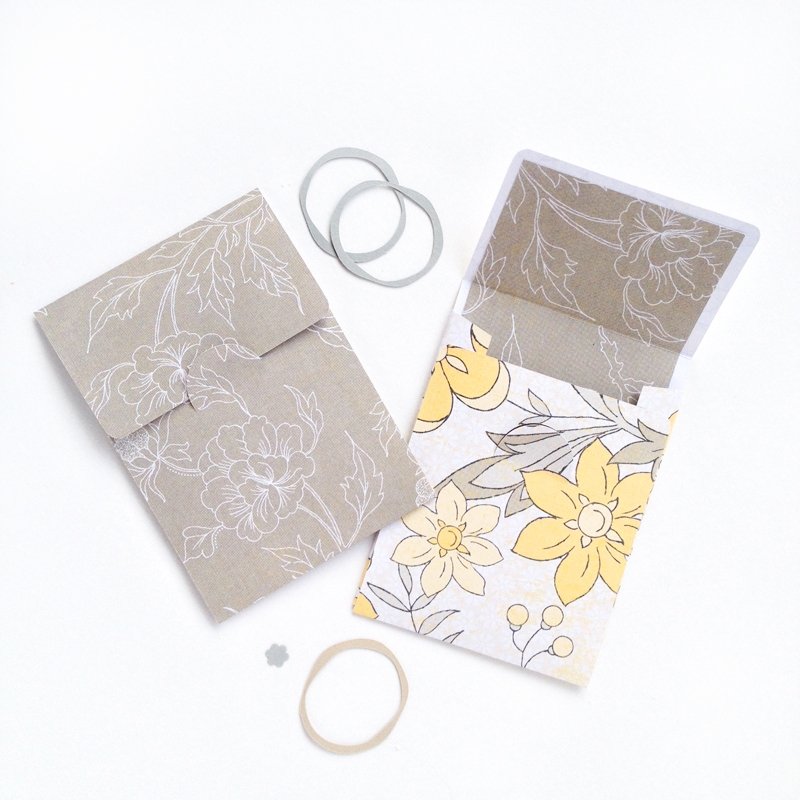
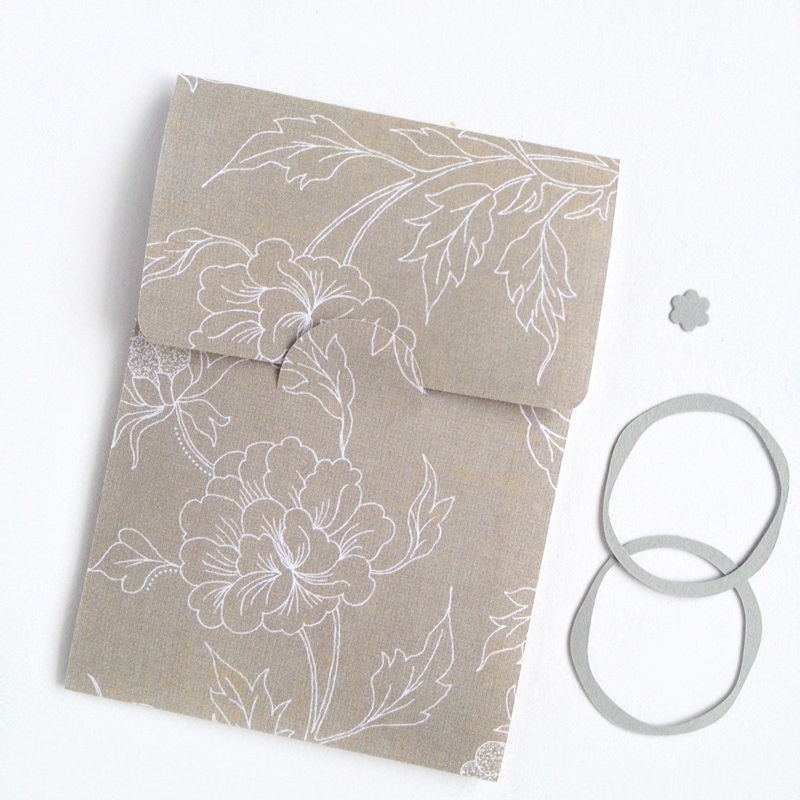
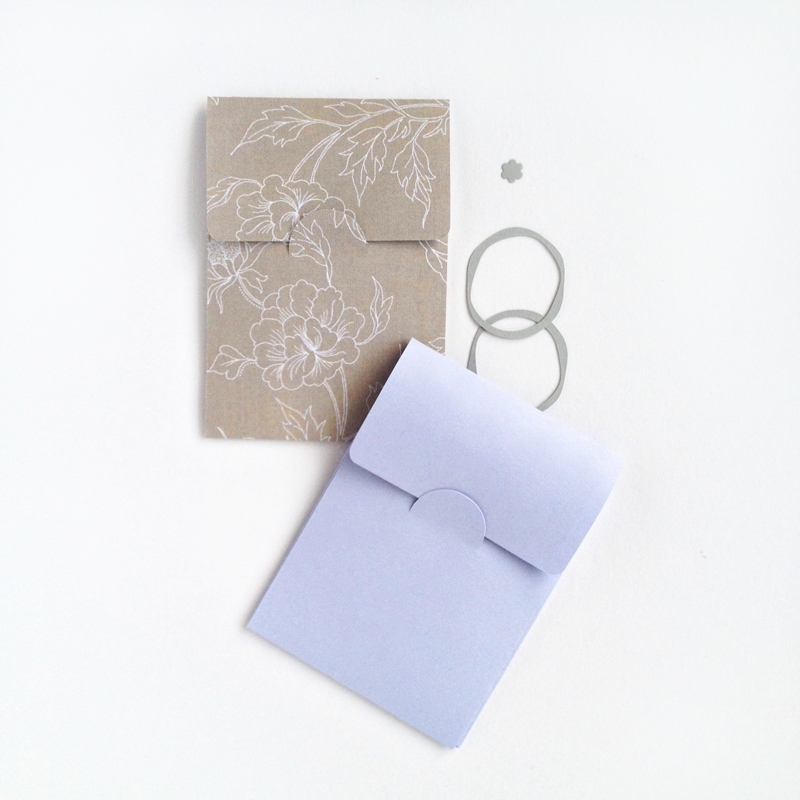
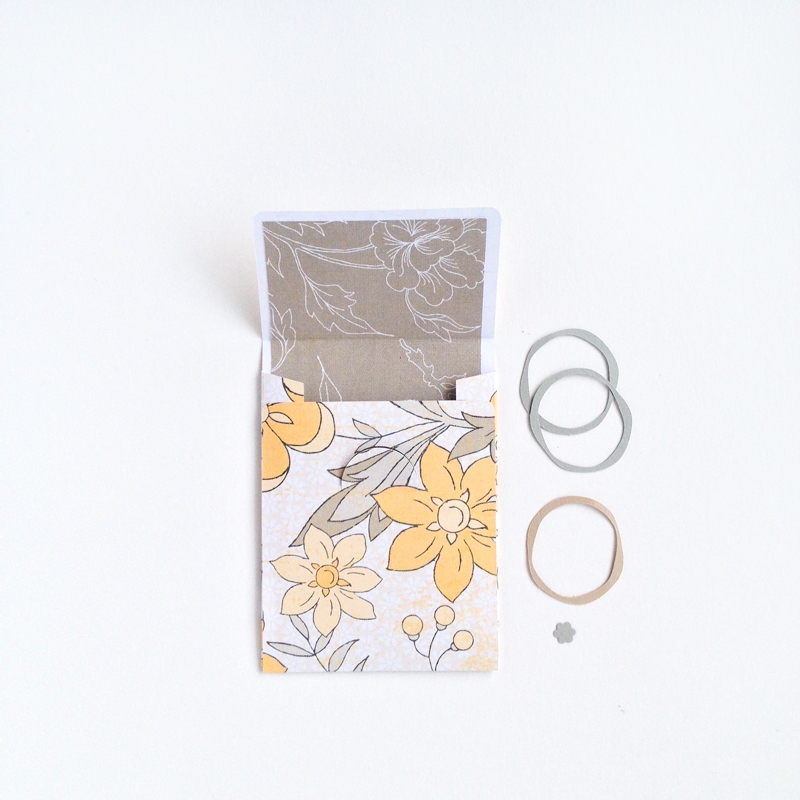
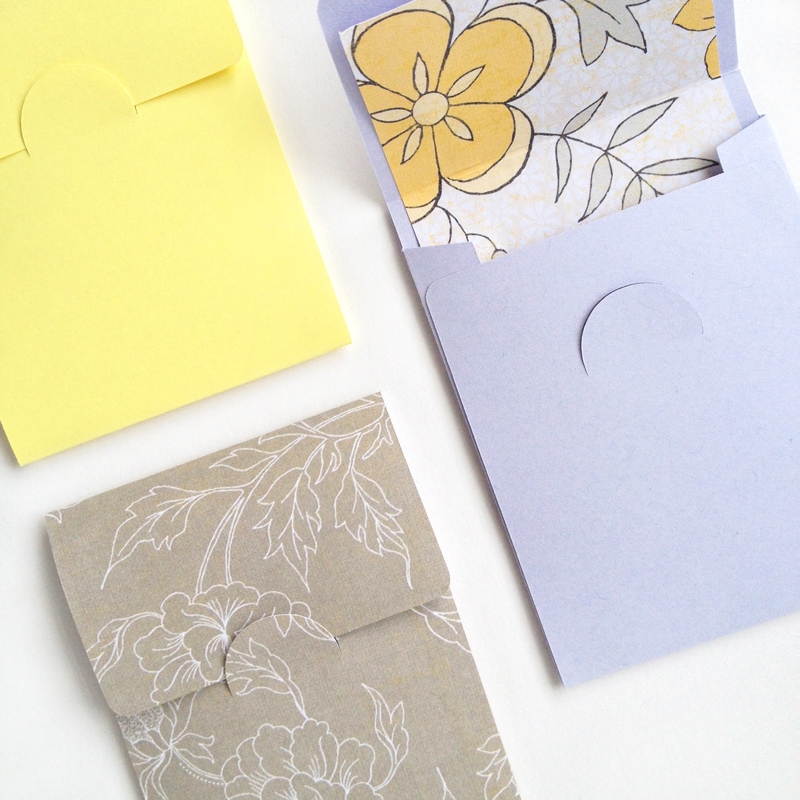
I saw these cute mini flap envelopes over the weekend, and wanted to make my own but with a Maritza Lisa twist. They can be pretty useful for anything that does not need to be sealed like gift tags or small notes. I tried both patterned paper and cardstock, but found the (patterned) paper worked best. Adding a contrasting pattern for the liner will add a really polished finish. Want to try these too?


The What

The How

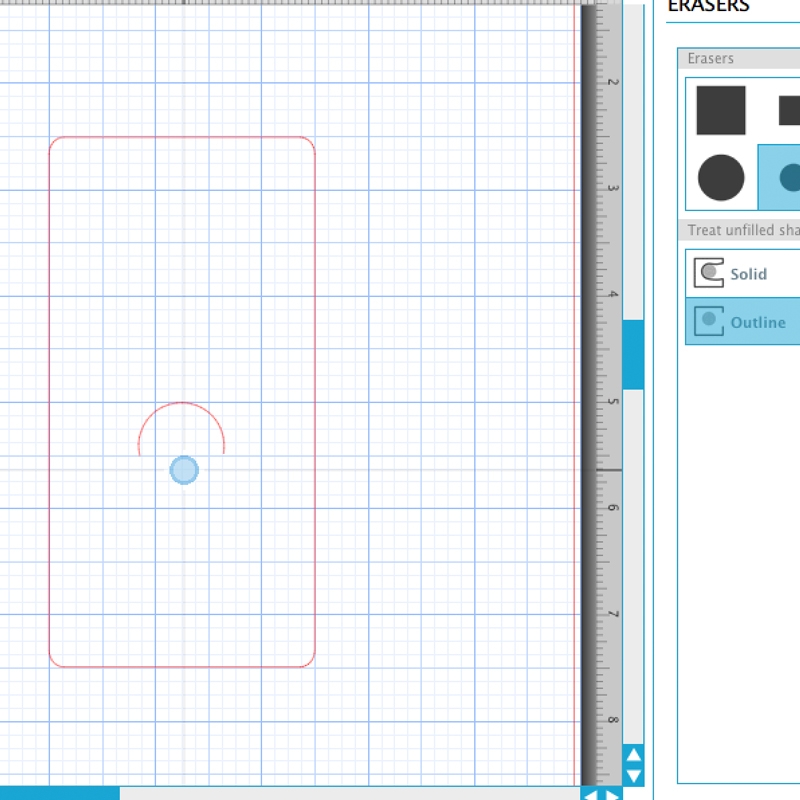
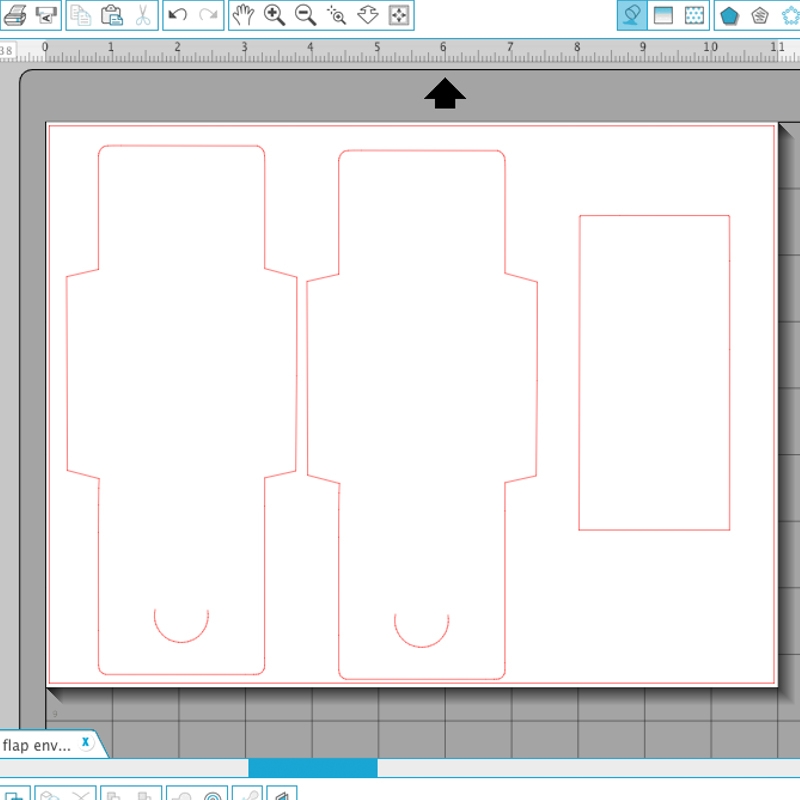
Step 1: After creating a new document in Studio, I added a rounded rectangle for the basic outline. A circle was then used for the flap. I placed the lines on the left as markers. The top line marks the shape’s top fold; the bottom line is for (you guessed it) – the bottom fold.

DIY Stationery - Mini Flap Envelopes - Maritza Lisa: Create these sweet envelopes to add to your stationery collection. Click through for the tutorial


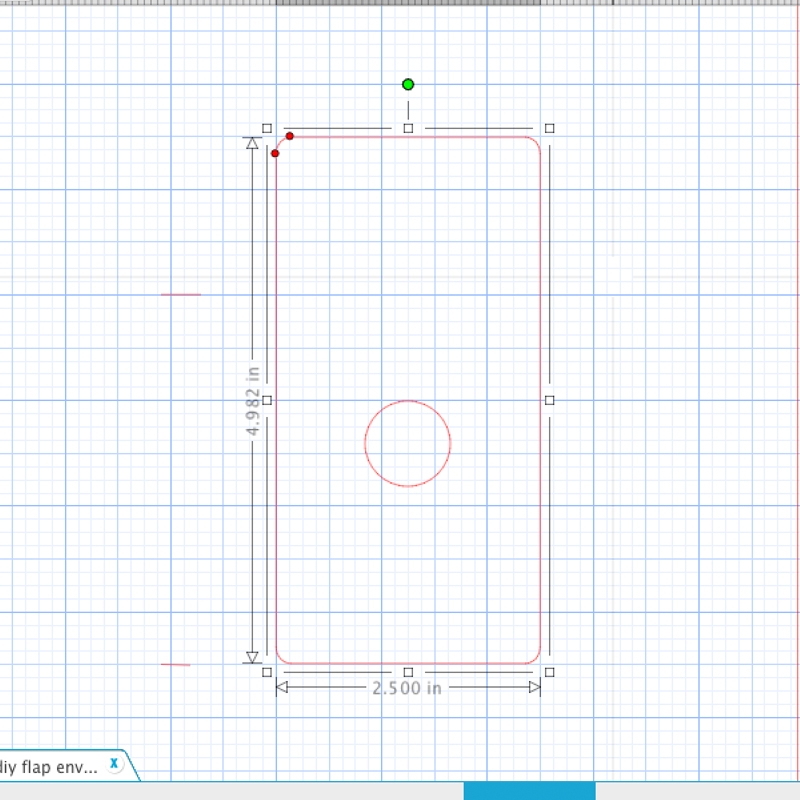
Step 2: I then used the Eraser tool to remove the bottom half of the circle to create the flap

DIY Stationery - Mini Flap Envelopes - Maritza Lisa: Create these sweet envelopes to add to your stationery collection. Click through for the tutorial


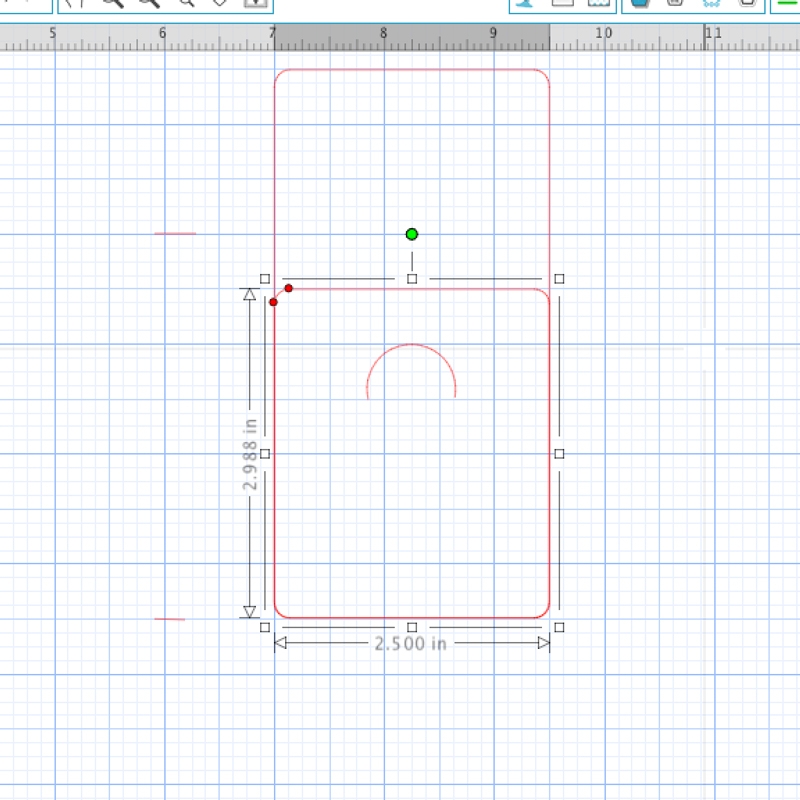
Step 3: The rounded rectangle tool was used again to create the bottom of the shape. It also gave me a good idea of how the final product will look when folded

DIY Stationery - Mini Flap Envelopes - Maritza Lisa: Create these sweet envelopes to add to your stationery collection. Click through for the tutorial


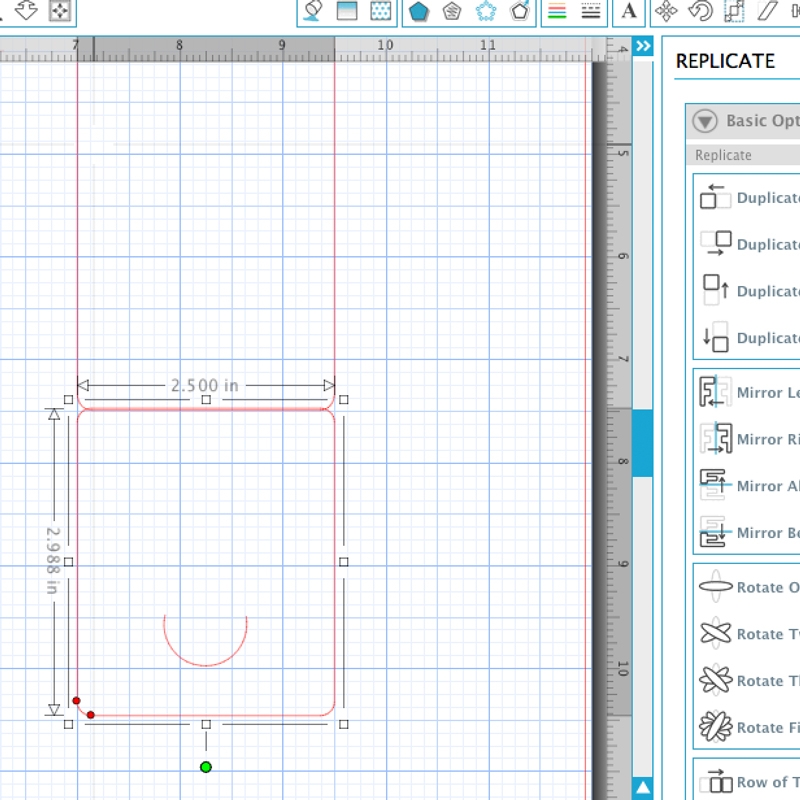
Step 4: The rectangle and flap were then flipped. I left a tiny overlap so that the two shapes can weld (tip: use the Align tool before welding to avoid any bumps in the shape)

DIY Stationery - Mini Flap Envelopes - Maritza Lisa: Create these sweet envelopes to add to your stationery collection. Click through for the tutorial


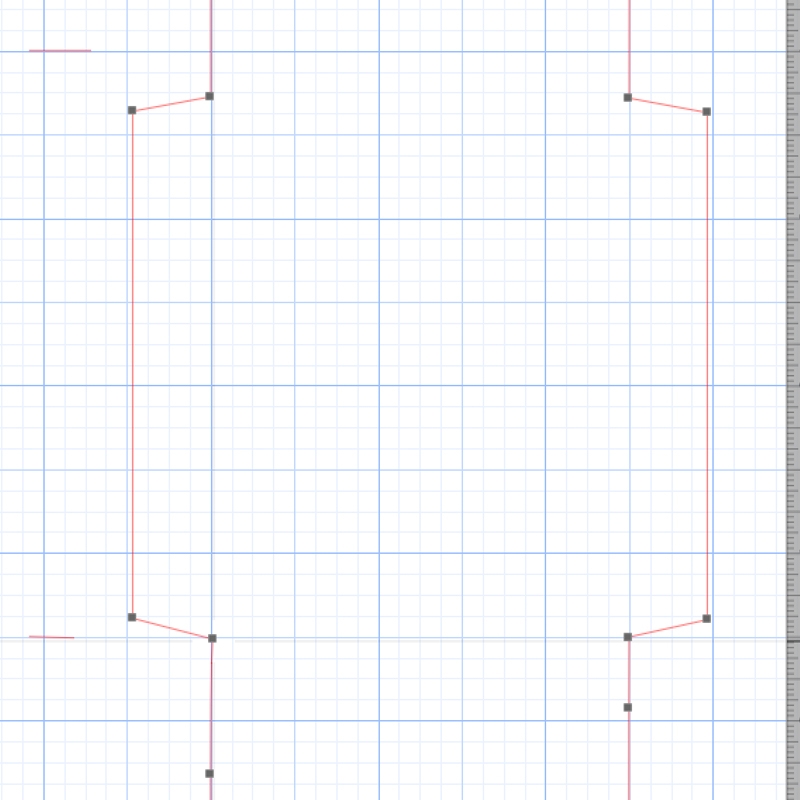
Step 5: I created the side flaps with the rectangle tool. I double-clicked the shapes to edit the points  to create the slanted sides. These side flaps were then welded to the main shape (tip: create the first side flap, then mirror a copy for the second flap)

DIY Stationery - Mini Flap Envelopes - Maritza Lisa: Create these sweet envelopes to add to your stationery collection. Click through for the tutorial


Step 6: I created a smaller rectangle for the liner and then sent to cut!

DIY Stationery - Mini Flap Envelopes - Maritza Lisa: Create these sweet envelopes to add to your stationery collection. Click through for the tutorial

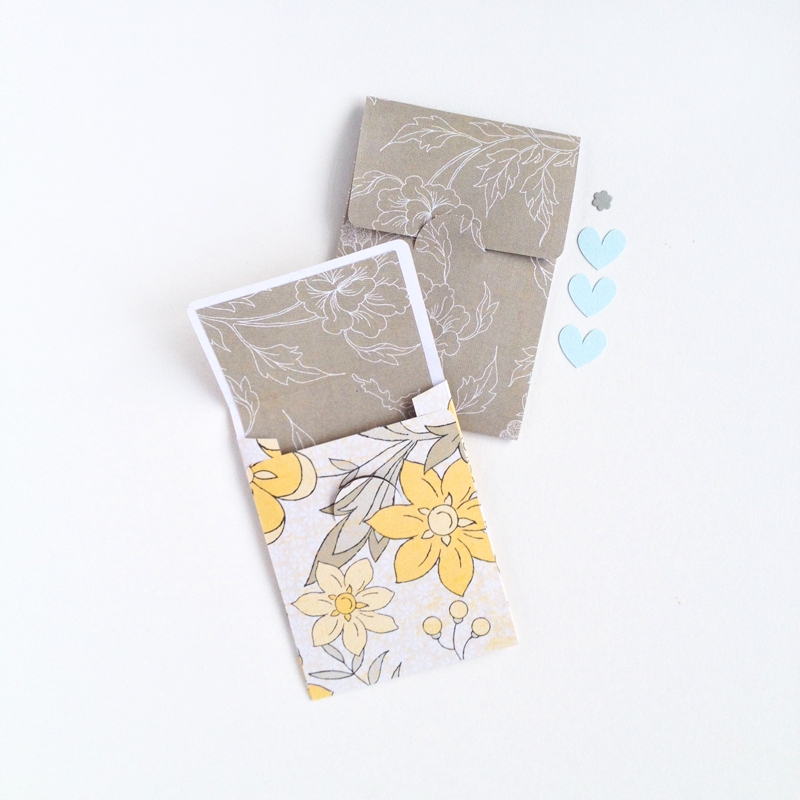
After folding and gluing the cut shapes, I could not just stop at one!

DIY Stationery - Mini Flap Envelopes - Maritza Lisa: Create these sweet envelopes to add to your stationery collection. Click through for the tutorial

DIY Stationery - Mini Flap Envelopes - Maritza Lisa: Create these sweet envelopes to add to your stationery collection. Click through for the tutorial

DIY Stationery - Mini Flap Envelopes - Maritza Lisa: Create these sweet envelopes to add to your stationery collection. Click through for the tutorial

DIY Stationery - Mini Flap Envelopes - Maritza Lisa: Create these sweet envelopes to add to your stationery collection. Click through for the tutorial

DIY Stationery - Mini Flap Envelopes - Maritza Lisa: Create these sweet envelopes to add to your stationery collection. Click through for the tutorial

DIY Stationery - Mini Flap Envelopes - Maritza Lisa: Create these sweet envelopes to add to your stationery collection. Click through for the tutorial