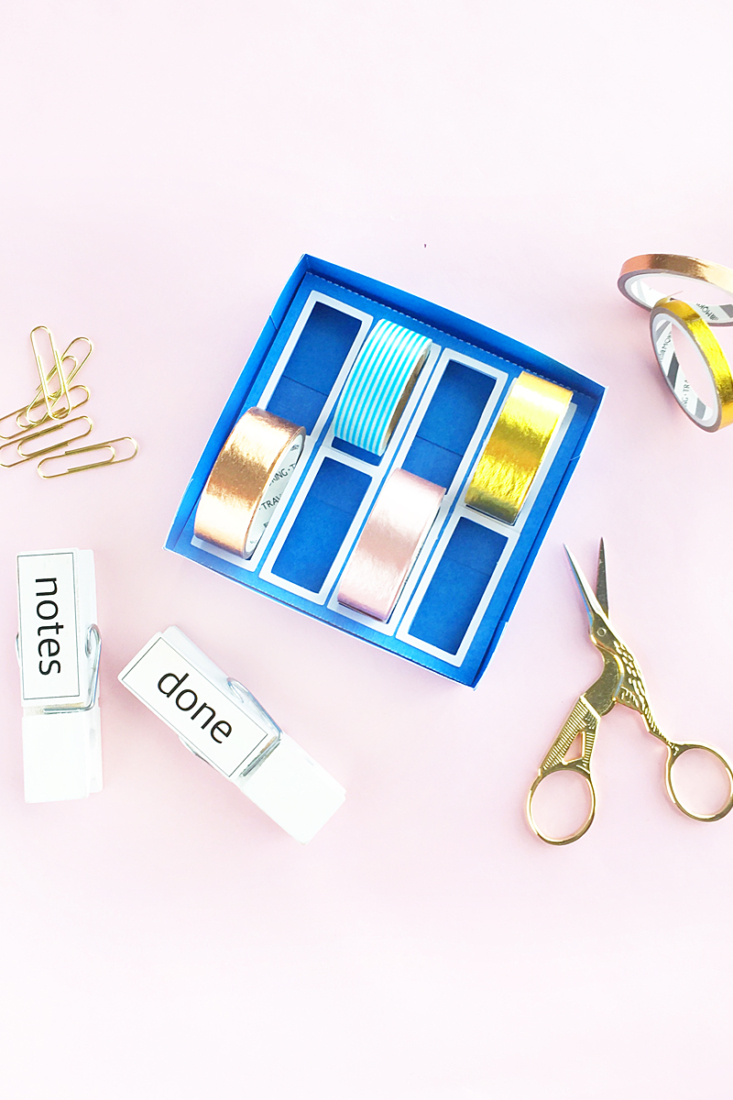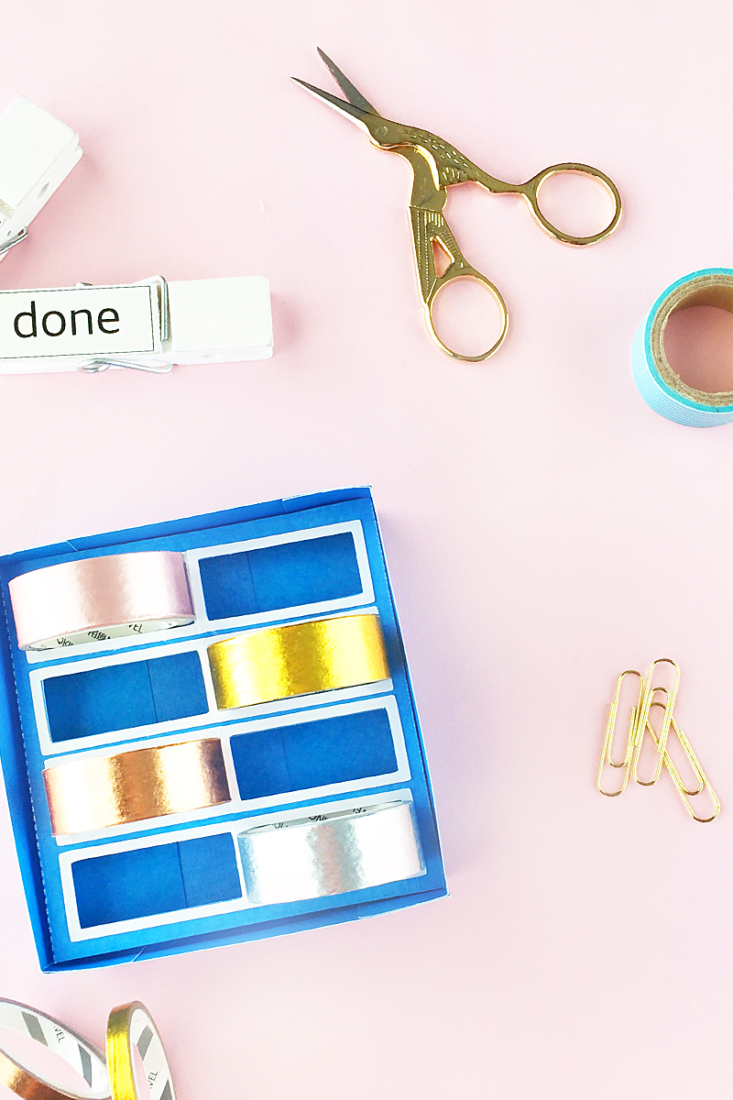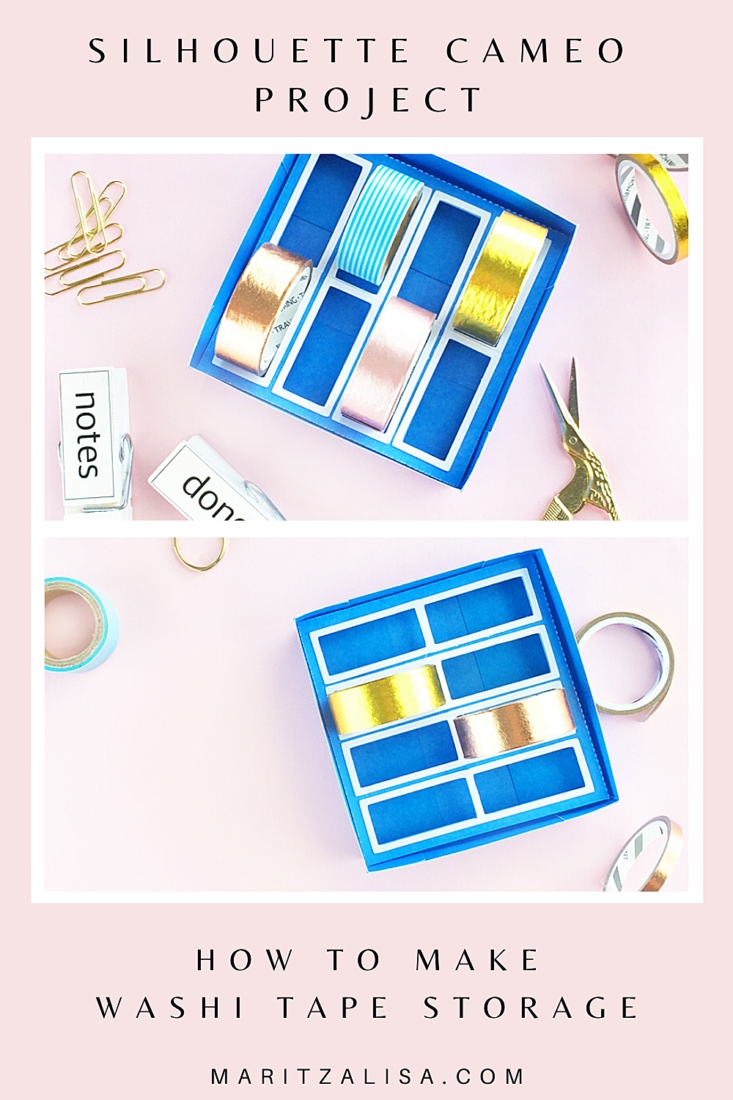
Happy June! What can you make with your Silhouette Cameo machine? To start, this little DIY Washi Tape Holder! I don’t know about you, but I have a favorite bunch of washi tapes that I use over and over and they are just rolling around in a drawer. So, to get organized, I’ve created this little storage box with my Silhouette Cameo to keep them together and for easy access when I’m ready to use them. Want to get organized with me? Read on for details!
What You Need – DIY Washi Tape Holder
- Silhouette Studio (there is a free version!)
- Silhouette cutting machine (I used the CAMEO)
- I used the bottom from this washi tape storage box design on the Silhouette Design Store
- Colored and/or patterned thick cardstock (12X12 in)
- Glue
*This post contains affiliate links for products that I use and love!
How to make your DIY Washi Tape Holder
- Download and open your washi tape storage box design in Silhouette Studio
- Place the bottom pieces in the print/cut area
- Use the corner points to resize all the designs at the same time on to the 12×12 page (the design is not true to size)
- Resize the rectangle cutouts (where the washi tape goes) to the size of your washi tape (I used 1.5x.6 in)
- Now load your cardstock on to your cutting machine
- Send to cut using cardstock settings
- Fold along the dashed lines and glue the tabs to create the washi storage
- If you want to create a border around each slot, use the Offset tool and a copy of the rectangle cutout to create a rectangle frame. Put these onto the print/cut area. Send to cut on a different colored cardstock. Glue your borders on your holder.
And that’s it! All you need to do is add your favorite washi to your new cute storage!

Looking for some more inspiration? Take a look at my other Silhouette projects!

