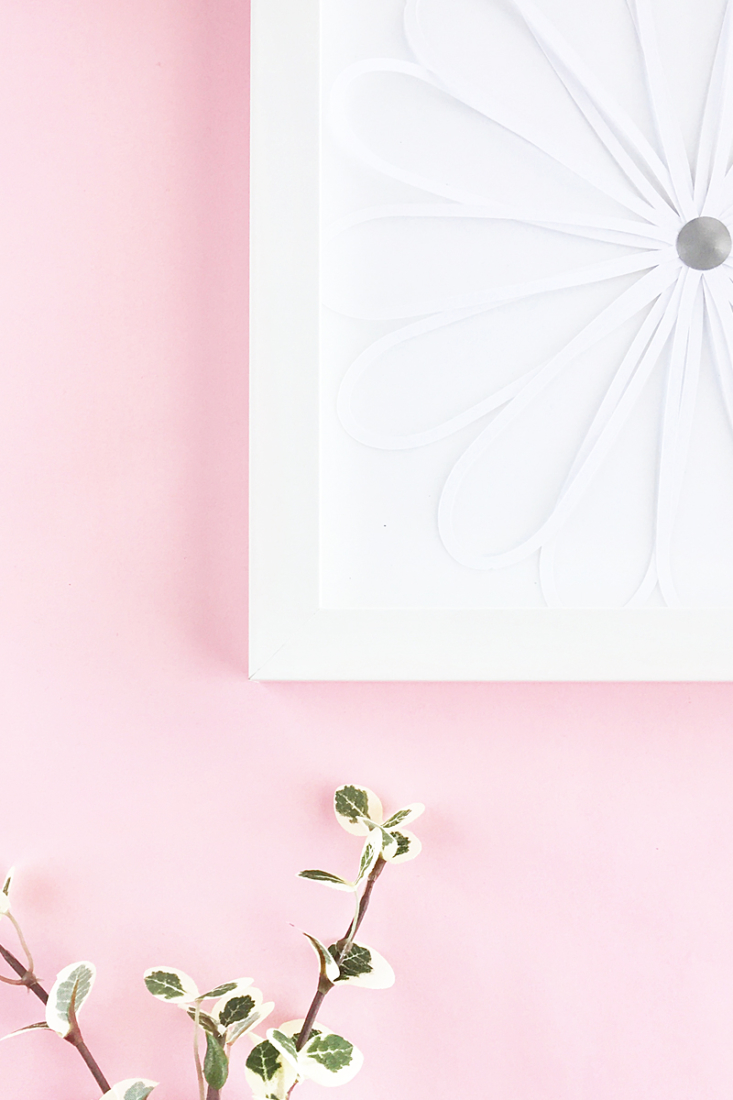
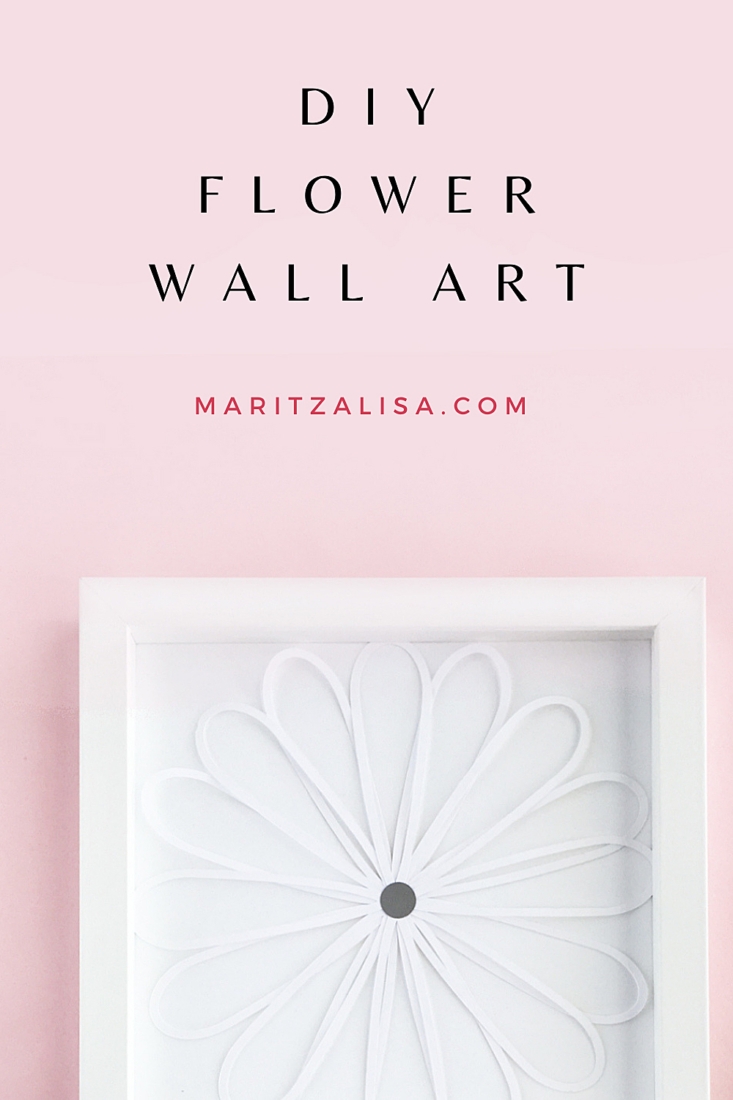
Happy Friday! I have not done a paper flower in a while, so I thought maybe we can change things up with this Easy DIY Paper Flower Wall Art. I decided to go with white on white for a simple minimal look, but you can use your creativity to play with color and texture. Read on for the full tutorial!
What You Need: Easy DIY Paper Flower Wall Art
- Silhouette Studio (there is a free version!)
- Silhouette cutting machine
- White cardstock for the paper flower and mat
- Square display frames (white 8×8 in) – I got mine at Michaels but you can get something similar here online
- Glue
- Silver or gold foil
*This post contains affiliate links for products that I use and love!
How To Make: Easy DIY Paper Flower Wall Art
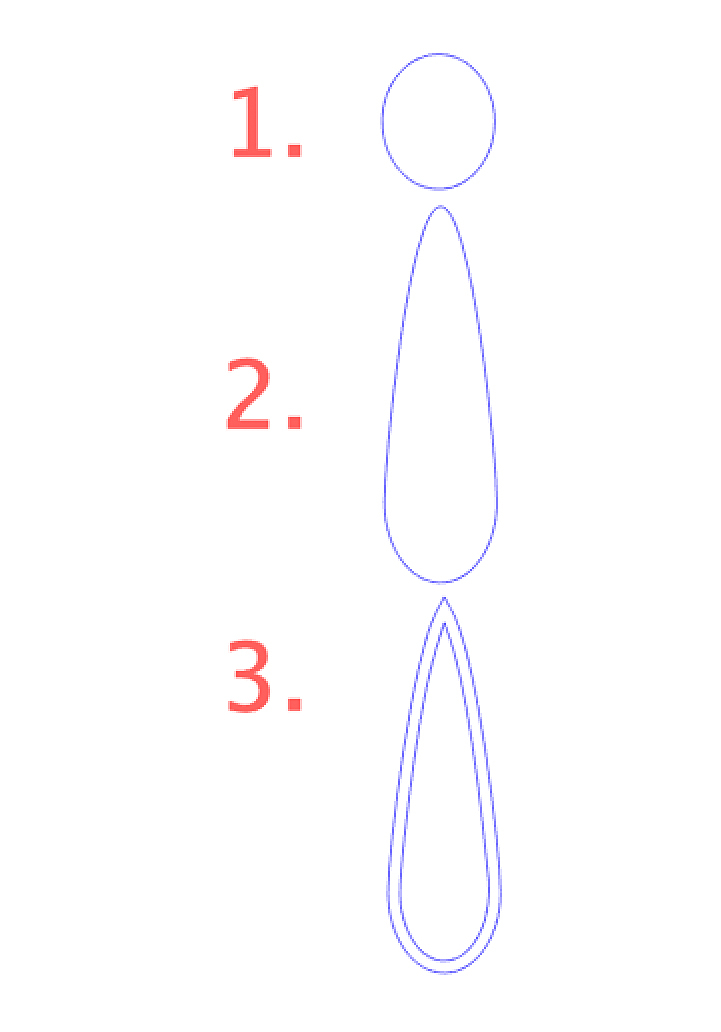
- Create your petal with a shape (see how I did mine below)
- Resize and replicate throughout the page
- Load your white cardstock onto your Silhouette cutting machine and send to cut using cardstock settings
- Cut white cardstock to a square (8×8 in)
- Cut a small metallic circle for the center of your paper flower
- Remove the adhesive backing from your silver or gold foil
- Place the first 4 petals so that 2 are vertical and 2 are horizontal on the sticky part of the gold foil
- Use glue to stick the rest of the petals
- Glue the paper flower to the middle of the square white cardstock
- Remove the backing of your square frame and add your paper flower artwork
- Reassemble your frame
- Optional – you can remove the glass display too
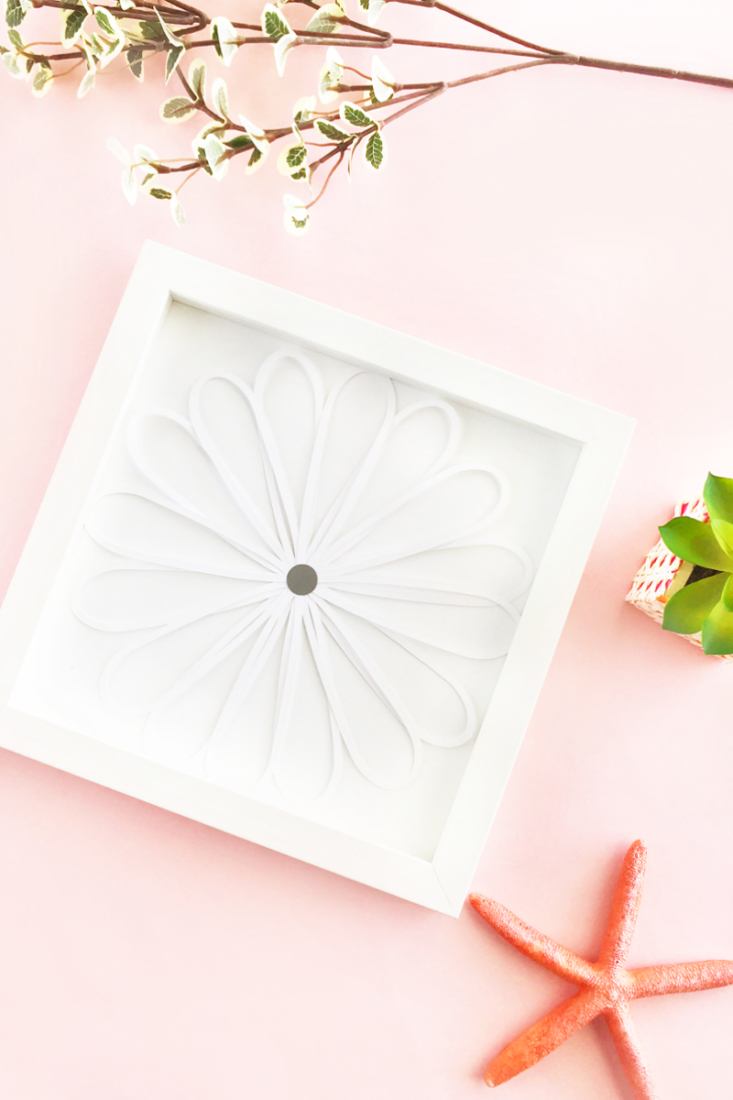
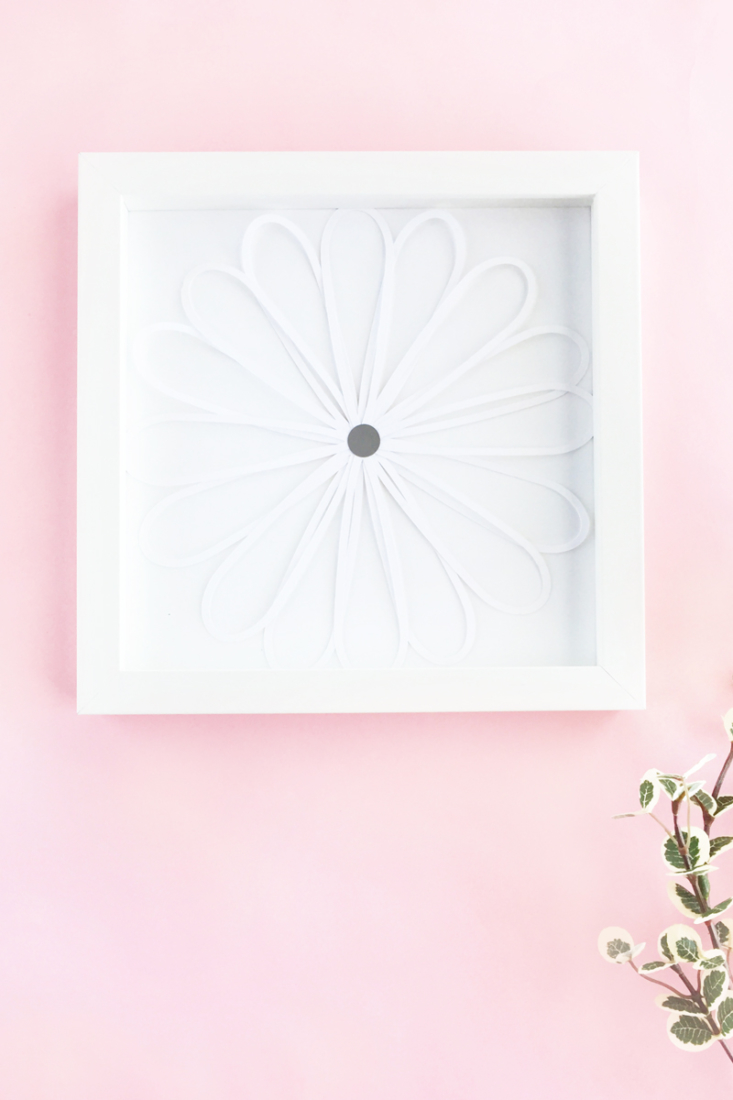
All you need to do is hang your pretty art on your wall, display on a desk or shelf or give as a gift. What will you do with yours? Tell me in the comments below!
Looking for some more crafty inspiration? Take a look at my other Home Decor DIY projects!
2 Comments on Easy DIY Paper Flower Wall Art
Comments are closed.
I don’t understand where you out the gold foil? Do you have a file of your flower that you could share?
Thank you
Sandy
Hi Sandy – Thanks for visiting! The gold or silver foil is a small circle you can cut out and put at the center of your flower.