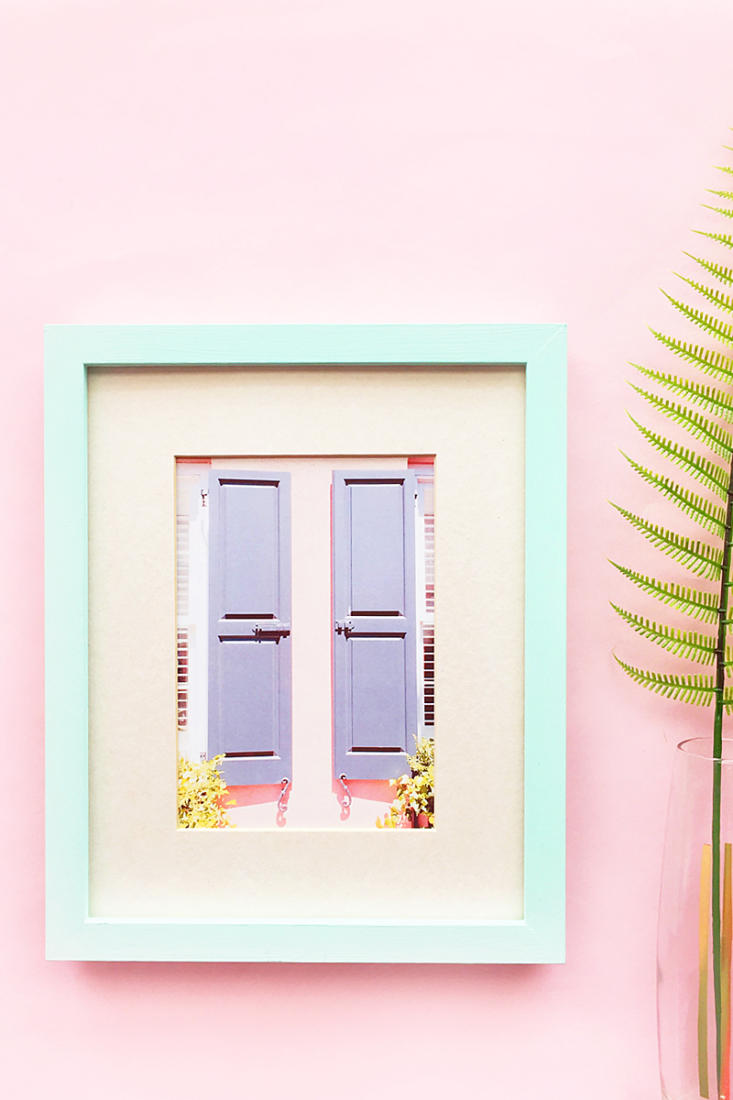
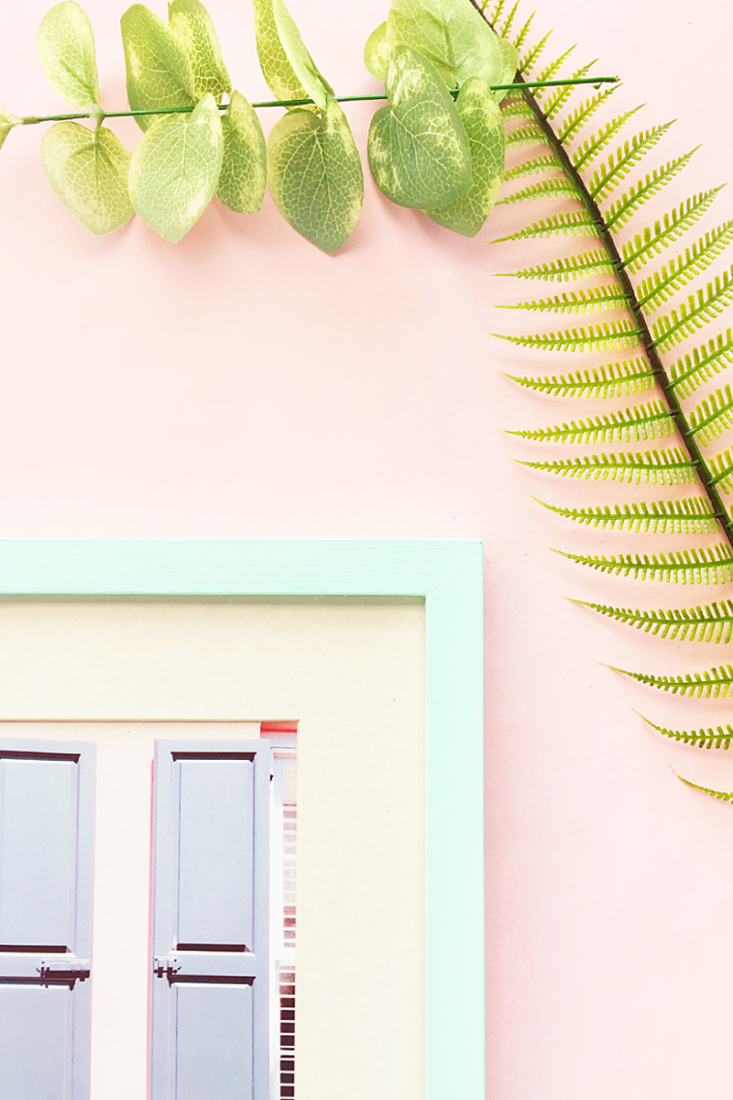
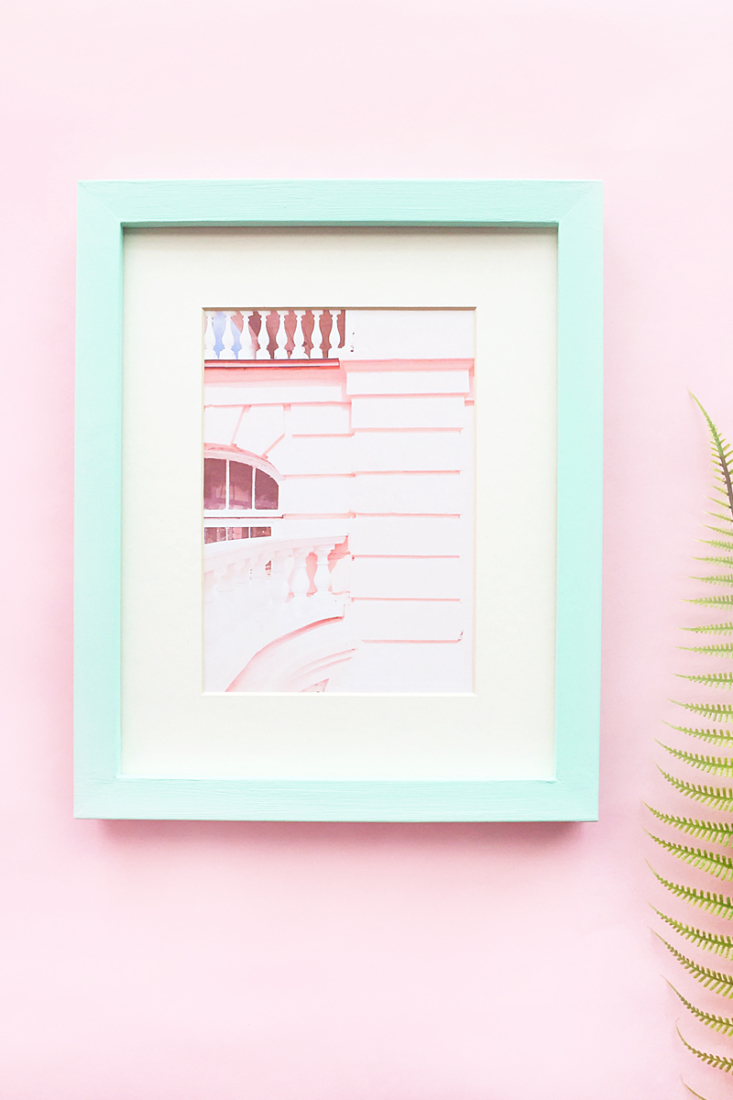
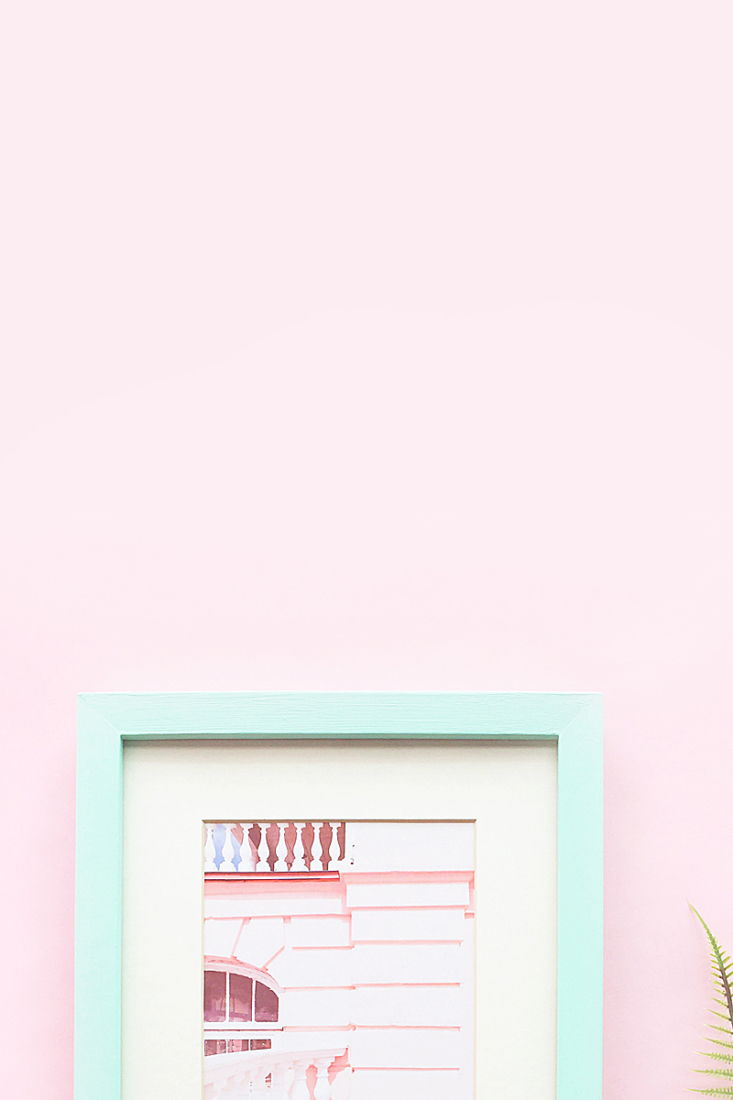
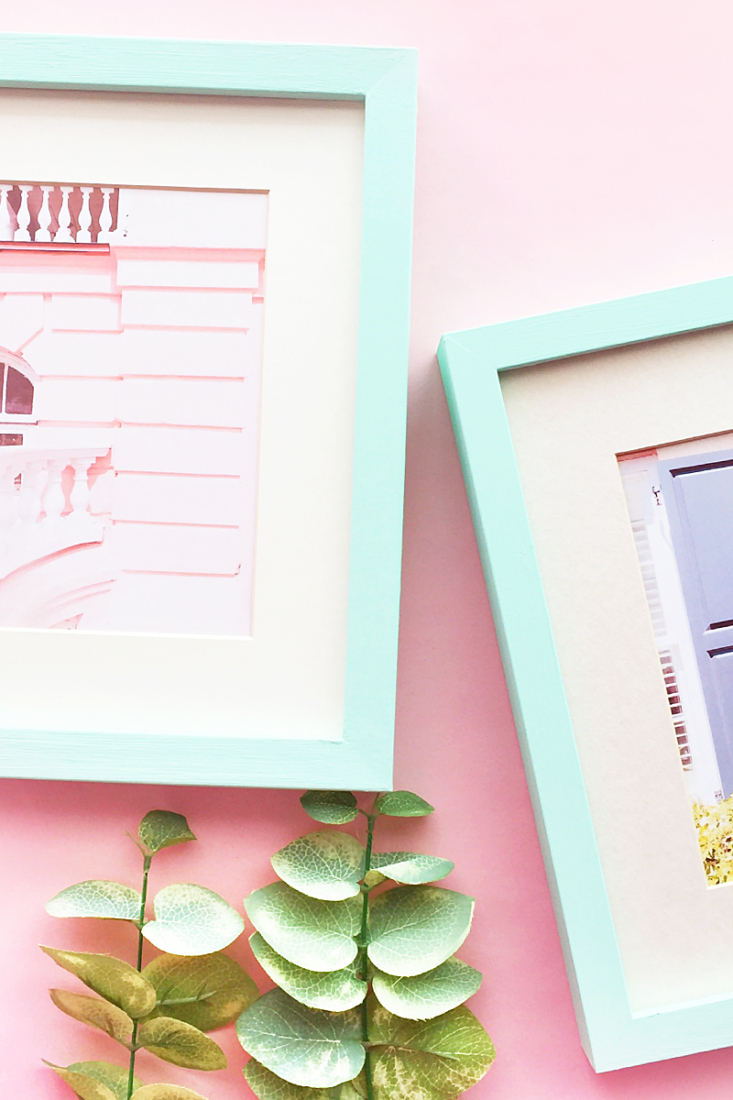
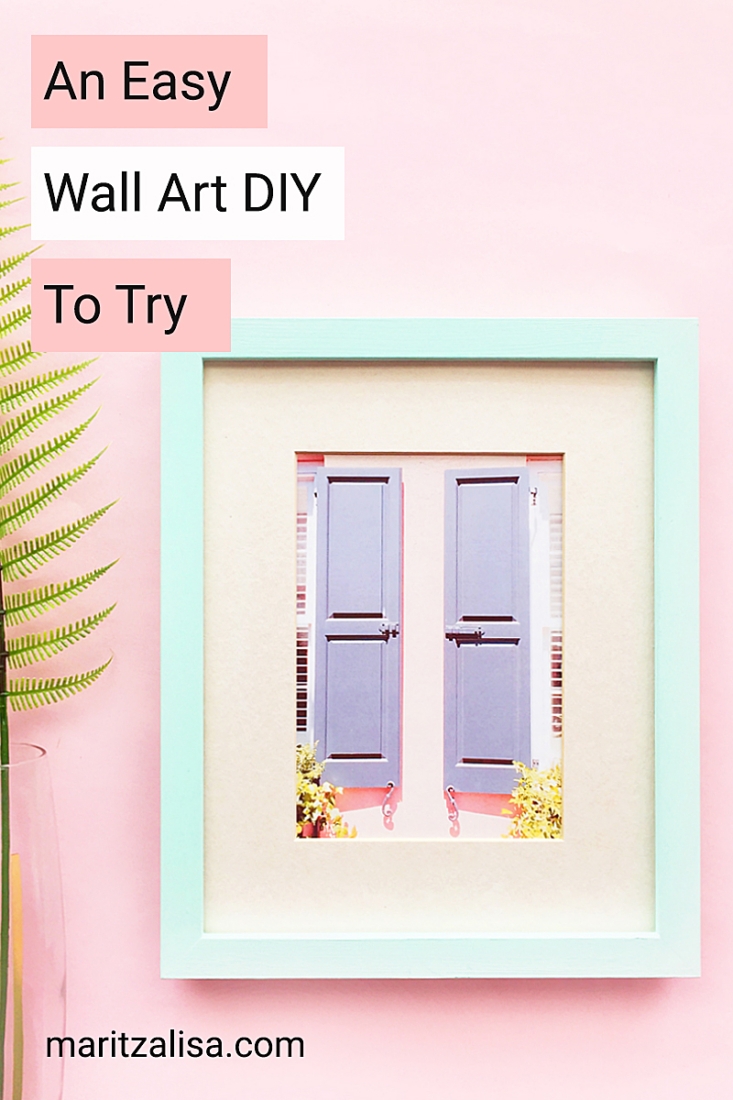
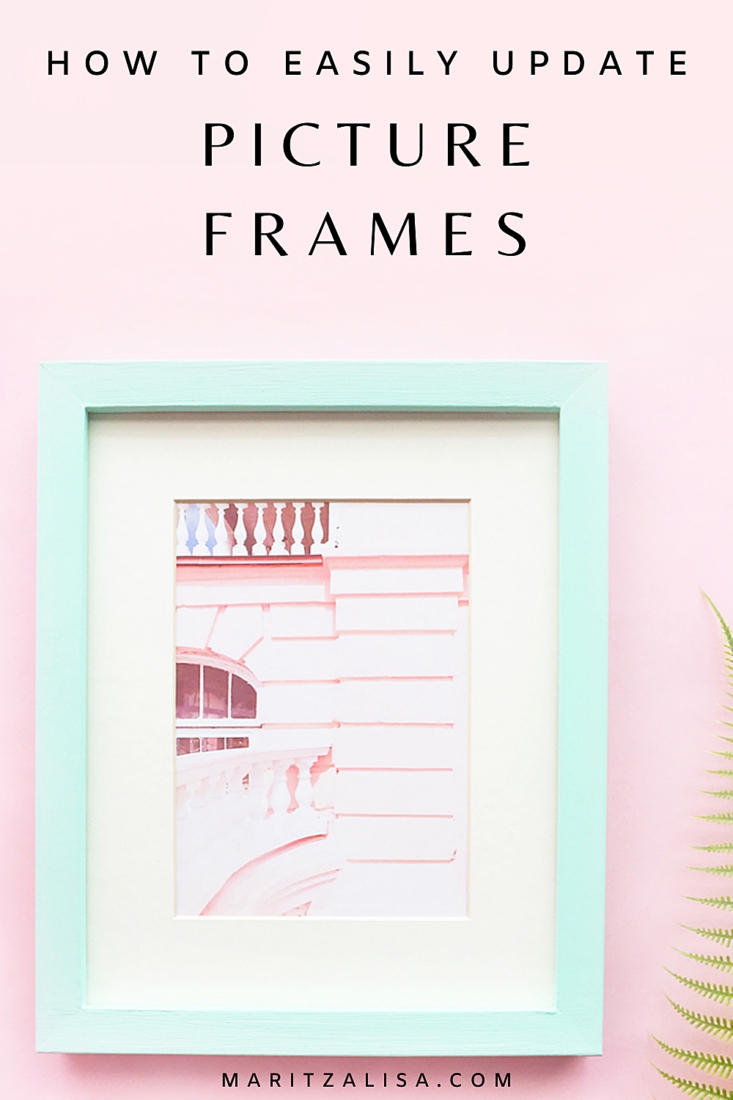
Last week, we took a lovely break and spent some time in Hilton Head and Charleston, South Carolina. We were blown away by the tropical weather, warm (so warm!) beach waves and stunning pastels. With our hearts and bellies full, we have returned well-rested as we start to gear up for back to school activities. Before we left for vacation, we needed some artwork or wall art for our newly renovated powder room, and our trip away was the perfect inspiration for us. These Easy DIY Pastel Picture Frames are so quick to make, especially if you’re looking to update old frames. Read on to make your own!
What You Need – Easy DIY Pastel Picture Frames
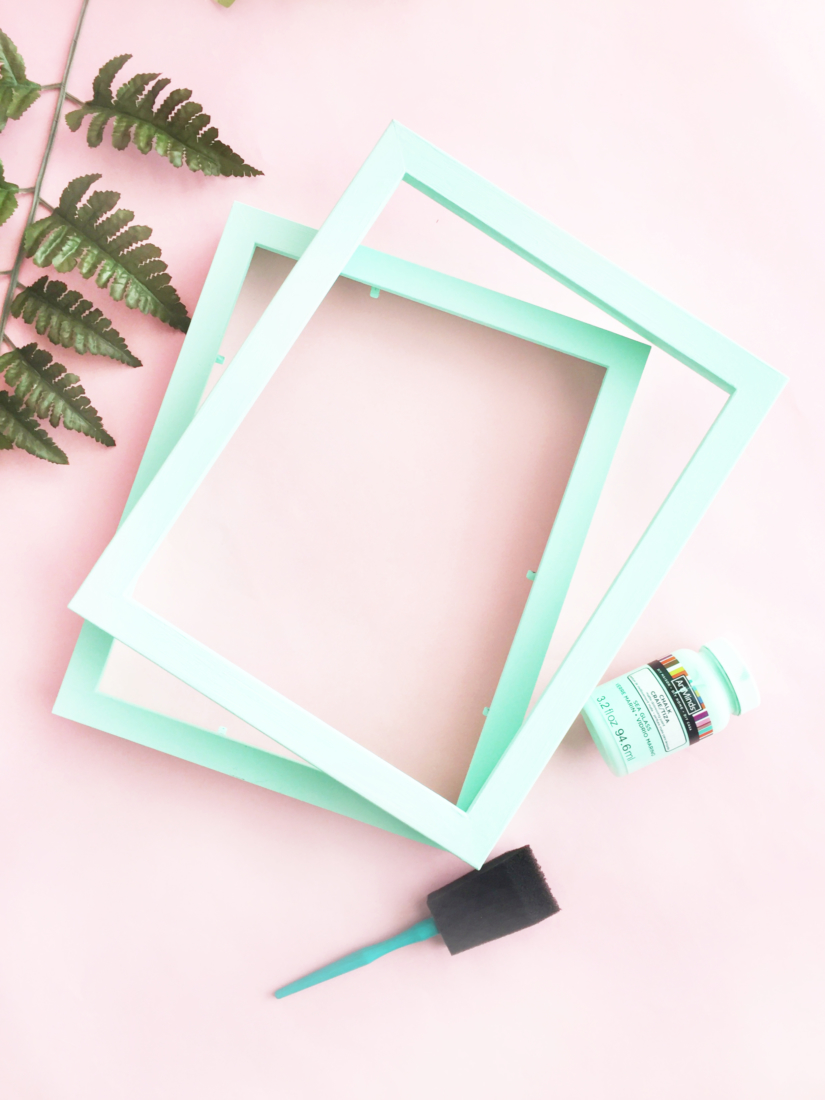
- Pastel chalk paint – I used ArtMinds Chalk Paint in Sea Glass from Michaels
- Picture Frames – we used our old IKEA frames that were originally brown!
- Foam brush
*This post contains affiliate links for products that I use and love!
Instructions – Easy DIY Pastel Picture Frames
- Disassemble your picture frame by removing the backing, glass, etc
- Use the foam brush and pastel chalk paint to paint 2-3 coats on your frames
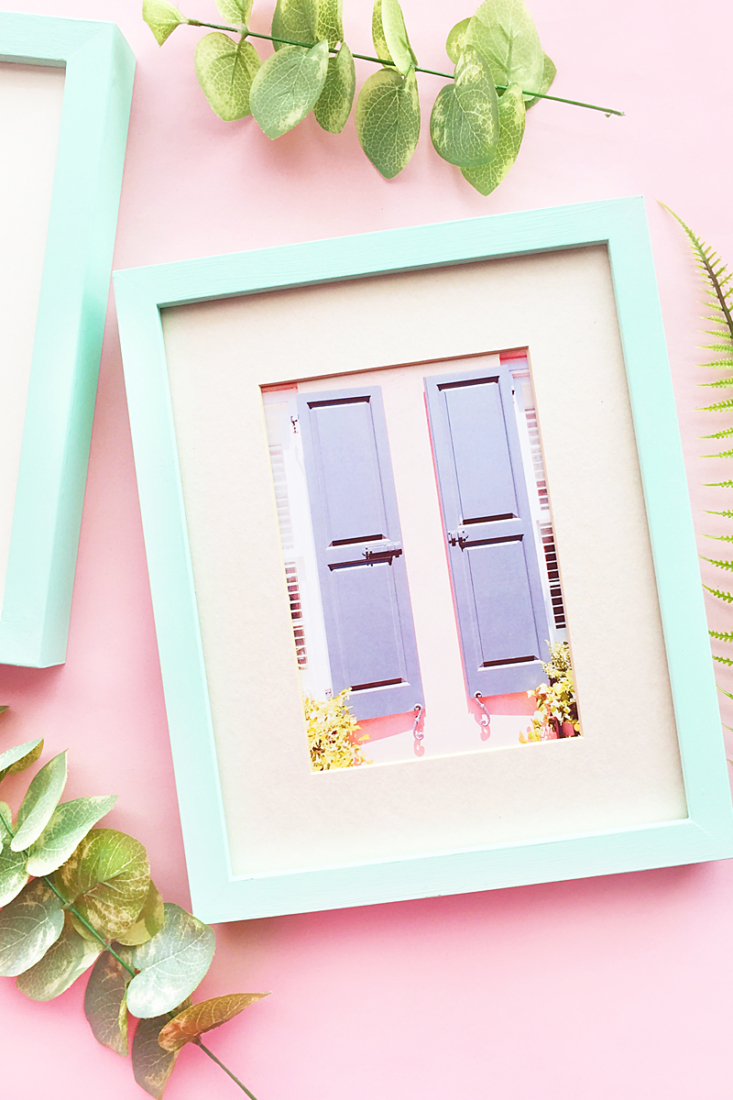
- After the paint has dried, add your artwork or photos to your frames and hang them to your pretty walls
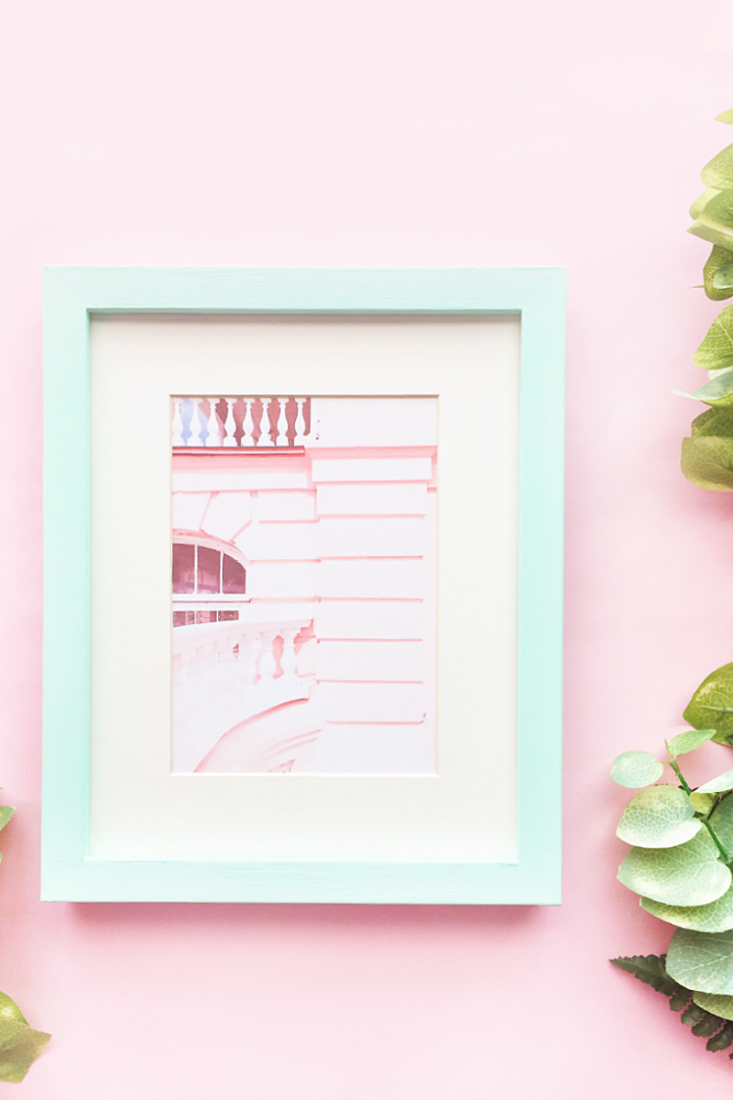
I love the simple but pretty way you can use a quick couple of coats to add color to your walls. We used images from our trip to fill our frames which were altered to enhance the pastels with the A Color Story App. What do you think?
Looking for some more inspiration? Take a look at my Home Decor DIY projects!
1 Comment on Easy DIY Pastel Picture Frames
Comments are closed.
Thank you for sharing this DIY tutorial.