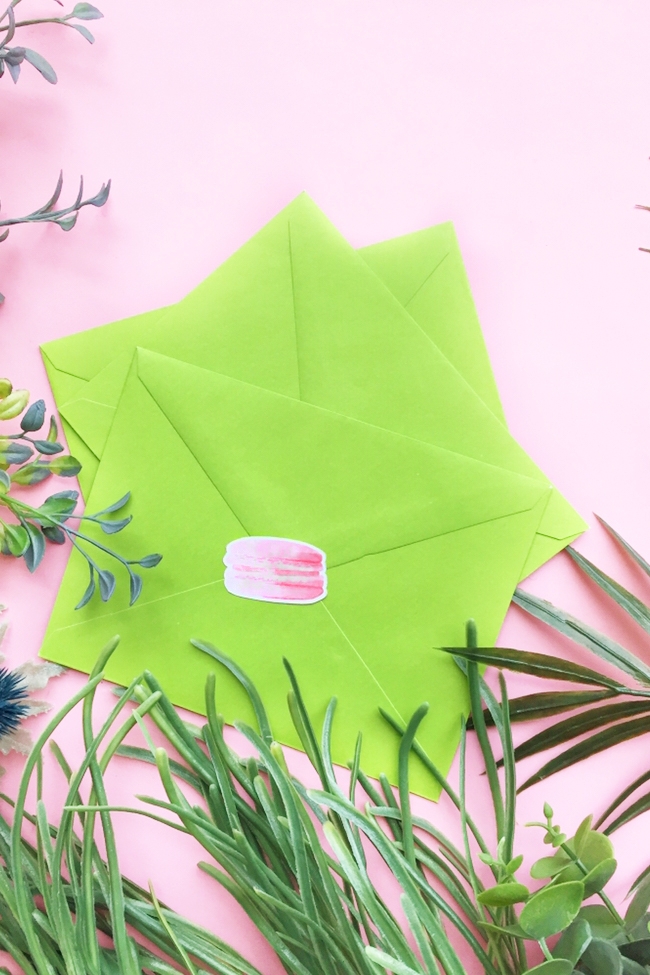
If you follow me on Instagram, you would have seen that I recently drew and painted cute macarons on my iPad thanks to a tutorial from Teela at Every Tuesday. For today’s tutorial, I made a modified version of a macaron for download to show you how to make macaron stickers. I have included steps for you to create your stickers by hand or with your Silhouette cutting machine. Read on to make your own!
*This post contains affiliate links for products that I use and love!
For this tutorial, I will be using sticker paper and Silhouette Studio as my design software. We will cover 2 ways one by hand and the other by a Silhouette cutting machine.
What You Need To Make DIY Macaron Stickers By Hand
- Sticker Paper
- Scissors
- Macron image to make your DIY stickers (free download below for personal use)
- Printer
- Silhouette Studio Software – You can download and use the free version
What you need to make DIY Macaron Stickers with your Silhouette
- Sticker Paper
- Silhouette Cutting Machine – one of the Silhouette CAMEO, Portrait or Curio
- Macron image to make your DIY stickers (free download below for personal use)
- Printer
- Silhouette Studio Software – You can download and use the free version
Silhouette Studio Software for making DIY Stickers
Because I use Silhouette Studio so frequently, I thought I’d share these FAQs as a quick review of the software that will hopefully answer any questions you may have before using it.
What Is Silhouette Studio?
The Silhouette Studio software is the graphic design software that works with your Silhouette Cutting Machine
How Can I Get the Silhouette Studio software?
You can download Silhouette Studio at silhouetteamerica.com/software
Is the Silhouette Studio software Free?
The Silhouette Studio Basic Edition is a free version you can download and use for making, editing and printing your own basic designs and ones from the Silhouette Design Store
Why Is My Design Not Showing When I Print It?
The line thickness may be set to 0. Set it to anything greater than 0 and you should be able to see it when you send to print
How To Make Your Own DIY Stickers With A White Border
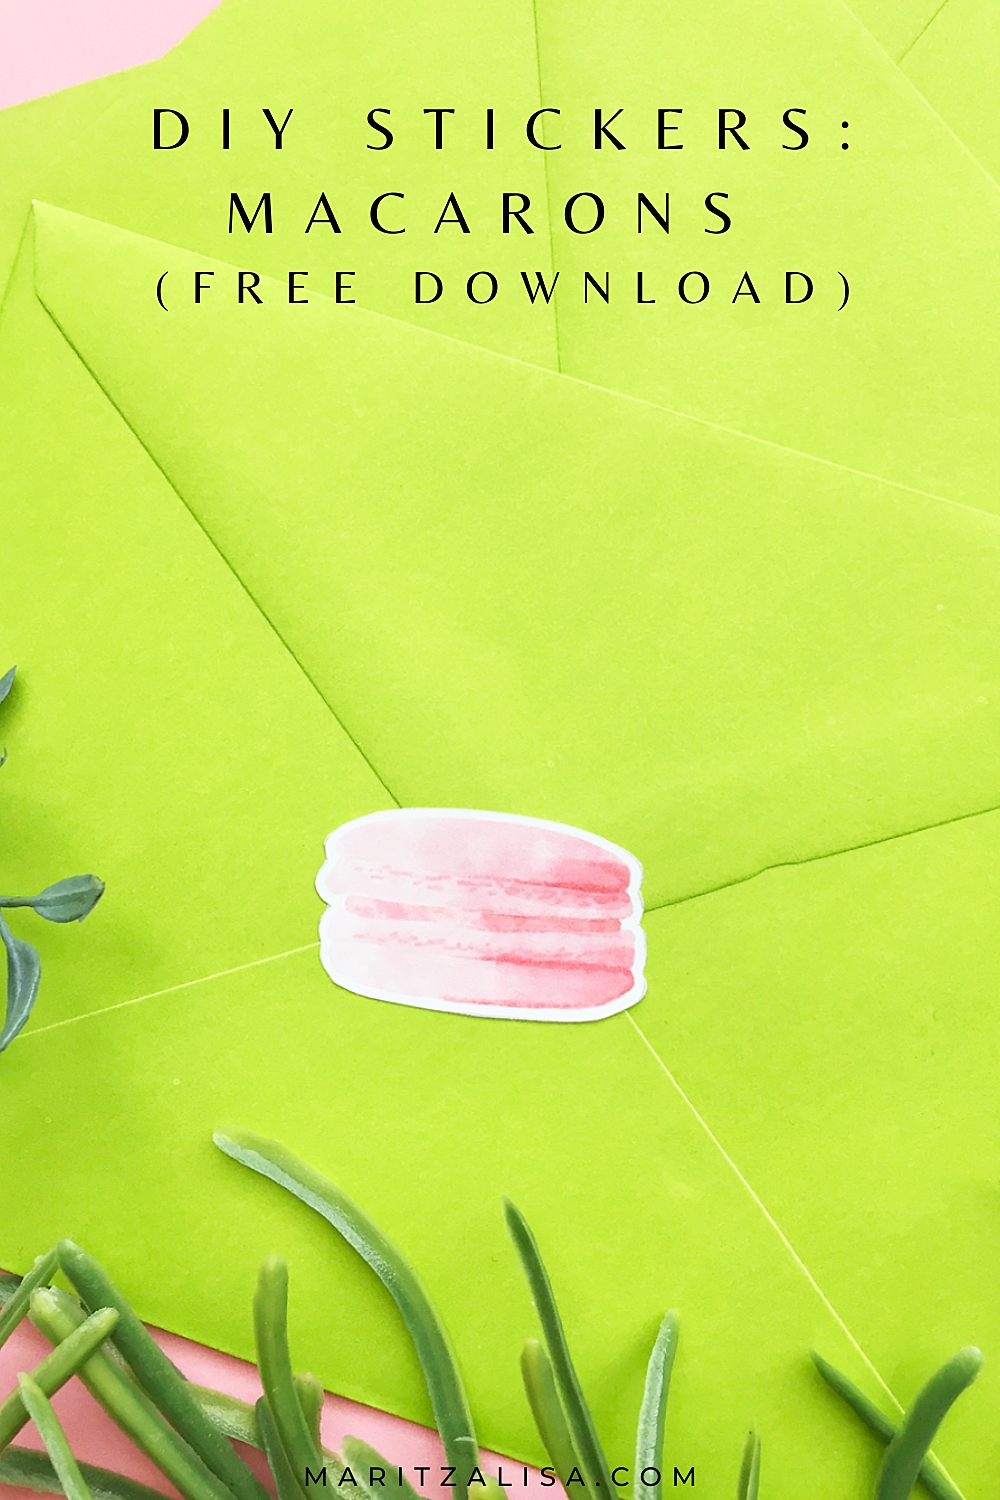
I love adding a border to my stickers! The white border adds a finished look much like the ones we buy from stores.
Download your free macaron image:
Click —> this link <— to go to the download page, then click the download button for the macaron PNG file. Please note that this PNG file is free for personal use only
Step 1: Create A Border For Your Stickers with Silhouette Studio
- Open your macaron image in Silhouette Studio
- Use the Trace tool to trace the macaron image so that there is a solid fill that covers the entire image. You will be left with an outline of the image
- With the outline and image selected go to Menu > Object > Modify > Crop. Your macaron is now cut to its size
- Select the macaron image and create an offset (Menu > Panels > Offset). This will give you a bigger and smoother version of the original image
- Place your image in the middle of the offset. Your image now has a border
- Adjust the size of the offset if you need the border to be bigger or smaller
- If you are cutting by hand and not by machine, set your outline to about .50 line thickness (Menu > Panels > Line Style) so that you can see where to cut when your stickers are printed
- Group your macaron image and border
- Replicate your grouped design throughout the printable area of the software
Note: If you are using a Silhouette Cutting Machine, set your images to NO-CUT and your borders to CUT so that only the borders are cut when sent to print using the Print And Cut feature

Step 2: Print Your Macaron Stickers
Now that you have all your stickers ready in Silhouette Studio, it’s time to send them to print.
If you are cutting by hand:
- Load your sticker paper in your printer
- Send your images to print
If you are cutting with a Silhouette Cutting Machine using the Print and Cut feature:
- In Silhouette Studio, show the registration marks
- Load your sticker paper in your printer
- Send your images to print
Step 3: Cut Your DIY Stickers
Your images are printed and all you need to do now is cut them.
If you are cutting by hand, use your scissors to cut the outline of your images on the sticker paper.
If you are cutting with a Silhouette Cutting Machine using the Print and Cut feature:
- Load your sticker paper onto the cutting mat and then your cutting machine
- Send your images to cut using Sticker Paper settings. The machine will read your registration marks and then cut the borders of your images automatically
You should now know from these steps how to make your own stickers either by hand or with your Silhouette cutting machine. These stickers are perfect for decorating your envelopes, packages and planners, and I can’t wait to hear which method you used and how they all turned out! Let me know in the comments below!
Looking for some more crafty inspiration? Take a look at my other Home Decor DIY Tutorials!