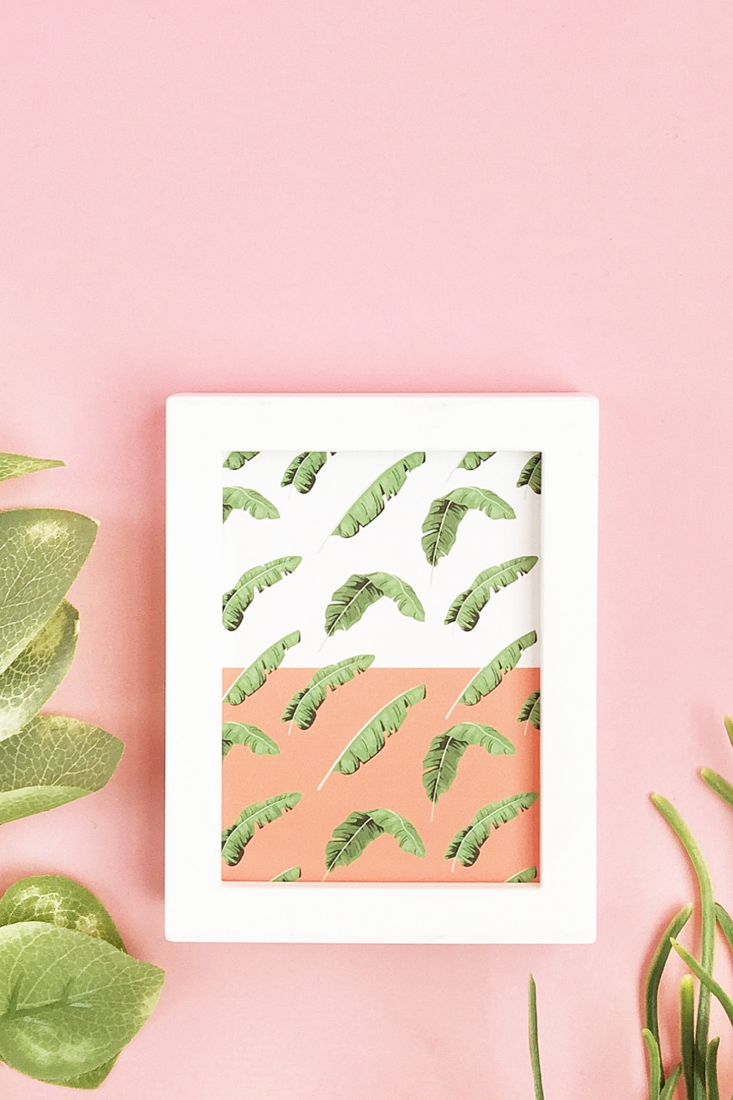
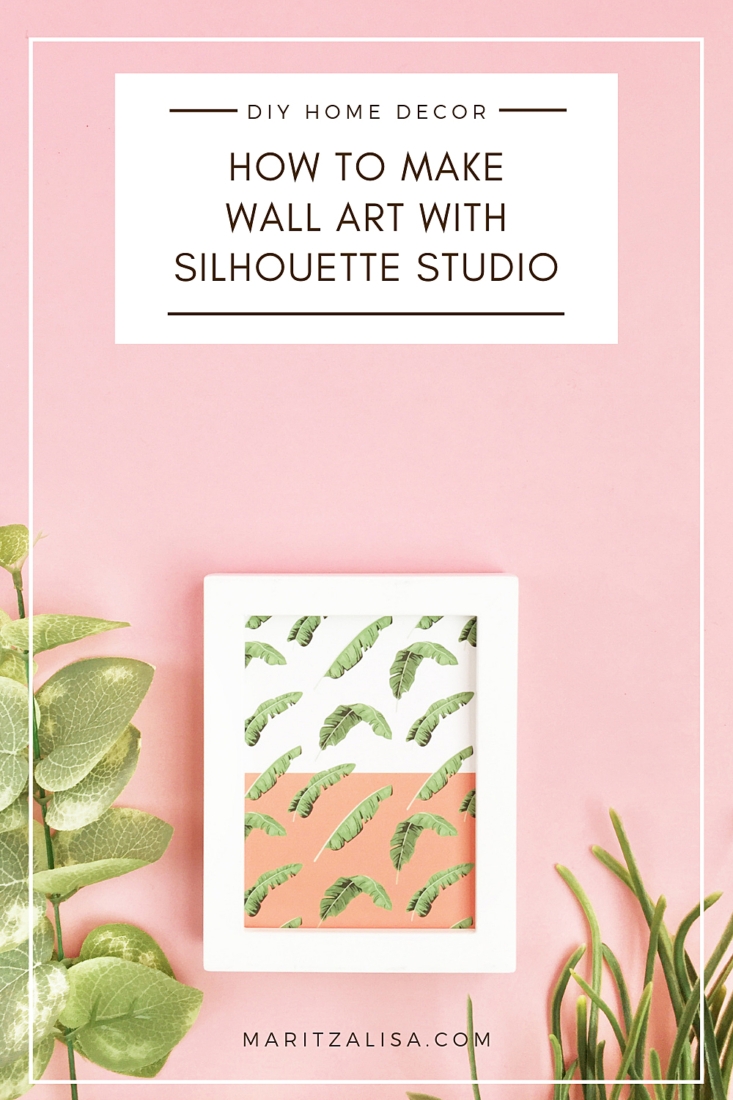
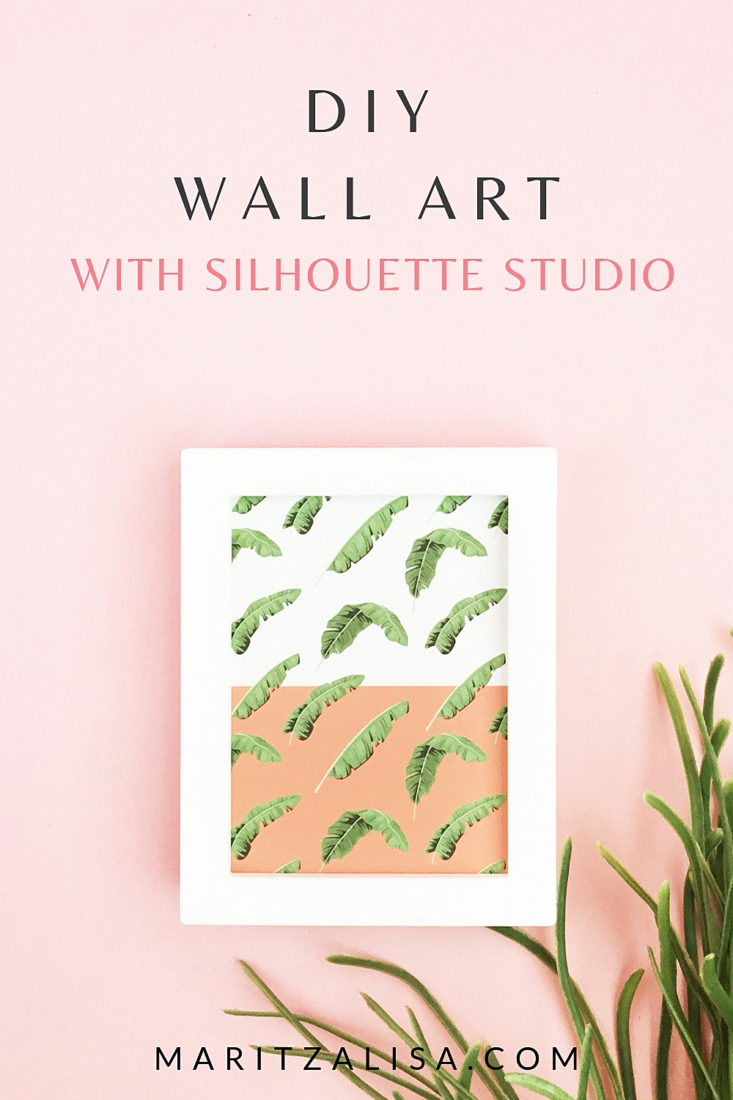
Hope you are having an awesome weekend! Today, I want to share How To DIY Wall Art With Silhouette Studio. As you may know, I use the Silhouette Studio software in a lot of my projects. It is the software that is used to design and send to your Silhouette machine to cut. Now, not all my Silhouette Studio projects require you to have a cutting machine. Is Silhouette Studio free? Yes – there is a free version. If you do not have a machine yet, I suggest using the free version of the software for simple designs. Once you are happy with your design, you can then set the line thickness to greater than zero, then send to print and cut the lines by hand. When you have your cutting machine and if you need more features to design, you can purchase the Design Editions or the Business Edition. For this project, all you need is the free version to make and print your own homemade artwork. Read on for the full tutorial!
What You Need To Know About Silhouette Studio:
Because I use Silhouette Studio so frequently, I thought I’d share these FAQs as a quick review of the software, that will hopefully answer any questions you may have before using it.
What Is Silhouette Studio?
Silhouette Studio is the design software that works with your Silhouette Cutting Machine
Where Can I Get Silhouette Studio?
You can download Silhouette Studio at silhouetteamerica.com/software
Is Silhouette Studio Free?
The Silhouette Studio Basic Edition is a free version you can download and use for making, editing and printing your own basic designs and ones from the Silhouette Design Store
Why Is My Design Not Showing When I Print It?
The line thickness may be set to 0. Set it to anything greater than 0 and you should be able to see it when you send to print
Materials: DIY Wall Art With Silhouette Studio
- Silhouette Studio (there is a free version!)
- .PNG pattern or any other graphic images you may have. I used these tropical .png images from Creative Market
- Printer
- Picture Frames – I got mine at Michaels
- Scissors
*This post contains affiliate links for products that I use and love!
Instructions: DIY Wall Art With Silhouette Studio
- Open your .png pattern in Silhouette Studio. I like using the .png images because of the transparent background
- Replicate your pattern or resize your graphic so that it will fit in your picture frame
- Optional: create a rectangle the same size as the bottom half or top half of your picture frame, then fill with color. Send to the back of the image and you will have a color blocked background
- Create a rectangle the size of the wall art that will fit your frame
- Change the line thickness to greater than 0 so that you see the line to cut when printed
- Send your gorgeous design to print
- Cut the rectangle
- Put your artwork into your frame
Note: If you have a Silhouette cutting machine, show your registration marks before printing then use the Print and Cut feature by just loading the printout with the registration marks and sending to print! Everything else will be done by your cutting machine.
Here’s a quick video on how I put my DIY Wall Art design together:
All you need to do now is hang your finished product! It’s fun to play designer, right? It’s also a budget friendly way to DIY your wall decor with paper and free software. Tell me in the comments below how your homemade wall decoration turned out!
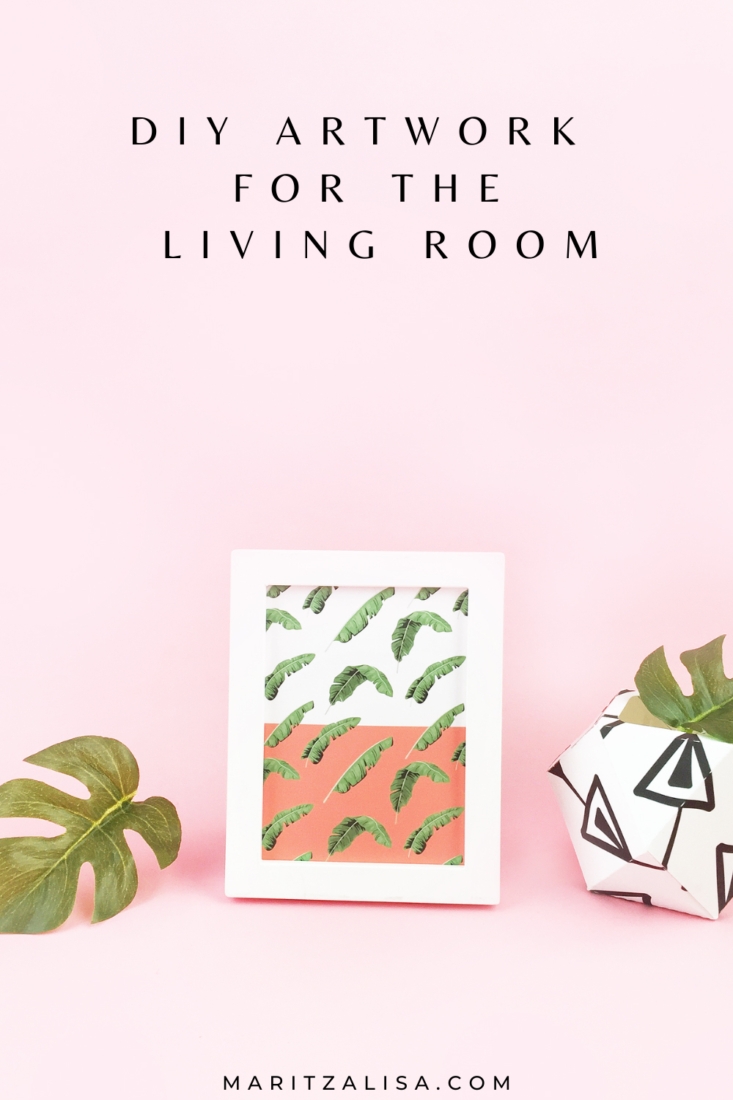
Looking for some more fun and DIY inspiration? Take a look at my other Home Decor DIY Tutorials and craft a little longer with me!