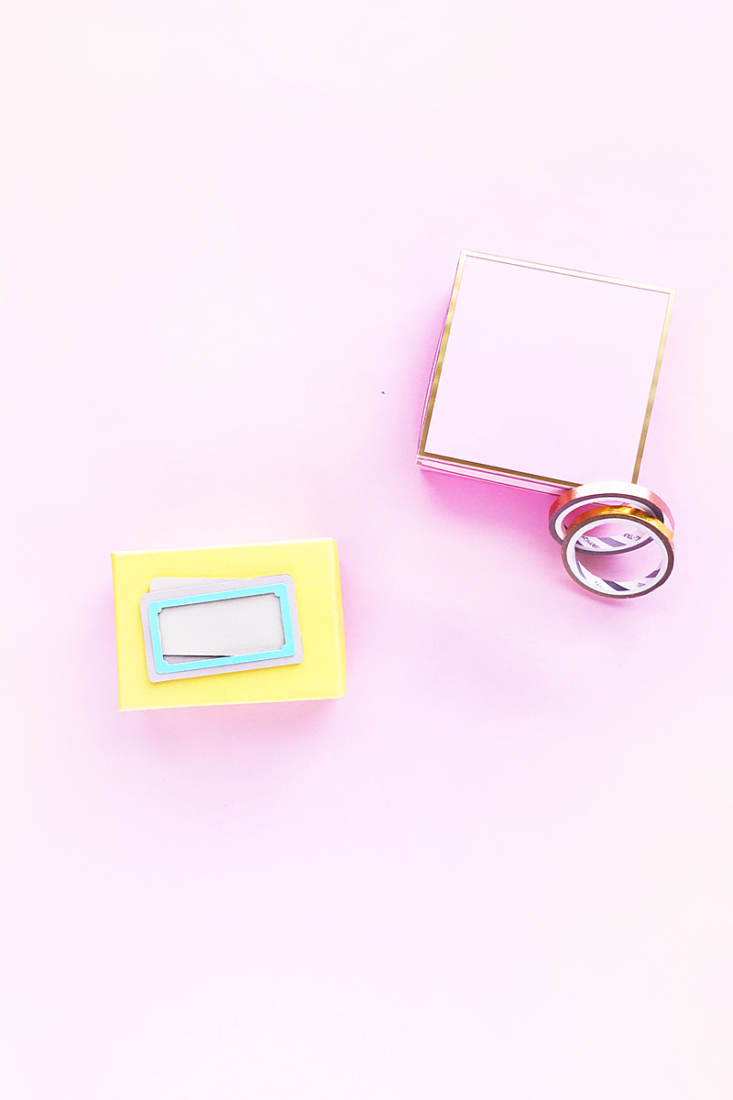
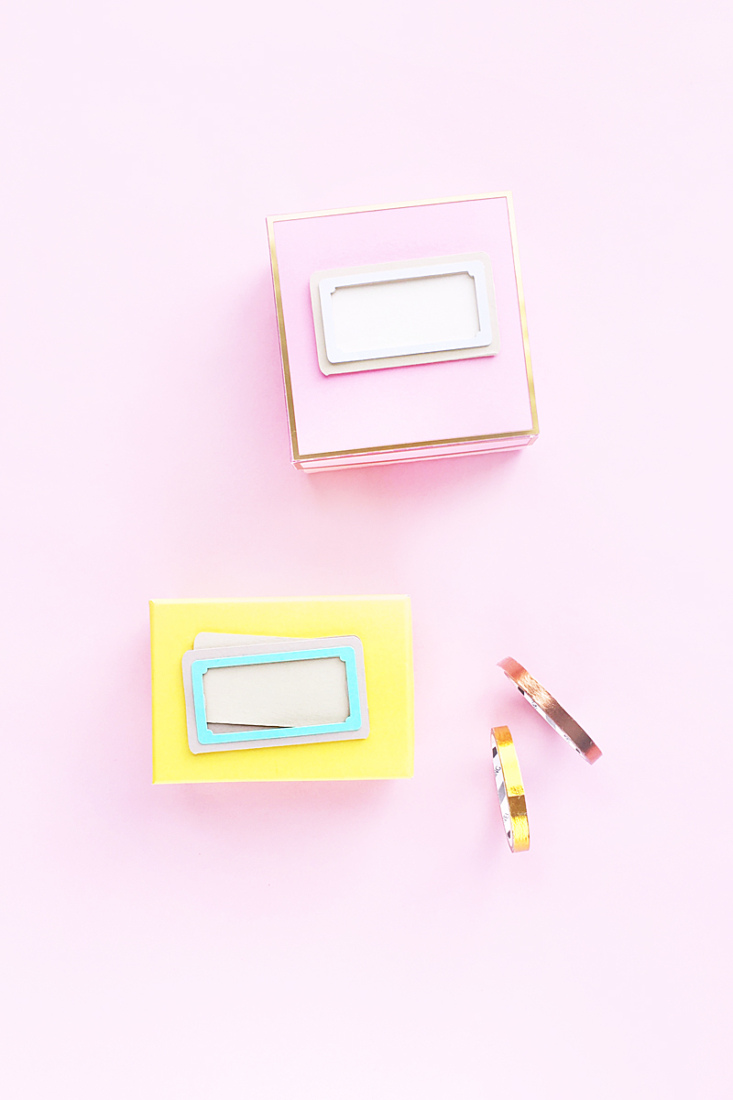
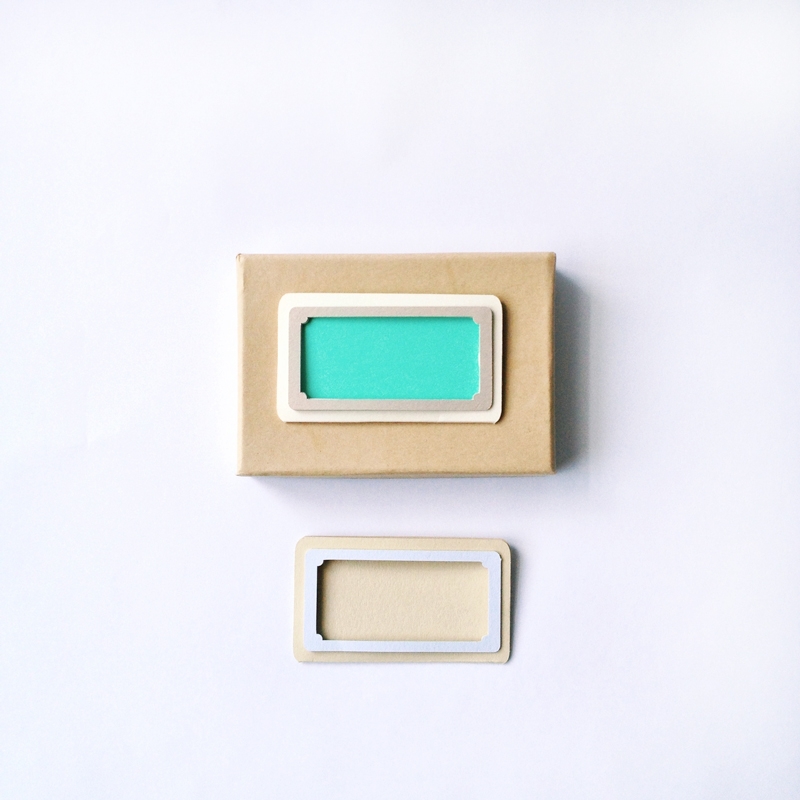
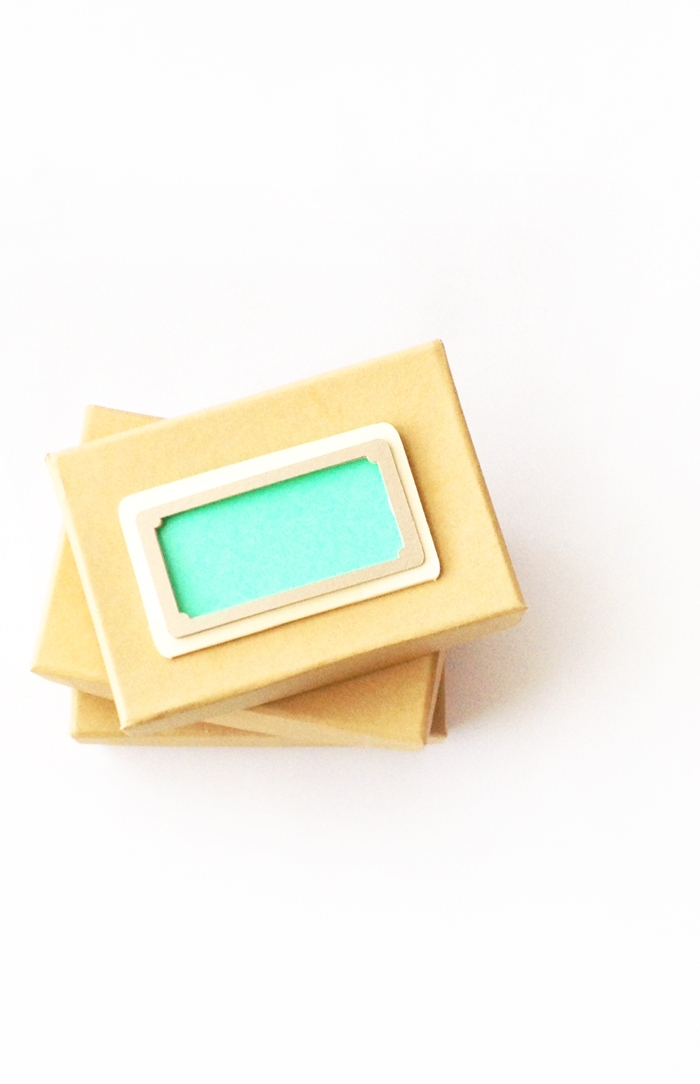
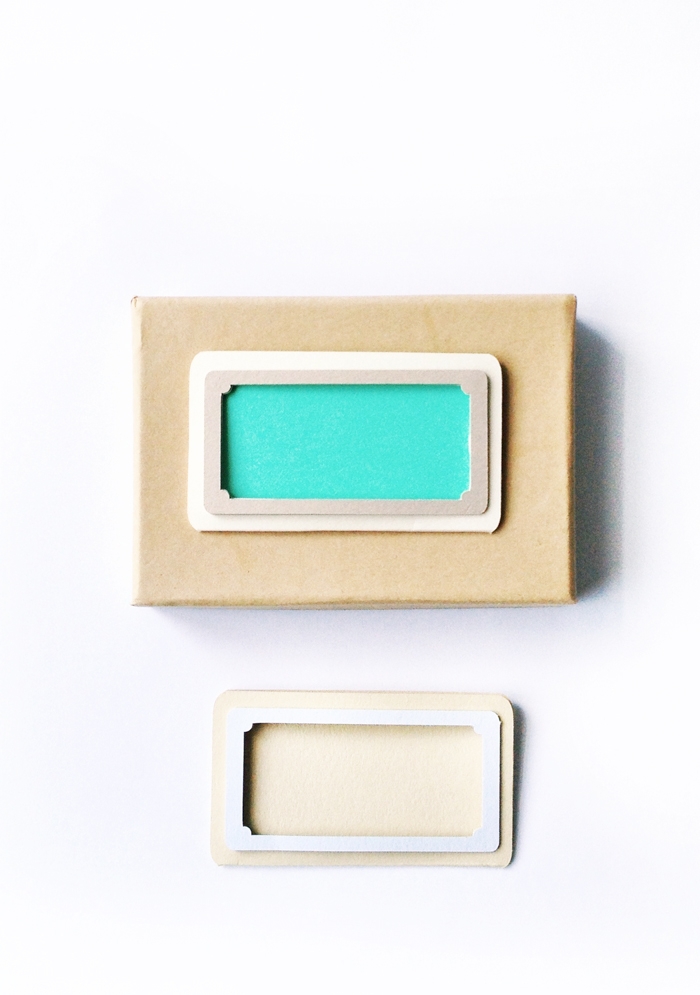
I love to organize – no surprise there. These DIY Stationery – Label Holders speak to my happy (um, slightly obsessive) need to create order whenever there’s crafting chaos. I have a million little brads, beads, baubles, you name it and they are all looking for a happy home with a cute label to match. I love the metal versions like these, but sometimes I need a lighter version which leads us to the project today. I created the cutting (Silhouette Studio V 3.0) and PDF files so that you can download and make your own too! Scroll on down to get the files for download.
DIY Stationery – Label Holders: The What
- Silhouette cutting machine
- Silhouette Studio
- Cutting mat
- Glue
- Cardstock
- Bone folder
- Label Holders – Studio File
- Label Holders – PDF File
*This post contains affiliate links for products that I use and love!
DIY Stationery – Label Holders: The How
Step 1: Open the cut file in Silhouette Studio
Step 2: Adjust cut settings and blade to cardstock
Step 3: Load your mat and cardstock
Step 4: Cut
Step 5: Fold and glue the sides, leaving the top open. Now, you can create/cut small labels to insert into your new holders – Happy Organizing!!
Looking for some more inspiration? Check out my other Silhouette tutorials.
6 Comments on DIY Stationery – Label Holders
Comments are closed.

Thanks! I’ve been looking for a label template for the Silhouette.
So happy you like it, Melissa! Enjoy. 🙂
Thanks, these are great!
Thanks! Glad you like them, Deidré!
Thank you – this is so cool. I can’t wait to try it.
You’re welcome!