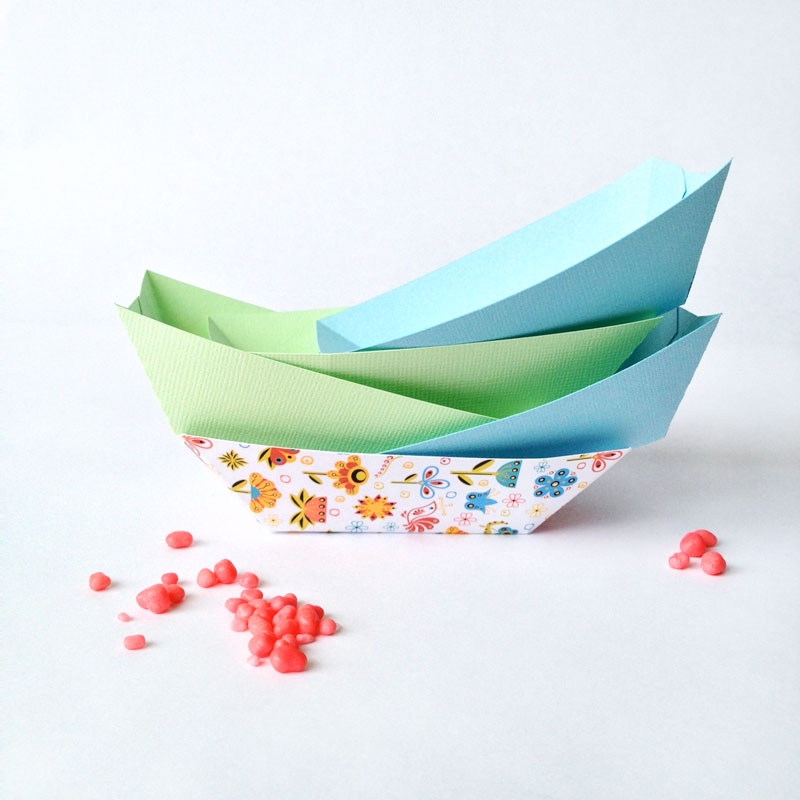
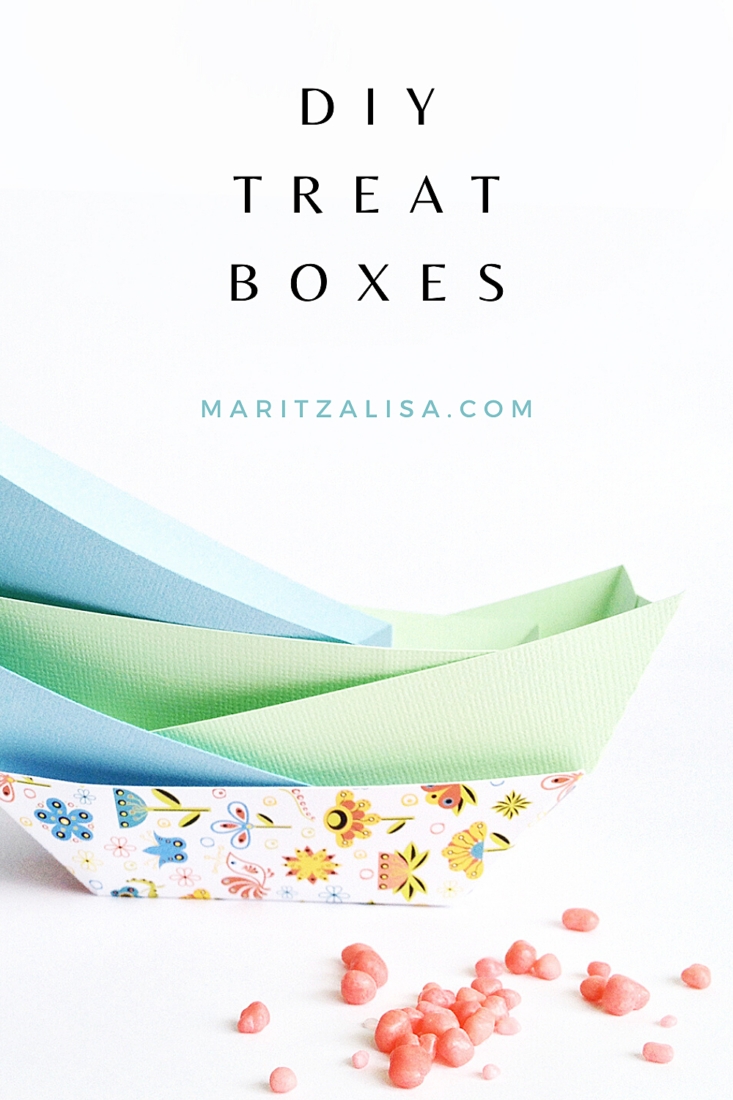
Every Friday our little tribe of four celebrates Fun Friday by eating out (although, I must admit that we have been celebrating more of a Fun Summer, if you get my drift). Anywaaay… last Fun Friday we went to one of our usual haunts and even though we’ve been there way too many times for me to be proud to admit, I noticed that they had the most adorable take out/ snack containers, and right there and then, mid-bite of something greasy and yummy, a DIY was born – treat boxes! Wouldn’t these little boat-shaped sweeties be awesome to serve snacks and treats? They can be great to store little crafty bits and pieces too! Let’s jump in, yes?
*This post contains affiliate links for products that I use and love!
What You Need To Make Treat Boxes
- Silhouette cutting machine (I used my Silhouette CAMEO)
- Silhouette Studio (there is a free version available for download!)
- Cutting mat
- Glue
- Cardstock or Chipboard
Instructions:
Step 1: I first opened a new document in Silhouette Studio,
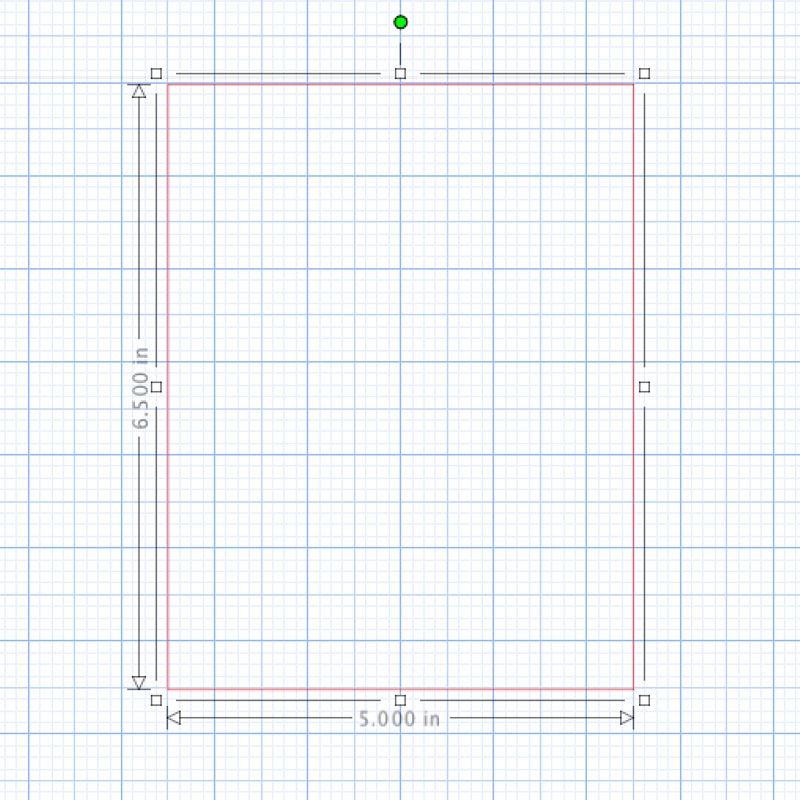
Step 2: I then started my design by creating a rectangle
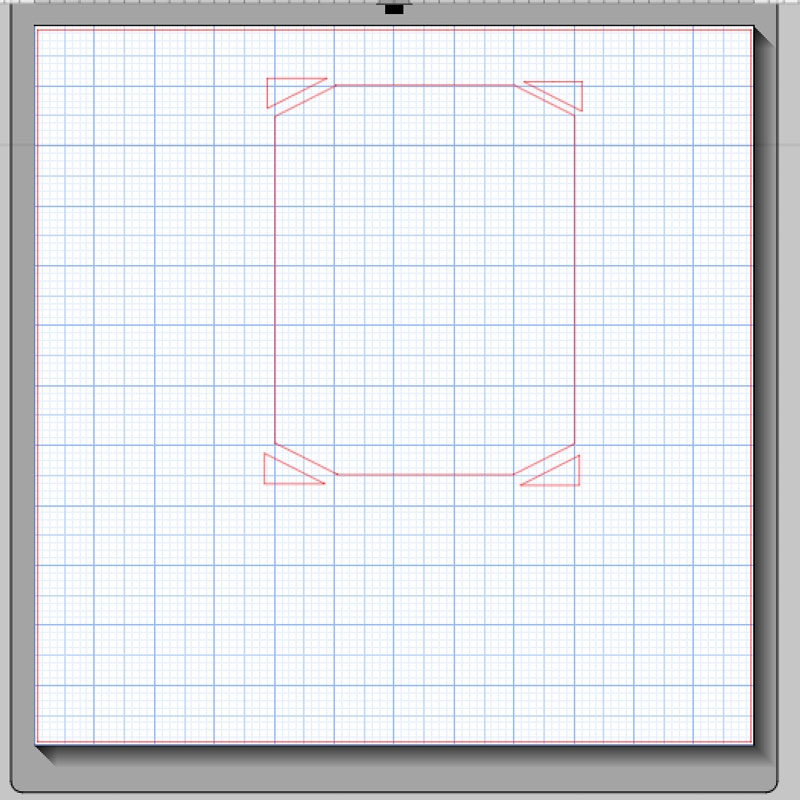
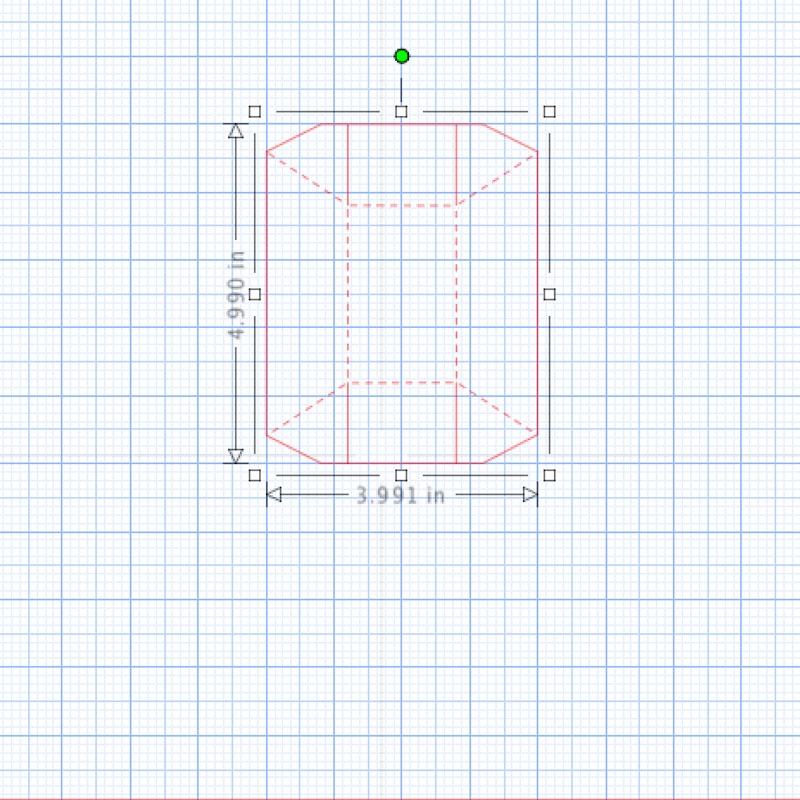
Step 3: I then used the knife tool to cut all 4 triangle corners off (each corner cut measured 1″x.5″)
Step 4: Once I deleted the cut corners, I resized my shape, then added the slits and fold lines using the Line and and Line Style tools
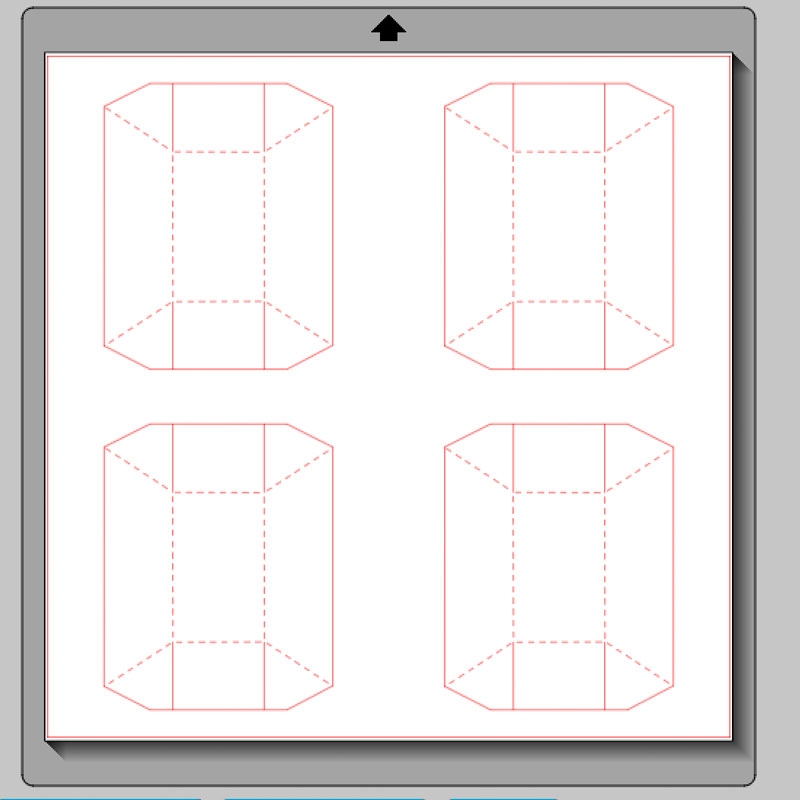
Step 5: I loaded my cardstock/mat, and sent my design to cut using cardstock settings
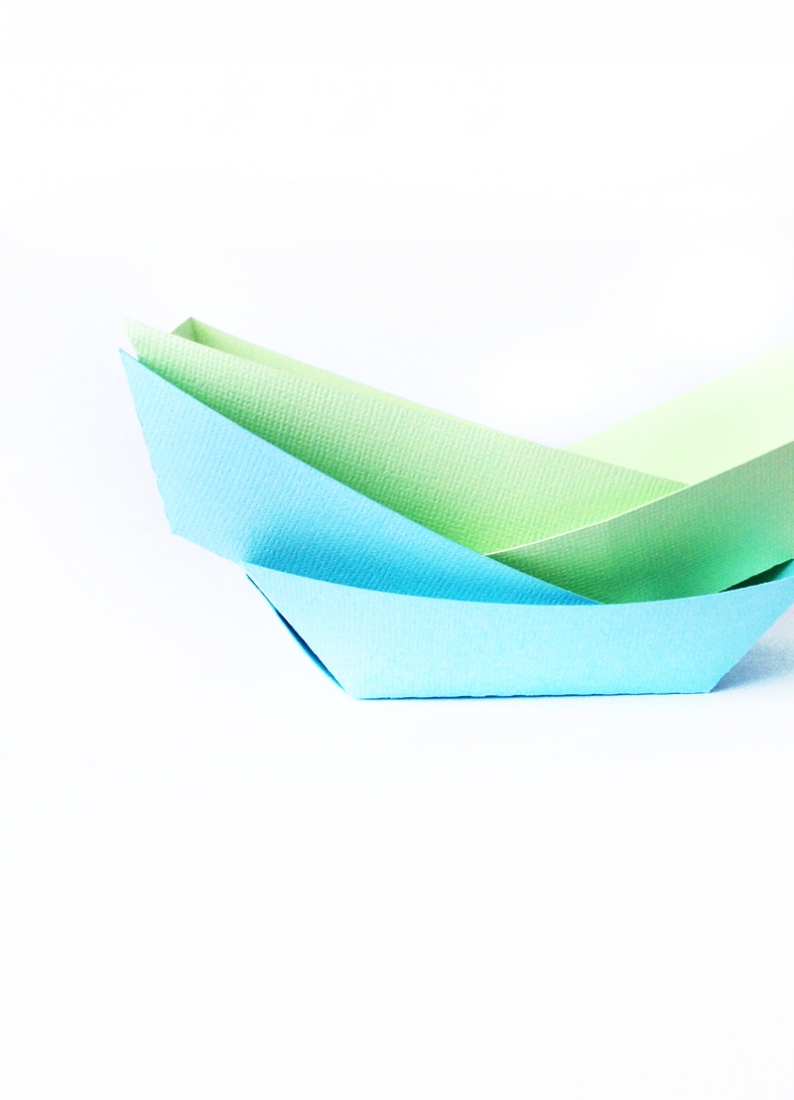
Step 6: I folded (dashed lines) and glued the ends together to create the completed snack box
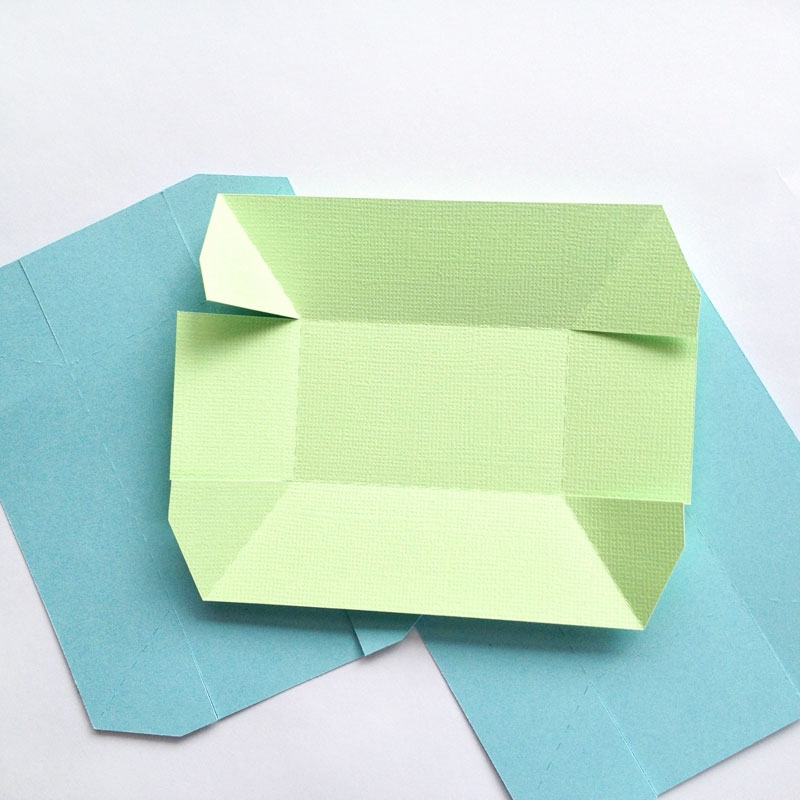
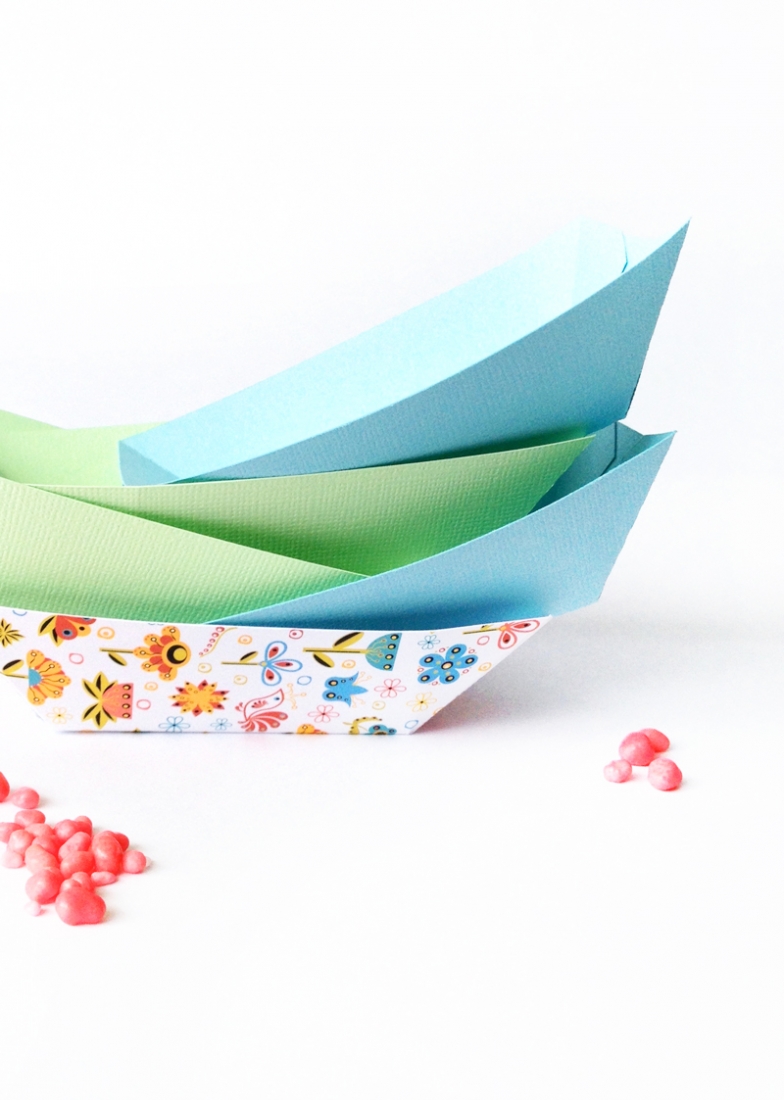
Now, my little snack boxes are ready to be filled with happy treats and yummies!
Looking for some more crafty inspiration? Take a look at my other Silhouette projects.
5 Comments on DIY Treat Boxes
Comments are closed.

Super cute… I am pinning 🙂
Thanks, Desiree! So sweet of you to say 🙂
These are really cute, thanks!
What an honor! Thanks, Ann – I LOVE your book, All Things Paper!
Thanks very much, Maritza!