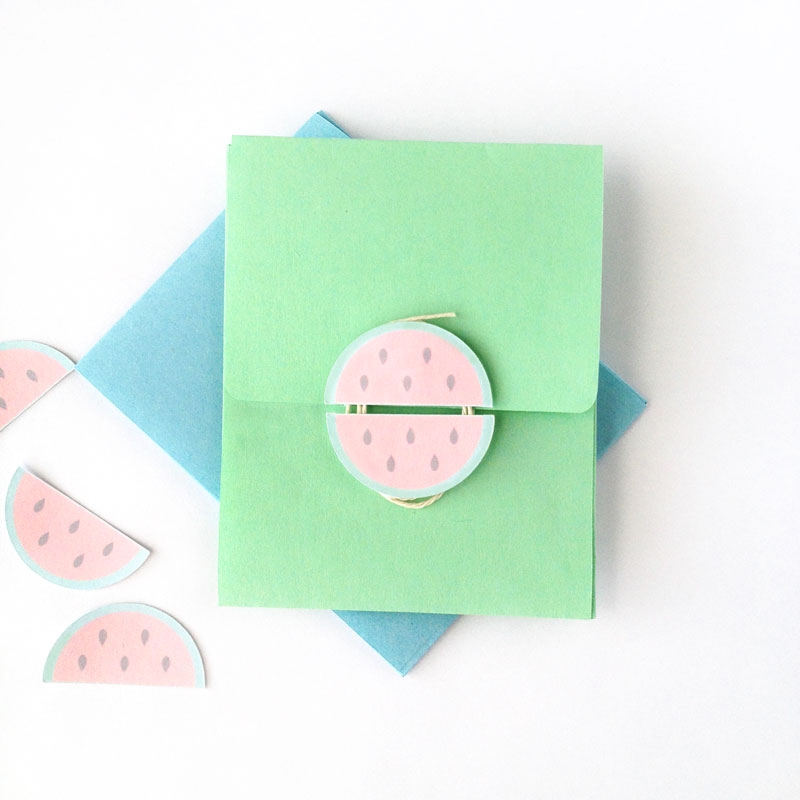
As you may (or may not know), I was born and proudly raised in a little gem of the Caribbean – Trinidad and Tobago. My fondest memories were always impromptu treats on our way to or from the beach. One favorite stop (and there…were…many) was the fruit stand, specifically for watermelon. Our little family would pull up and park at the side of the road, and I remember the ladies of the family piling out and inspecting each whole watermelon, as though tapping for hidden treasure. After much sampling, discussing, bargaining, a purchase was made. I can’t complain, because it was always gold. Intoxicatingly sweet and delicious. This week’s free shape from Silhouette brought back those happy memories and inspired me to make these little watermelon envelopes. Want to see how I made them?
The What
[row] [span columns=”5″]
[/span]
[span columns=”5″]
[/span] [/row]
The How
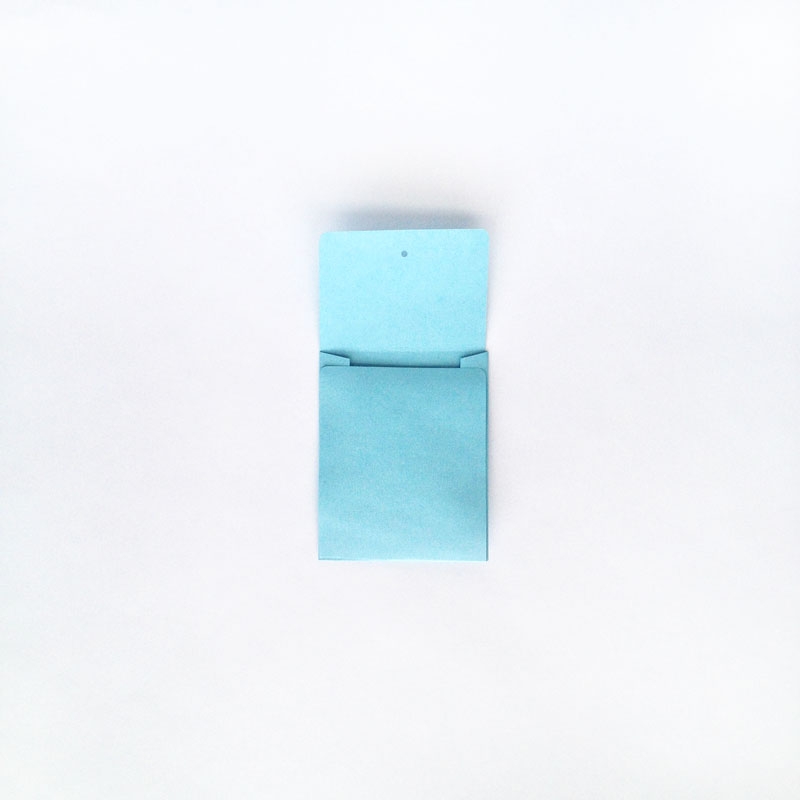
Step 1: I opened a copy of my envelope from this post, and this week’s free shape in Silhouette Studio. Since I won’t need the flap, I deleted it, but added a little circle for the string

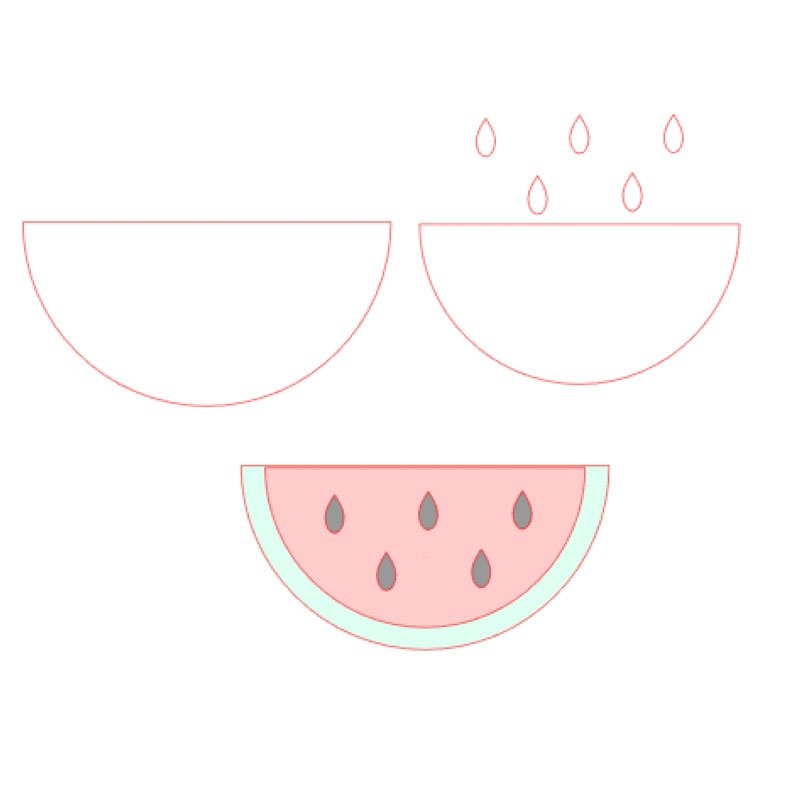
Step 2: I then ungrouped and colored (with the Fill tool) the Watermelon shapes and re-grouped them together. AFter grouping, I set the Cut Settings to Cut Edge
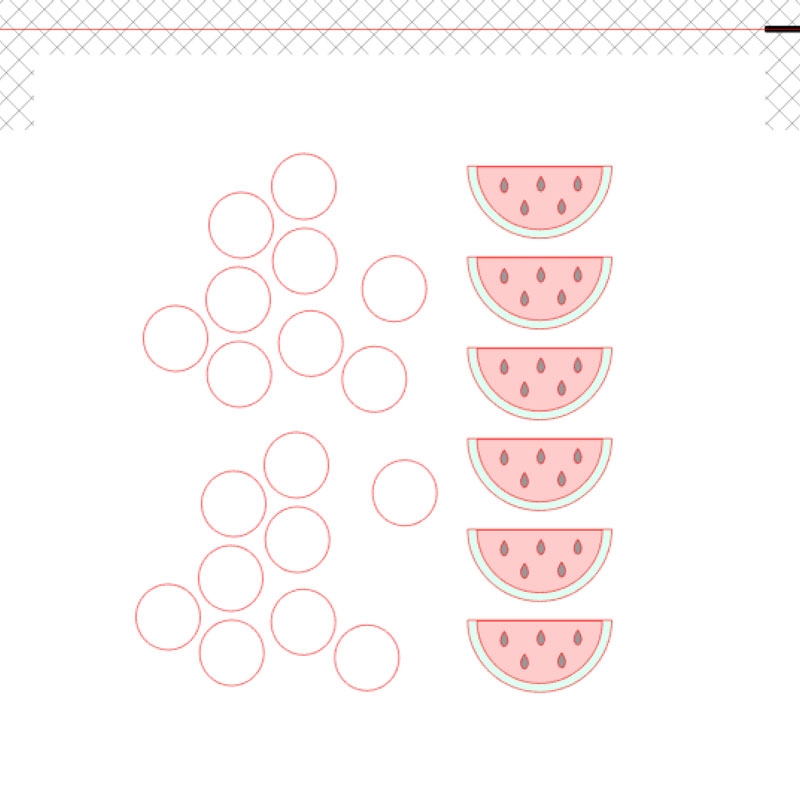
Step 3: I used the circle tool to fit the back of the watermelon, then Print and Cut on cardstock
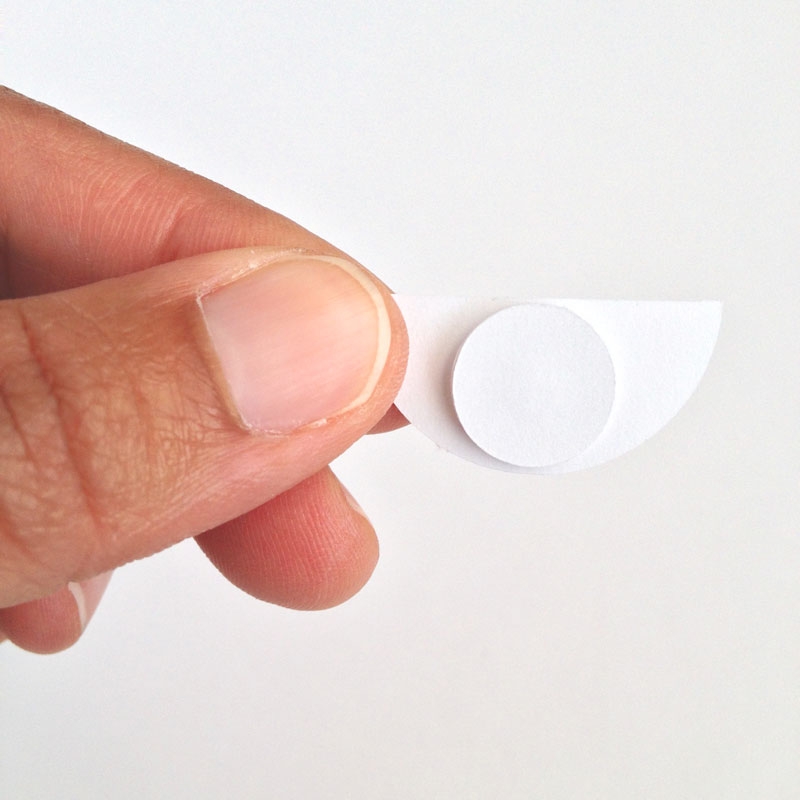
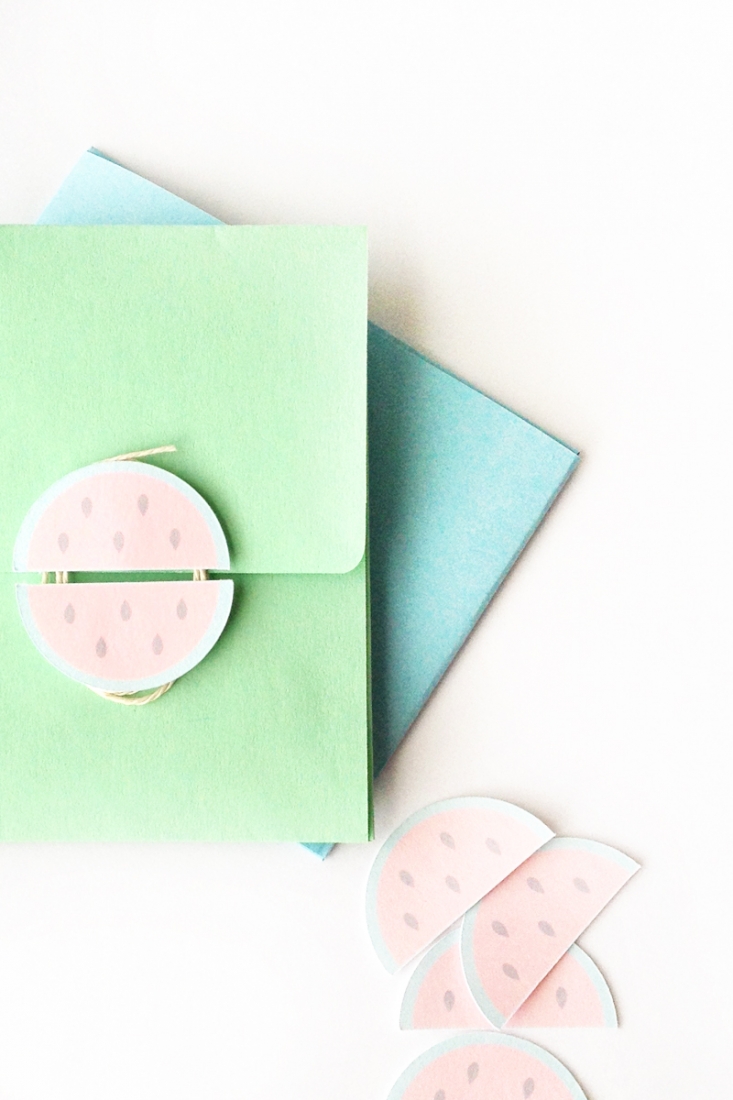
Step 4: I stacked about 5 of the circles and glued them together

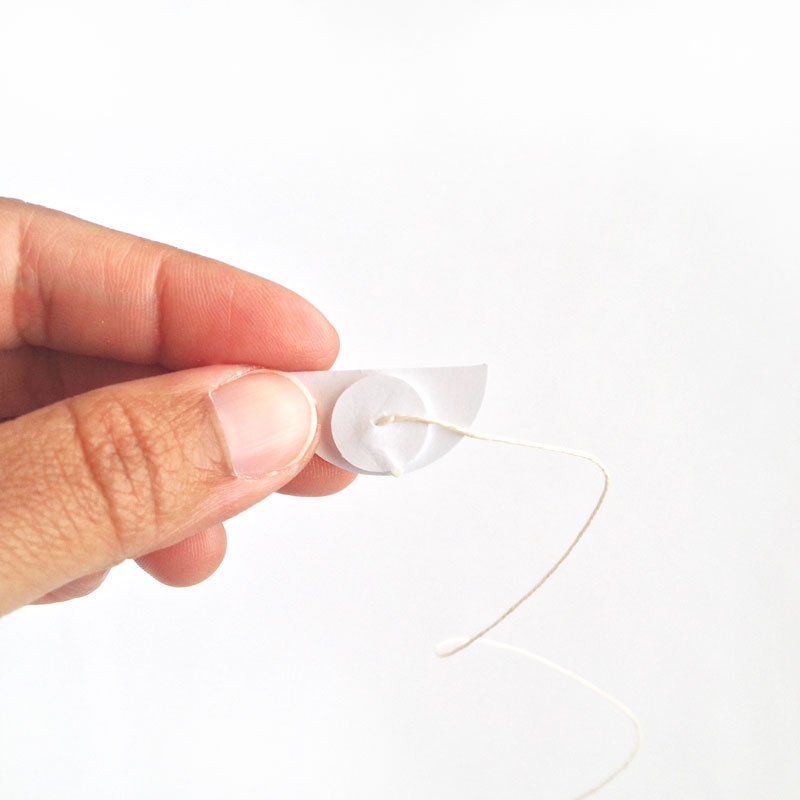
Step 5: Then glued the stack to the back. For the top button, I glued the string between the 2 last circles in the stack (sweet mo’, I need a mani!)
Step 6: I cut and assembled my envelope with glue
Step 7: The string attached to the top button went through the hole in the envelope, then was bothe top and bottom buttons were glued to the envelope

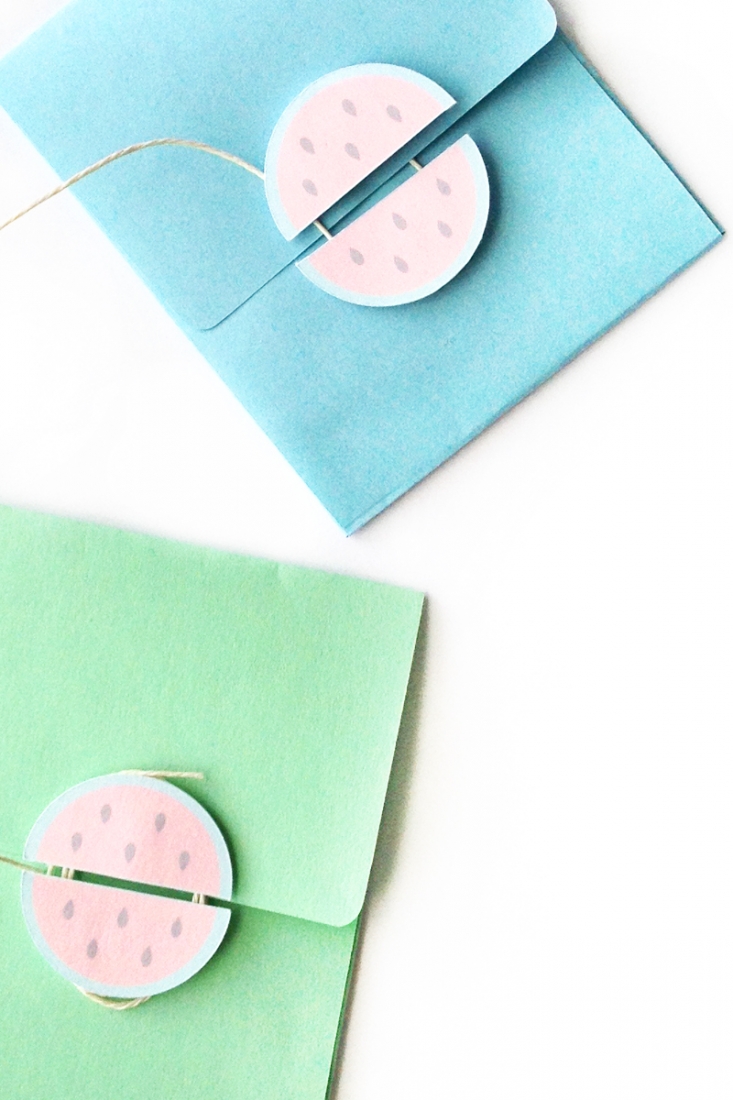
With a cute insert or tag, I am now set to use my new watermelon button and string envelopes! How will you create your button and string envelopes?
Looking for some more inspiration? Take a look at my other Silhouette projects.