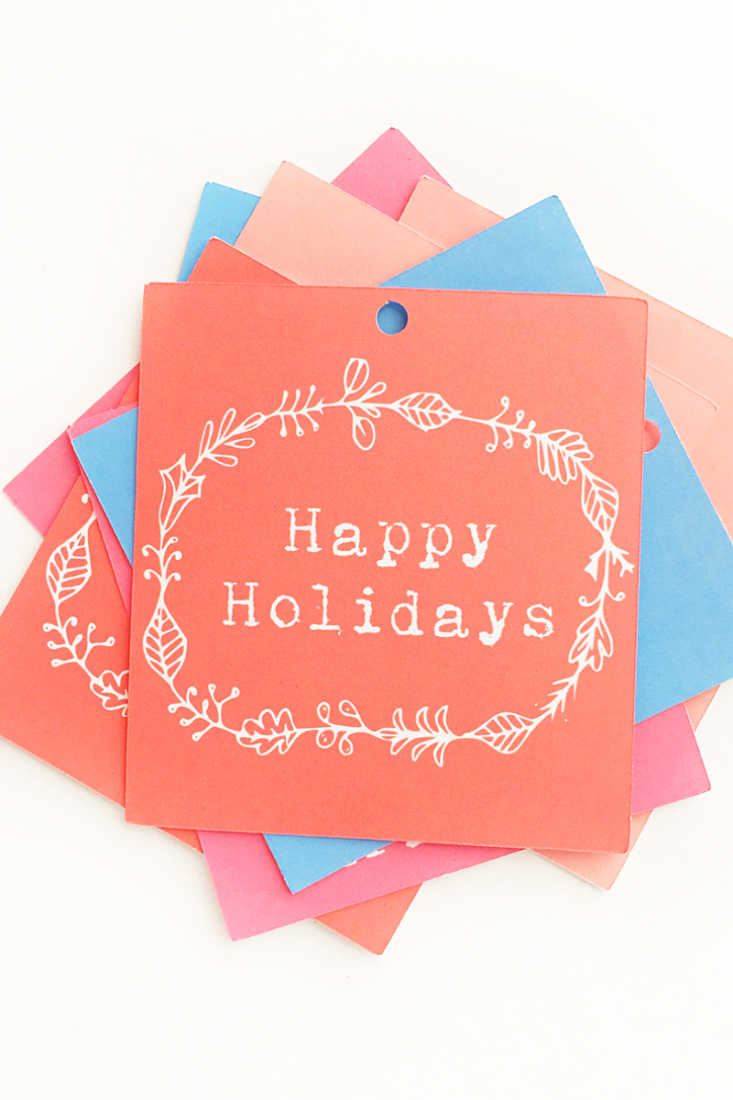
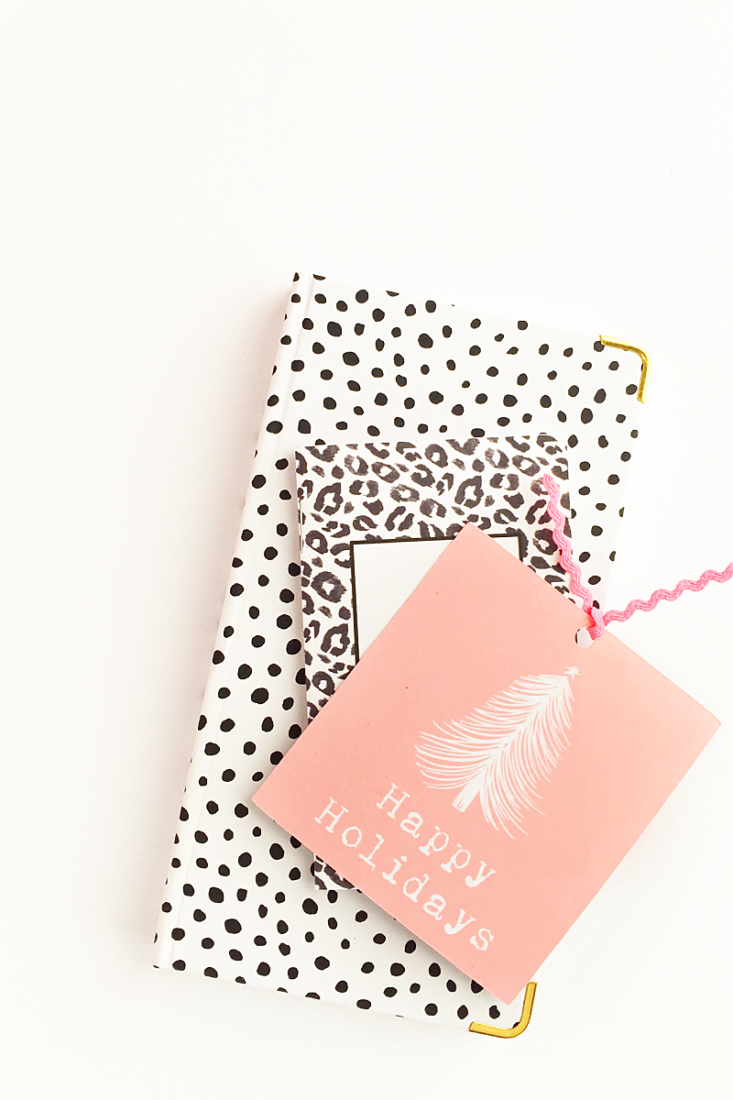
If you are planning to DIY your way through the Christmas season, you’ve got to use this font to make your Christmas tags. Sweet Things will make a lovely addition to your font collection. It also comes with extra images and when it’s all packaged up like that, who can resist? Read on for this quick tutorial for your pretty gifts…
Make Your Christmas Tags – The What
- Silhouette Studio (there is a free version! I used v4)
- Silhouette cutting machine
- Bristol paper – this is like a thicker cardstock (cut into 8.5 x 11 in sheets so that you can print on them)
- Printer
- Simple Things font
*This post contains affiliate links for products that I use and love!
Make Your Christmas Tags – The How
- Download and install your font
- In Silhouette Studio, create your tag shapes using the text tool, rectangle tool and circle tool
- Use the images that came with your font in your designs. I changed the color by tracing each image then filling the traced image with white
- Add color to your other shapes and text
- Use the print and cut feature to cut your Christmas tags
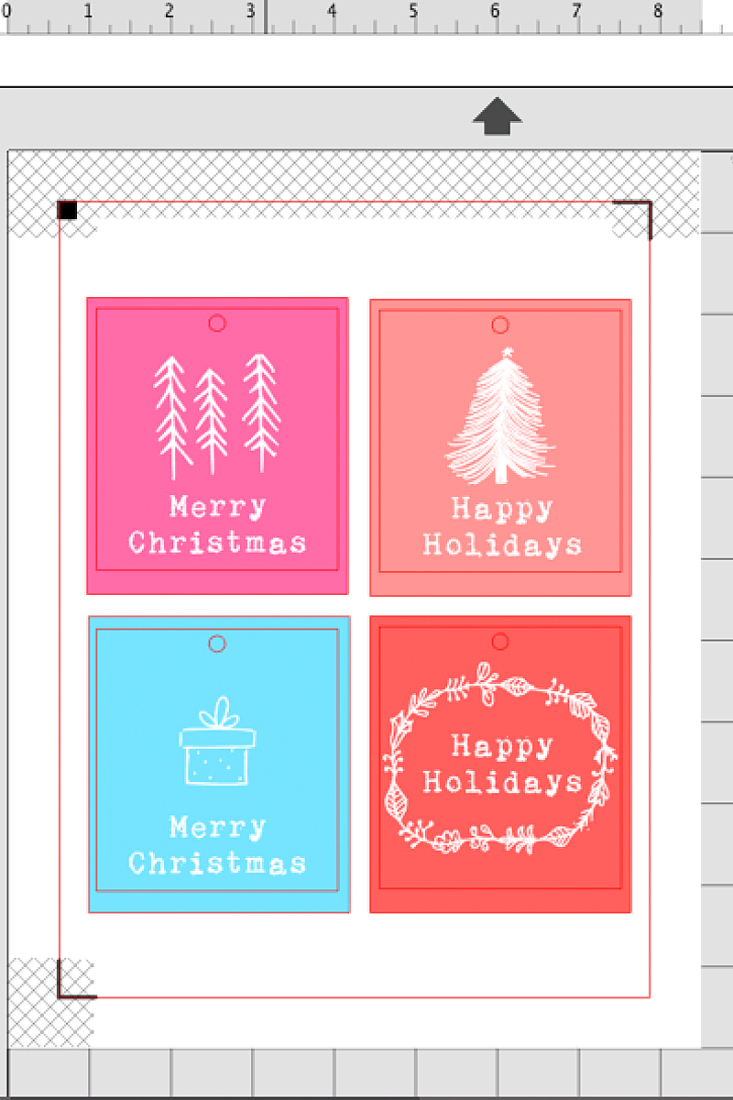
Now you have a sweet collection of tags for your Christmas packages! Which images did you use? Tell me in the comments below.
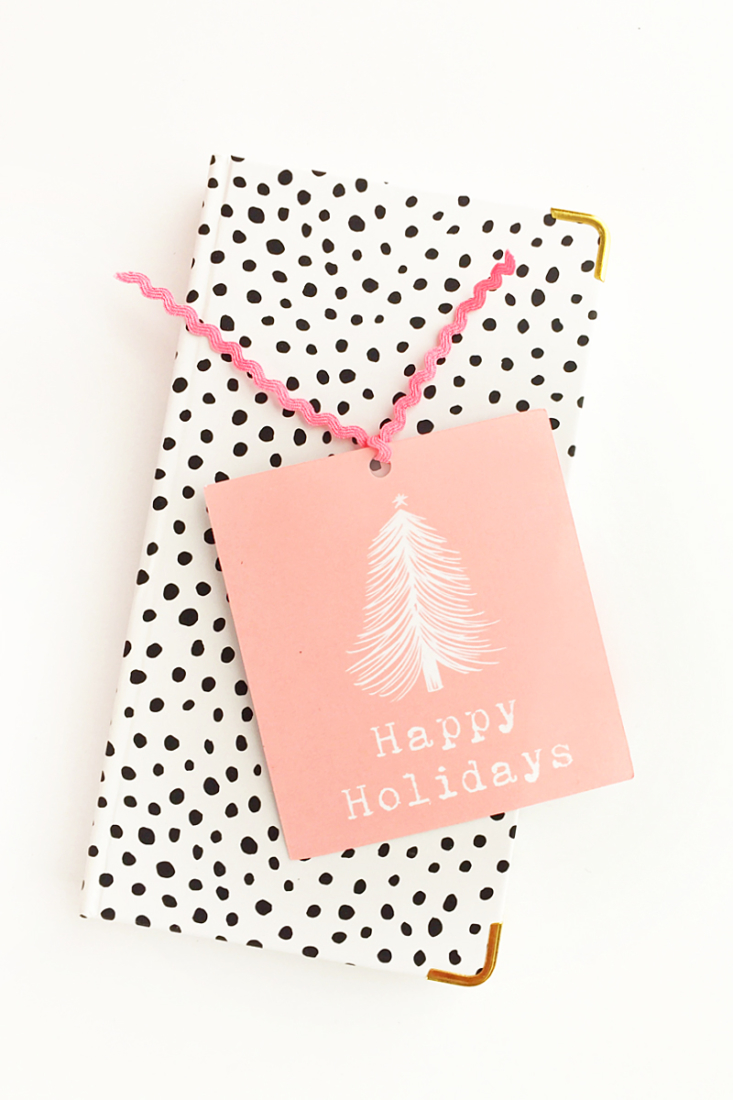
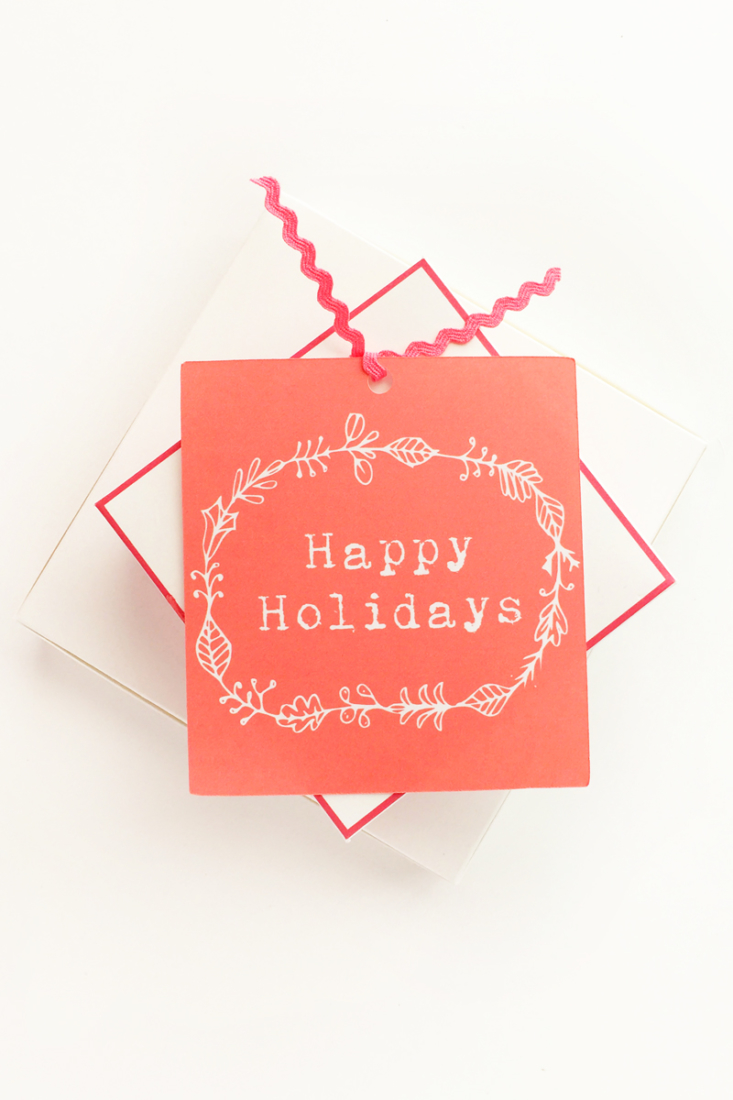
Looking for some more inspiration? Take a look at my other Silhouette projects!