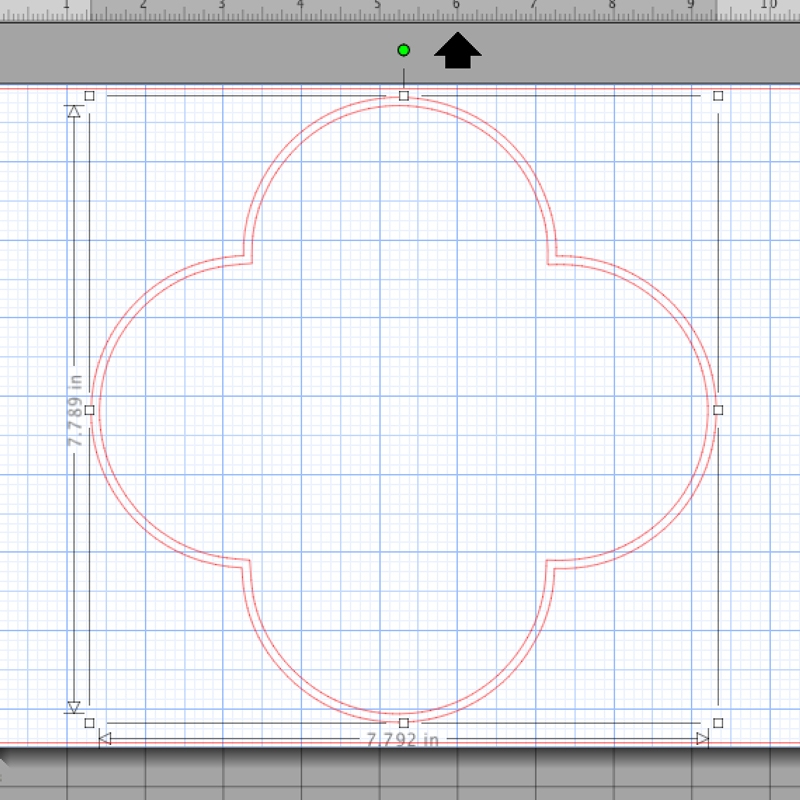
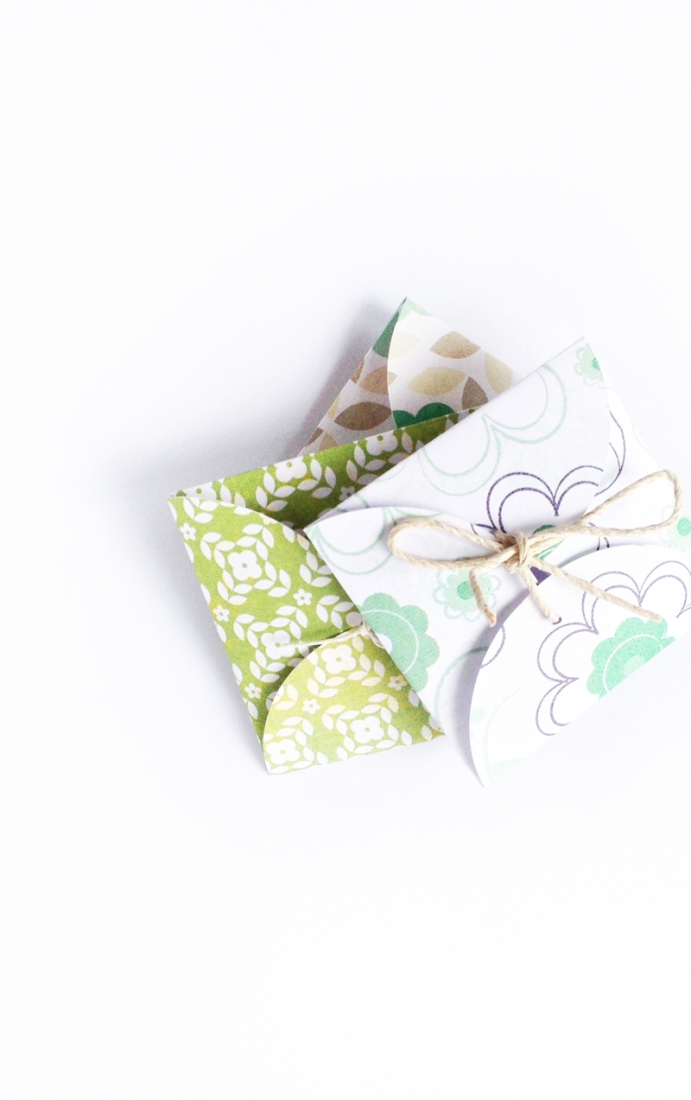
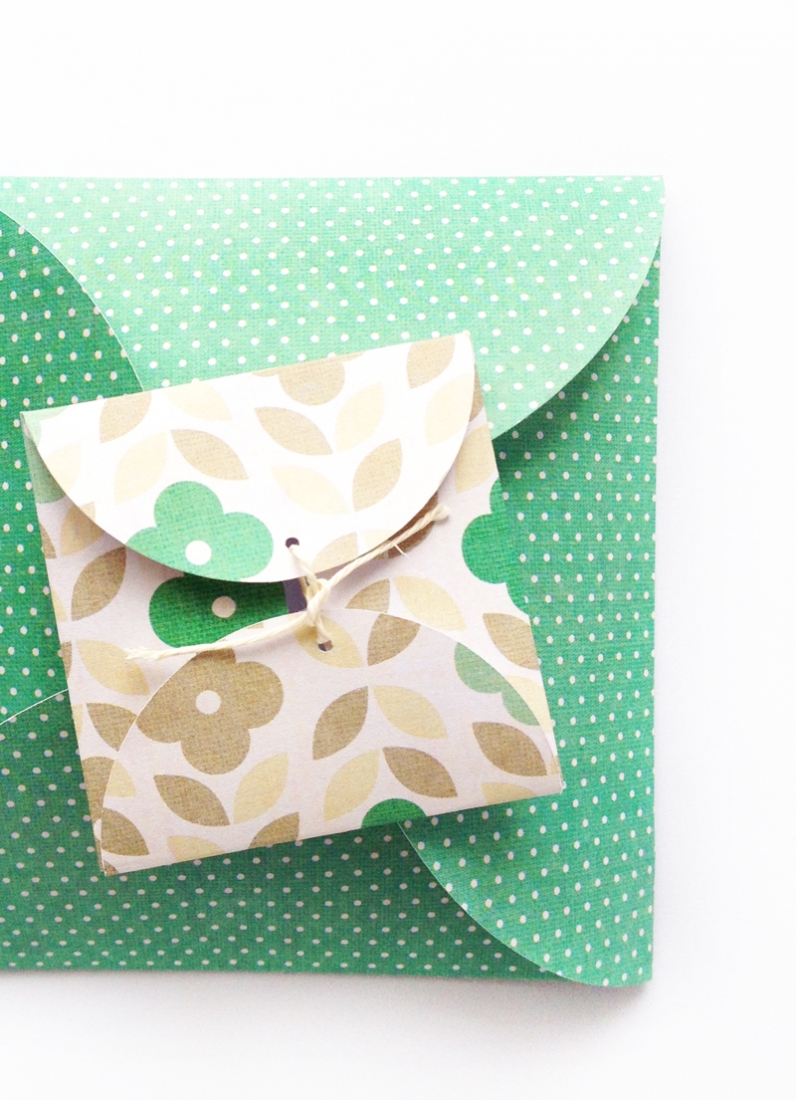
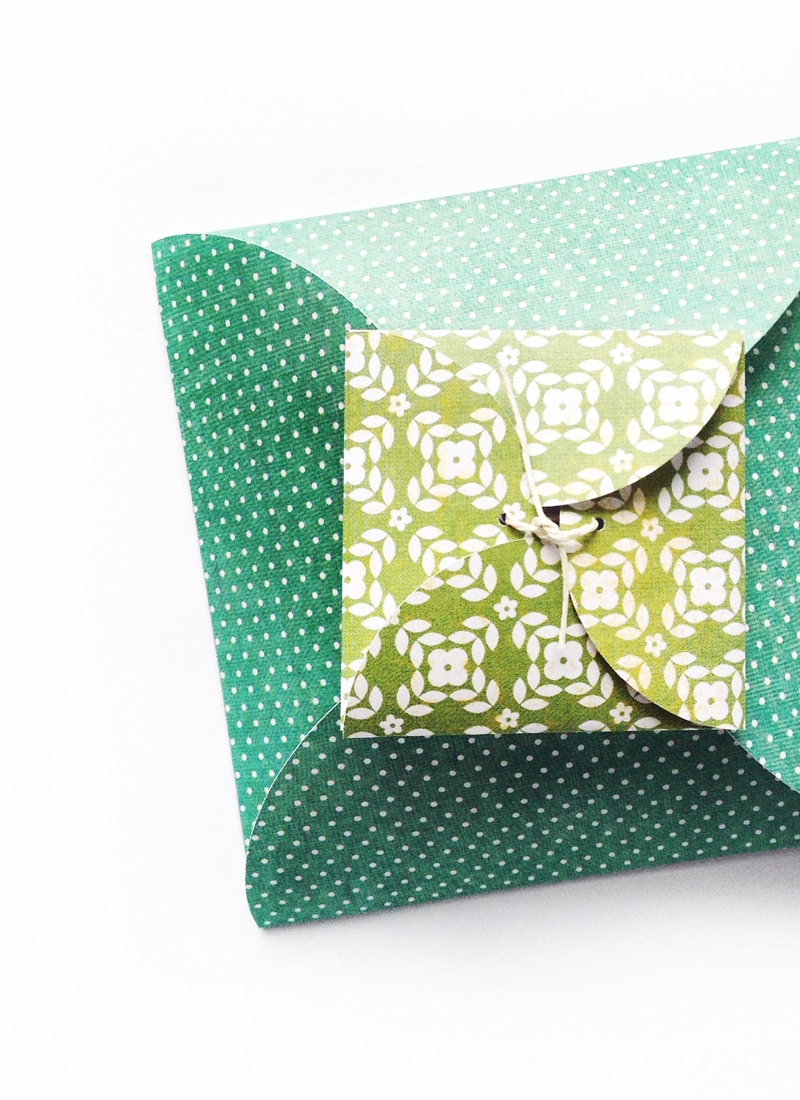
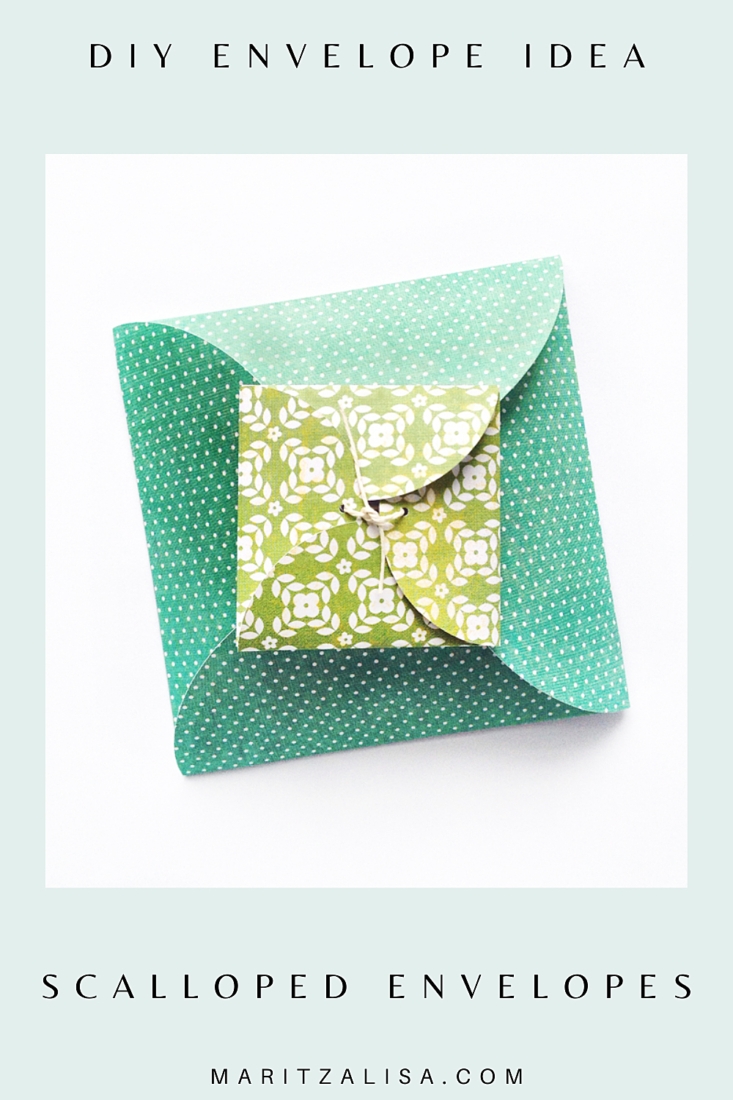
So… how about some scalloped envelopes? Yes? Cool! These little cuties are so versatile. I created them with my Silhouette CAMEO, which allows me to keep the template for resizing later, etc. Can you believe that this shape was created with just 4 circles and a square? Let me show you…
The What
- Silhouette cutting machine (I have a CAMEO)
- Silhouette Studio
- Cutting mat
- Glue
- Patterned Paper
- Bone folder
The How
Step 1: After creating a new document in Silhouette Studio, I created those 4 circles (all equal size) and square (same size as the circle). Tip: hold the SHIFT key while dragging your shape to create the perfect circle, square or straight line (want some more drawing tips? Check out this useful Drawing FAQ)
Step 2: I then placed my shapes as shown below. Note: for those that would like the sides to overlap so that there is no gap in the middle, your circles will need to be altered to ovals by extending the widths of the sides
Step 3: Select all 5 shapes and weld them together
Step 4: For the liners (totally optional), I created an internal offset of the new shape and cut using a contrasting patterned sheet of paper
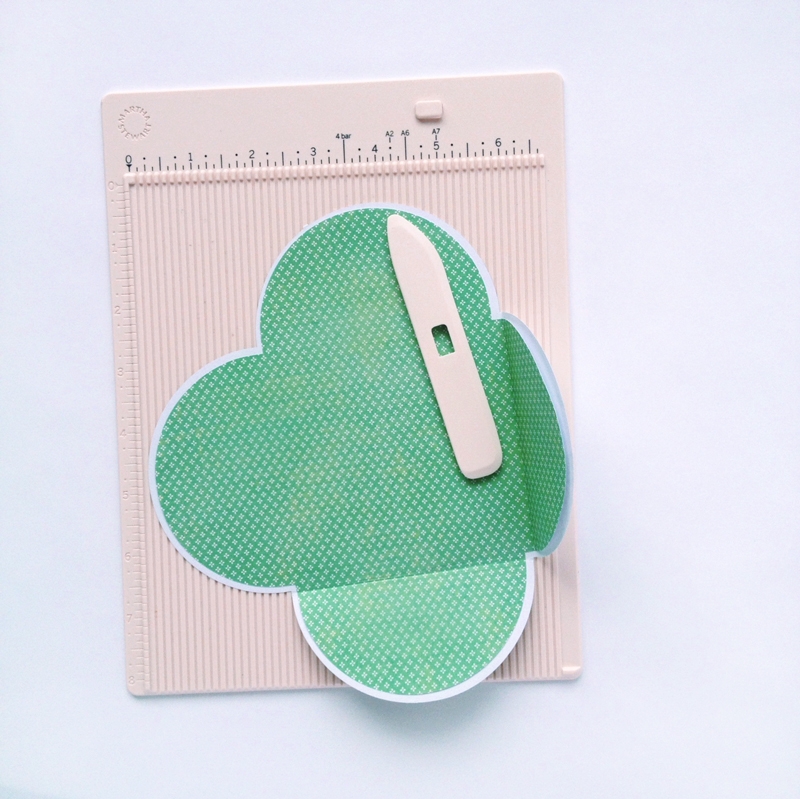
Step 5: After the shapes were cut, I glued and folded using my handy scoring tool
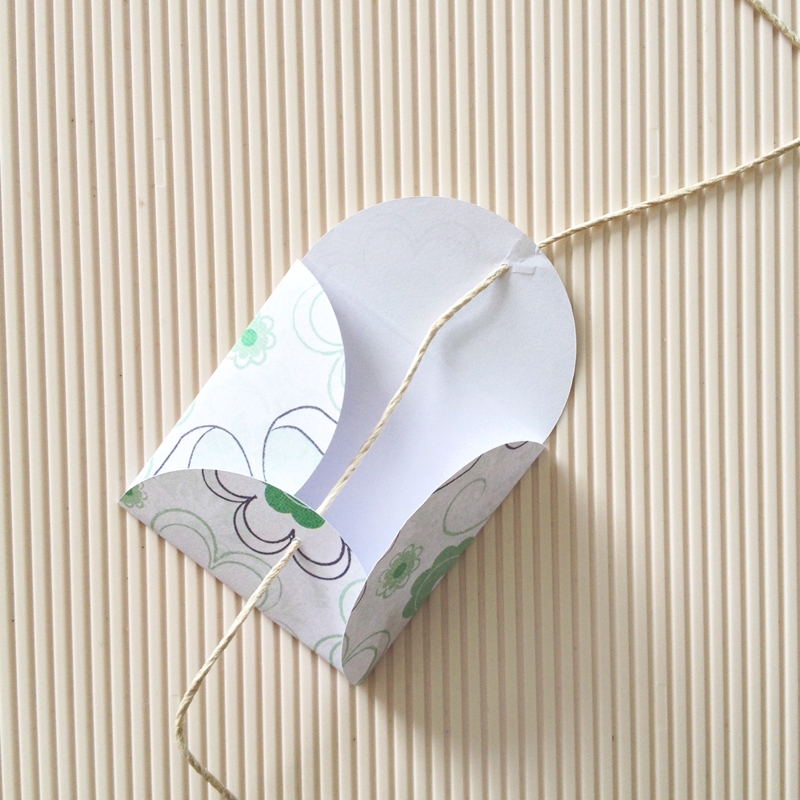
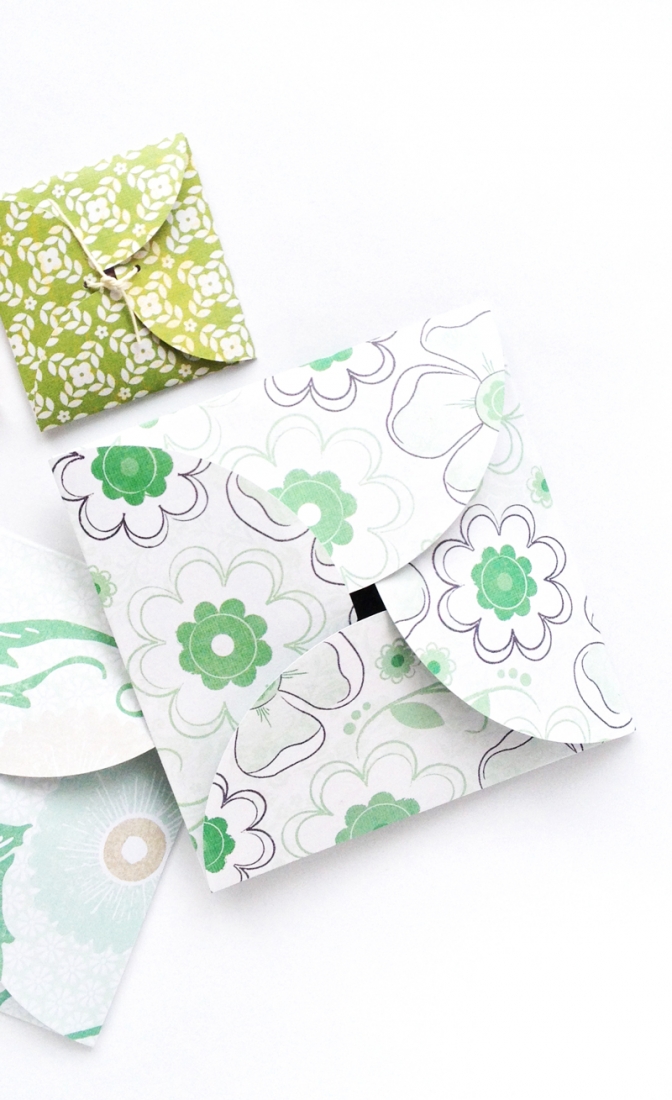
Step 6: I ended up making big and small envelopes. For the smaller envelopes I punched 2 holes on opposite sides, added string, folded and tied – how sweet are these?
Happiness! I’m so enjoying the finished product – I hope you will love yours too!


