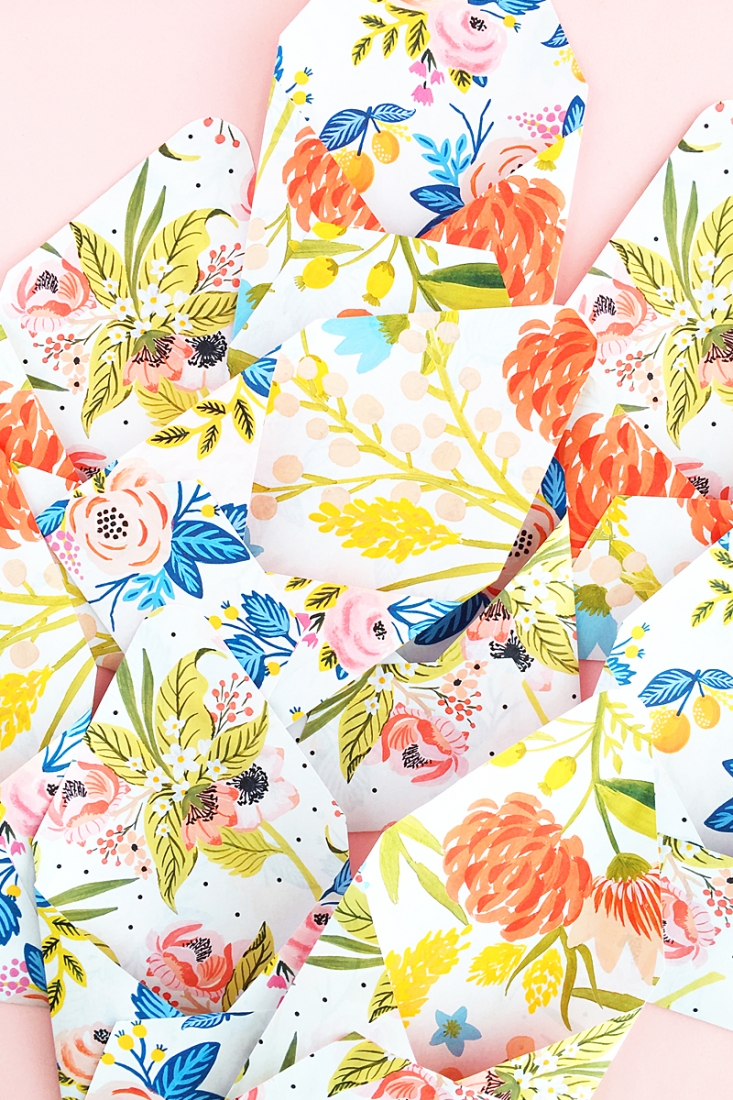
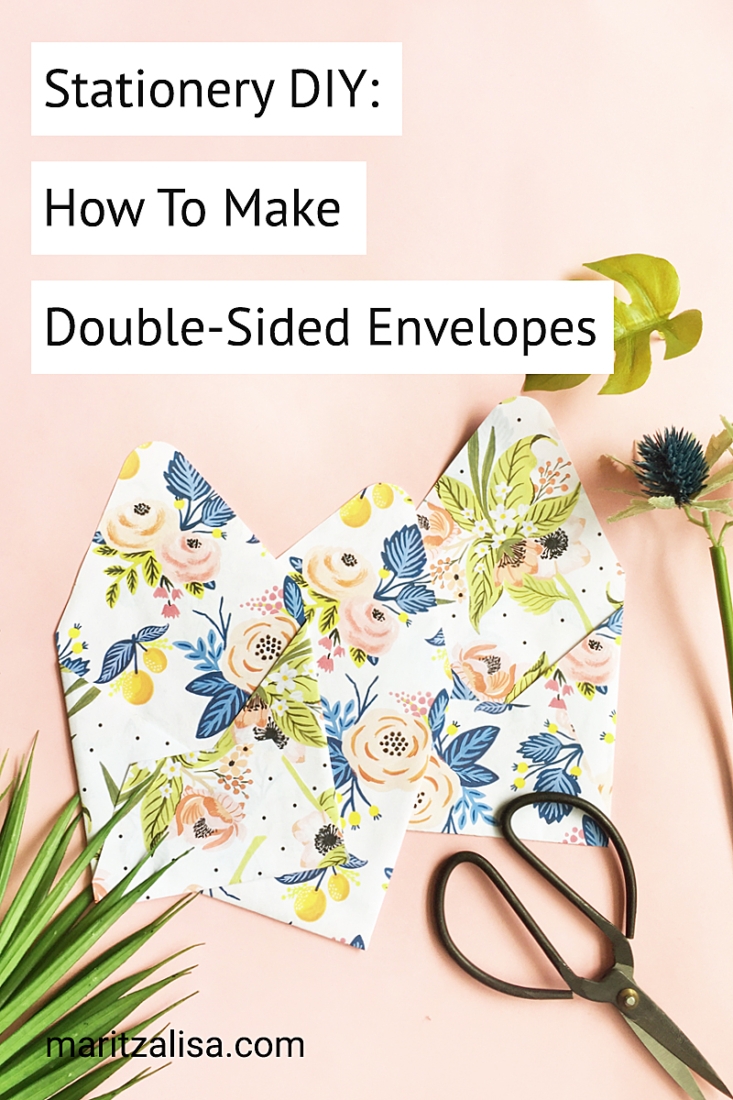
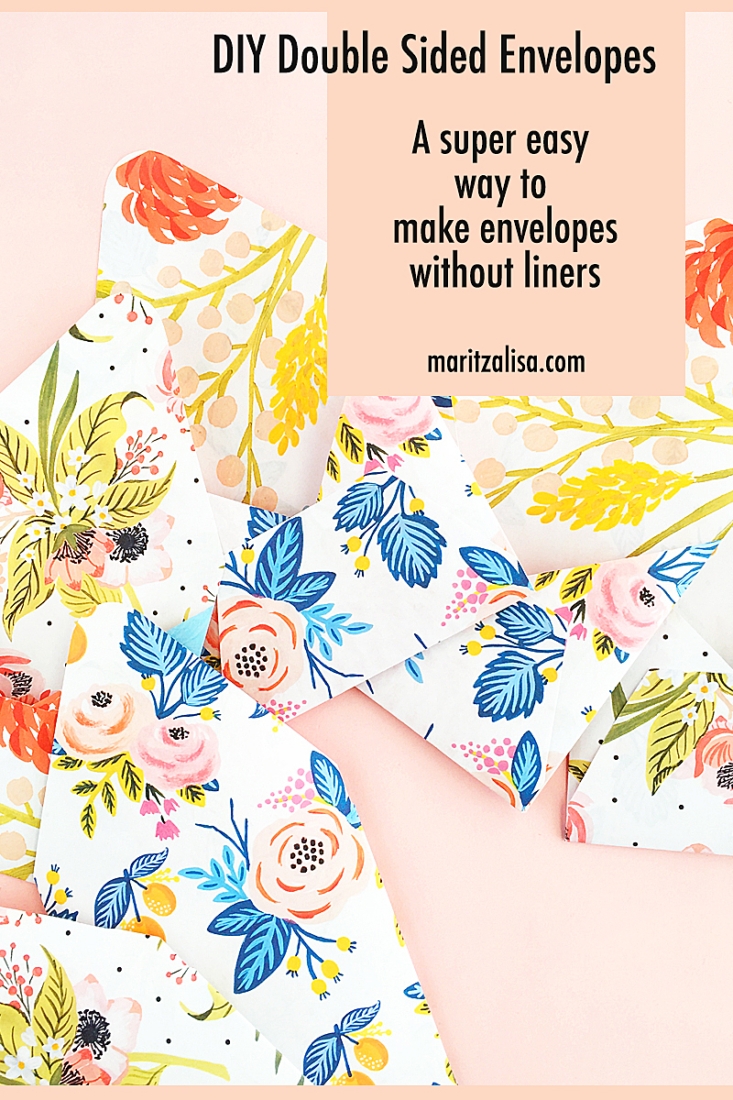
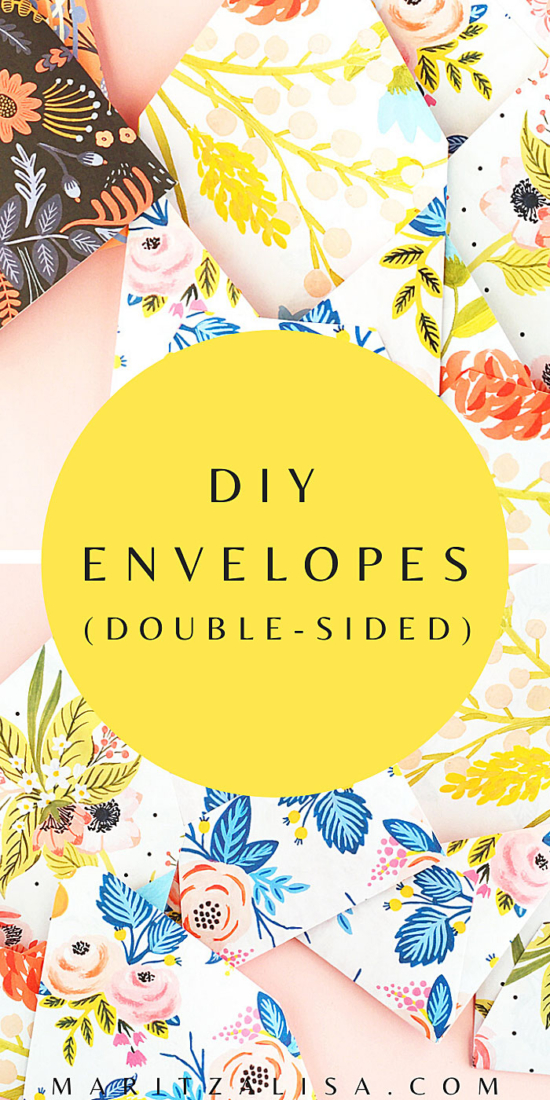
How is your week going? I’ve been keeping busy with back-to-school stuff and took a break to stop and smell (okay maybe more like look lovingly at) these lovely florals that I found on Creative Market. No time to make liners? I used these gorgeous floral images to make my own Double-Sided DIY Envelopes and wanted to share a great tip that will save you from making matching envelope liners. Want to know how I did it? Read on for the tutorial!
What You Need: Double Sided DIY Envelopes
- Silhouette cutting machine (I own the CAMEO)
- Silhouette Studio (there is a free version!)
- Cutting mat
- Floral Digital Paper Designs from Creative Market
- Printer paper
- Printer
- Envelope template (you can download my free shapes here)
- Glue
Step-by-Step Instructions:
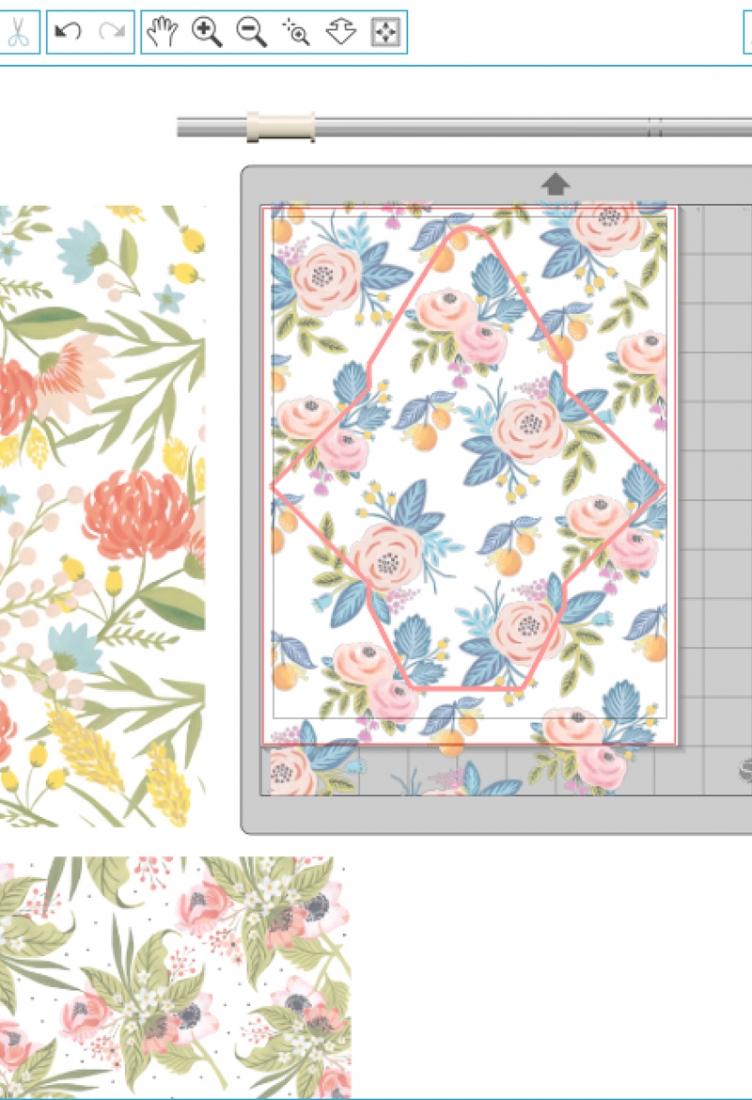
- In Silhouette Studio, open your envelope shape and floral .png patterns. I use the .png images because of their transparent backgrounds
- Resize your patterns on the page and send a few copies to print on printer paper
- Using the same printed paper with your patterns, send another pattern to print from the Silhouette Studio software on the blank sides so that you will end up with double-sided sheets
- Place your envelope shape on the page and send to cut using copy paper settings on one of your patterned printouts
- Repeat as needed
- Fold and assemble your envelopes and liners (adhere with glue)
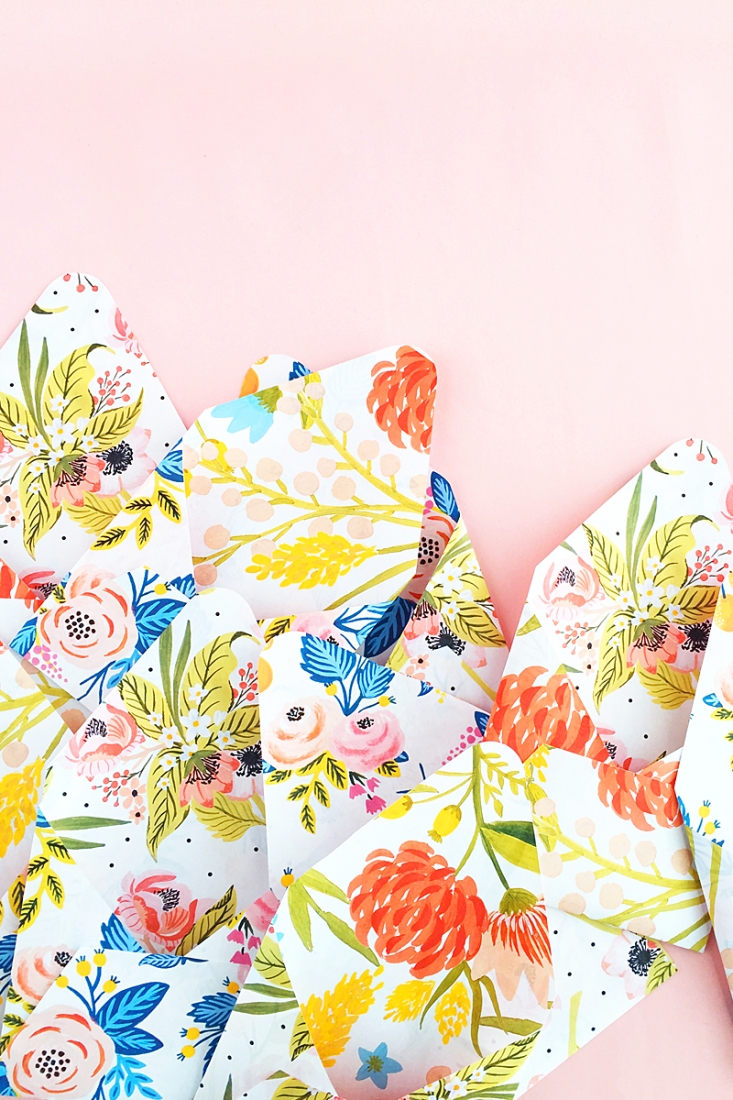
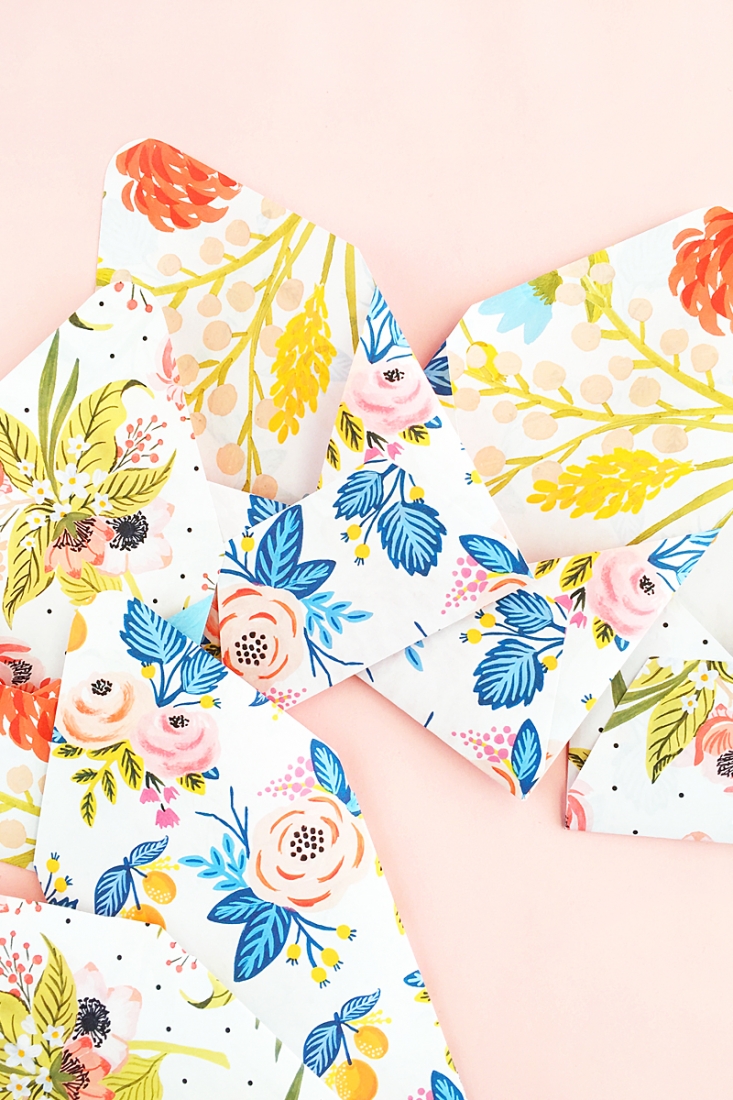
And that’s it! You now have some pretty stationery which was fairly easy to make. Which floral combinations did you use?
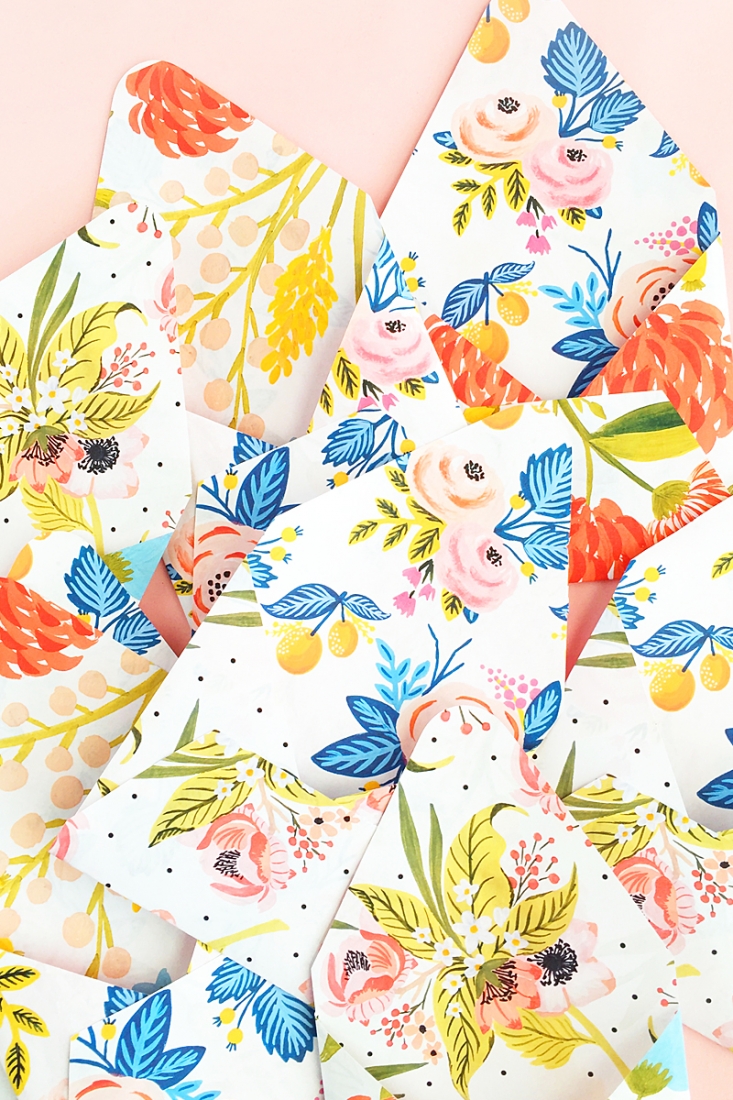
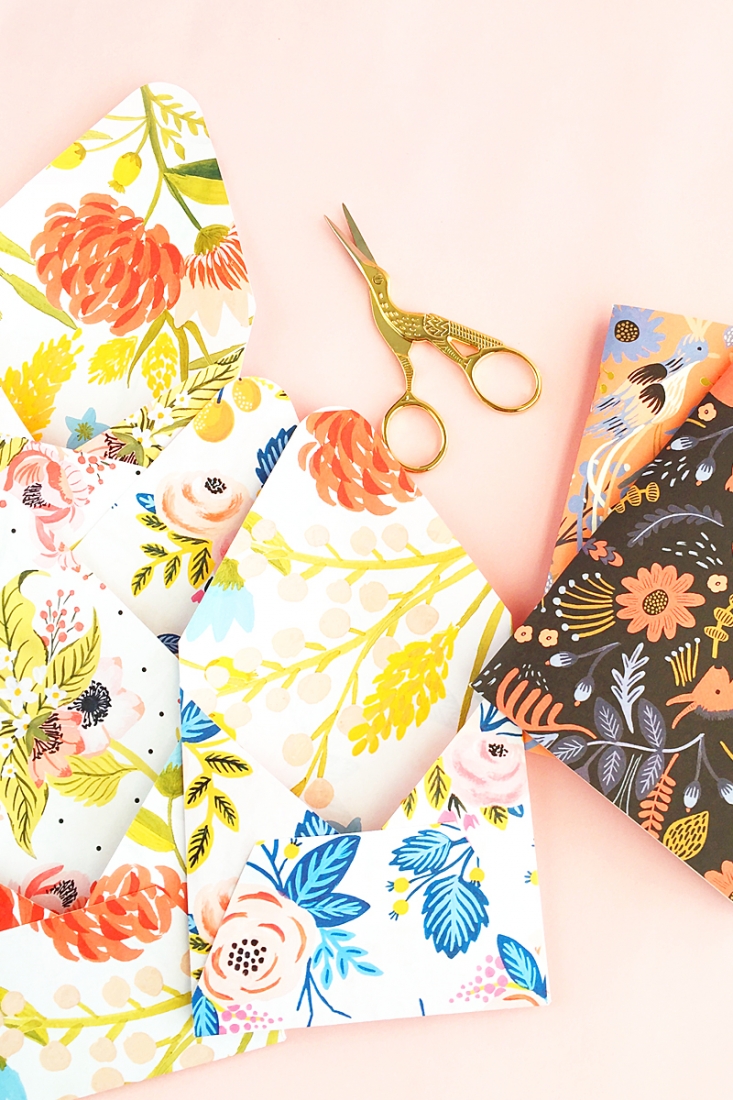
Looking for some more inspiration? Take a look at my other Silhouette projects.
6 Comments on Double-Sided DIY Envelopes
Comments are closed.
These are gorgeous! Why did I never think of doing double sided??! My promote even does that automatically!!!
Thanks so much, Jules! Lucky you! I have to manually feed mine! xoxoxoxox
These are beautiful! Thanks for sharing your awesome ideas.
So happy you like them, Torrie!! xoxoxoxox
So pretty! And just in time for Spring here. Thanks Maritza 😊
Thanks so much, Sue – so happy you like them!! xoxoxox