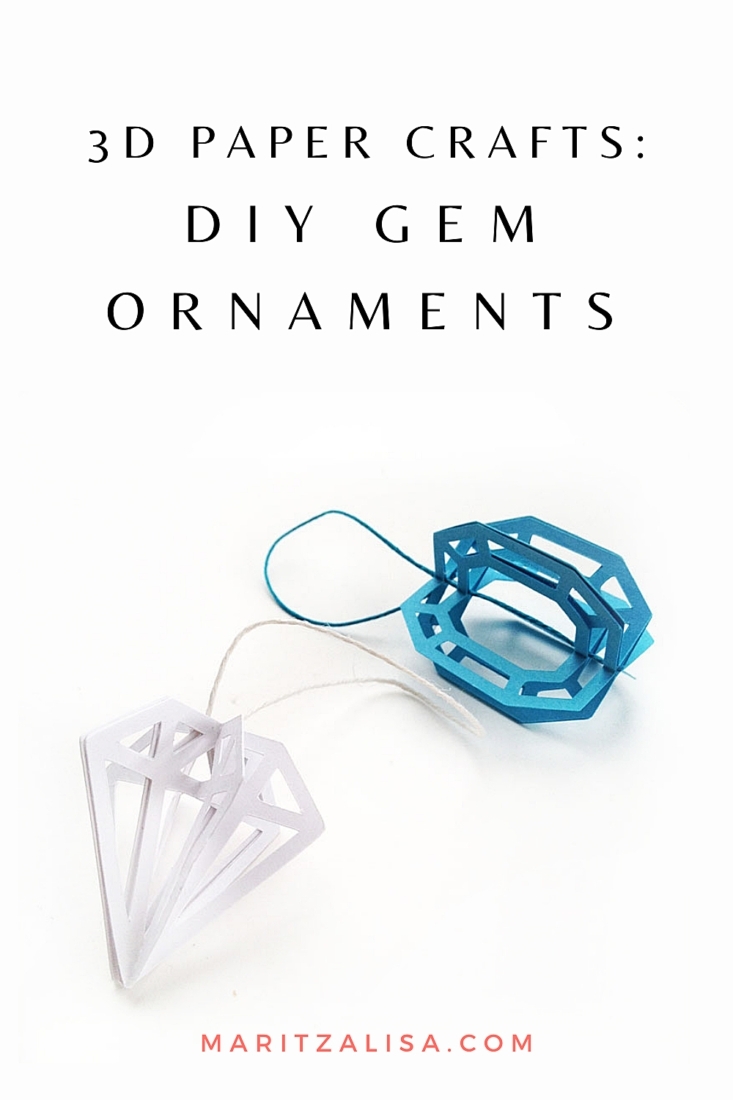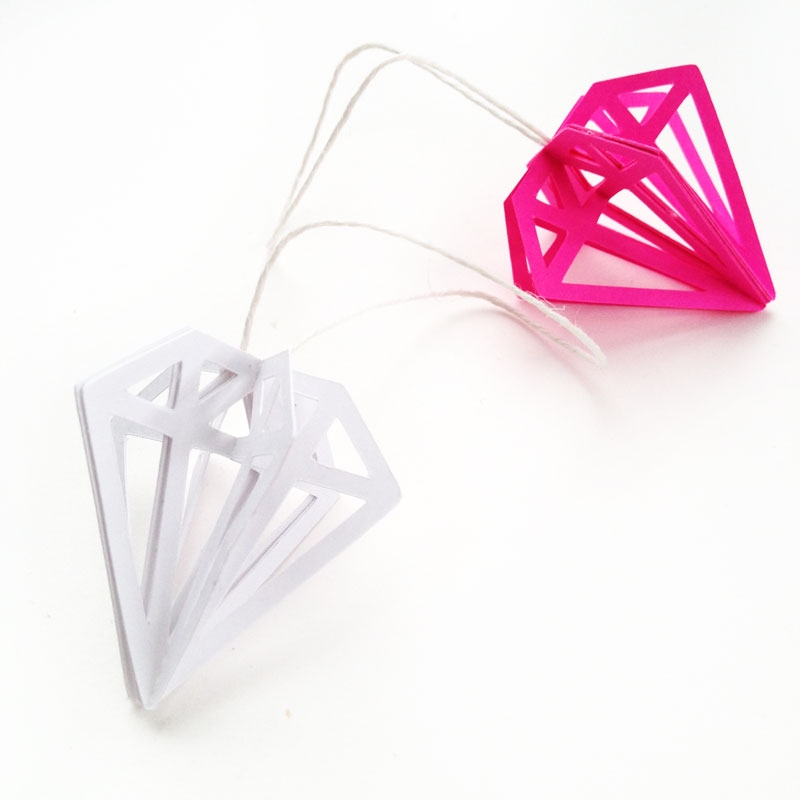
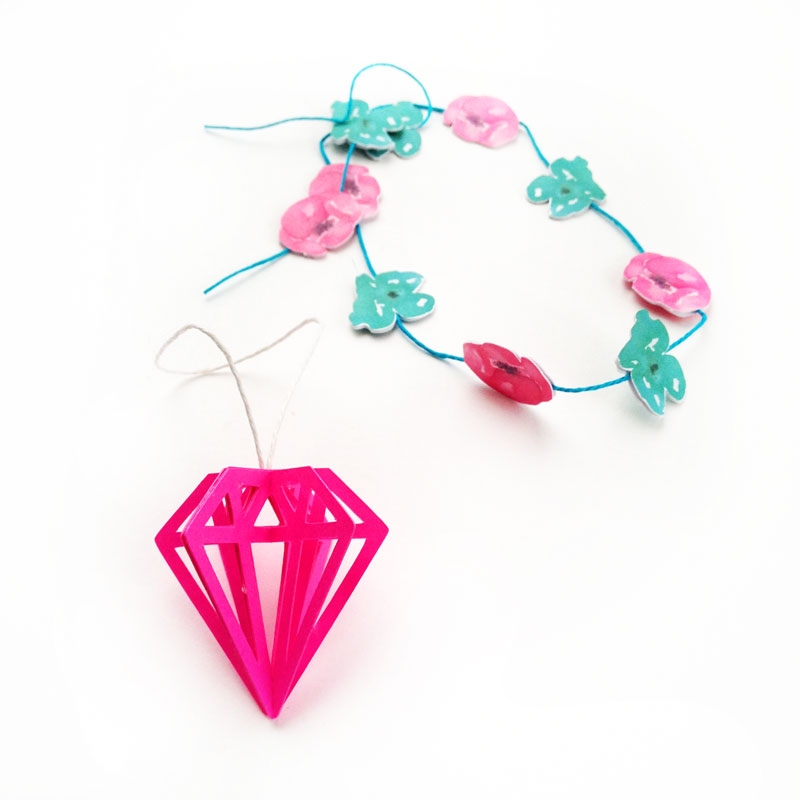
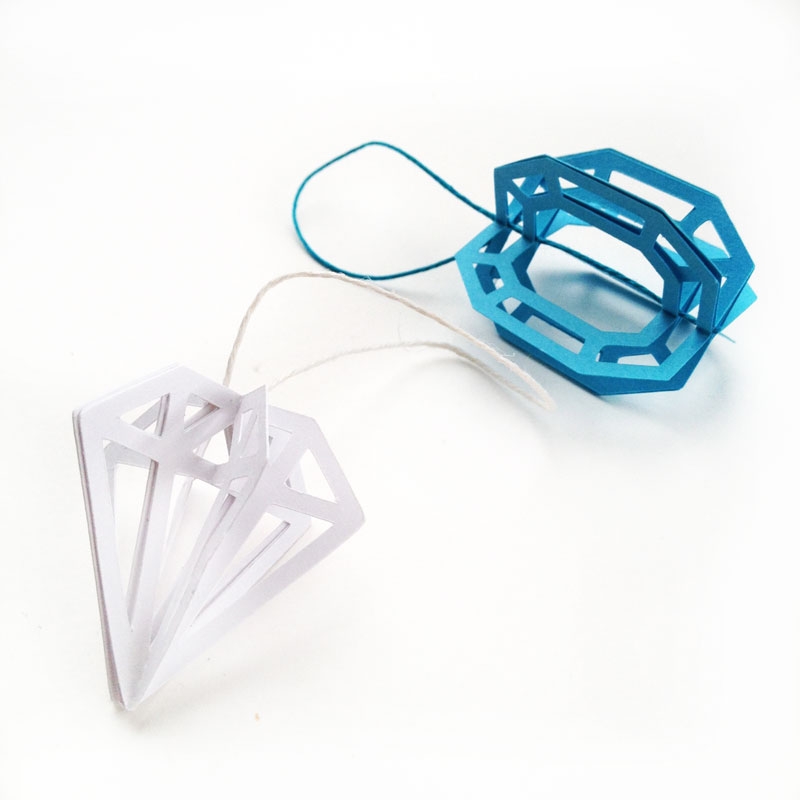
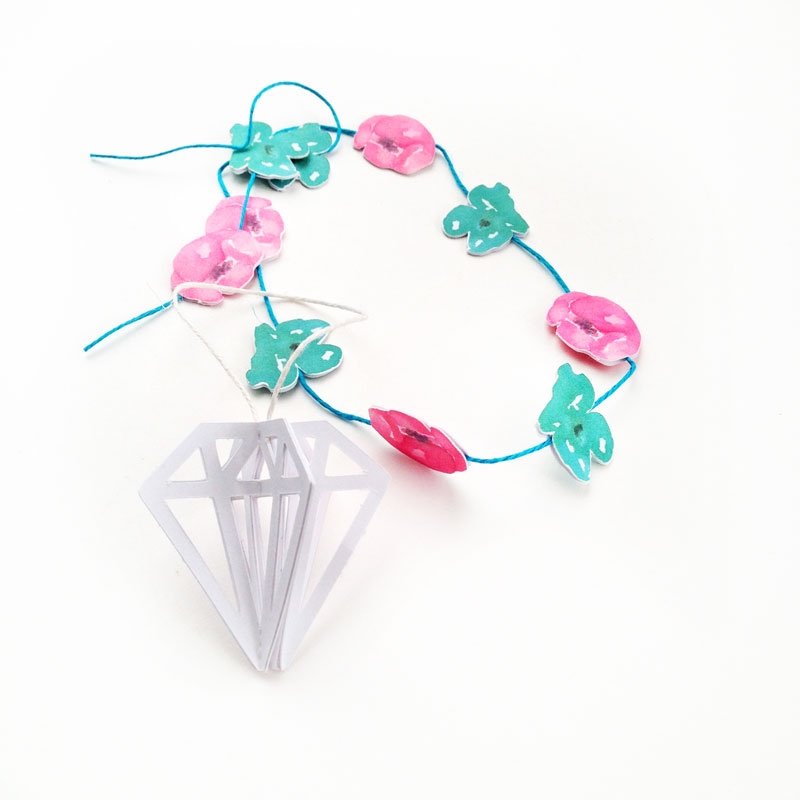
So, remember this post, where I made these 3d Gems? My good friend Rasa gave me an awesome idea – convert these pretties into DIY 3D Gem Ornaments for Christmas! And so here they are! Perfect for your Christmas tree or to give as part of your prettily wrapped presents this Holiday season. Your friends and family will love it! I used my Silhouette CAMEO to design and cut them. Let’s make these gem ornaments!
*This post contains affiliate links for products that I use and love!
What You Need: DIY 3D Gem Ornaments
- Silhouette cutting machine (I own the CAMEO)
- Silhouette Studio
- Cutting mat
- 3d Gems or this shape from the Silhouette Design Store
- Natural hemp cord
- Glue
- Cardstock
Instructions
Step 1: Open your 3D Gem designs and replicate as needed in Silhouette Studio
Step 2: Load your cardstock onto your Silhouette cutting machine
Step 3: Send your 3D Gem designs to cut using cardstock settings
Step 4: Remove your designs from the cutting machine
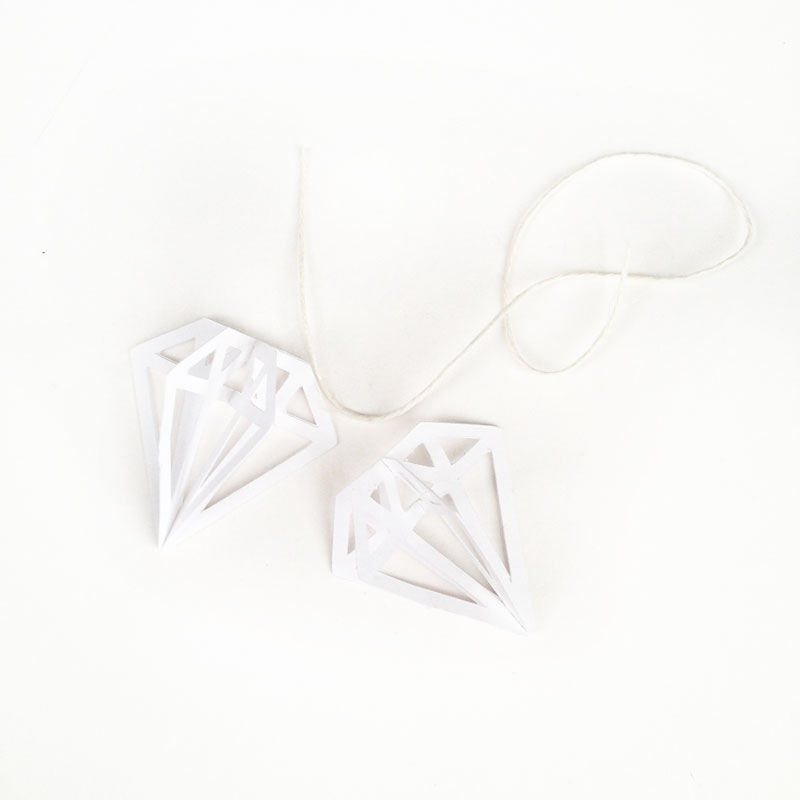
Step 5: Take 3 pieces of your gem design, fold 2 in half, and glue them onto the 3rd piece. This is one half of your 3D shape.
Step 6: Make the other half by repeating Step 5, then glue the 2 halves together with the string in the middle
Et voila – you’re done!
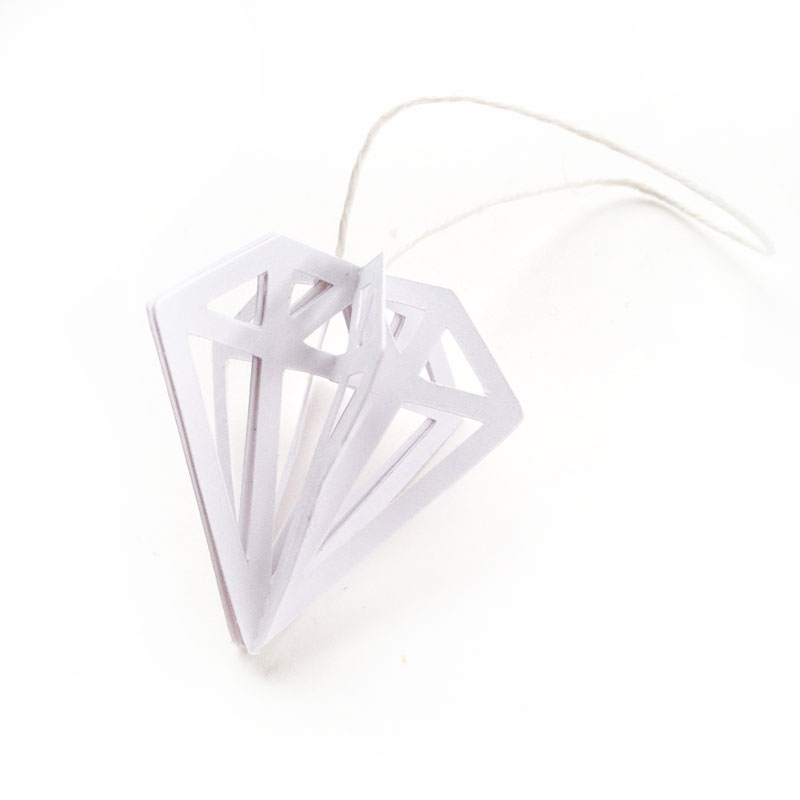
You can add glitter, paint or leave just as is. Which gems will you use to make your gorgeous ornaments?
Looking for some more fun and crafty inspiration? Take a look at some of my other DIY Christmas and Holiday Craft Projects!
