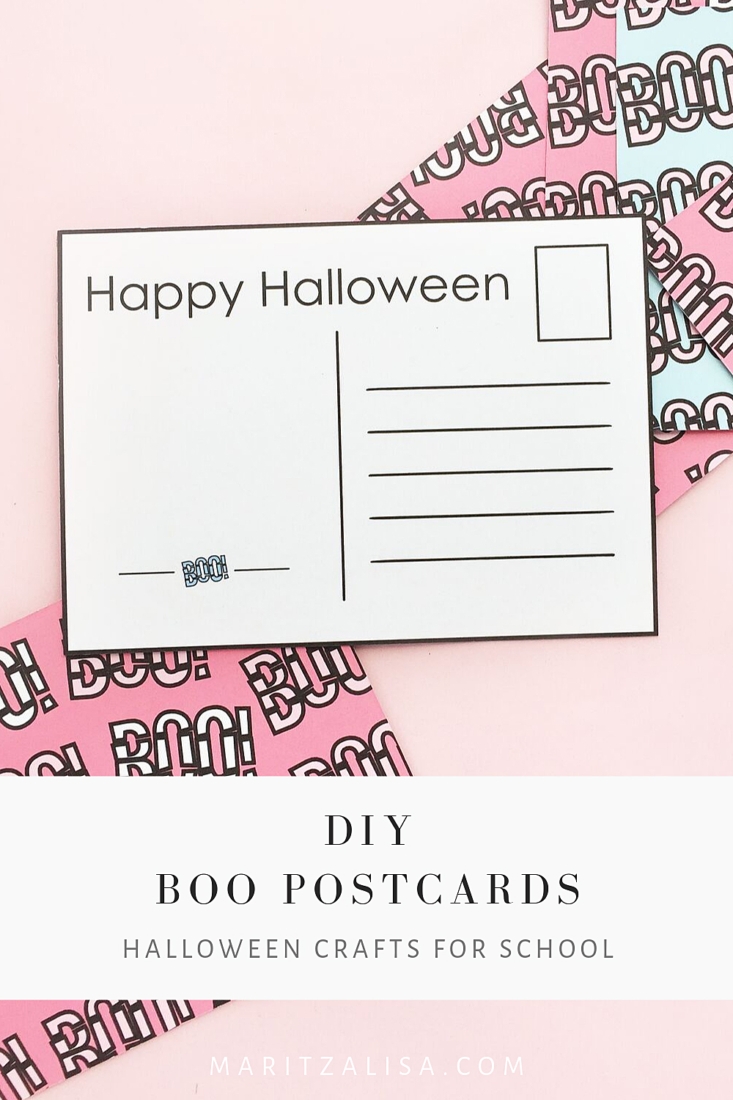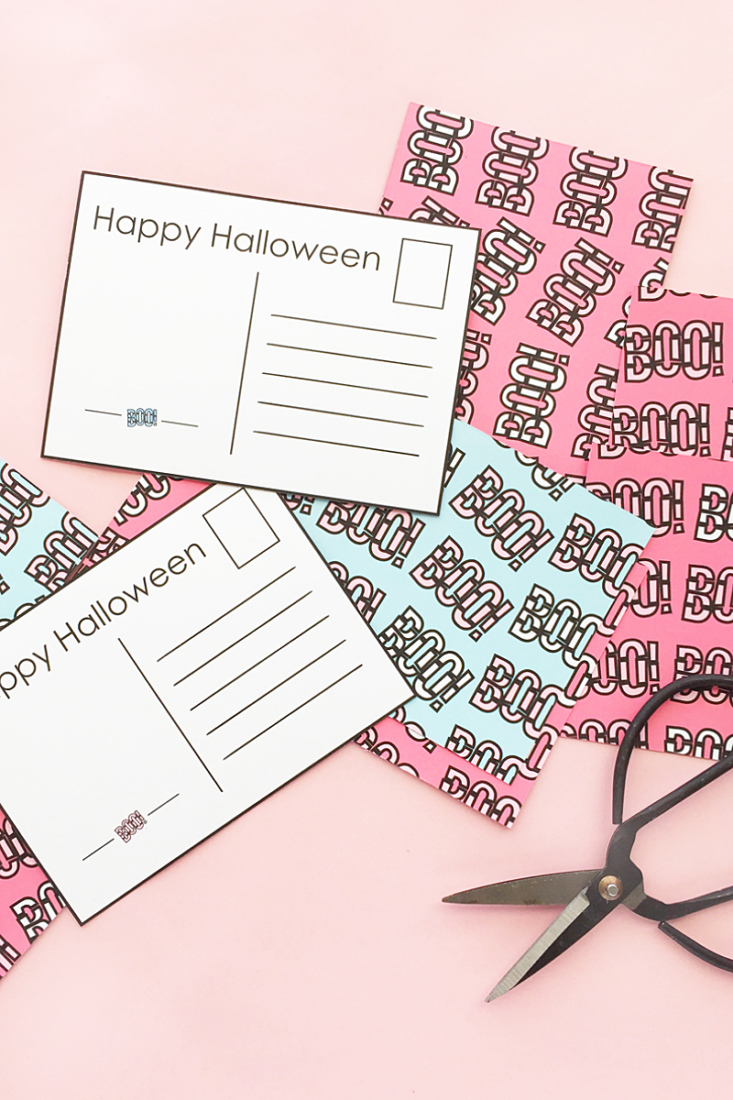
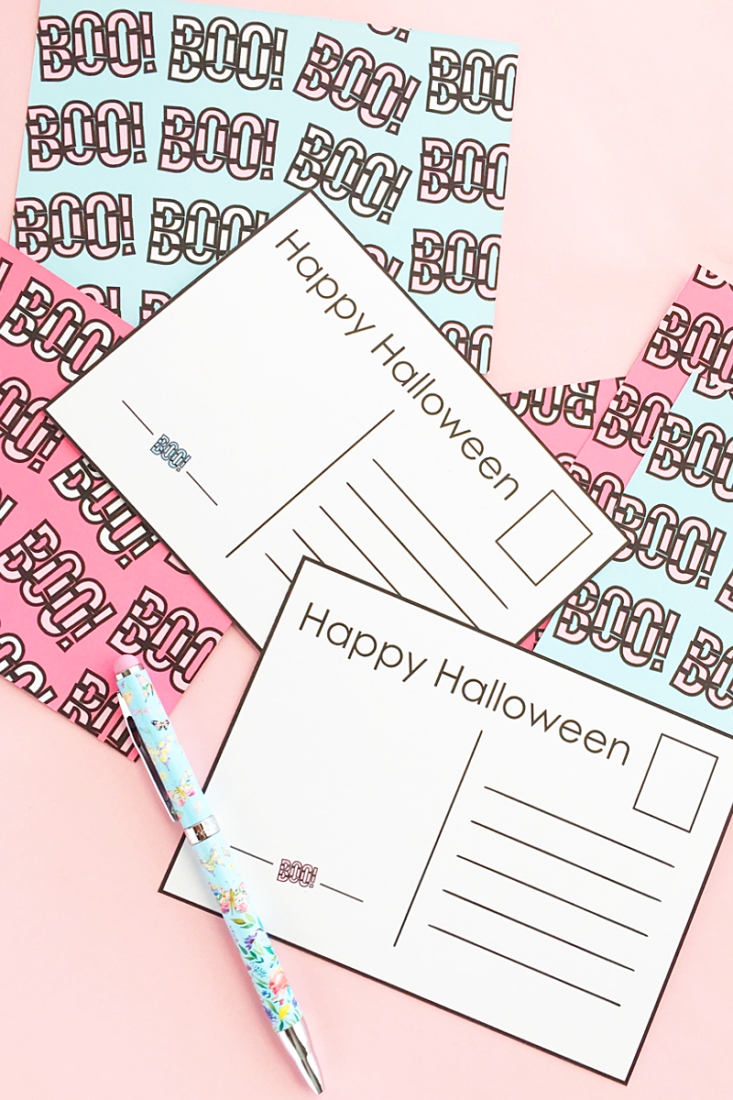
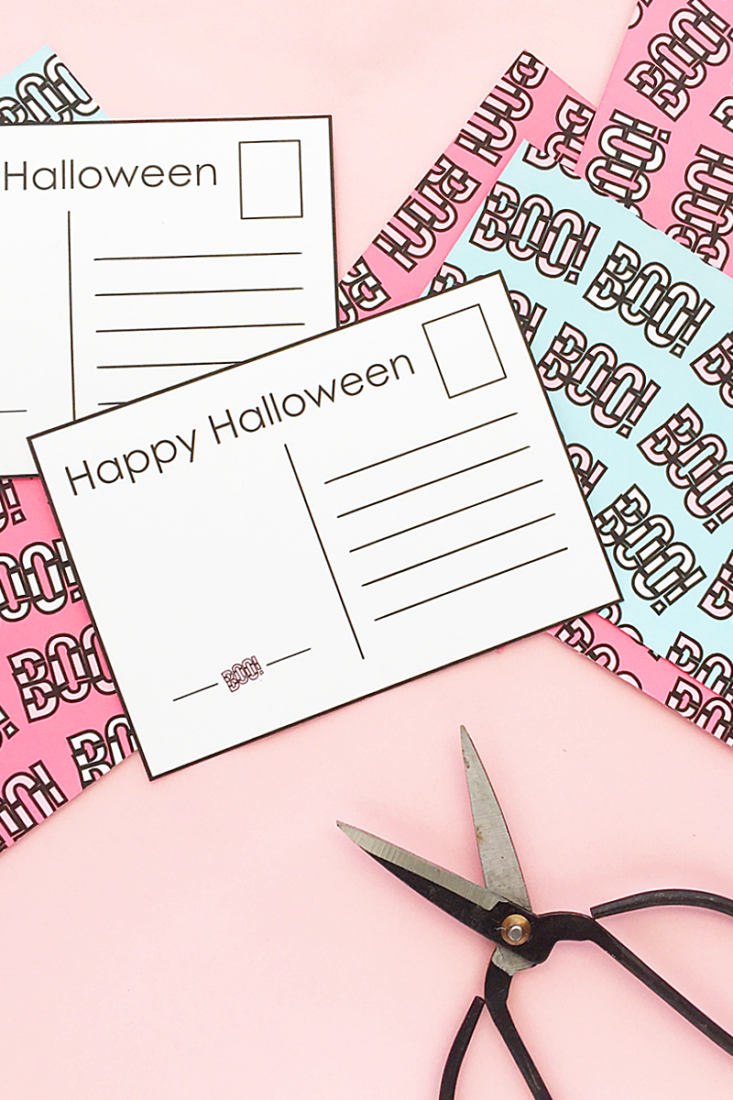
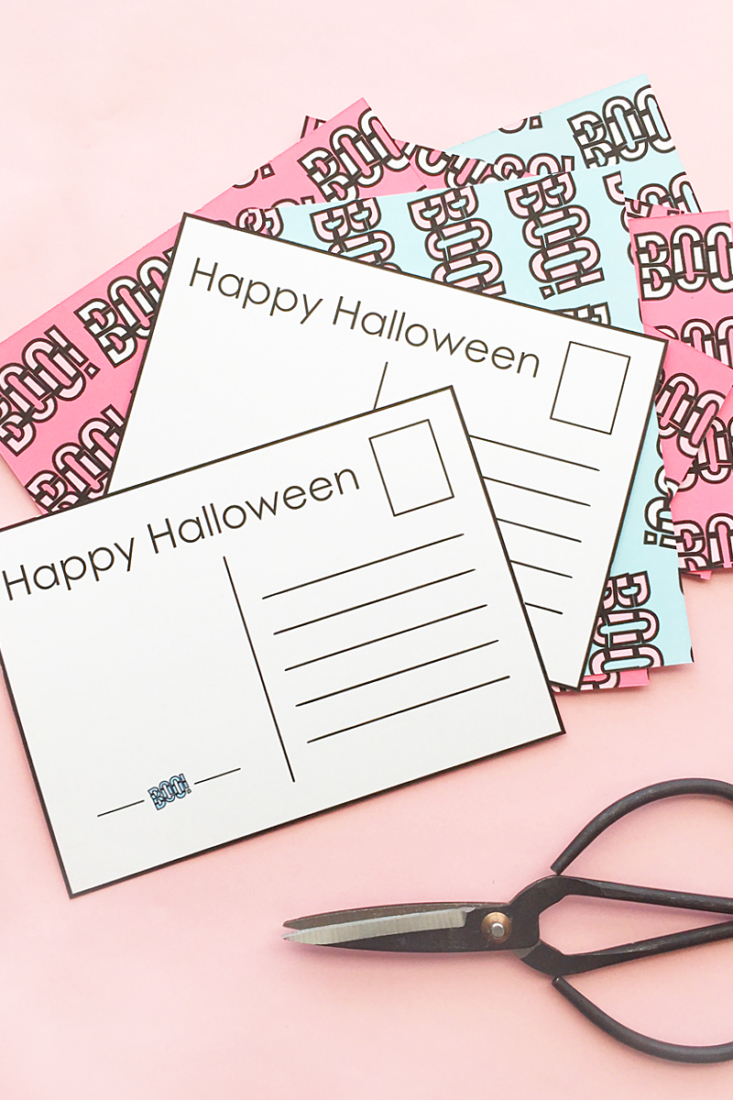
Well Happy October! Judging by the way time is flying, Halloween will be here in no time. So how about making these DIY Boo Halloween Postcards? Sometimes you can’t say Happy Halloween in person so I thought we can make and send these cute postcards to loved ones. Alternatively, if you are looking for Halloween crafts for school, printing and cutting these postcards then filling them out will make a writing class so fun! These are very similar to my other postcard tutorials. Let’s go make some!
Materials: DIY Boo Halloween Postcards
- Silhouette Studio (there is a free version!)
- Scissors
- White or colored Cardstock
- Printer
- Boo design from the Silhouette Design Store
*This post contains affiliate links for products that I use and love!
How To Make A Postcard
- In Silhouette Studio, open your Boo design
- Ungroup and if you want, change the fill and outline colors
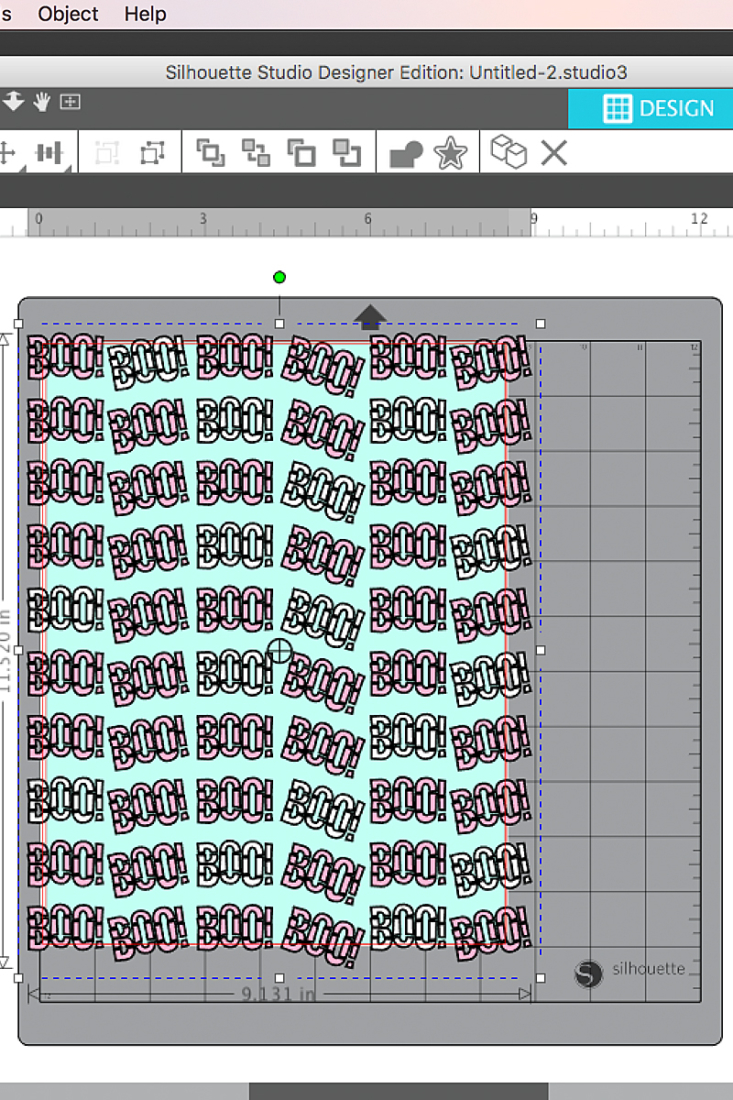
- To create your own colored background, create a rectangle the same as the page and fill with color then send to back
- Create a pattern with your text on the background and send to print
- Place your patterned cardstock back in your printer in such a way that you will print on the non-patterned side
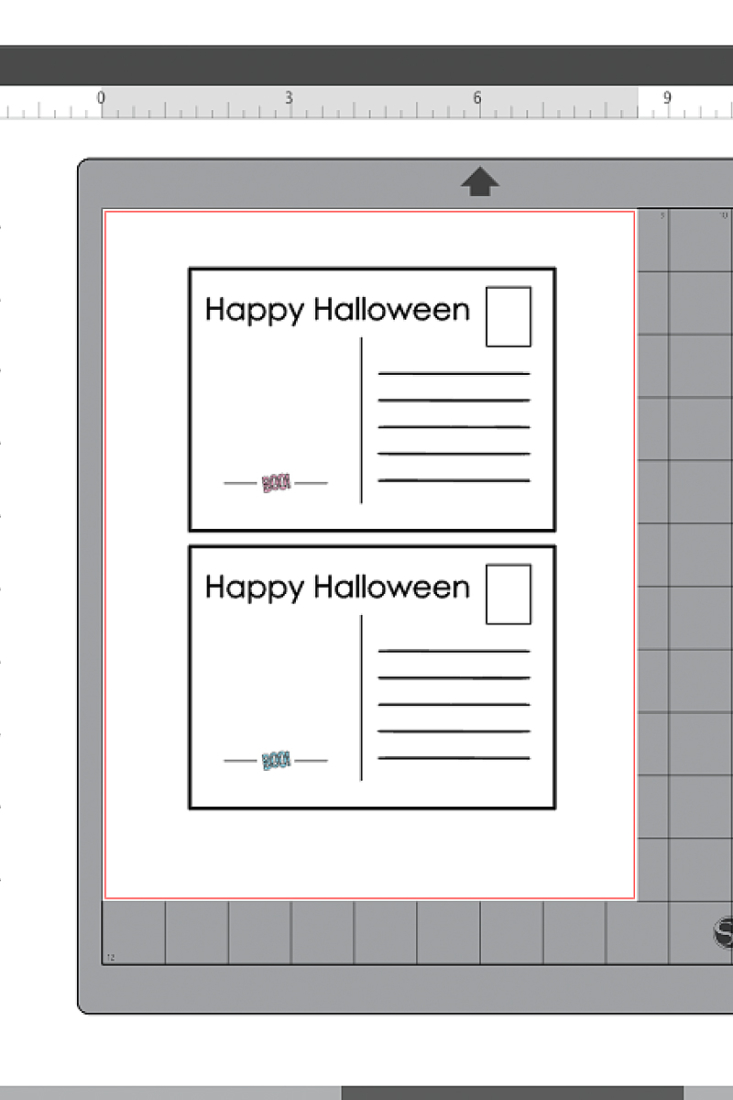
- Move your pattern (images) off the page in Silhouette Studio, then merge your postcard design from this DIY Patterned Postcards tutorial
- Change the title and image at the bottom
- Send to print so that the postcard image prints on the other side of your patterned paper
- Use your scissors to cut out the postcards
All you need to do now is put pen to paper, add a stamp, and mail your spooky postcards! So many pattern and color options! Tell me in the comments below – how did you design yours?
Looking for some more inspiration? Take a look at my other Silhouette projects!
