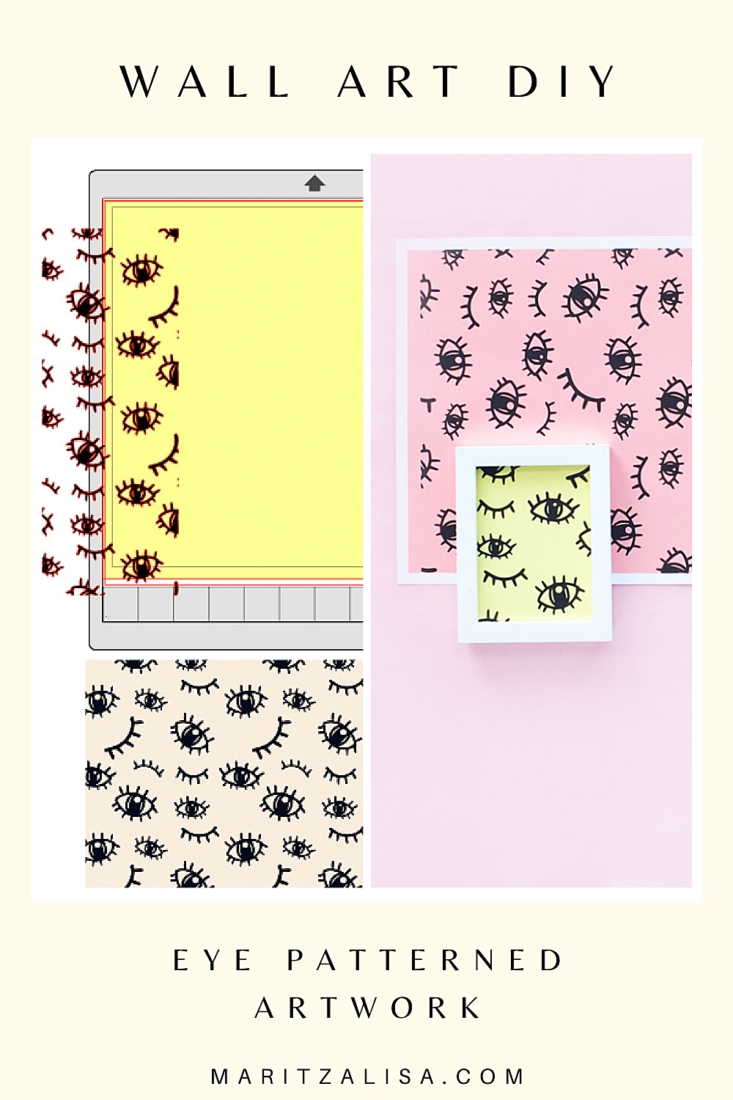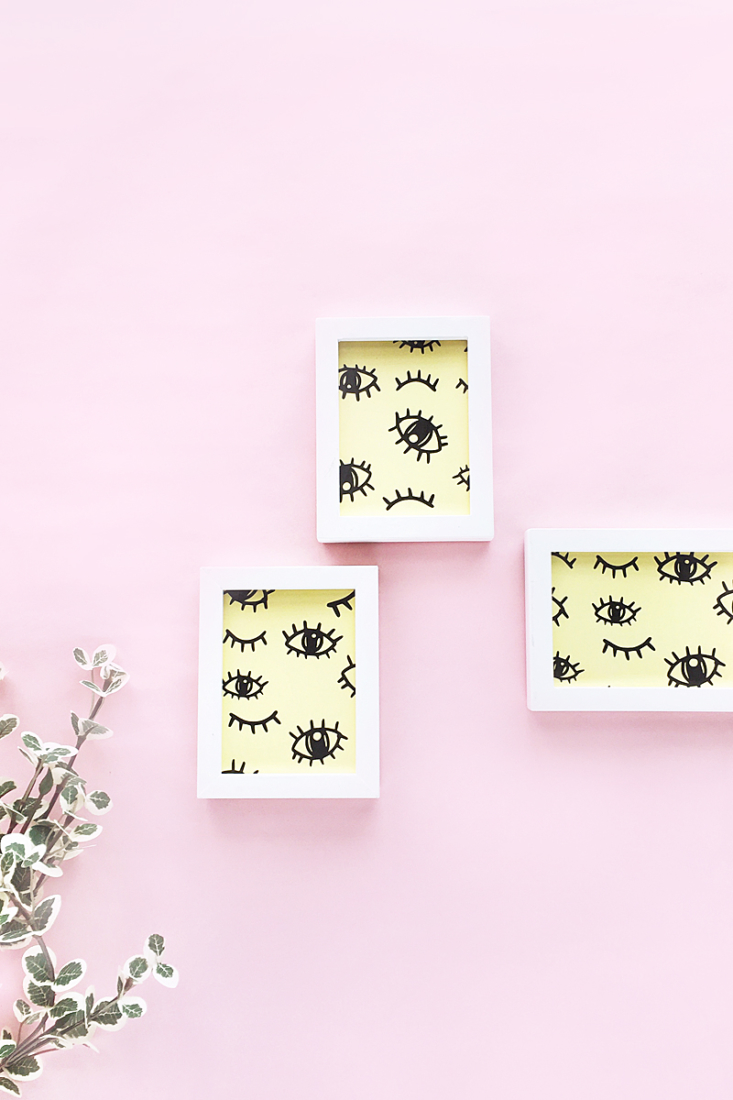
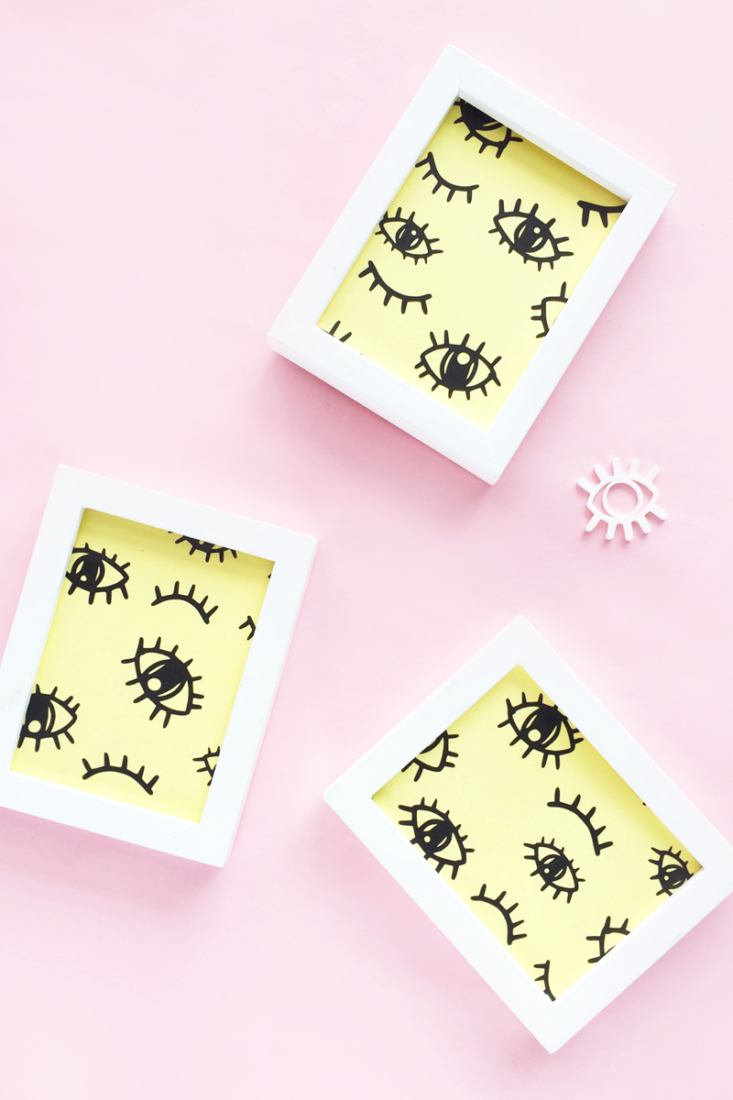
Happy Friday! This DIY Eye Patterned Wall Art is another super easy one for the weekend. If you’re looking for a quick update at home or in the office, this tutorial will help update a room with very little effort. Read on for this super quick how-to!
DIY Eye Patterned Wall Art – What You Need
- Silhouette Studio (there is a free version!)
- Eye pattern (I used these – from Creative Market)
- Printer
- Frames – I got mine at Michaels
*This post contains affiliate links for products that I use and love!
DIY Eye Patterned Wall Art – Instructions
For this tutorial, I am basically combining 2 previous tutorials – How to Change Background Colors in Silhouette Studio and How to Change Colors of Simple Patterns in Silhouette Studio
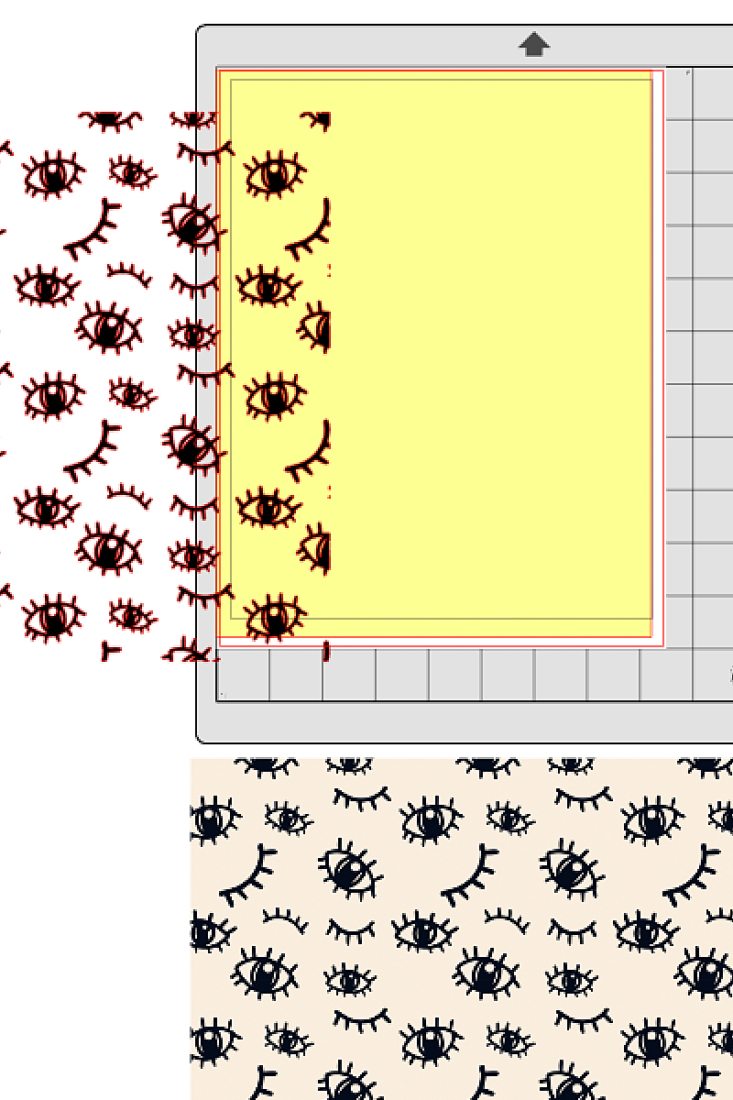
- Open your eye pattern in Silhouette Studio
- Trace your pattern and fill with color (I used black)
- Create a rectangle the size of the print area and fill with color – this will be your background
- Now place your eye pattern on the print area (on top of the background color)
- Send to print
- Cut the printed pattern so that it fits in your frame(s)
- Put each cut pattern into your frame
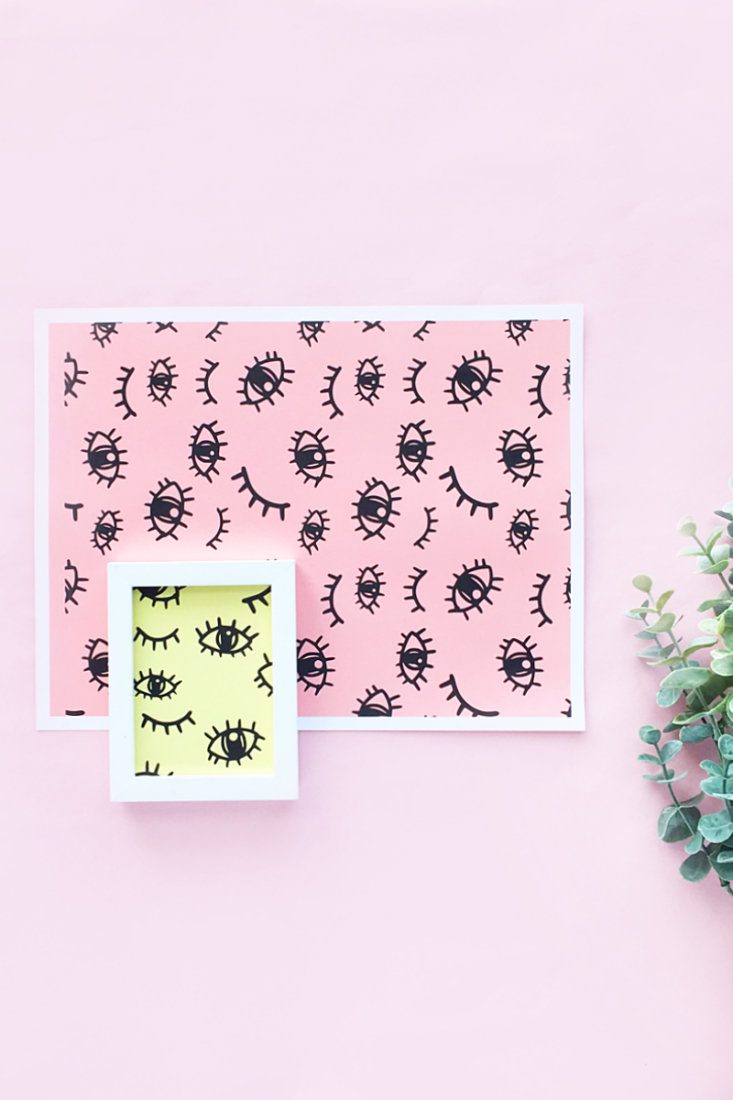
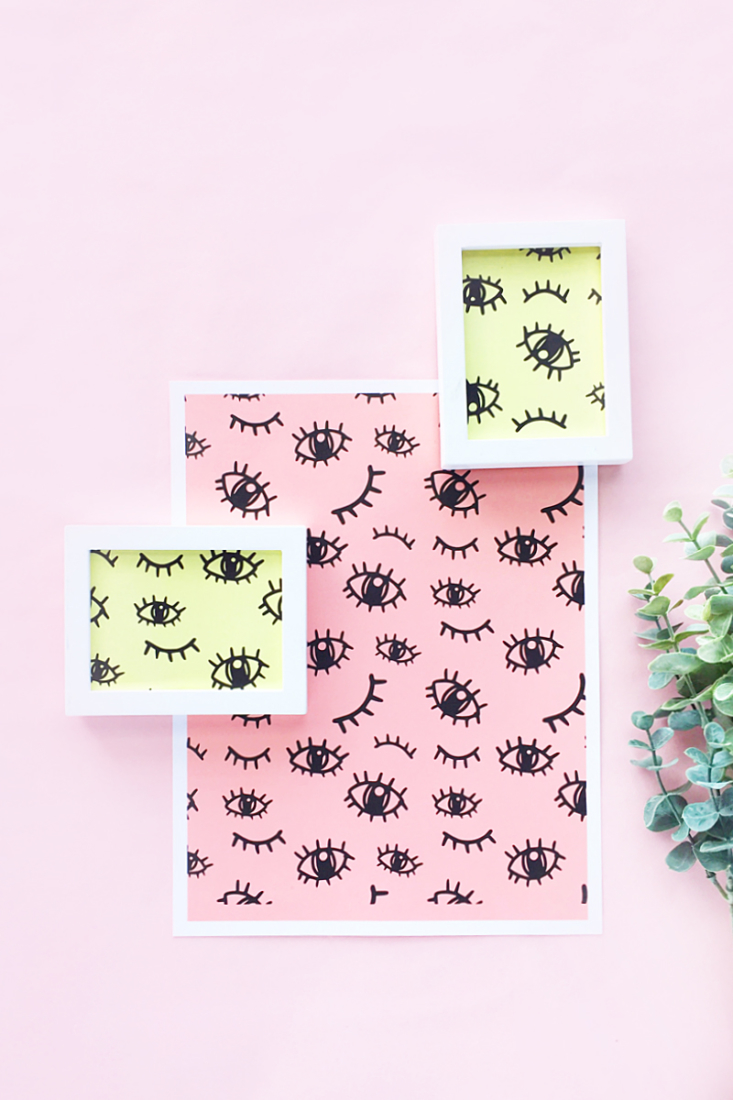
This DIY will take you about 5 to 10 minutes. All you have to do now is decide how you want them arranged and hang them on your pretty wall. You can add play with different sized frames and use a number of colors. It’s fun to play designer, right? Tell me in the comments below how your wall art turned out!
Looking for some more inspiration? Take a look at my other Home Decor DIY projects!
