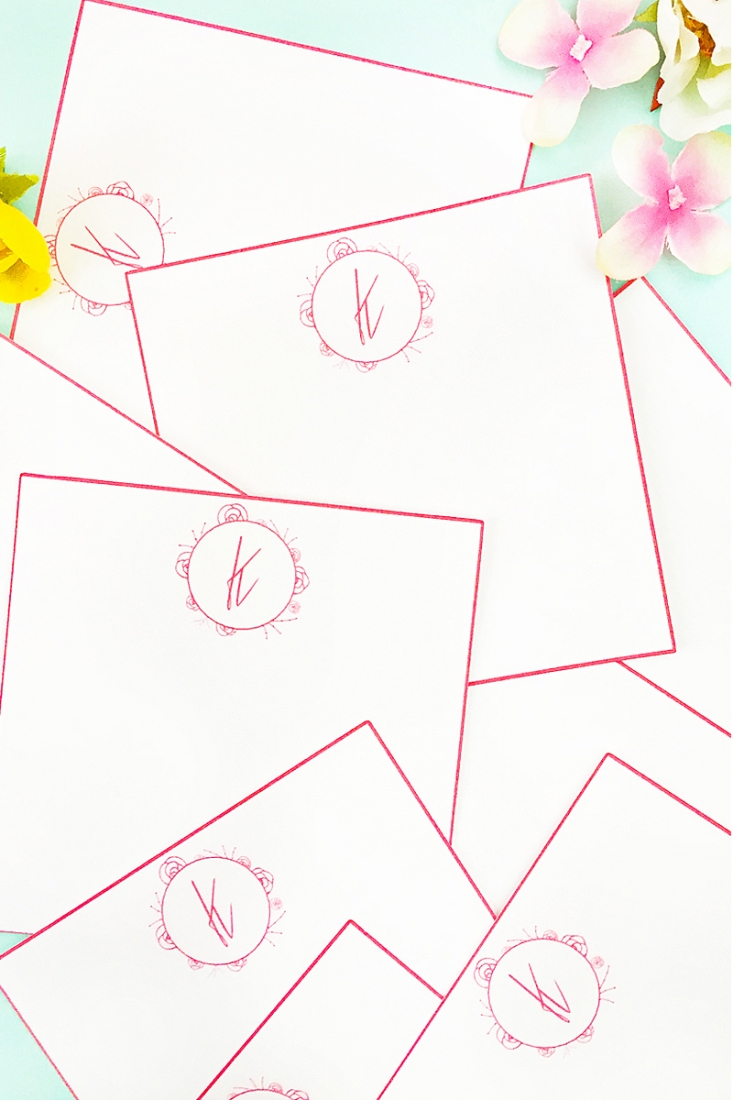
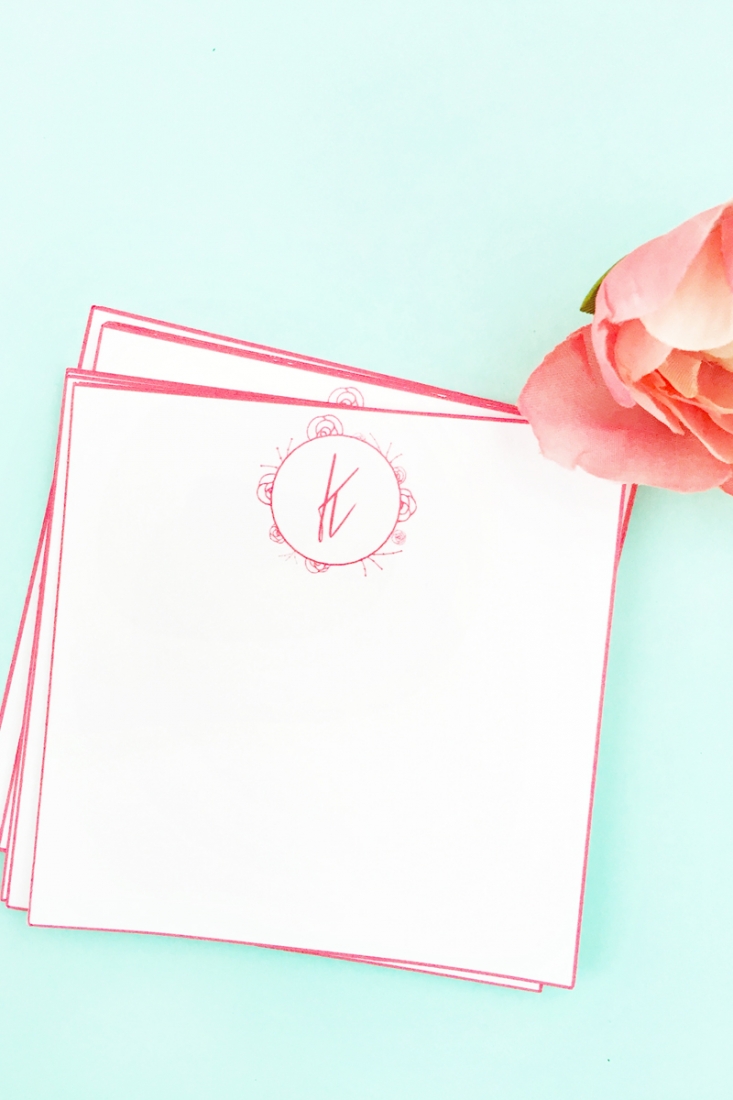
Happy Friday! Since I’ve shared how to make a lot of envelopes recently, I thought I’d share how to make these DIY Floral Monogrammed Notecards to complete the set. I used this week’s free shape from Silhouette’s design store to create my monogram. Read on to make your own…
The What
- Silhouette Studio (there is a free version)
- Silhouette cutting machine
- Cutting mat
- Cardstock
- Printer
- Live Life In Full Bloom design (free this week!)
The How
- In Silhouette Studio, open your Live Life In Full Bloom design
- Resize the image to the size you want your monogram to be
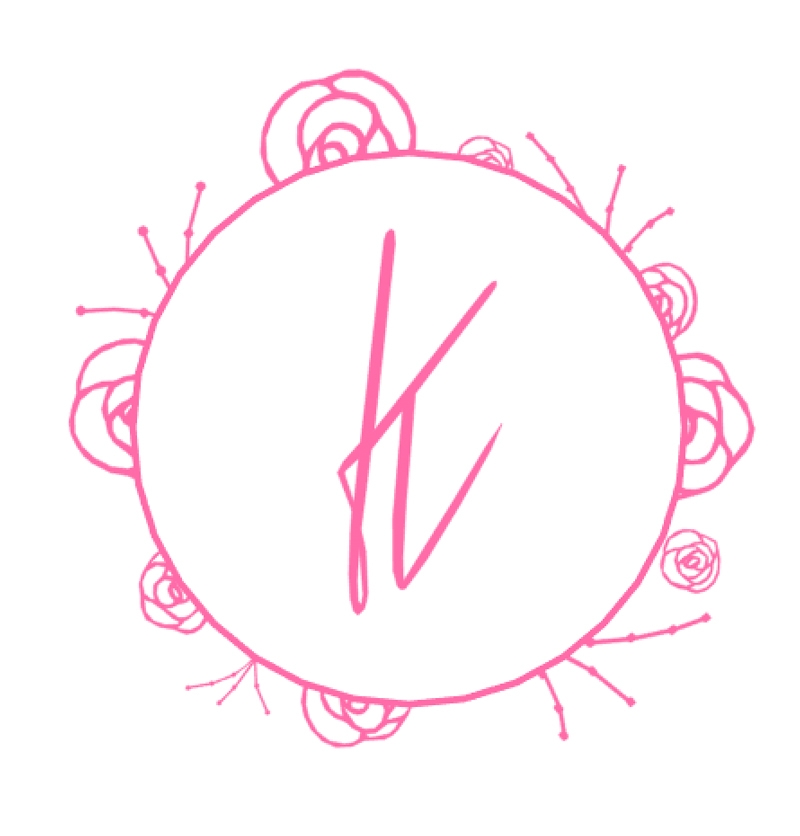
- Ungroup the shapes and remove the text from the middle
- Draw a circle so that it fits just inside the florals (adjust the line thickness and select a color)
- Fill the circle with white and bring it to the front so that the florals just peep out around the edge
- Use your favorite font to type the letter for your monogram
- Arrange your florals (replicate some around the circle as needed) and fill the shapes and letter with color. Group your monogram
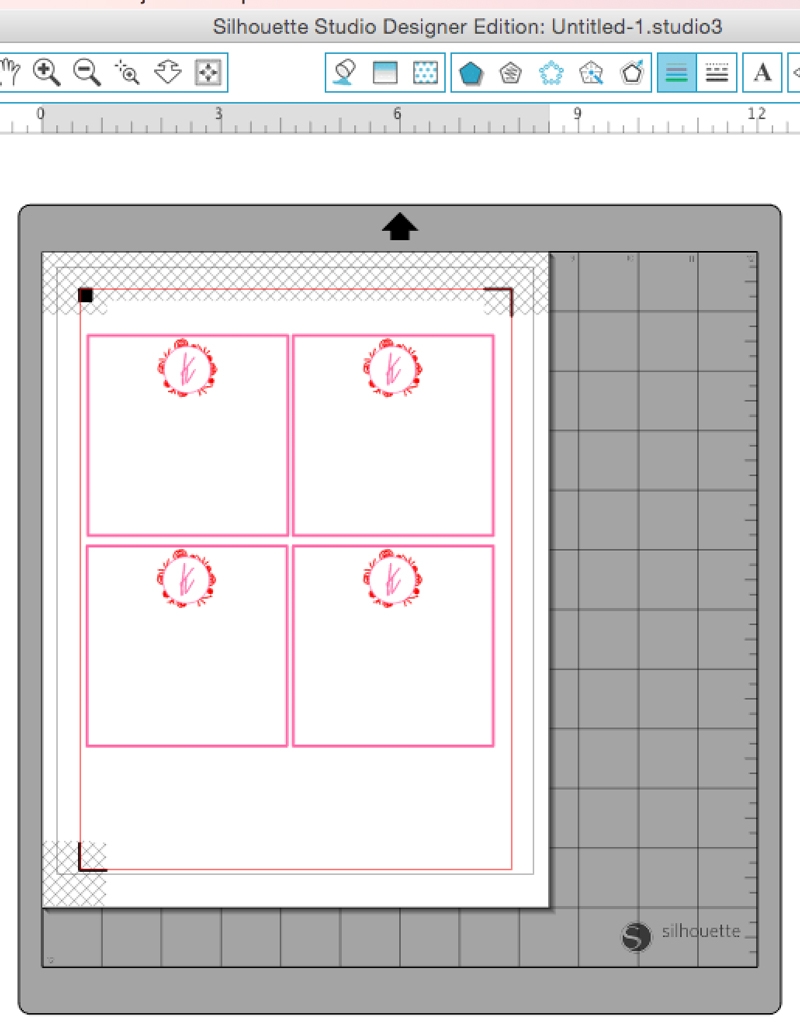
- Create a square that will fit within your envelope shape (adjust the line thickness and select the same color as above to create a border)
- Place your monogram at the top and center of your square
- Print and cut your notecards using cardstock settings
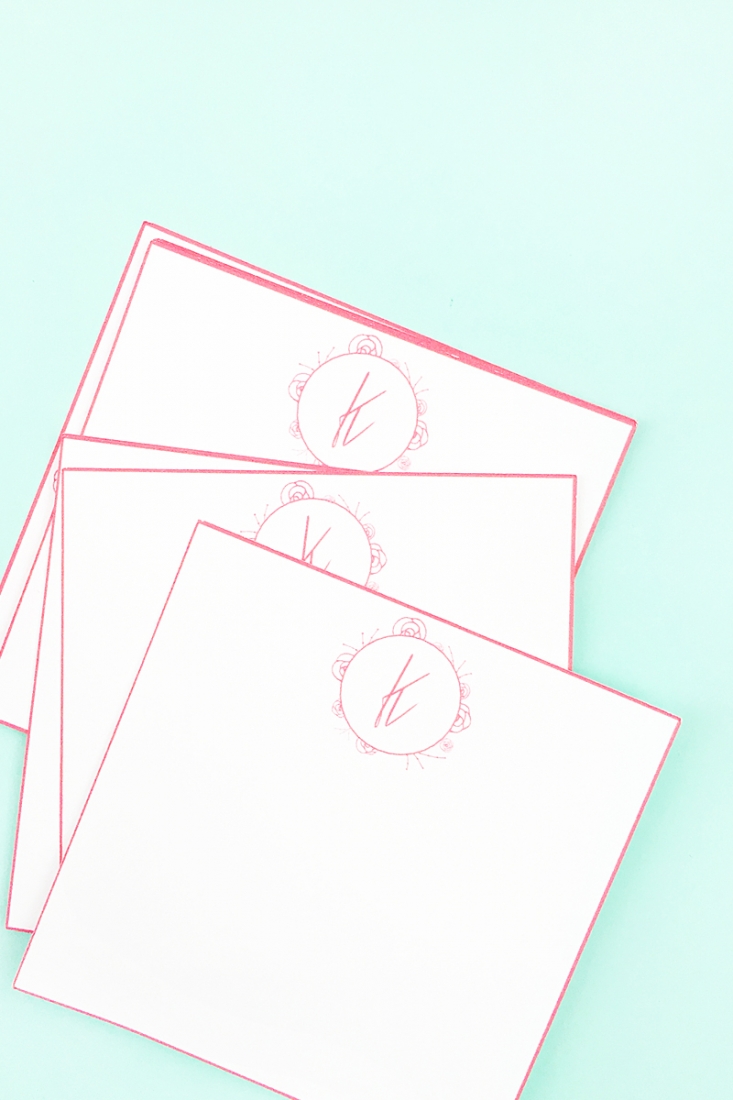
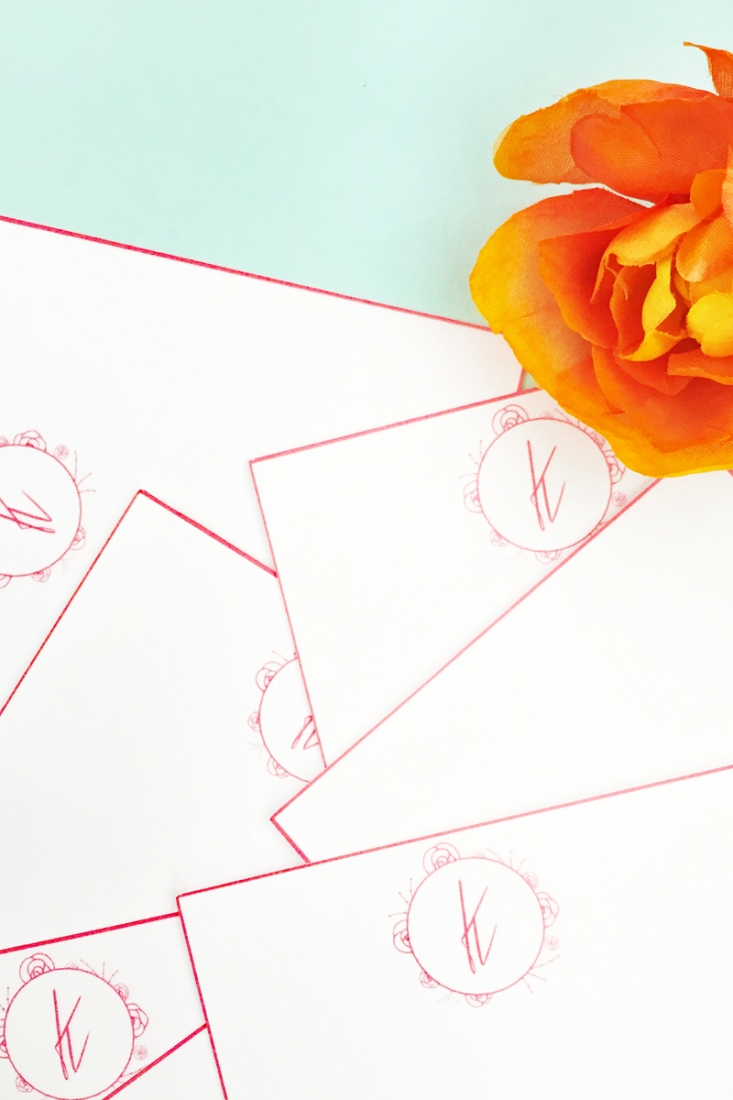
And now you have these sweet monogrammed notecards for your pretty envelopes! Which accent color did you use?
Looking for some more inspiration? Take a look at my other Silhouette projects.
2 Comments on DIY Floral Monogrammed Notecards
Comments are closed.
Hmm, gorgeous! Putting this in my to-do-list for this summer 🙂 Thanks for sharing!
Thanks so much, Yamini! Can’t wait to see what you make this summer!