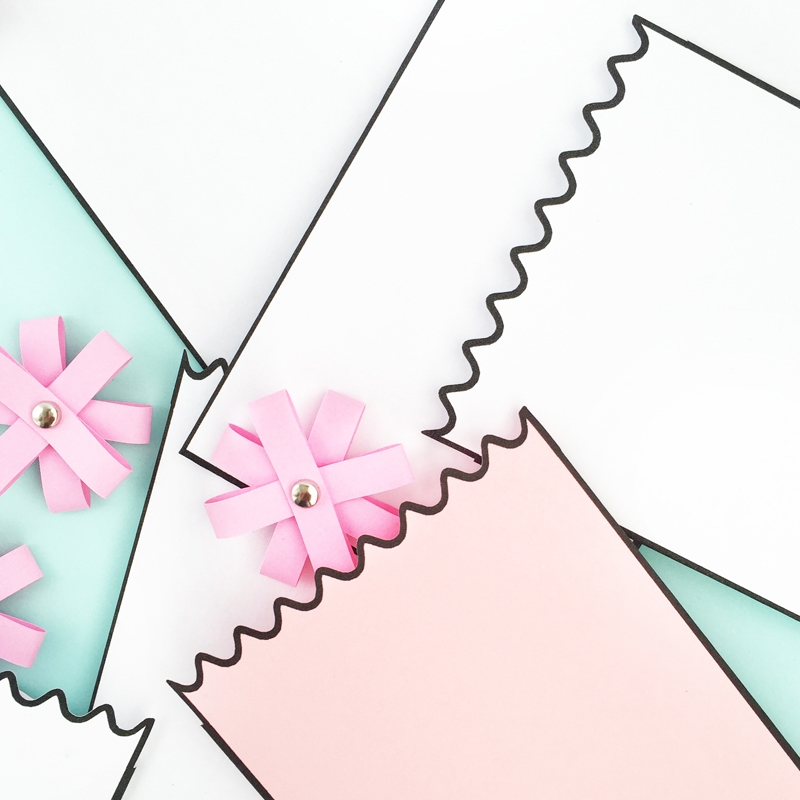
FriYAY! What are your plans for the weekend? We’re off to a belt test and movies, with a couple of craft activities sprinkled here and there. Speaking of crafty activities, how about these DIY Framed Treat Bags? I’m updating an old favorite with updated Silhouette cut and PDF files for you to download and make your own. A sweet and minimal way to give treats to your peeps. You can leave as is or dress it up with a monogram or graphic. Shall we?
The What
- Silhouette cutting machine
- Silhouette Studio (there is a free version!)
- Cutting mat
- Printer paper
- Printer
- Treat Bag shape (Silhouette cut file) or
- Treat Bag (PDF)
- Glue
The How
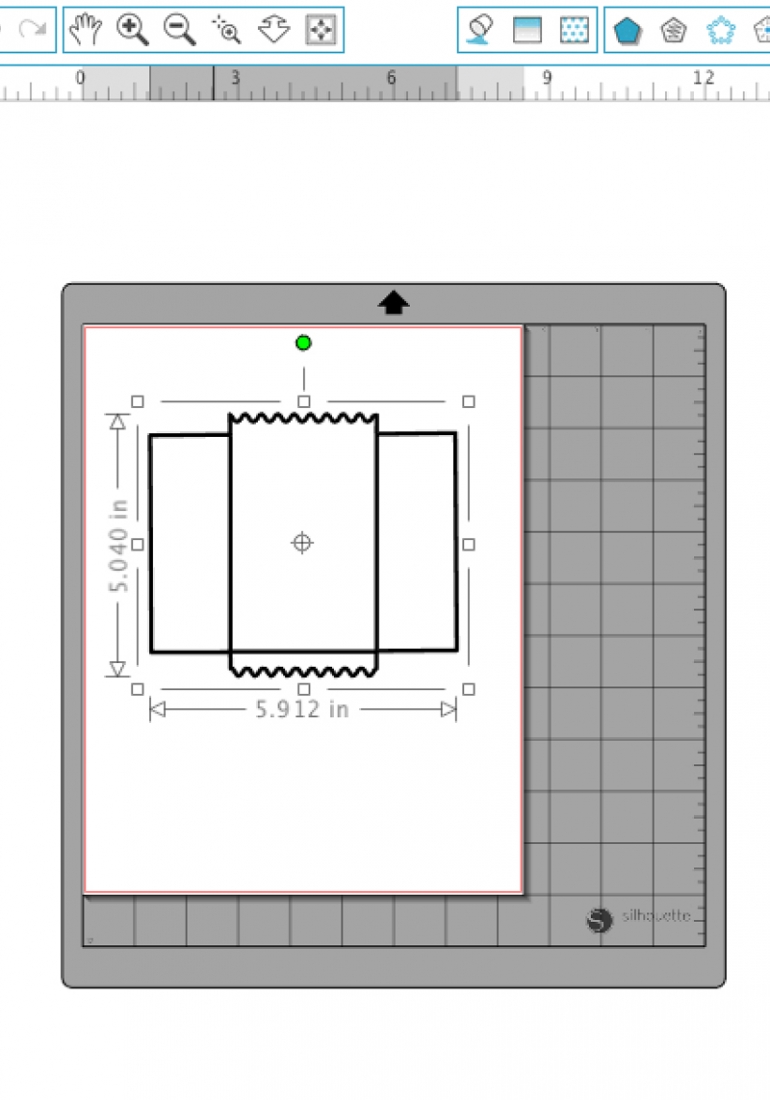
- In Silhouette Studio, open your Framed Treat Bag shape
- Show the registration marks for Print and Cut
- Place (or resize) your shape so that it is within the registration marks
- Send your shape to print on printer paper
- Load your page onto your Silhouette cutting machine
- Send to print and cut using copy paper settings
- For those using the PDF file – print onto printer paper and cut your shape with scissors
- Fold and assemble your treat bag at the straight line (adhere with glue)
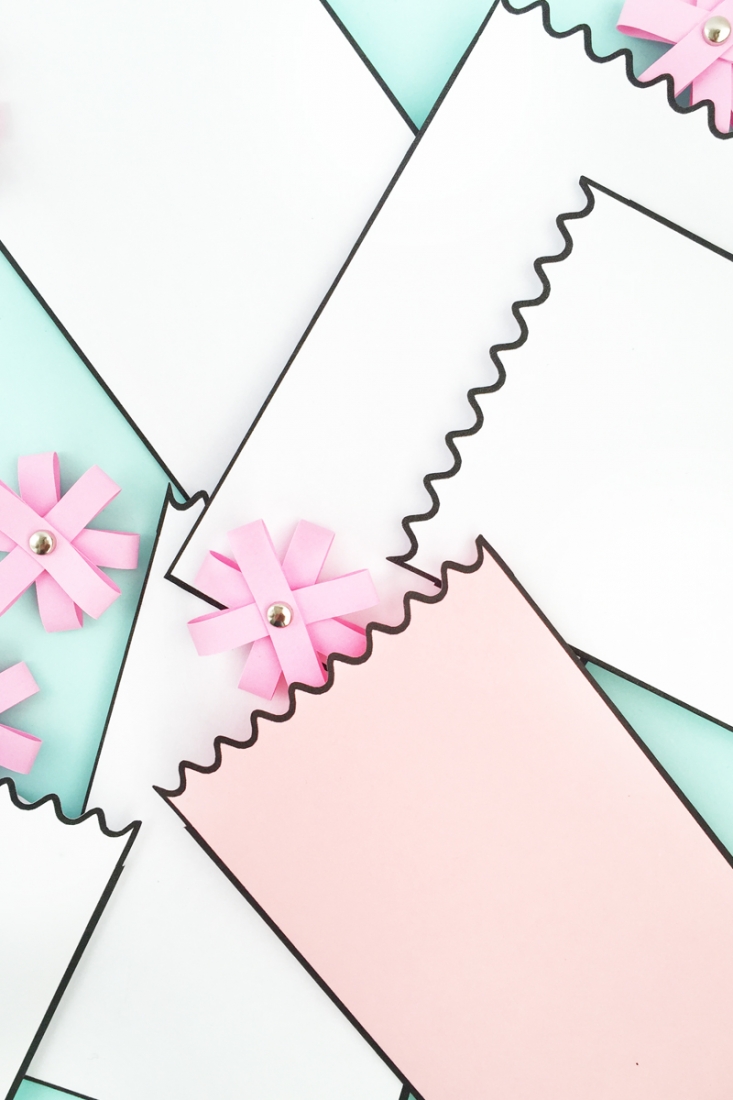
And that’s it! You now have some cute treat bags for next soiree! Did you use colored or white paper?
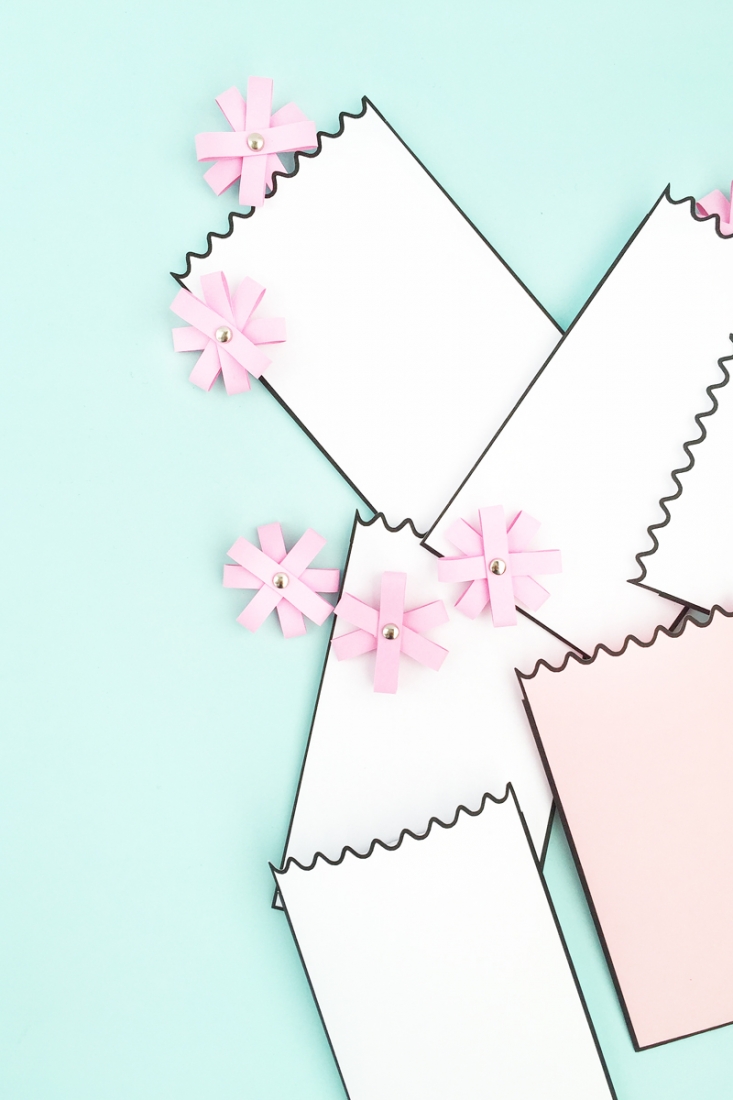
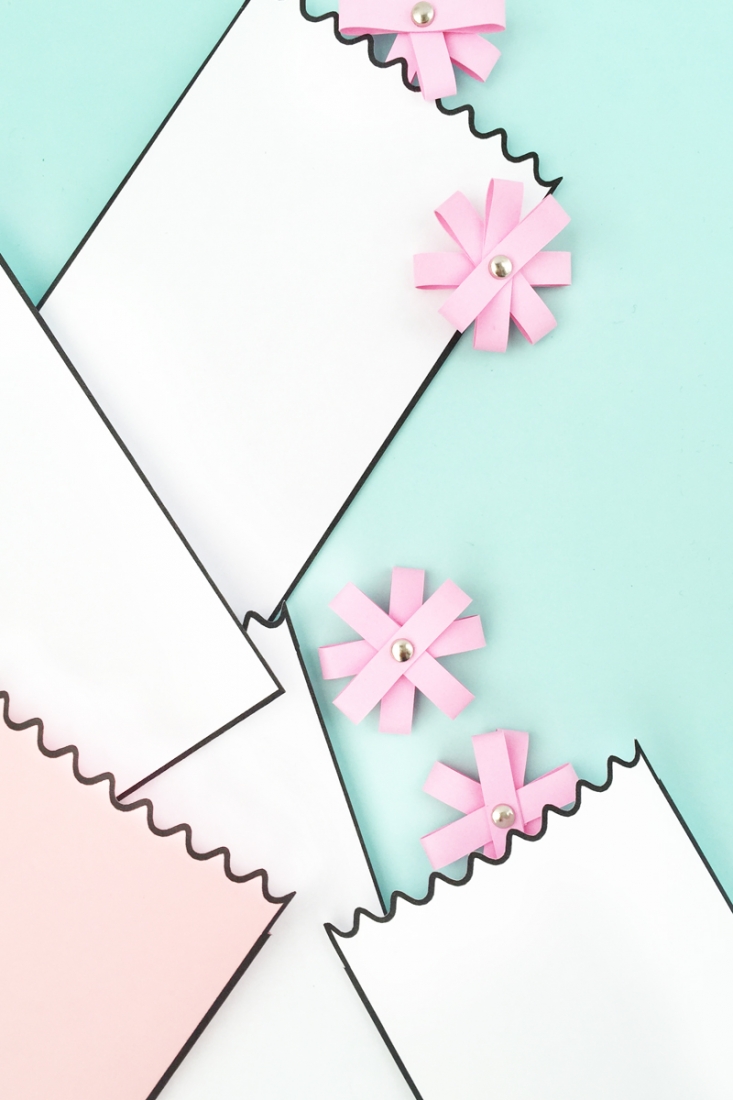

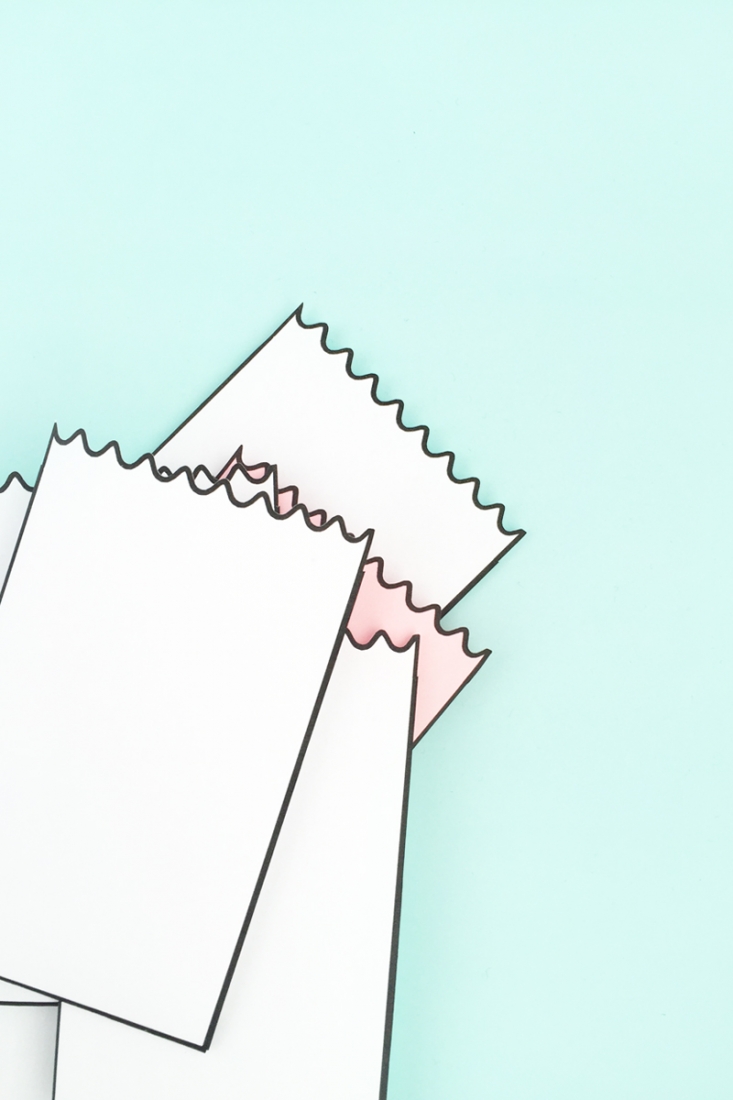
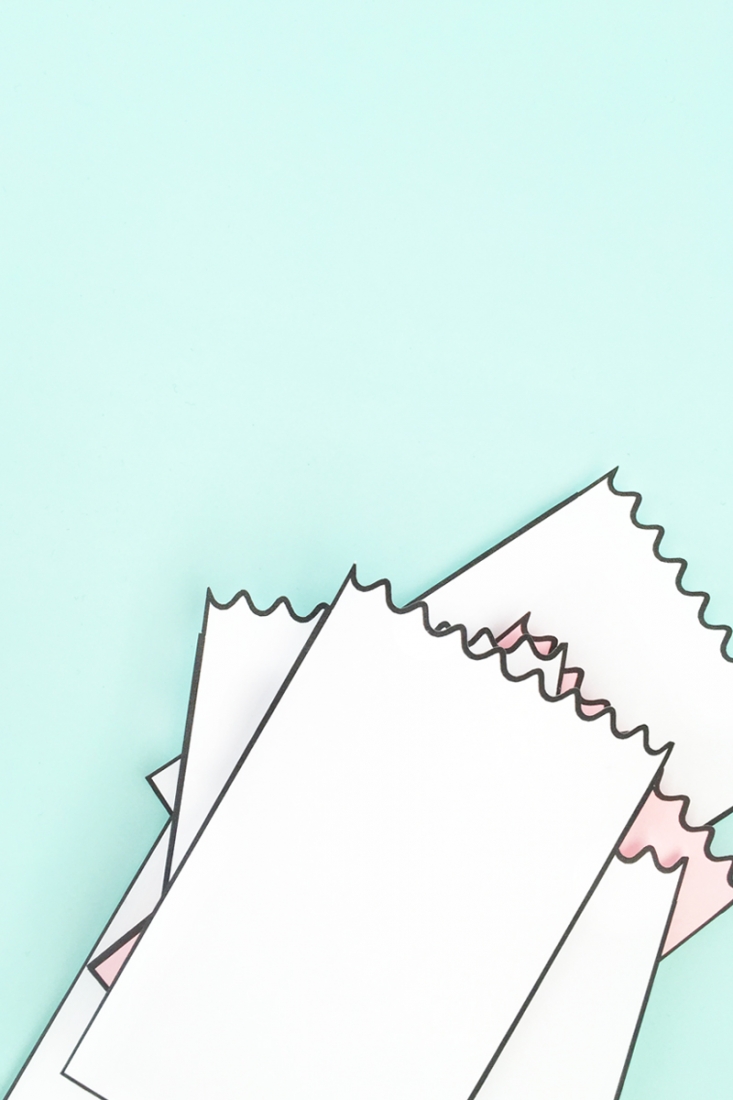
Looking for some more inspiration? Take a look at my other Silhouette projects.
4 Comments on DIY Framed Treat Bags
Comments are closed.
I love these! I don’t have a silhouette but have a Cricut. How did you get the black outline? Gorgeous!
Hi Ali – Thanks so much! The black outline was just done by thickening the outline of the shape.
I’m so glad I came across your blog. Your how-to’s are perfect. Your ideas are fun and quick. I’ve learned so much in just a few visits.
Thank you for your giving heart.
Such lovely words, Tammy – you just made my weekend. Thank You! xo