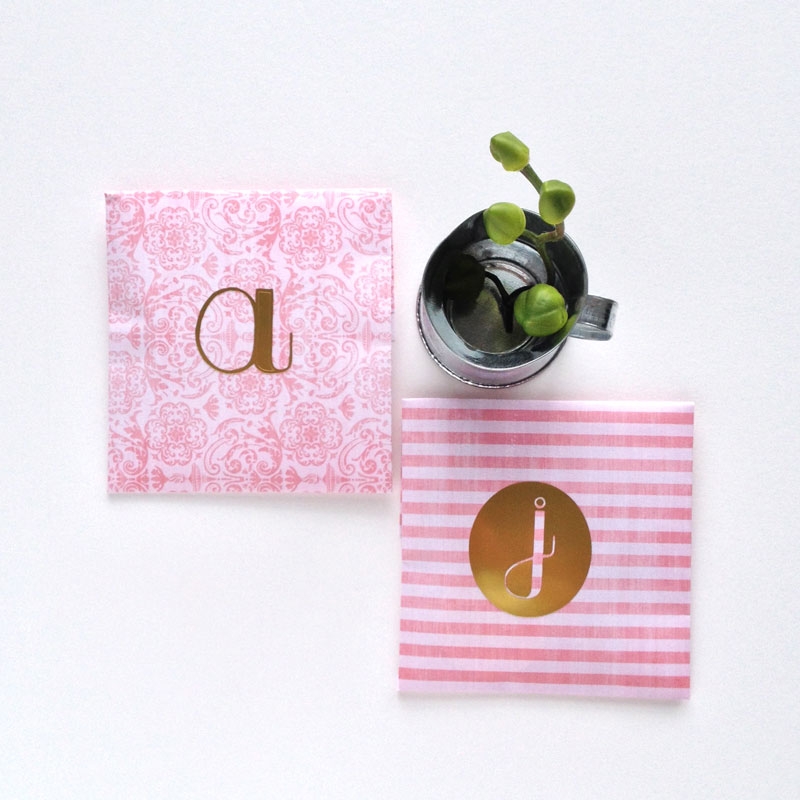
Hope the Easter Bunny treated you all well! Spring Break was lots of fun – we laughed, we shopped (when in NYC….), we hugged, we cried (when we realized it was all over)… Alas! We are back into our routine and that means I need to get crackin’ on those Mama’s and Teachers’ Day gifts. Before I send them off, I wanted to share a how-to on these gold monogrammed labels (I mentioned them in this previous post). Pretty simple – so let’s jump in and get started.
The What
The How
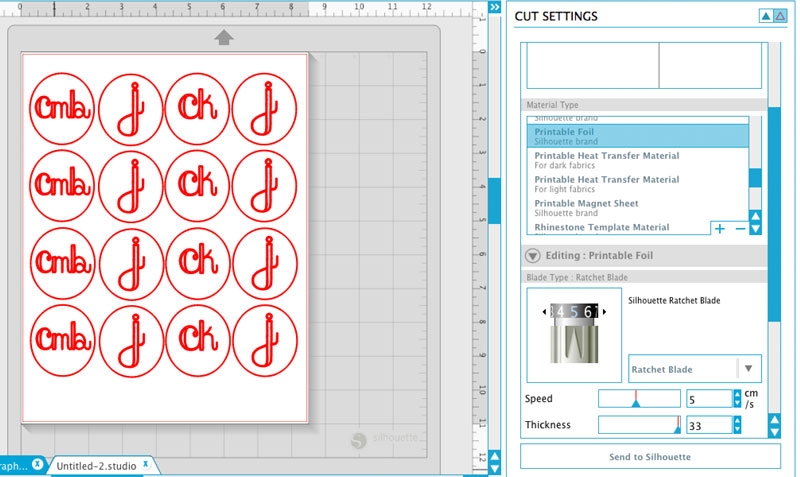
Step 1: Create a 2″x2″ circle for the label
Step 2: Add your initials using the text tool. I used the free font Peach Sundress – so pretty with a little retro thrown in, non?
Step 3: Set your file and blade for cutting
Step 4: Load your foil sheet onto the mat and cut!
Your labels will have an adhesive back, so once cut, peel and apply it to your gifts. These are great for gift bags, tags, envelopes or personalizing your stationery. How will you use your sassy gold labels?
Looking for some more inspiration? Take a look at my other Silhouette projects.
I love this project! I have a Silhouette and am always looking for things to do with it. Your instructions were clear, which is important to me because I’m not very experienced even though I’ve had my machine for several years. I’ll be looking for more from you in the future. Thanks!
Thanks, Tracey! Have fun with your Silhouette!