
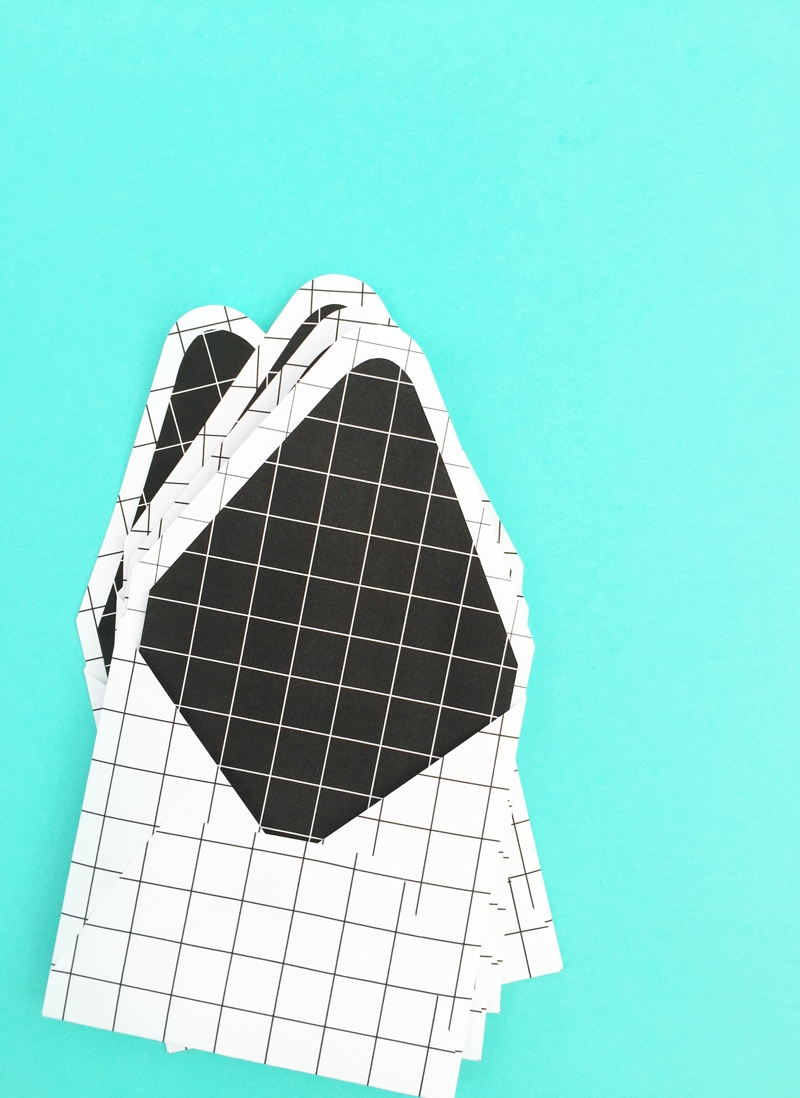
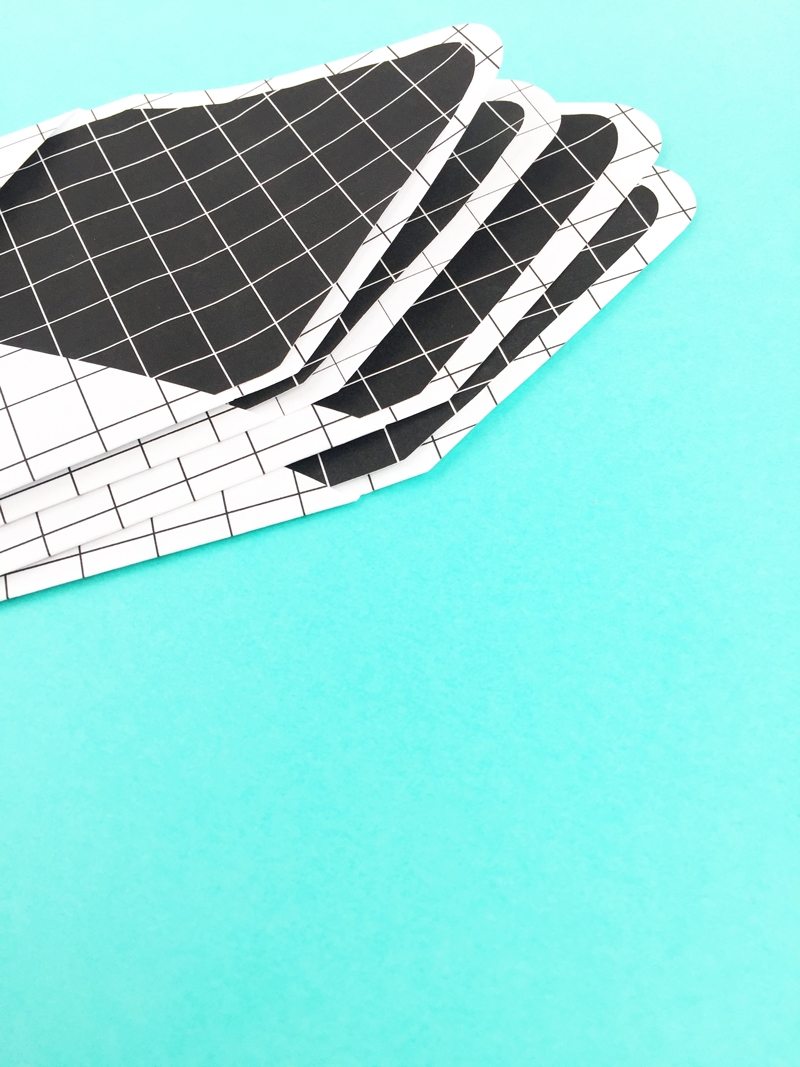
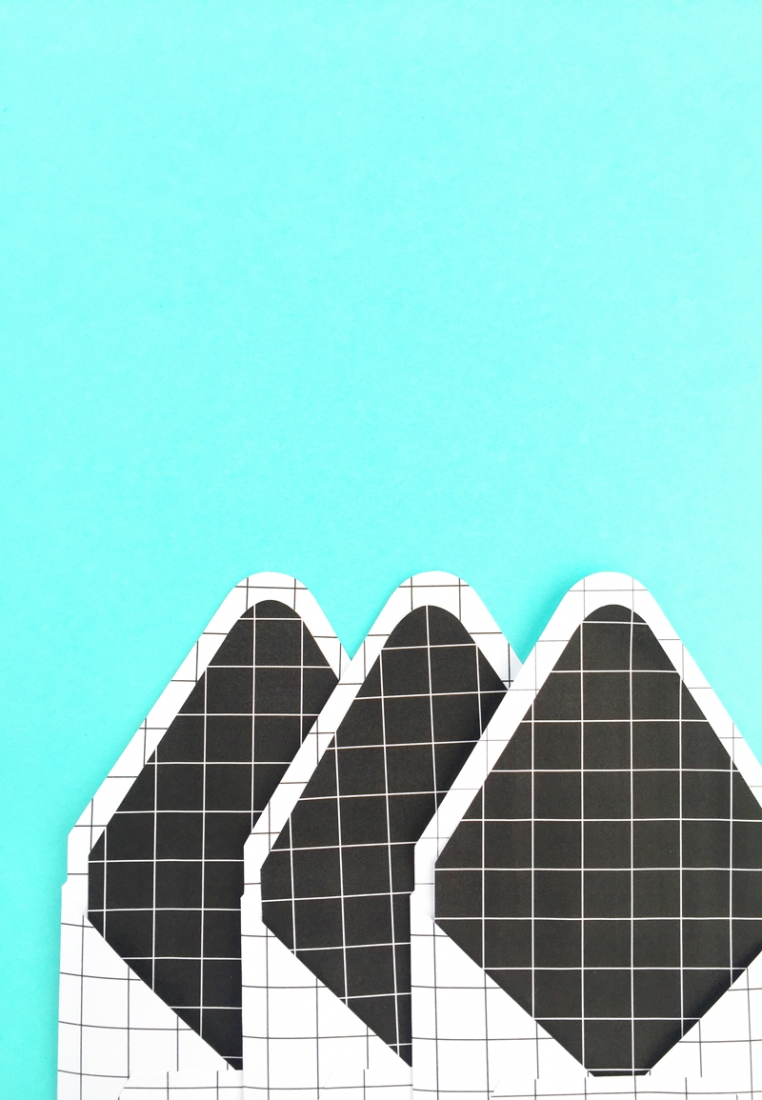
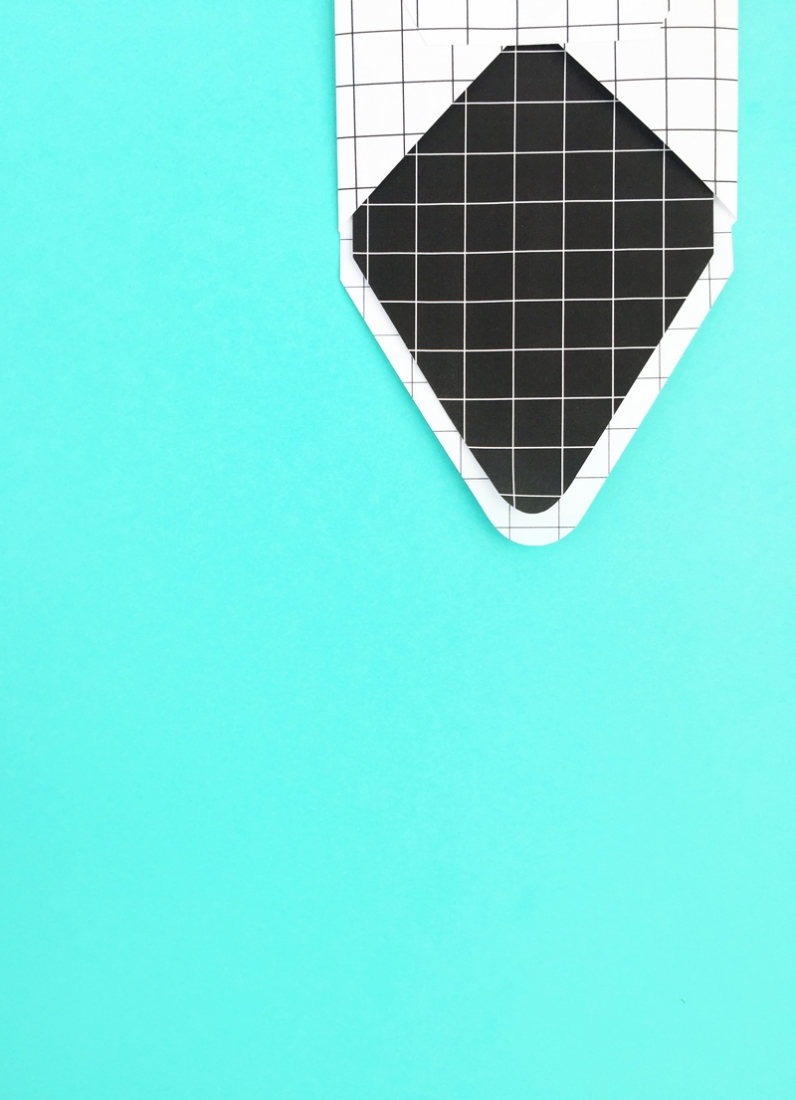
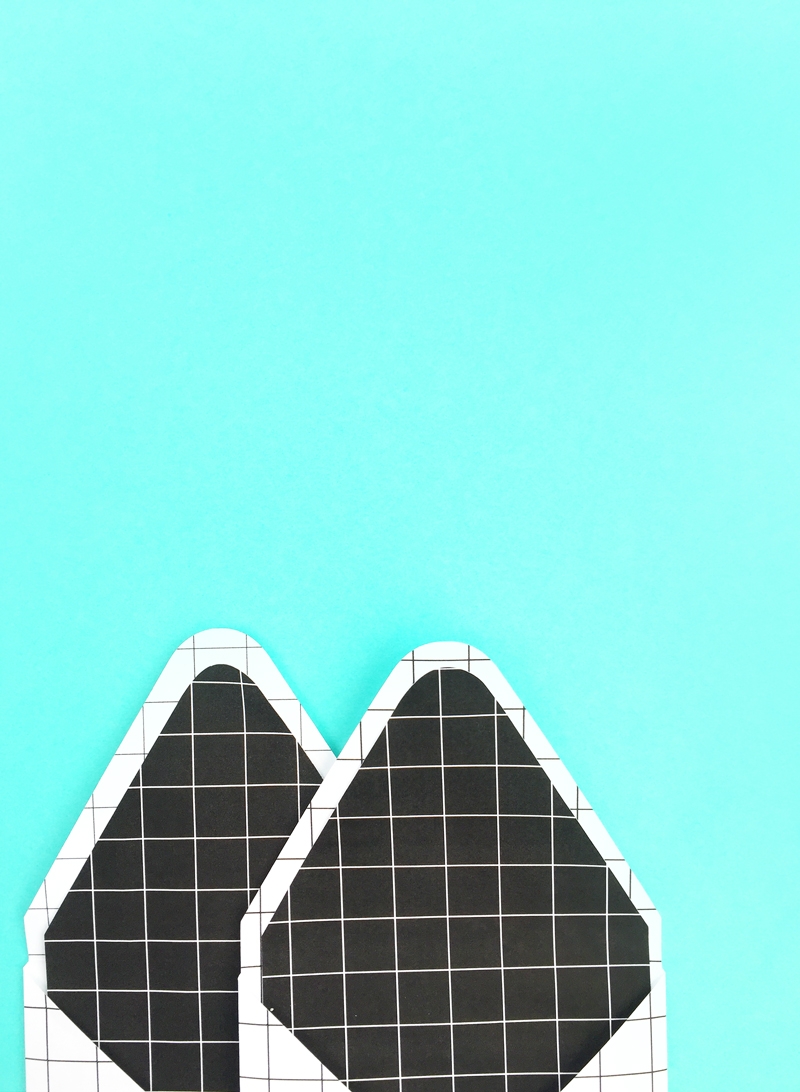
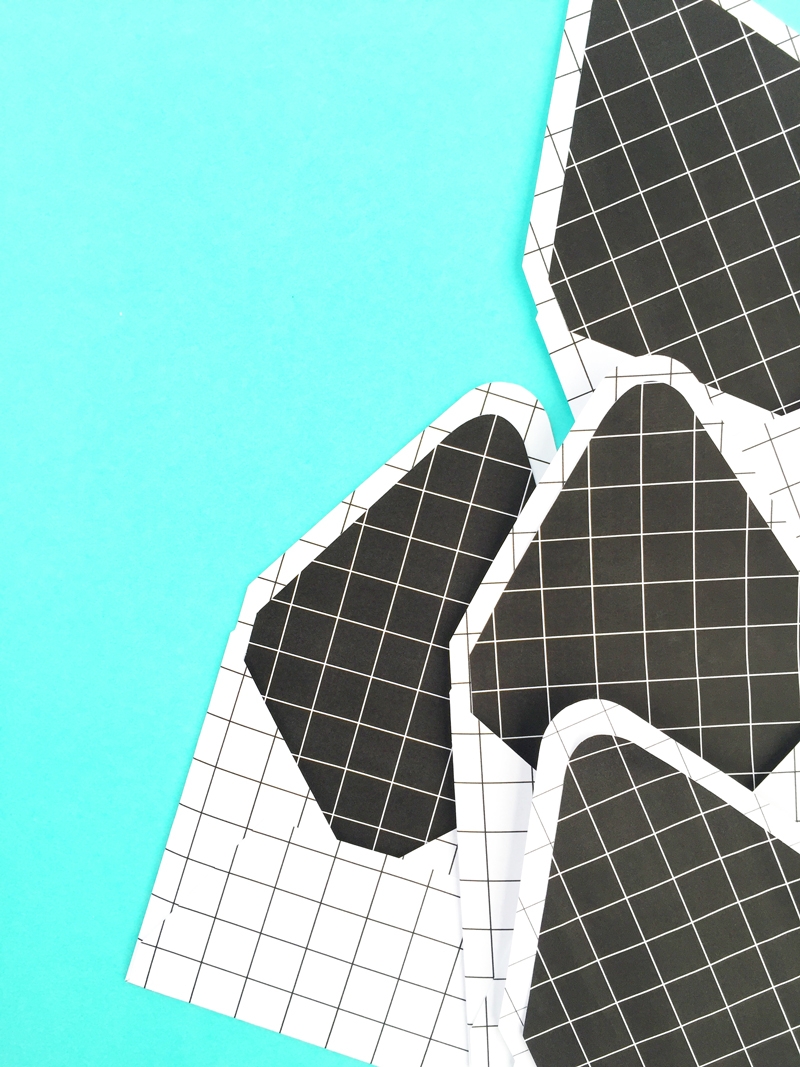
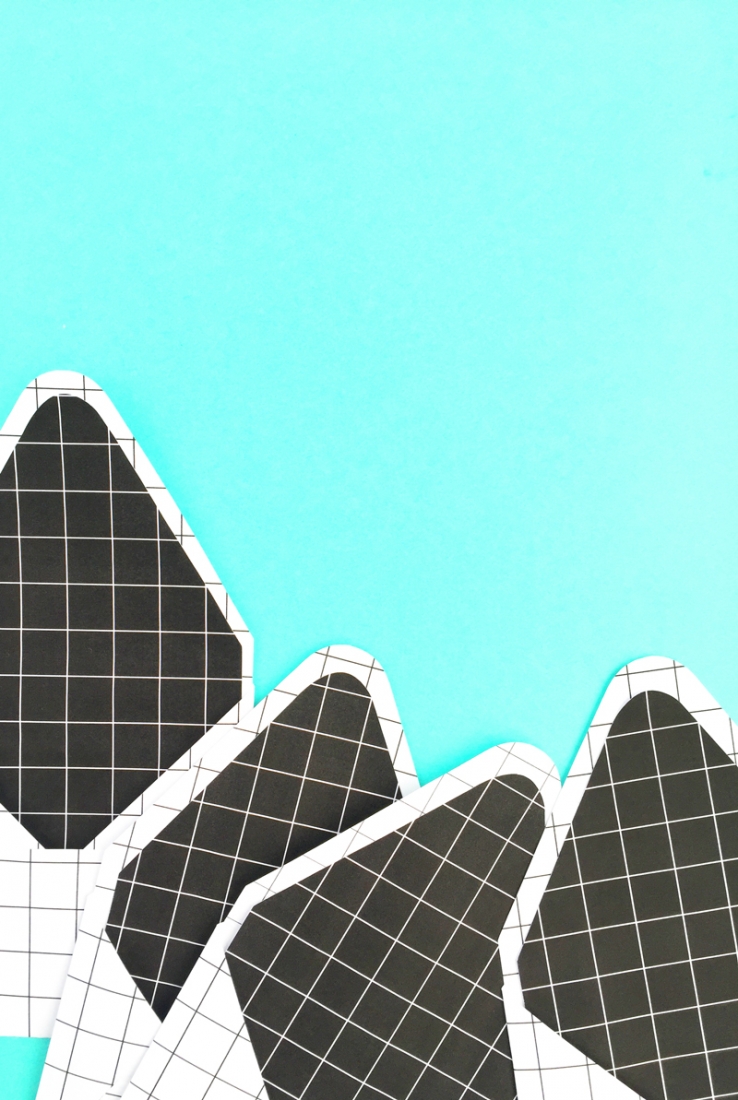
Continuing with my grid obsession, today I’m doing DIY grid envelope liners. I’m finishing off those envelopes with contrasting liners. I’m pretty happy with the way they turned out. The envelope liner shape is also part of the free cut file download I used for the envelopes. Want to make your own too?
Note: As mentioned in my previous post, I used my Silhouette cutting machine to create my shapes and envelopes. You can manually make your own too.
The What
- Silhouette Studio
- Silhouette cutting machine
- Cutting mat
- Printer paper
- Printer
- Liner shape (digital or your own physical template)
The How
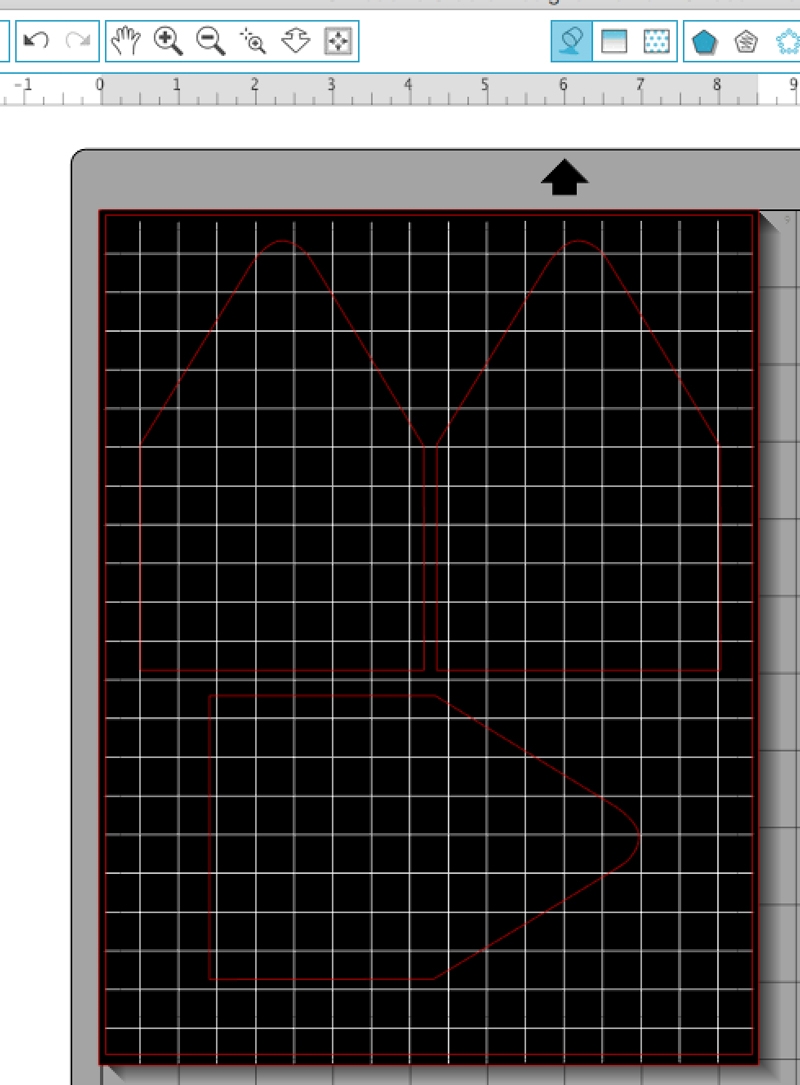
- In Silhouette Studio, open your DIY Grid Envelope file
- Create a rectangle the size of your page and fill the color with black
- Change the line color of your grid to white
- Place your liner shapes on your page
- Send to cut using copy paper settings
Tip: Show your print border (View > Show Print Border) to ensure that your shape does not get cut off with the white paper border
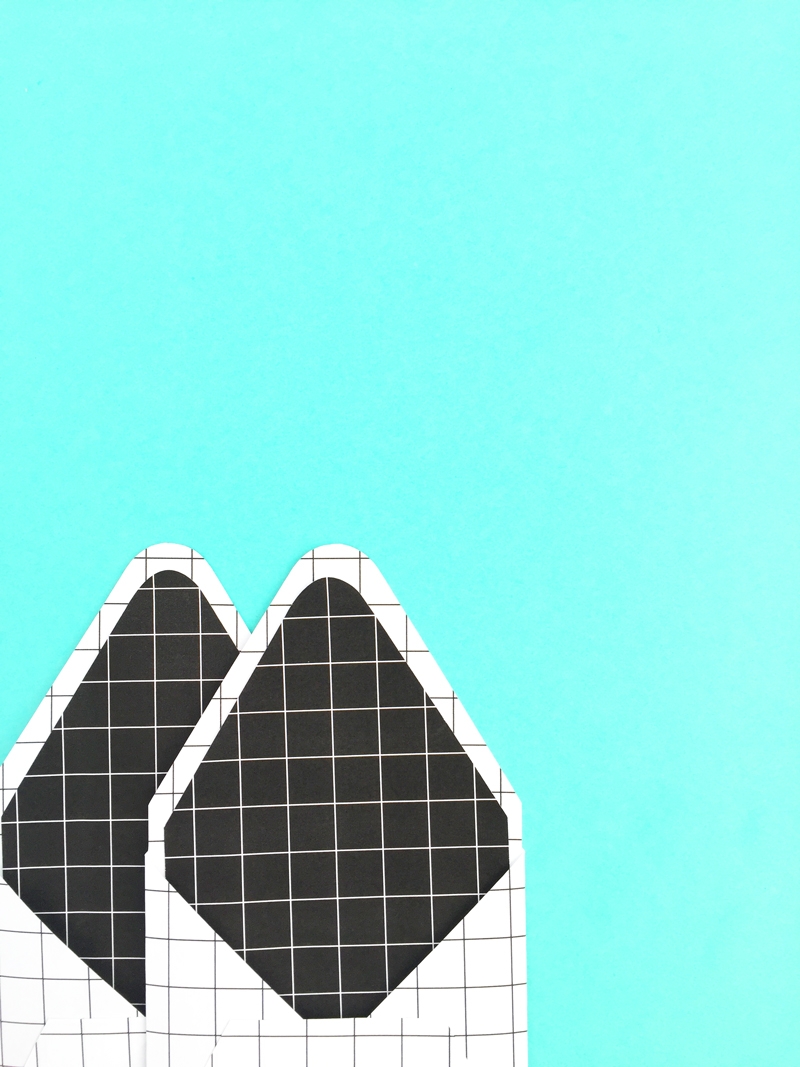
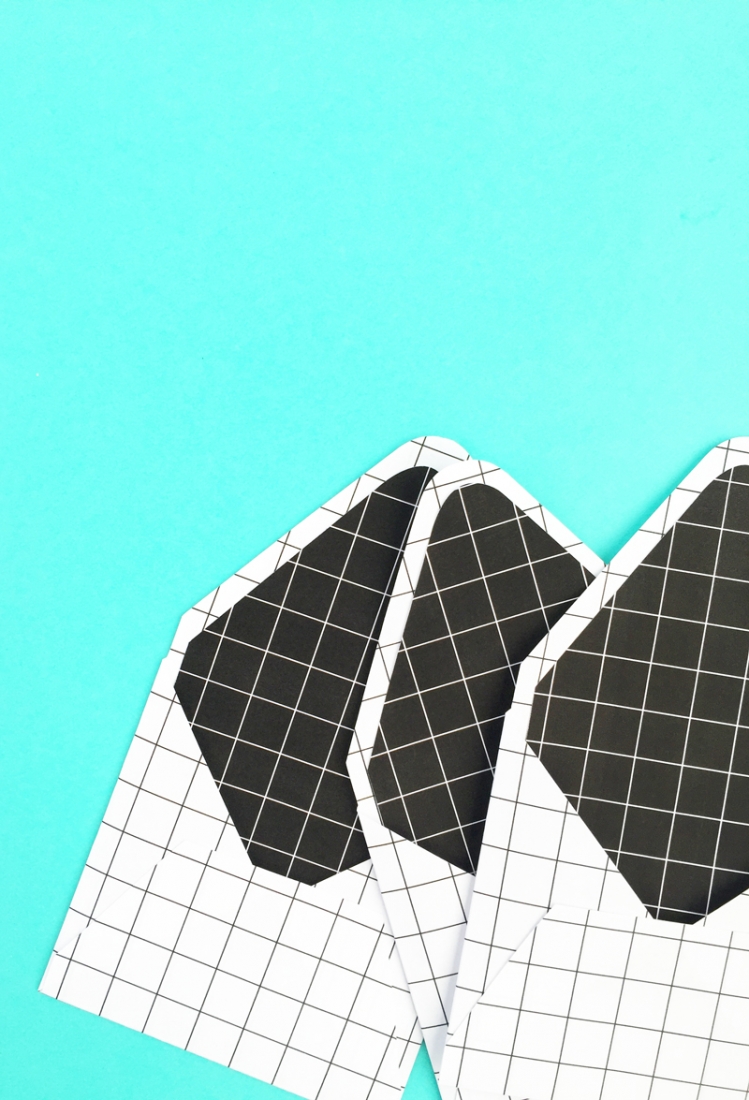
And that’s it! Now that you have your très chic grid envelopes completed, will you make matching flat cards to complete the set?

Looking for some more inspiration? Take a look at my other Silhouette projects.