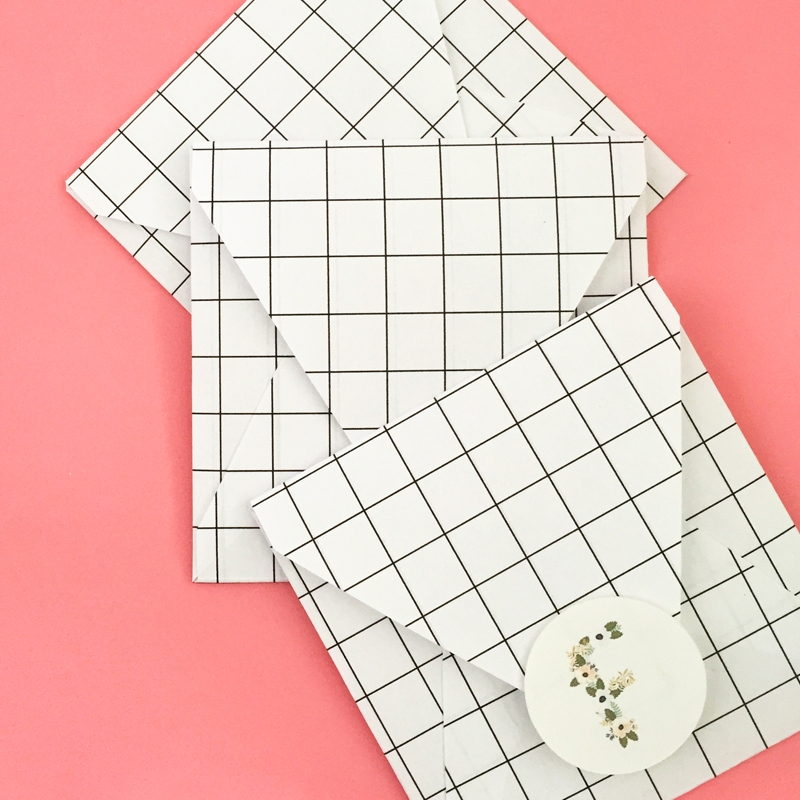
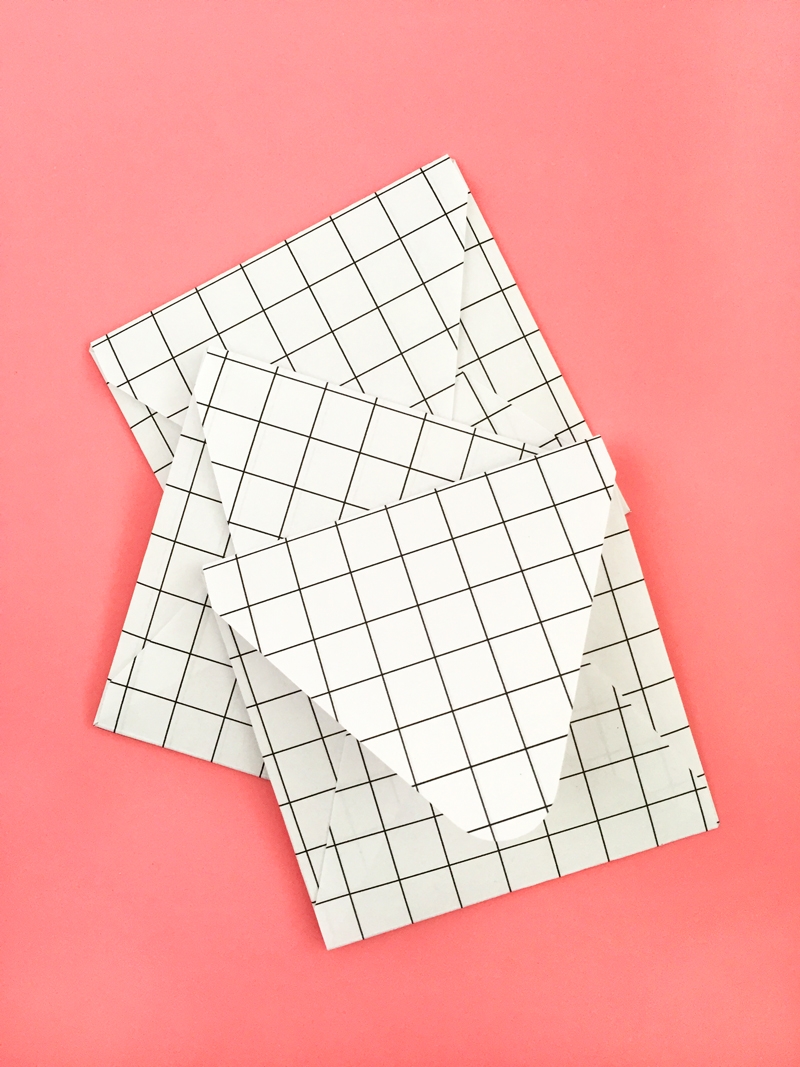
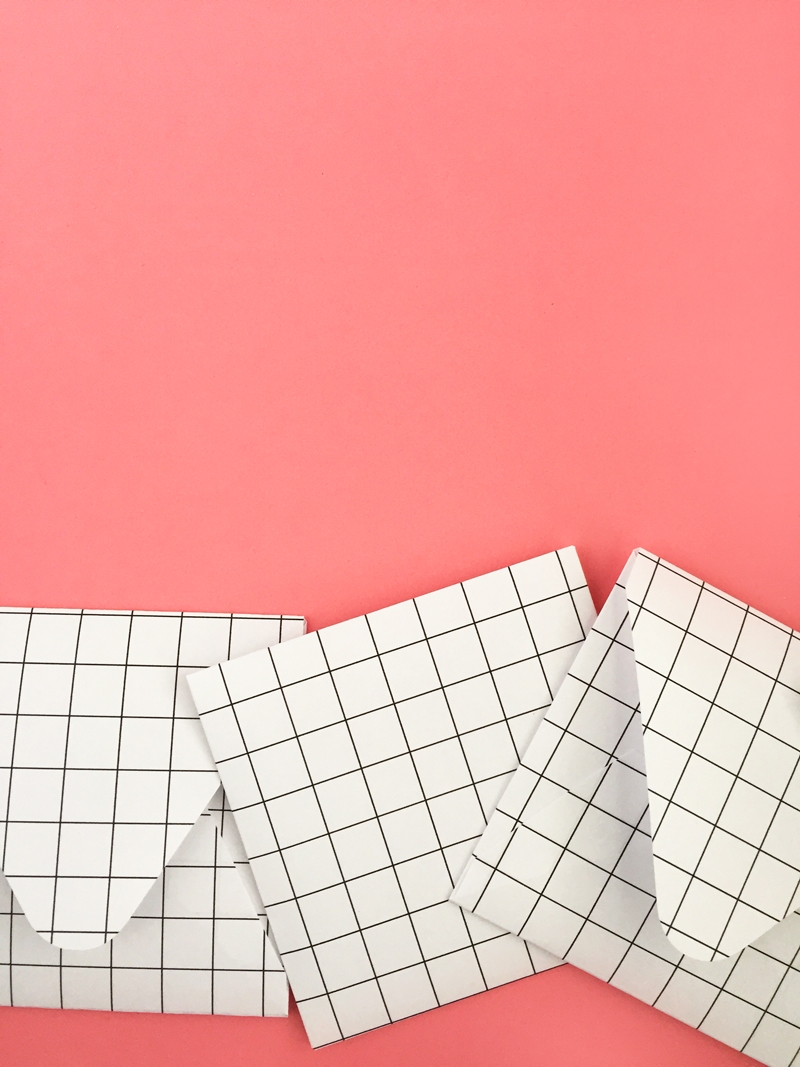
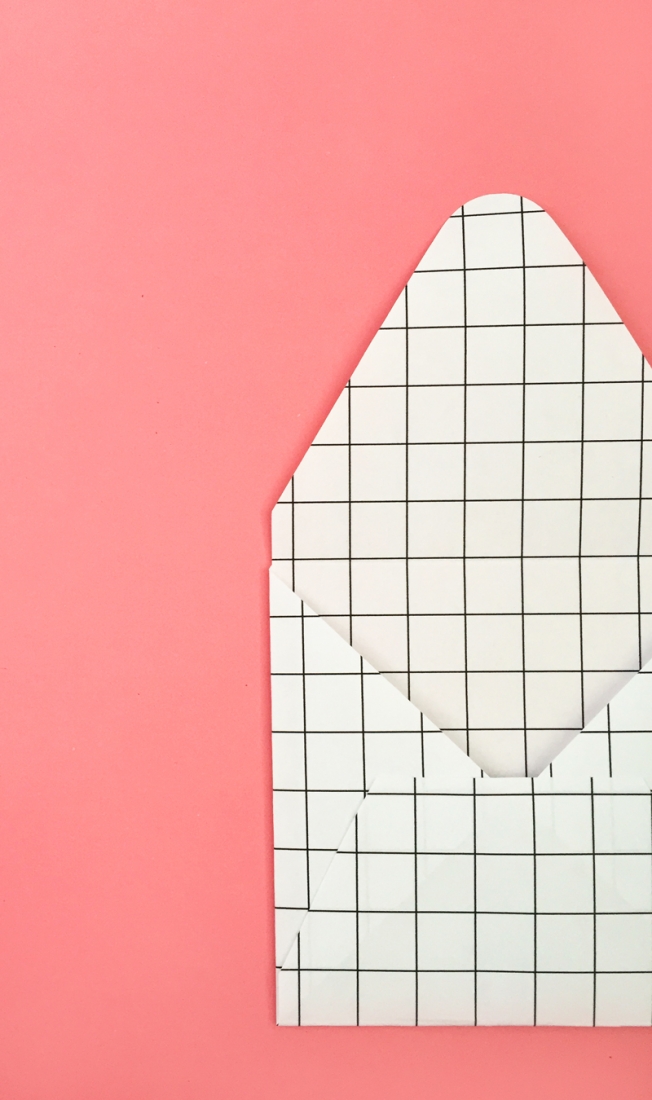
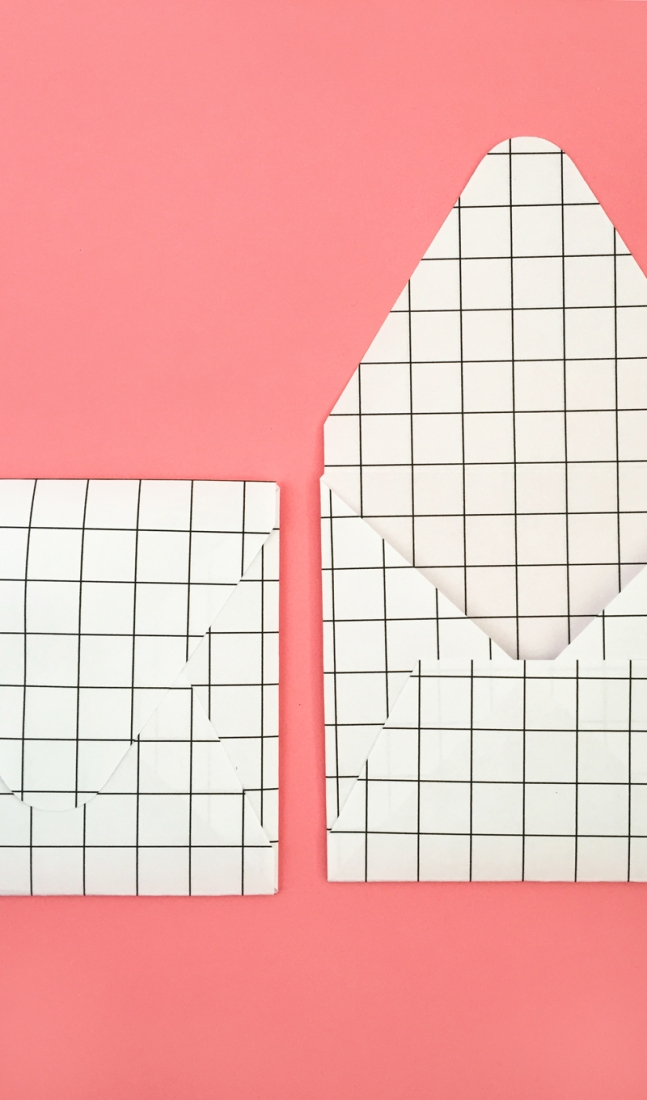
Now that the kids are back to school I’m trying to step up my DIY game and this week’s inspiration is all about grids. Have you noticed grid patterns popping up everywhere? I’m especially in love with Amy’s tutorials on all things grid. In today’s tutorial, I will show you how you can create your own grid pattern in Silhouette Studio (you can download the free version). I used my free square envelope shape from the Layering Liners post, but you can use your favorite shape or envelope. Just carefully unstick your envelope, and lightly trace the outline on your grid paper, and cut it out. Let’s jump in…
The What
- Silhouette Studio
- Silhouette cutting machine
- Cutting mat
- Printer paper
- Printer
- Envelope shape (digital or physical template)
The How
- In Silhouette Studio, view your grid (View > Show Grid)
- Using the Line tool, draw a straight vertical line using the grid a s guide. Hold down the Shift key while drawing you line to make a straight line
- Set your line to No Cut, and change the color to black and thickness to however thick you want your line to print out (I used .5 pt). Replicate as shown below
- Do the same with your horizontal lines, then print. For double-sided, feed your printed paper through so that it prints on the other side too.
- Place your envelope shape on your grid, then send to cut using copy paper settings
And that’s it! Stay tuned for some more diy grid stationery this week!
Looking for some more inspiration? Take a look at my other Silhouette projects.
