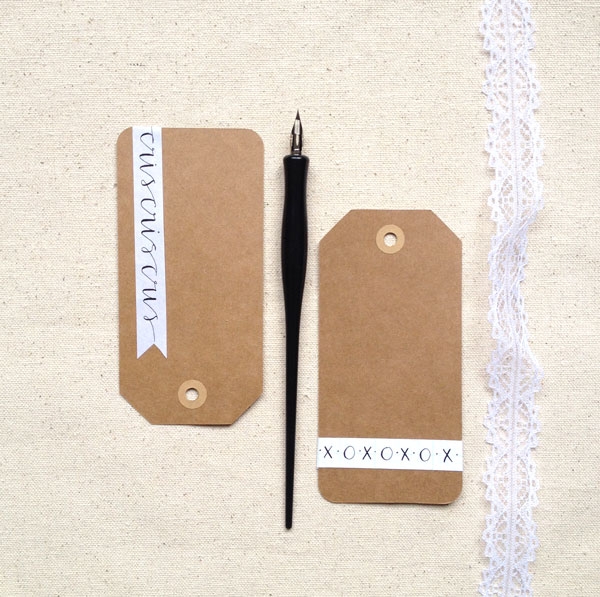
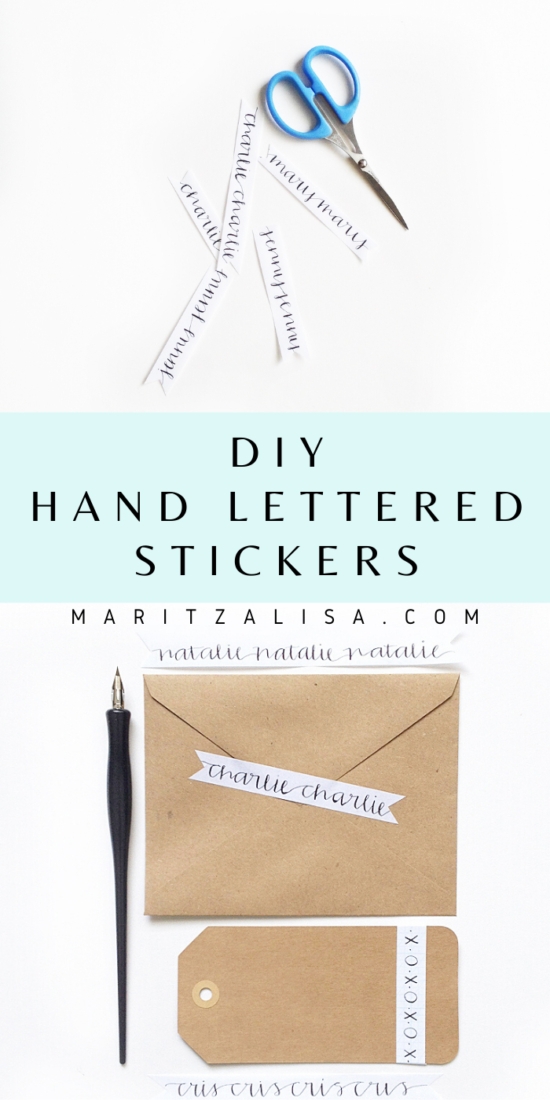
Happy Friday! Today I have a lettering DIY for you. I’ve been practicing my calligraphy and as I flipped through my gridded pad, I thought: Hm. What if we turn these lines of letters and words into sticky hand lettered labels? And, a DIY was born, Friends. A DIY was born….. or maybe re-born (I’m pretty sure someone else has done this). Anyway, here’s my take on it. Onwards!
The What
- Copperplate Practice Paper (I got mine at Paper & Ink Arts) or Tracing Paper
- Nibs
- Ink
- Pen Holder
- Cutting Mat
- Craft Knife (or Scissors)
- Sticker Maker
The How
Step 1: Write or practice your lettering/ calligraphy on your gridded pad or paper. Space your lines out so that you can cut them later into strips (tip: the lettered lines can be used for the initials of friends or family)
Step 2: Cut the lines using scissors or a craft knife
Step 3: Cut to the desired length and add detail to the ends
Step 4: Run your labels through the sticker maker
Step 5: Apply to your gifts, envelopes or treat bags

And, you’re done! What will you use your beautiful labels for?
7 Comments on DIY Hand Lettered Labels
Comments are closed.


This is beautiful! I’ve never really tried calligraphy, but this makes me want to give it a try. Lovely! Thanks for linking up at The Makers. We are so glad to have you join the party!
Thanks, Corey! Honored to be invited!
I’ve been practicing my calligraphy too. Yours is beautiful!! And this is such a smart idea. I’d love it if you came by and shared it with us over at The Makers link party on my blog. 🙂
Would love to! thank you!!
Thanks, Ras! Would love to see your finished product!
Love the look of these labels for sealing envelopes…I really want to try that one!