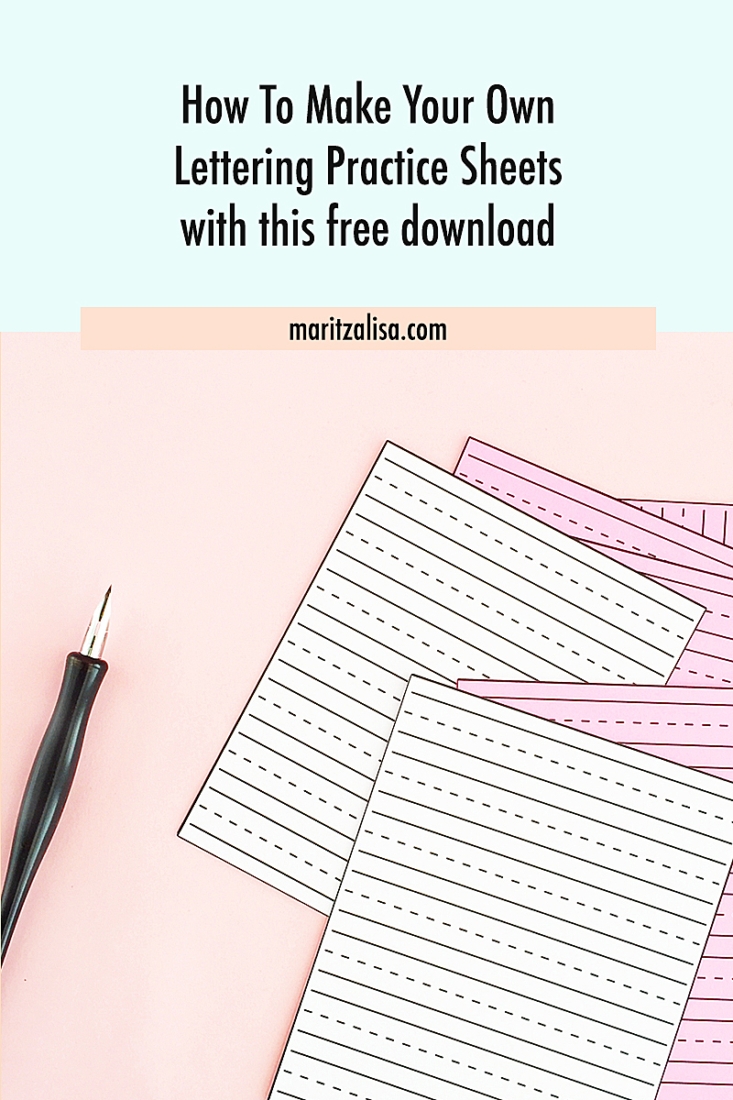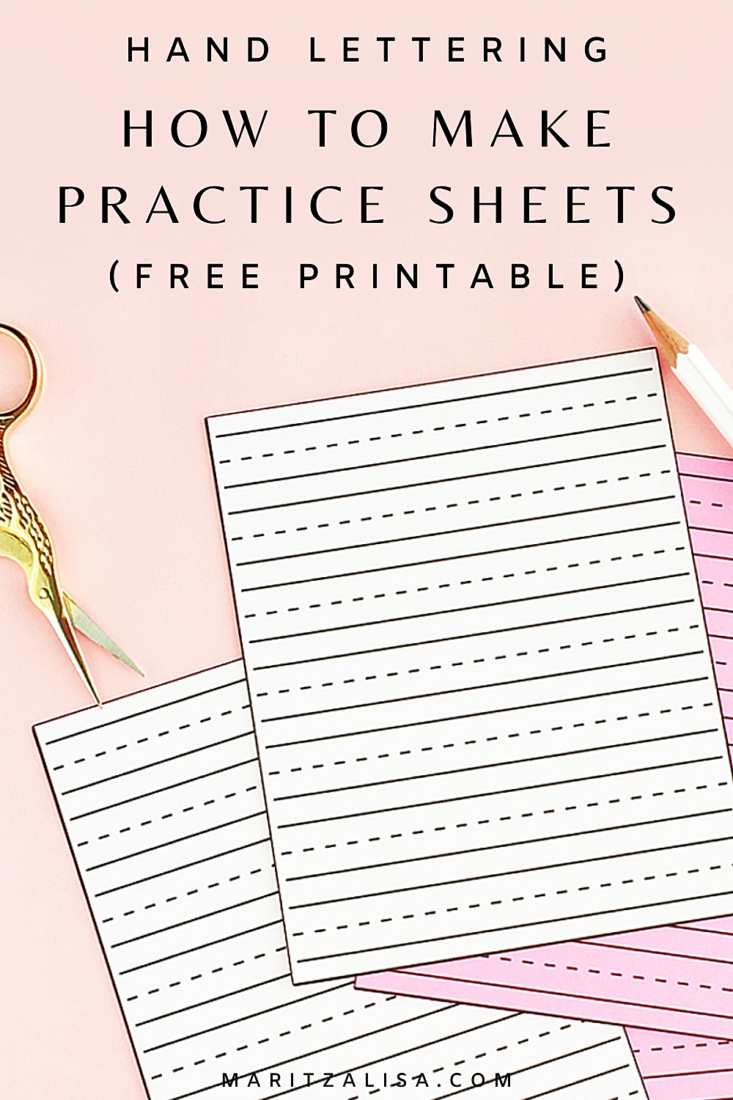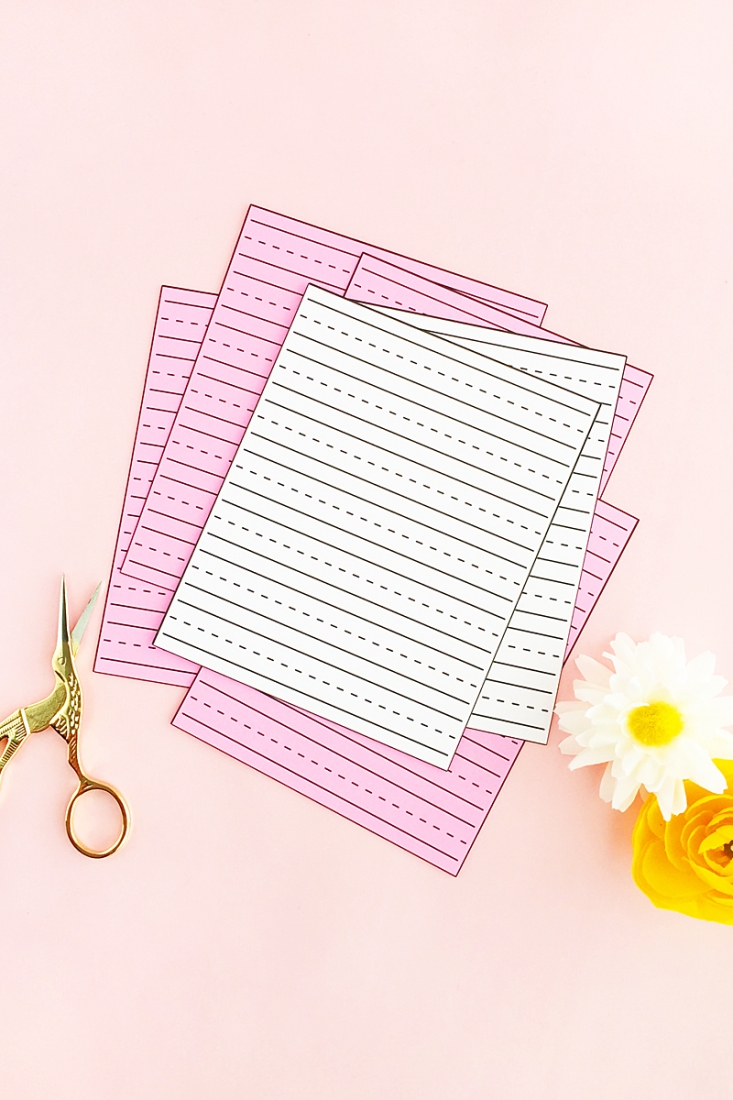
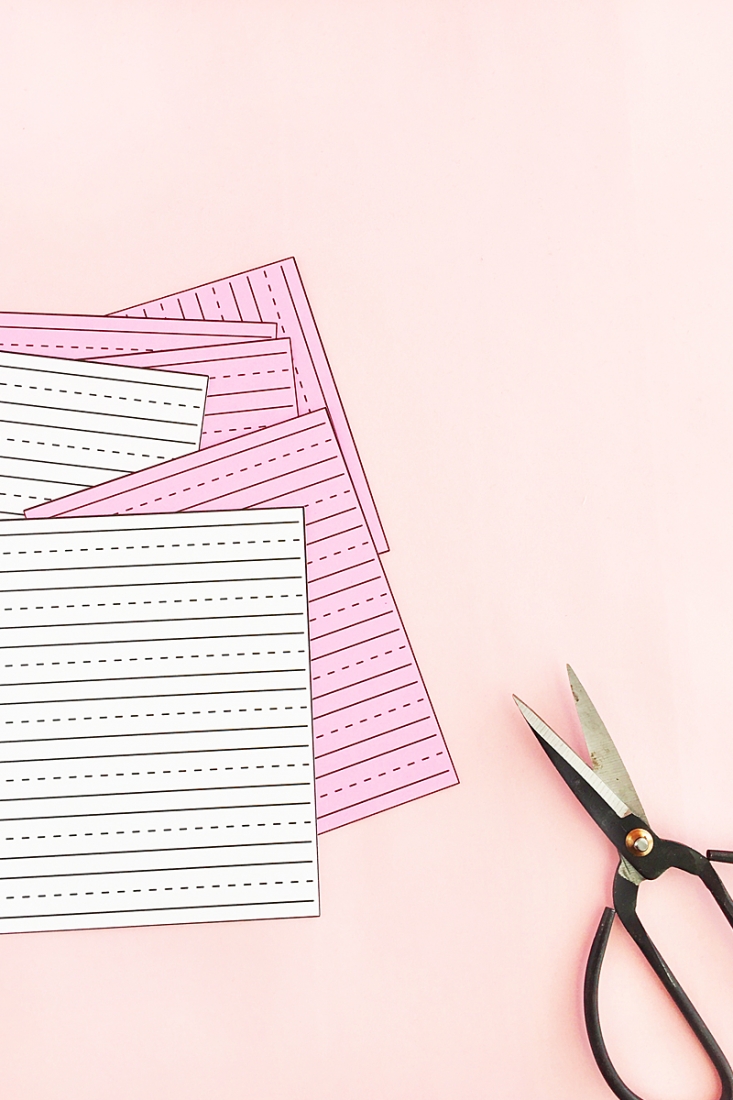
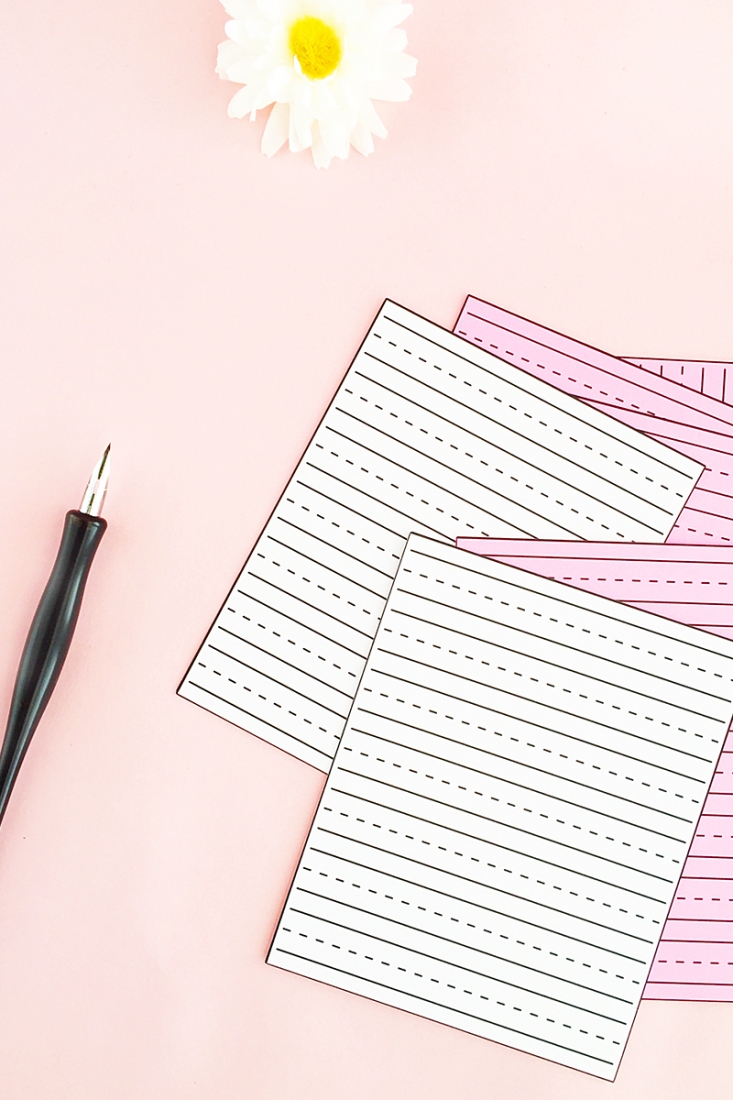
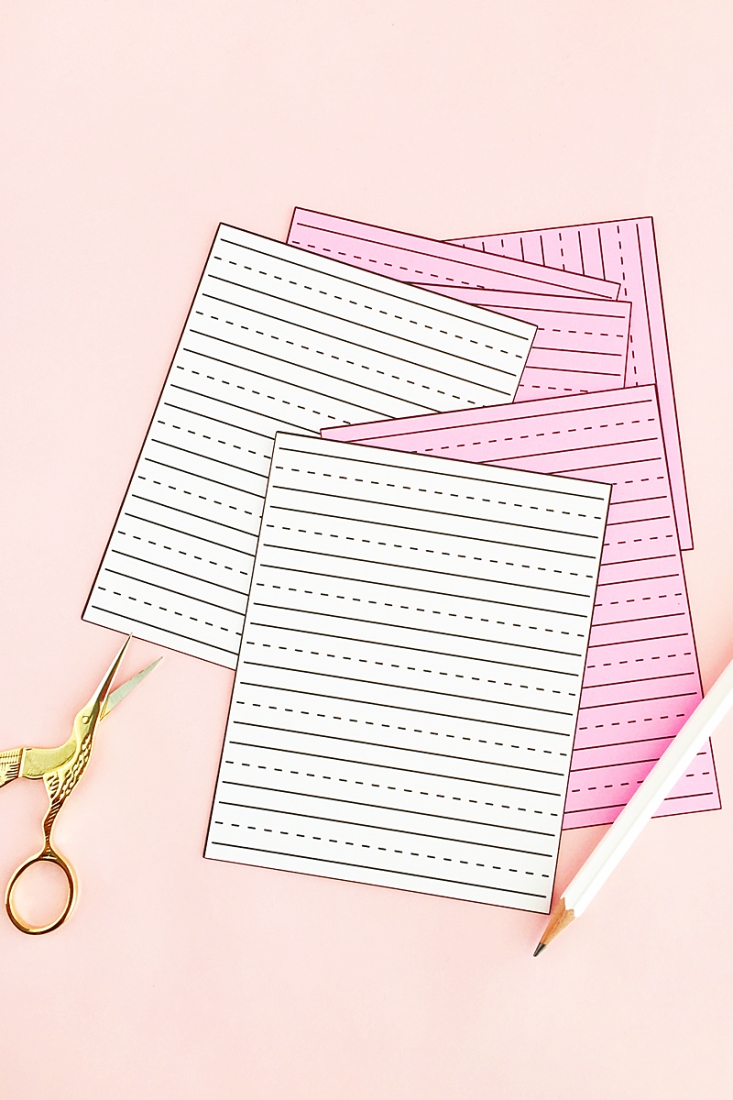
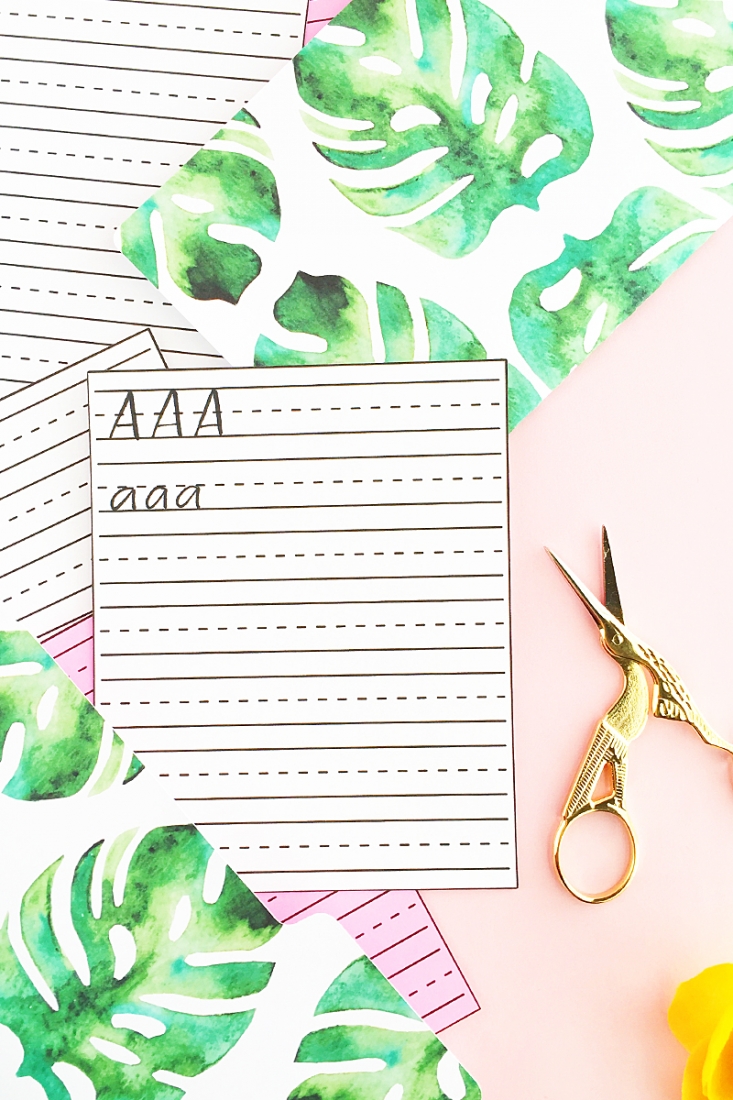
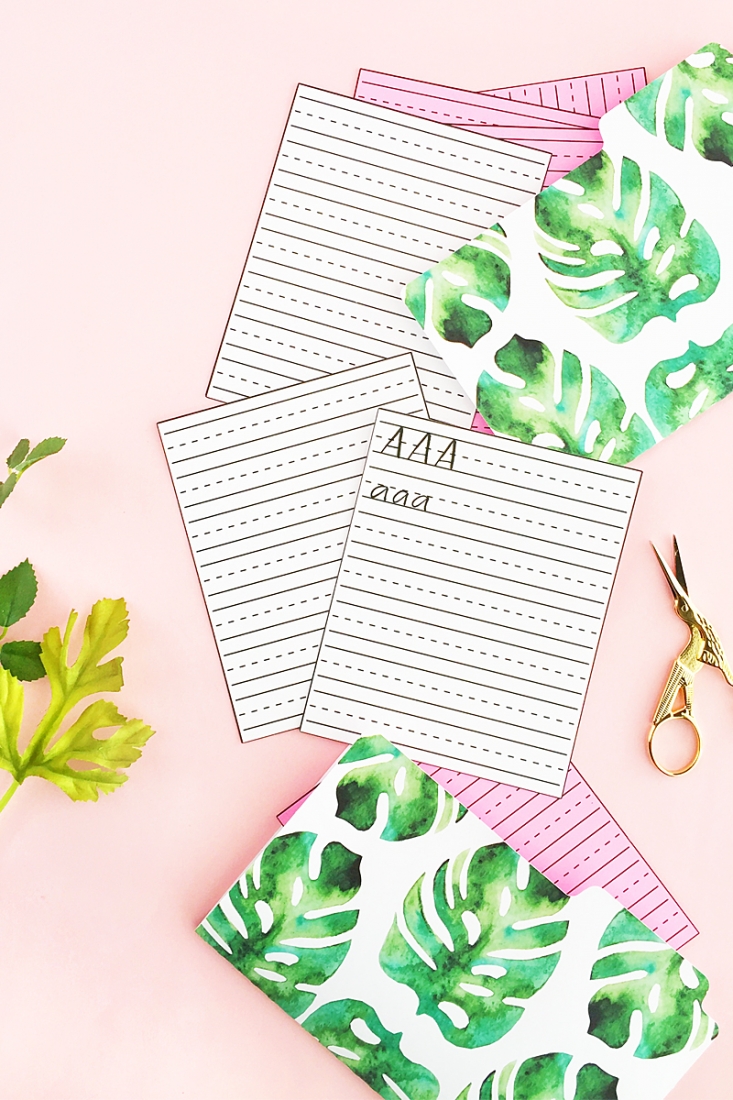
I’m a bit inspired by my last 5 Lettering Tutorials & Resources post. Can you tell? Also, my younger son and I have been practicing handwriting as part of our summer homework. So whether you’re on the go and need to practice your lettering, or like mini things (like me!) or need a fun way to practice letters with little ones, these DIY Mini Lettering Practice Sheets are for you. Don’t have time to make your own? Read on to get your downloads in Silhouette or PDF…
What You Need – DIY Mini Lettering Practice Sheets
- Silhouette cutting machine
- Silhouette Studio (there is a free version!)
- Cutting mat
- Cardstock (or the paper you use for lettering practice)
- Printer
- Scissors (if using the PDF download)
- Free Studio 3 Practice Sheets or
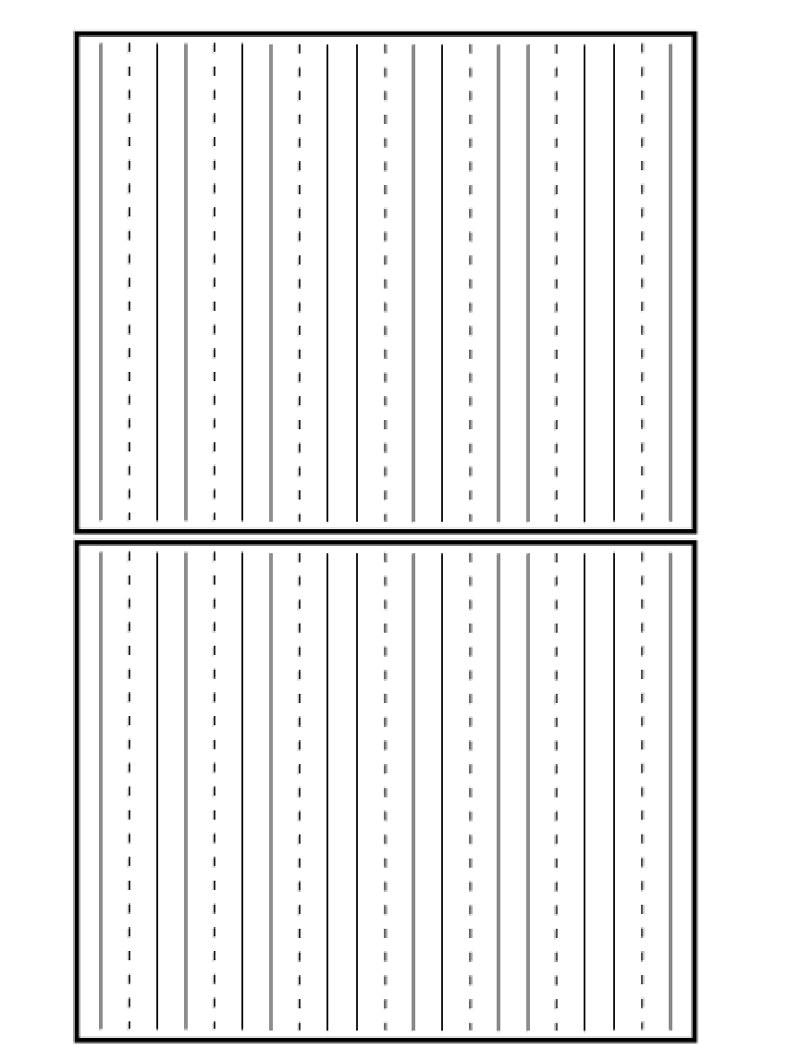
- Free PDF Practice Sheets
Instructions: DIY Mini Lettering Practice Sheets
To make your own from scratch:
- In Silhouette Studio, show the grid
- Use the line tool to create a line
- Change the line color to black ( or whichever color you want)
- Change the line thickness to around 1.5
- Using the replicate tool, create a copy of your line and set it to dashed
- Create another copy of your solid line and place it below the dashed line
- Set these lines to No Cut
- Group and replicate
- Draw a rectangle around the lines (change the color and thickness) and set to cut
- Show your registration marks
- Group everything together and set to print and cut using cardstock settings (or the paper type you use for your lettering)
To make your own with the downloads
- For the Studio 3 file – open in Silhouette Studio, show your registration marks, then send to print and cut
- For the PDF file – send to print and cut along the outer edge of each sheet

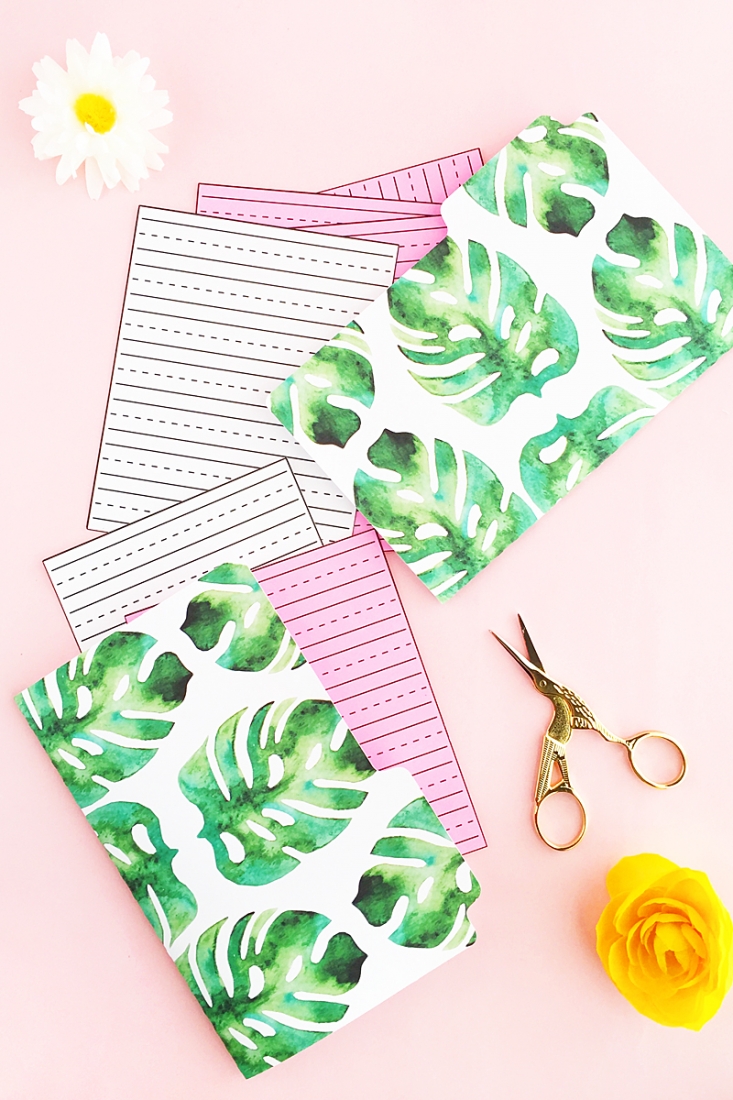
And that’s it! You now have these sweet little practice sheets that you can take with you in your DIY Mini Tropical Folders!
Looking for some more inspiration? Take a look at my other Stationery Projects and craft a little longer with me!
