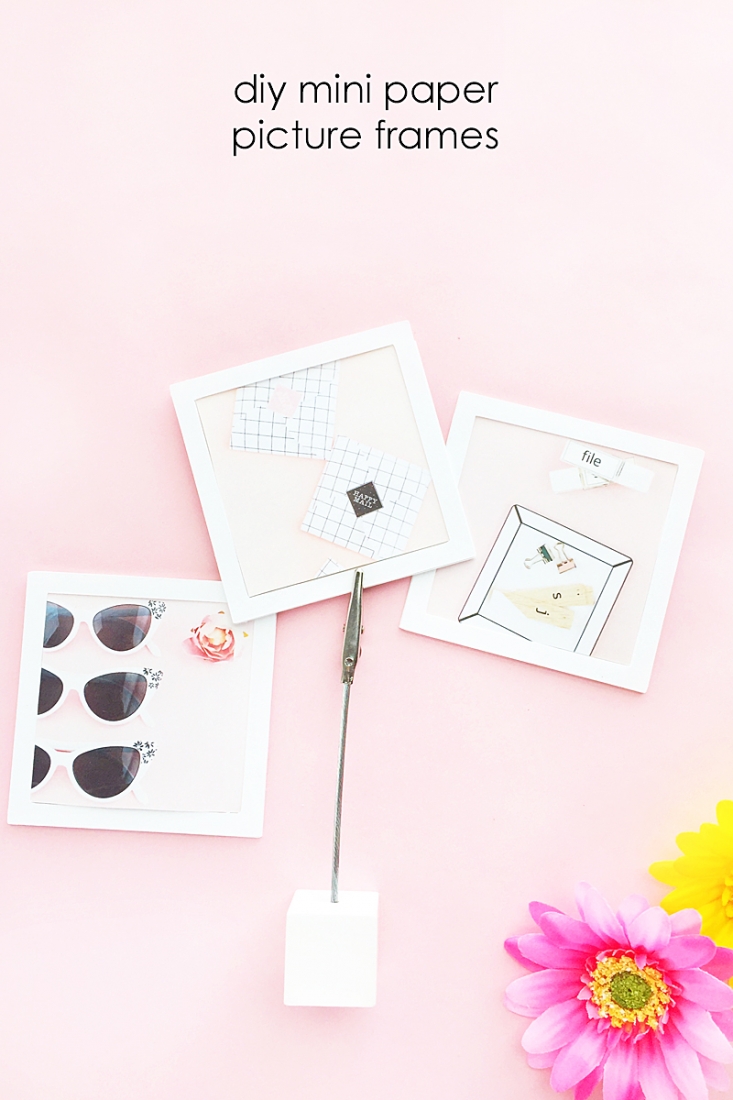
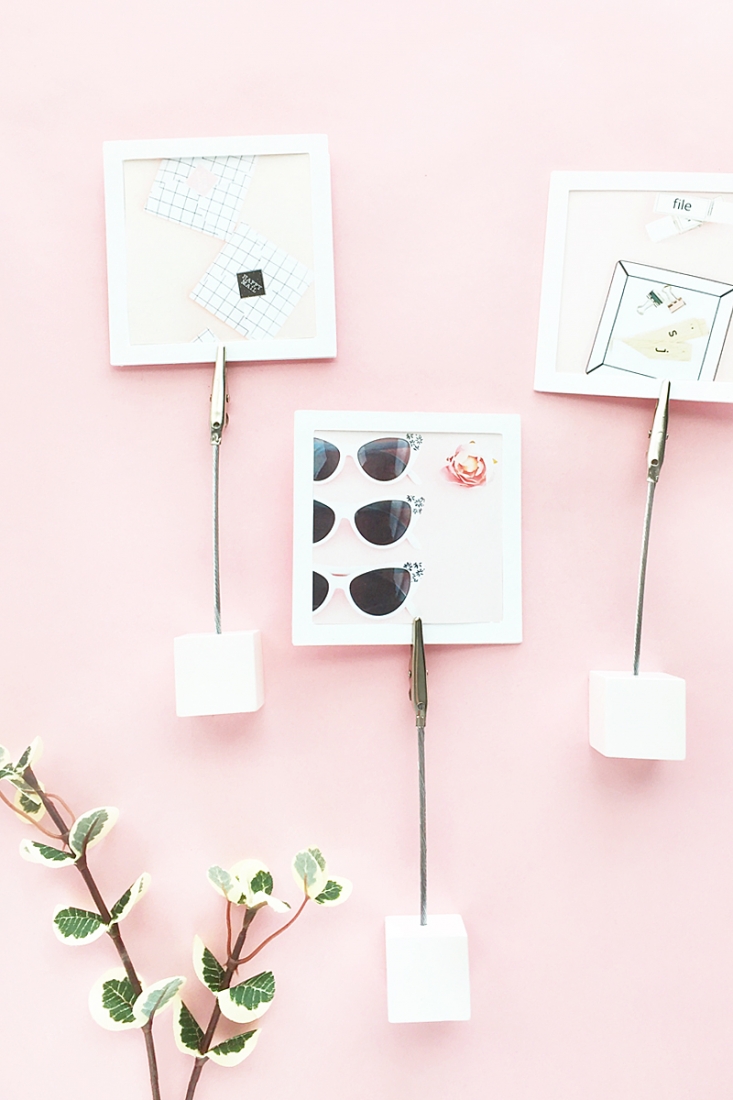
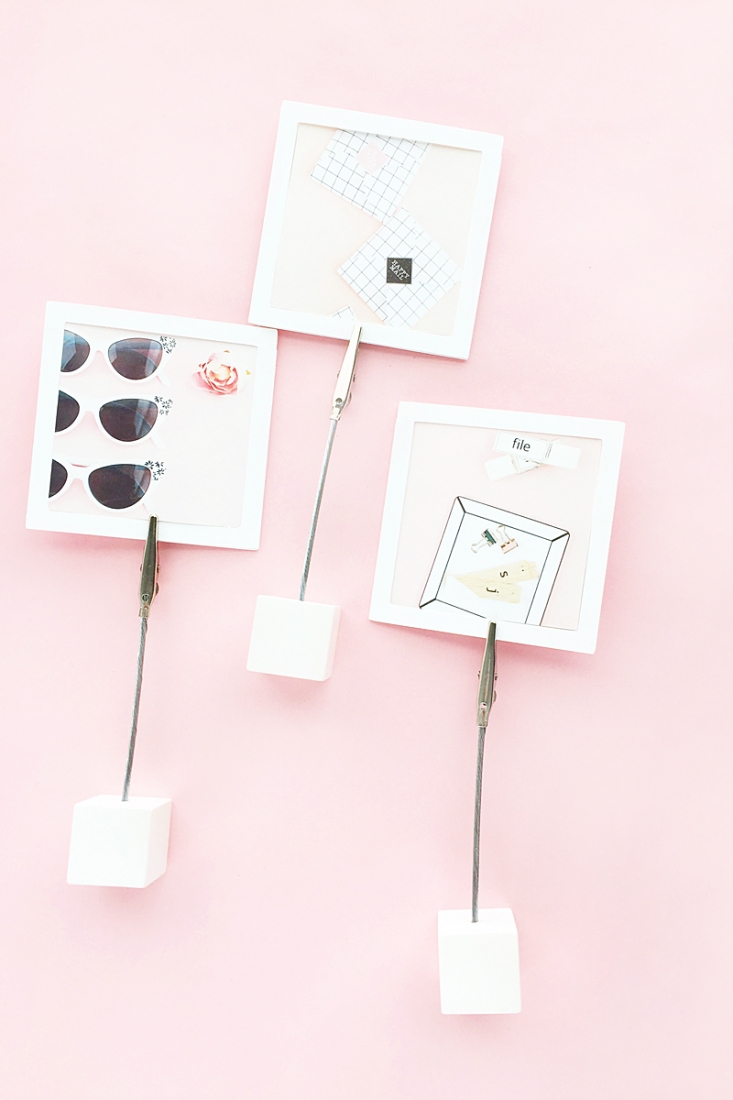
Graduations and Father’s Day are fast approaching, and how sweet would these DIY Mini Picture Frames filled with lovely memories look on a grad’s or Dad’s desk? I’m making it super easy for you by providing you a free studio 3 cut file and pdf so that all you have to do is print and cut by machine or by hame. Want to make these cute gifts? Read to see how to make your own handmade paper photo frame – step by step!
Materials: DIY Paper Frames
If you’re cutting with your Silhouette:
- Silhouette Studio (there is a free version!)
- Silhouette cutting machine
- Bristol paper – this is like a thicker cardstock
- DIY Mini Picture Frames – Studio 3 Cut File
- Glue
If you are cutting by hand:
- Scissors
- Bristol paper – this is like a thicker cardstock
- Paper Frame Template – PDF file
- Glue
*This post contains affiliate links for products that I use and love!
How To Make A Paper Photo Frame
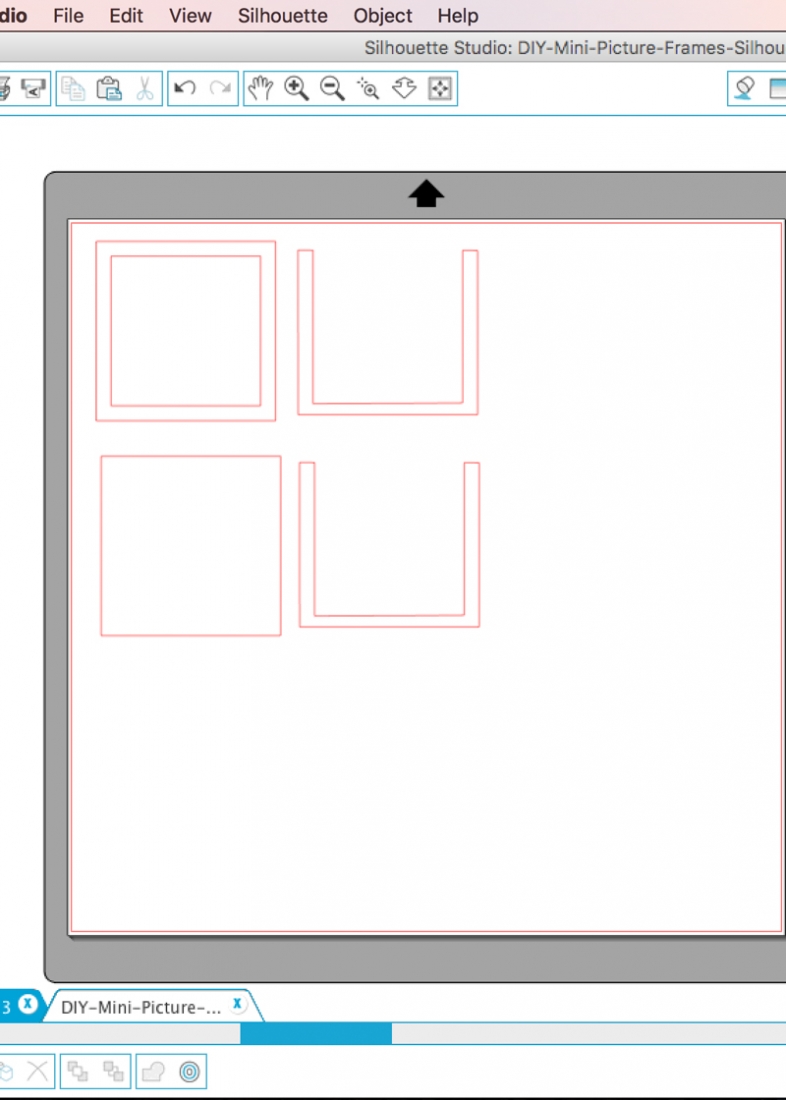
- Use your scissors or Silhouette cutting machine to cut out the frame pieces on the bristol paper
- There should be a square, 2 U shapes and 1 square frame
- Stack and glue the 2 U shapes onto the square so that the bottoms of the U shapes are aligned with the bottom of the square
- Now glue the frame onto to the top U shape (also with the bottoms aligned)
- Crop your picture to size and slide it in your frame
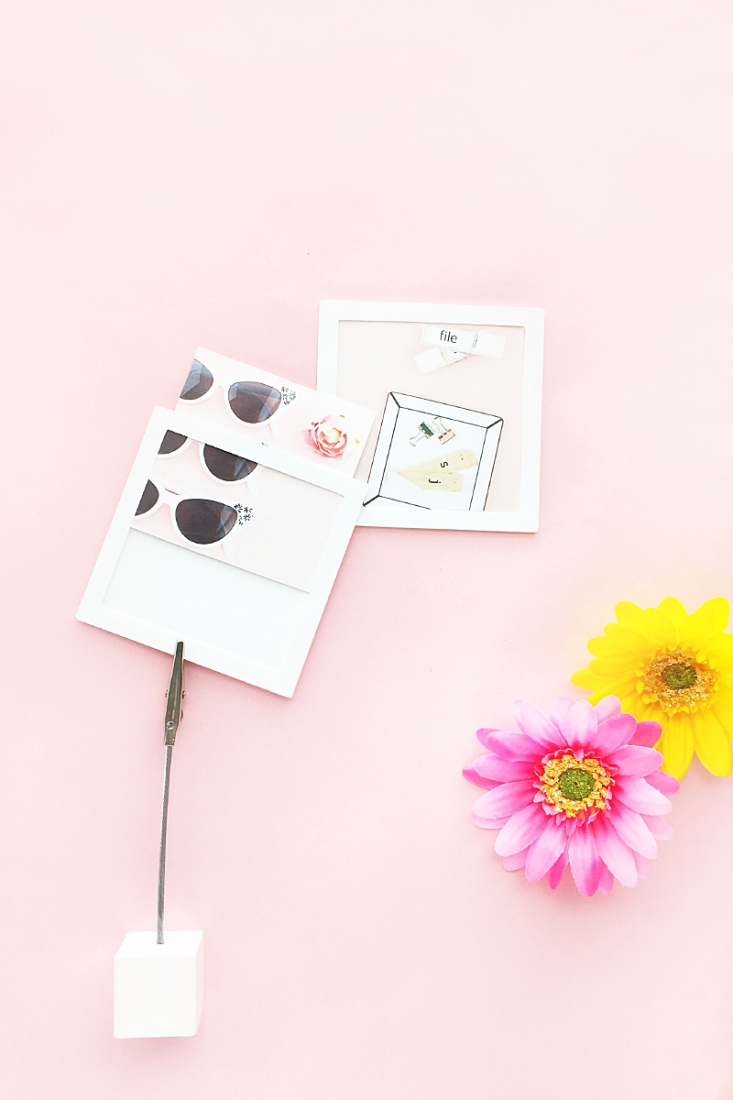
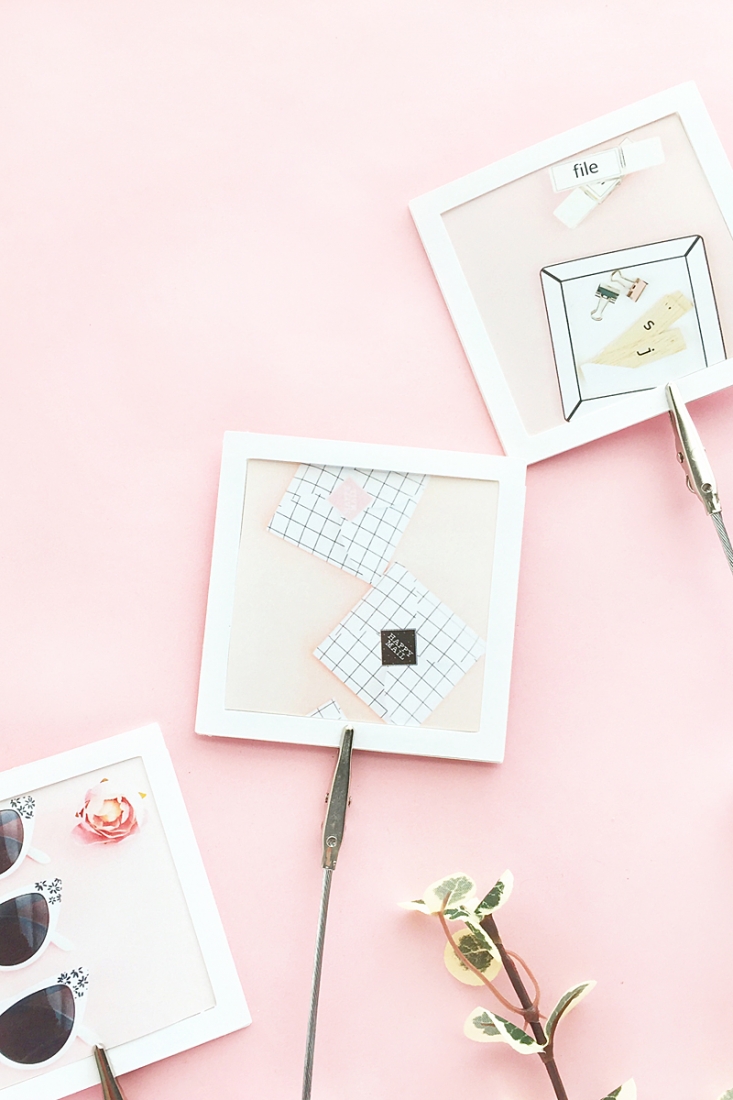
Finally, you can display your pretty framed pictures on your walls or with these memo clips that will sit nicely on desks or shelves. Now that you know how to make a paper picture frame at home, will you make as a gift or will you keep it for yourself? Tell me in the comments below!
Looking for some more handmade inspiration? Take a look at my other Silhouette Projects!
6 Comments on DIY Mini Picture Frames
Comments are closed.
Love it. Happy to have found my way here. Thanks for the pattern.
Oh yay, Lisa – SO happy you like it! xoxoxo
What a lovely idea! Thank you so much for sharing.
Have a wonderful weekend. Kind greetings from the EU.
elenor
Oh yay, Elenor! So happy you like them! Have a wonderful weekend! xoxox