Well, that’s a mouthful of words, non? Hello and welcome to my first blog post – yay! I’m so happy you’re here.
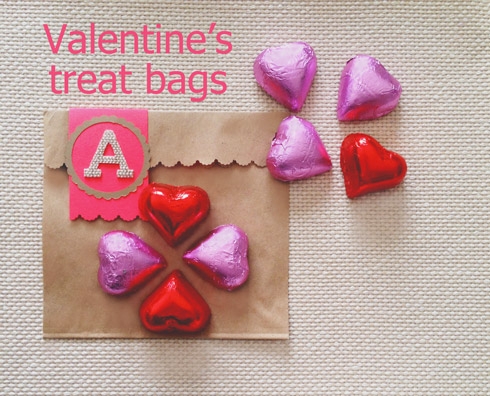
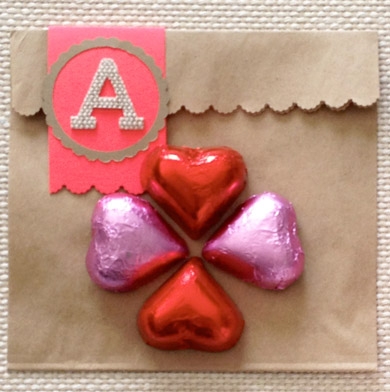
A wonderful coincidence that I decided to take the plunge on Valentine’s week. To start things off, I’d like to share a relatively easy project with you for any last minute treats you have for your friends, family or sweethearts. These monogrammed treat bags are cute and simple. All the tools can be collected at your local craft store. Here’s what you need – Picture first…

- Any die cut punch that measures about 1.7 inches in diameter. I used Martha Stewart Crafts Layering Paper Punch – Scalloped Circle
- Tape – double sided. If you have single sided tape, you can double up or use regular paper glue
- Any border punch. Something that produces a nice edge
- Tacky glue – My new must-have
- Letter stickers. I had these burlap ones tucked away for the longest time. They are about 1″ in size
- Brown paper/Kraft bags
- Ruler
- Bone folder (optional)
- Craft knife (shown) or scissors (not shown)
- Card stock (any color) – I used the one shown for the tag, and Kraft card stock for the scalloped border
How to:
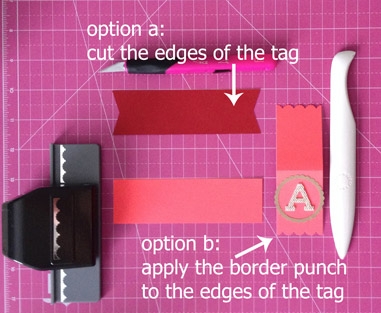
1. Cut the tag: You can use a craft knife or pair of scissors to cut out a rectangle from your card stock measuring 4.5″x1.5″

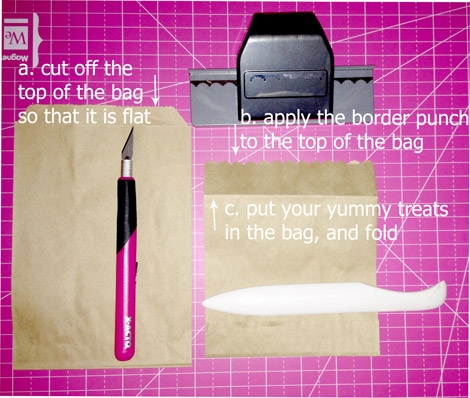
2. Prep the bag
3. Decorate the tag, and fold in half. For a clean fold, use a bone folder.
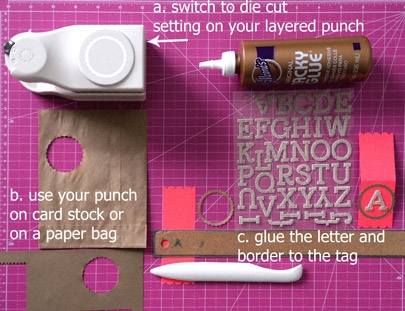
4. Assemble. Use your double-sided tape or glue to attach the tag, and keep the folded part of the bag down (remember to put the treats in first!), and you are done!
The only tools I recognize are #2 and #7, BUT you have inspired me to make more effort this year (as in, I’ll make an effort this year)…
Great job, Mitz!!!!
Thanks, Bella!!
Love the idea Mitzi..beautiful! I may try this.
Thanks, Trish!