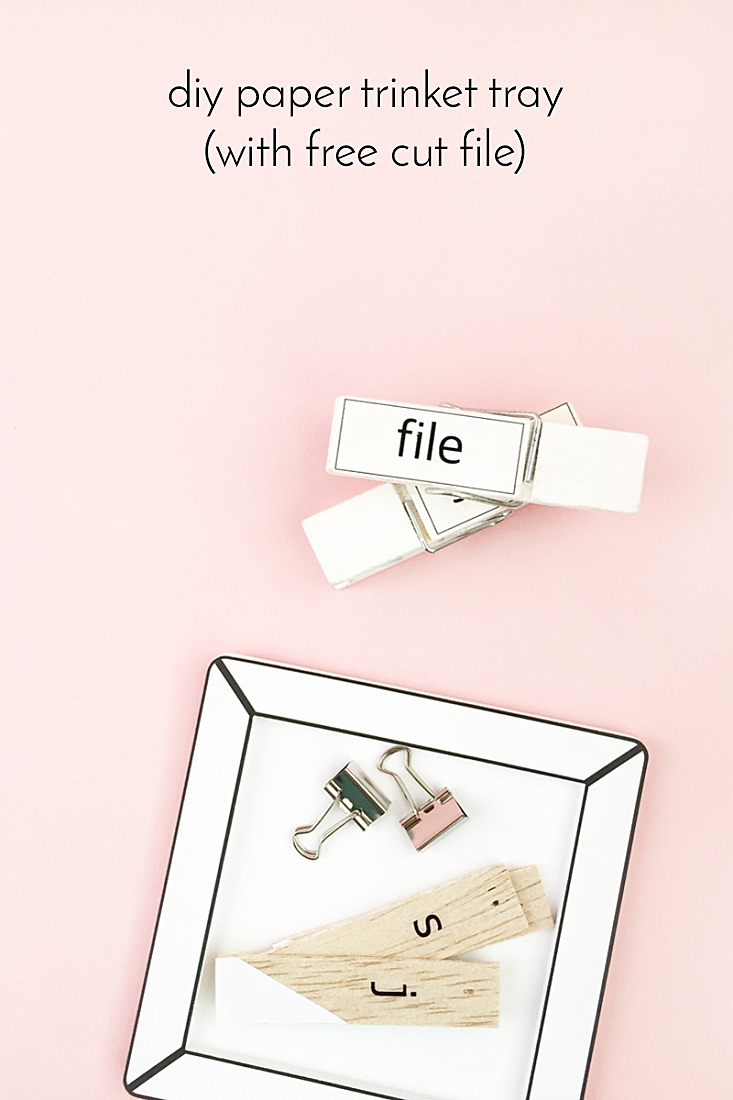
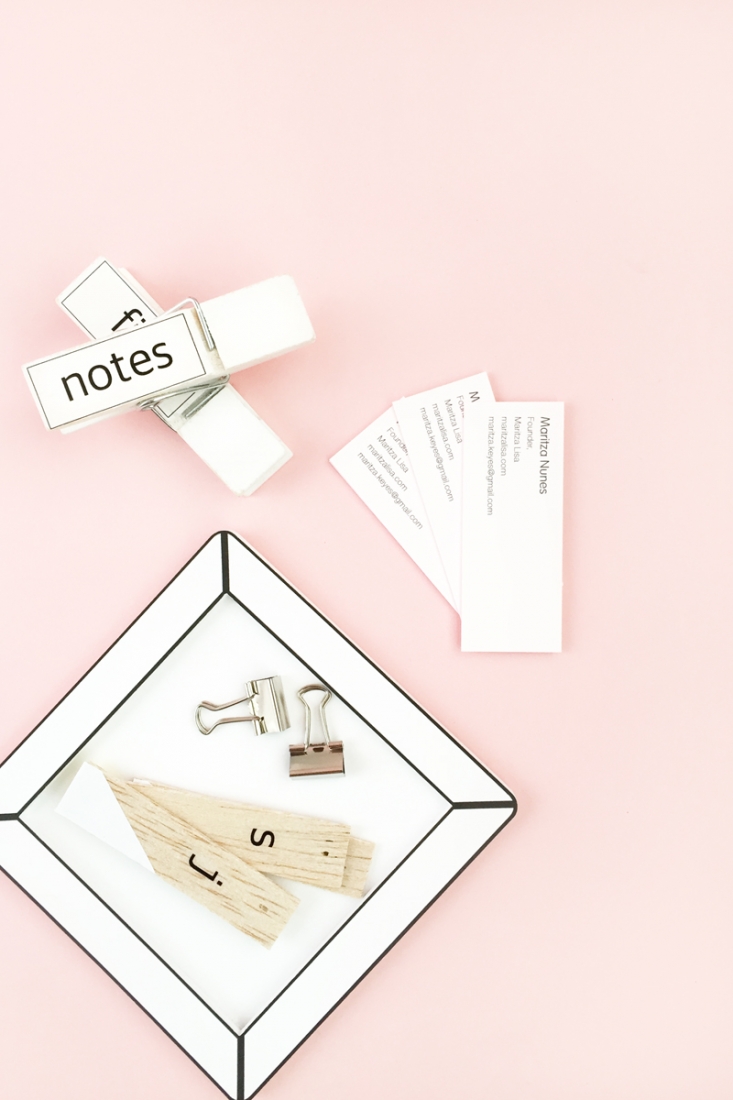
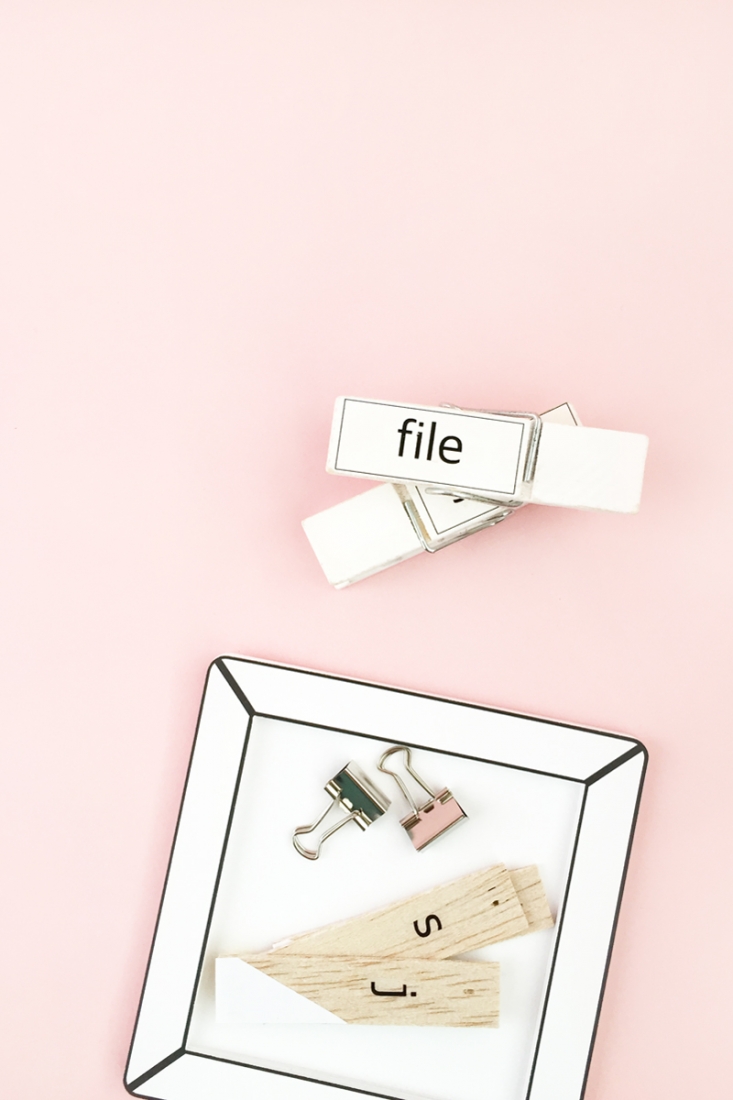
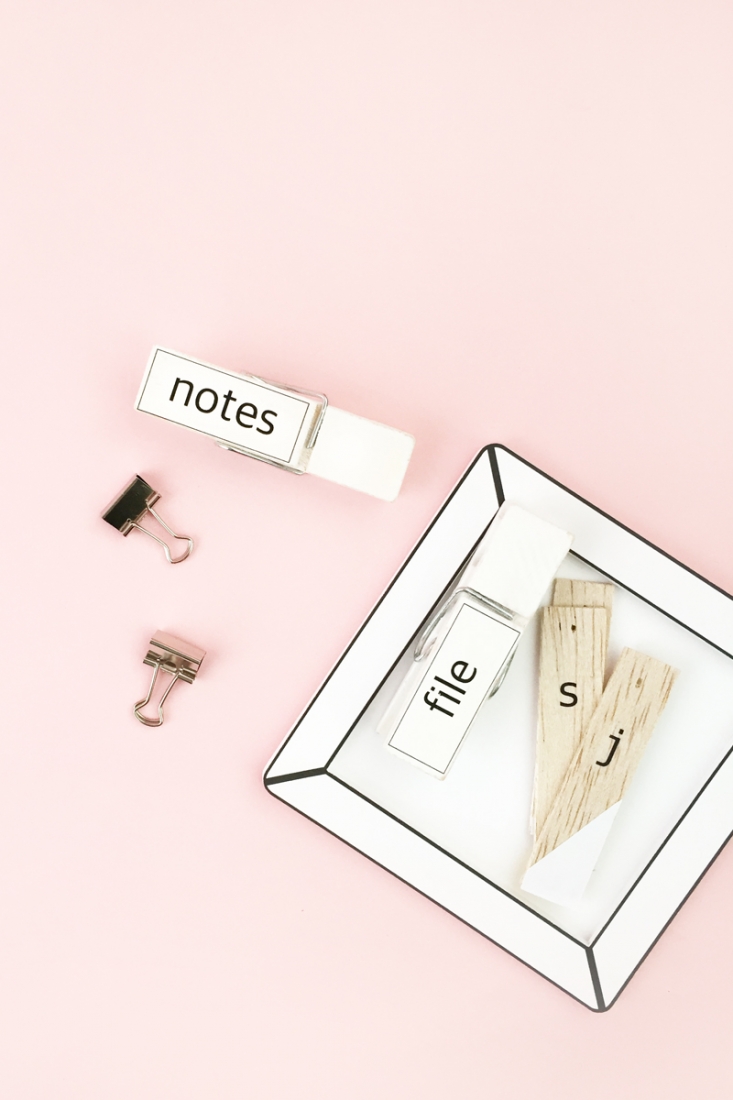
Happy Friday! How was your week? It’s time for another freebie – so how about this DIY Paper Trinket Tray? Cute, right? Very simple and perfect for all the little stray bits and pieces on your desk or dressing table. Read on to download and make your own!
The What
- Silhouette cutting machine
- Silhouette Studio (there is a free version!)
- Cutting mat
- Thick White (or any other color) cardstock
- Glue
- Trinket tray shape download (studio 3 cut file)
*This post contains affiliate links for products that I use and love!
The How
- In Silhouette Studio, open the trinket shape download
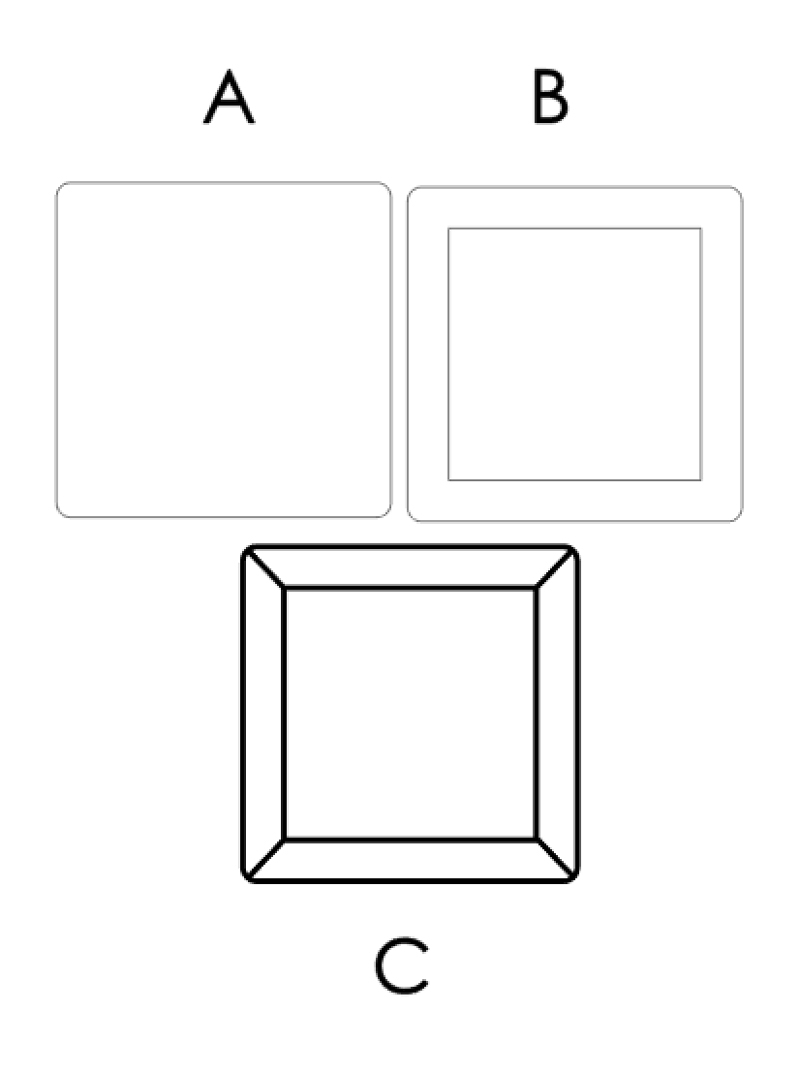
- Shape A is the base of your tray. Shape B is your layering shape. Shape C will be at the top of your tray
- Show your registration marks and print and cut Shape C
- Cut as many copies of Shape B as you need – this will be the layering piece and depth of your tray
- Cut 1 or 2 copies of the Shape A (the base)
- Now that you have all your pieces cut, use glue to stack them on top of each other. Shape A is the base, layer Shape B and finally place Shape C on top
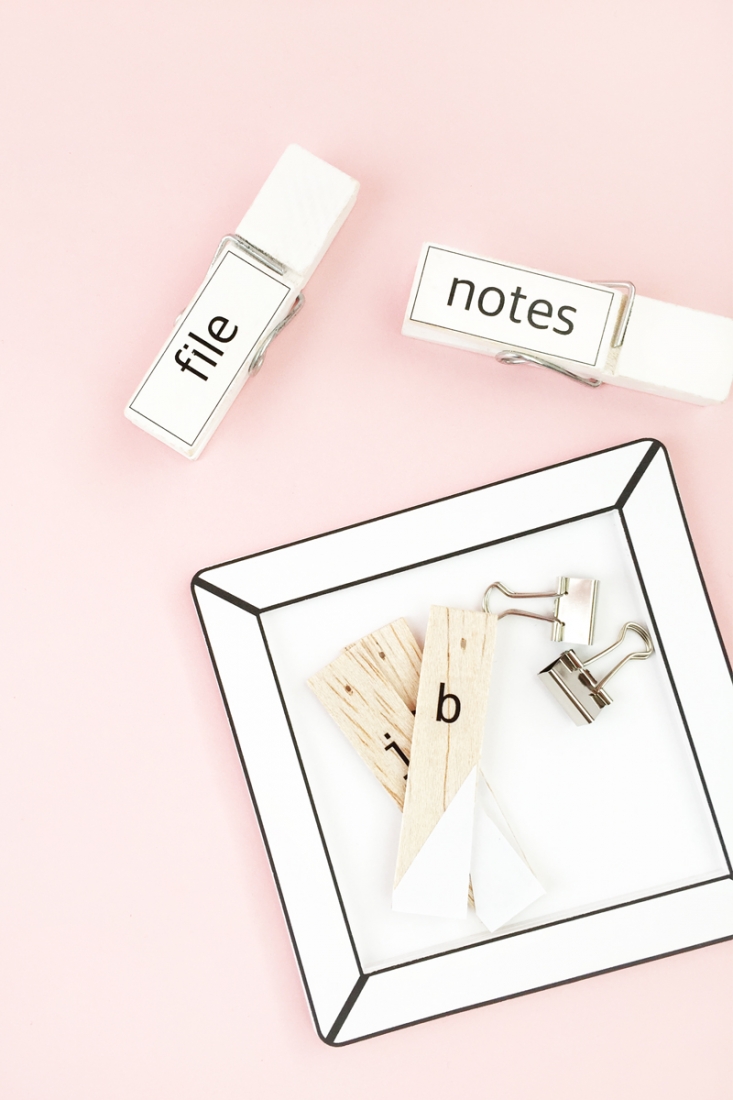
You now have another sweet minimal accessory for your desk that will help keep you organized. Which color did you pick for your tray?
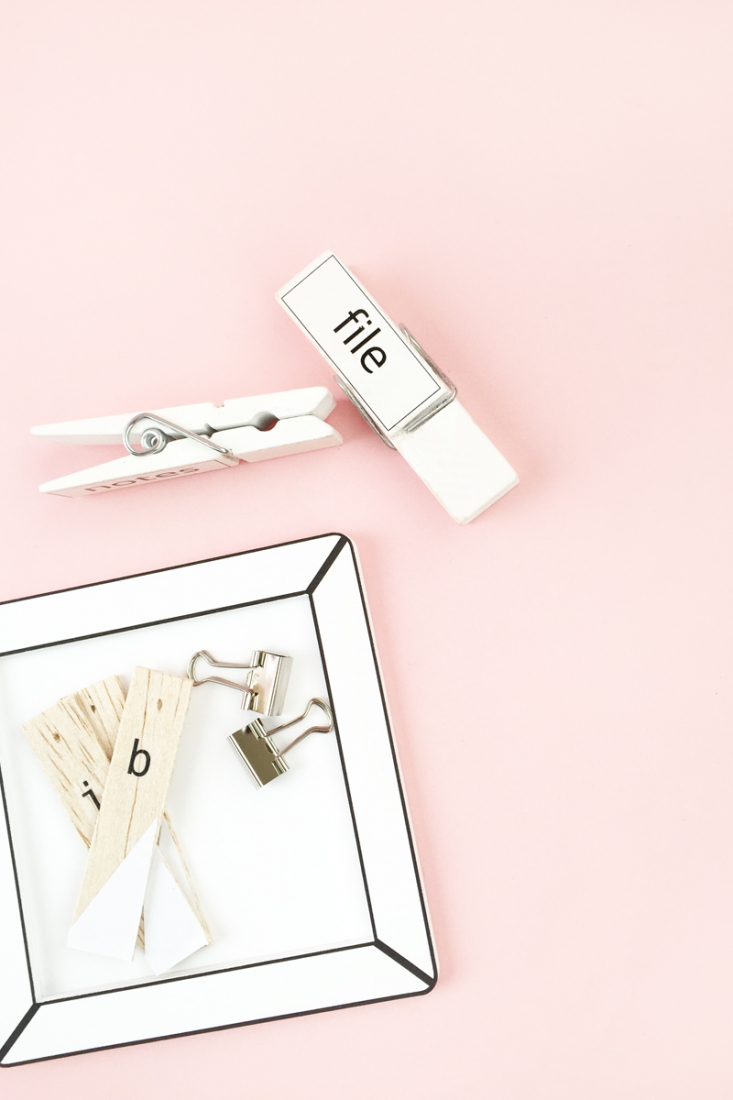

Looking for some more inspiration? Take a look at my other Silhouette projects.
2 Comments on DIY Paper Trinket Tray
Comments are closed.
You amaze me each time Maritza, these are awesome!
Thanks so much, Marwa! Have a wonderful weekend! xo