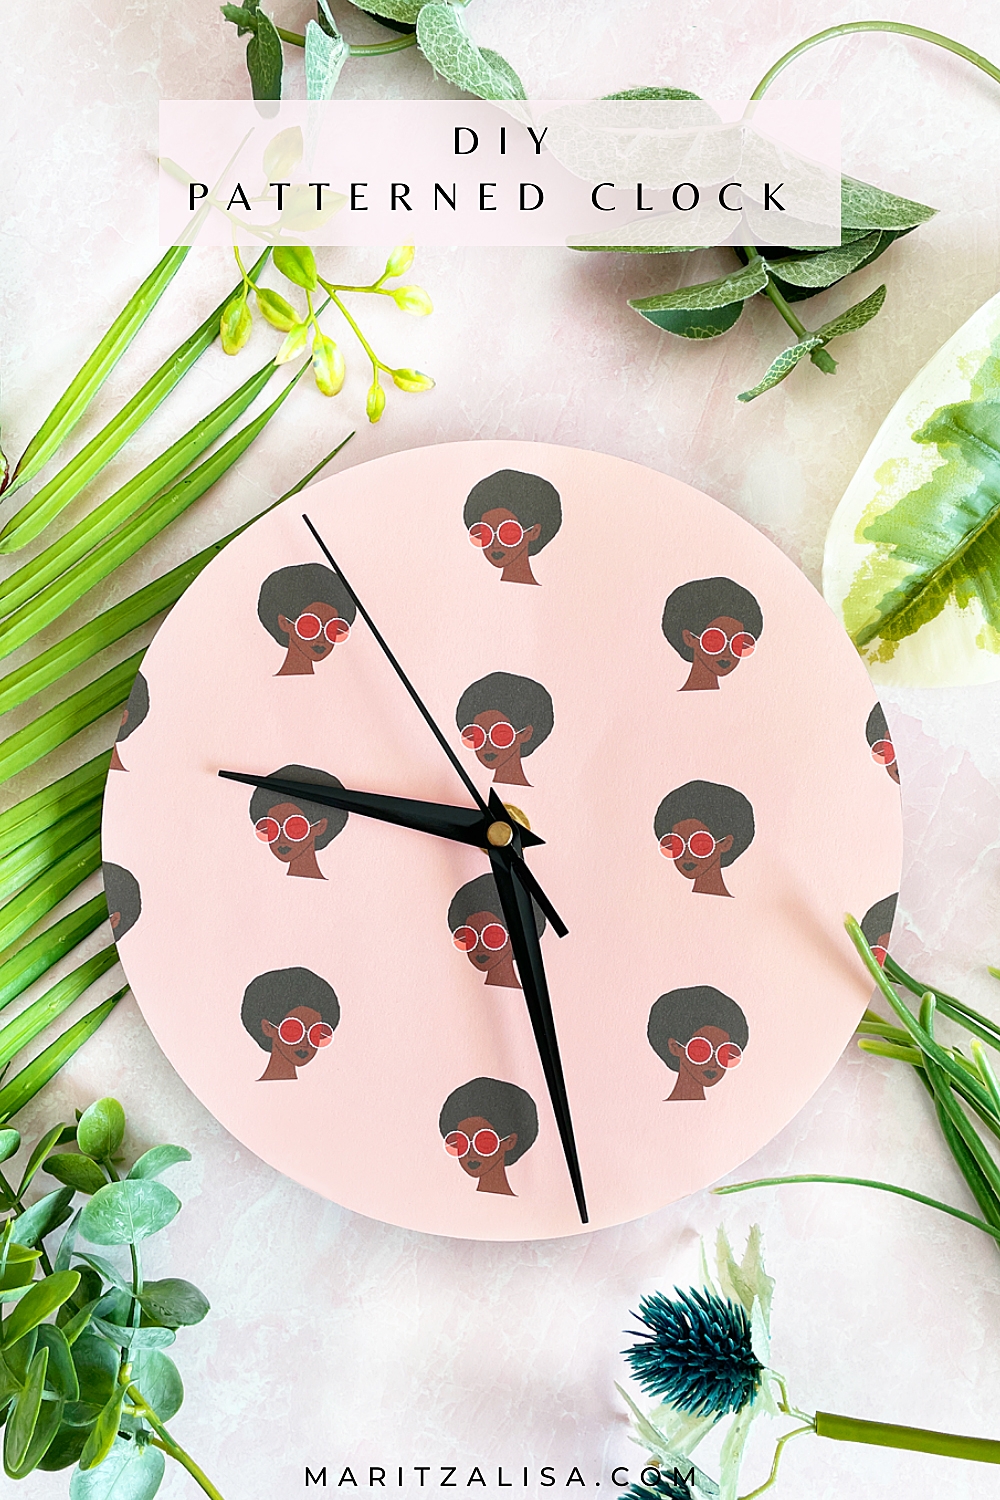
Well hello! Today’s tutorial is all about creating a modern DIY Patterned Paper Clock. Want to hear more? Read on for the full instructions!
*This post contains affiliate links for products that I use and love!
DIY Patterned Paper Clock – Materials
- Pattern – I used one of my own patterns that I used for my Society6 shop!
- Printer
- Graphic software
- Pencil
- Circle template (like a plate)
- Clock Movement Kit – I got mine at Michaels
- Thick cardstock or bristol paper
- Hole punch
- Scissors
Instructions – DIY Patterned Paper Clock
Prepare Your Pattern For Printing
- Open your graphic software
- Add the pattern to a new document
Print Your Artwork
Send the pattern to print on thick cardstock or bristol paper
Trace And Cut The Clock Face
- Draw a circle on the patterned printout
- Cut the circle out using your scissors
- Create a hole in the middle of the circle
Build Your Patterned Paper Clock
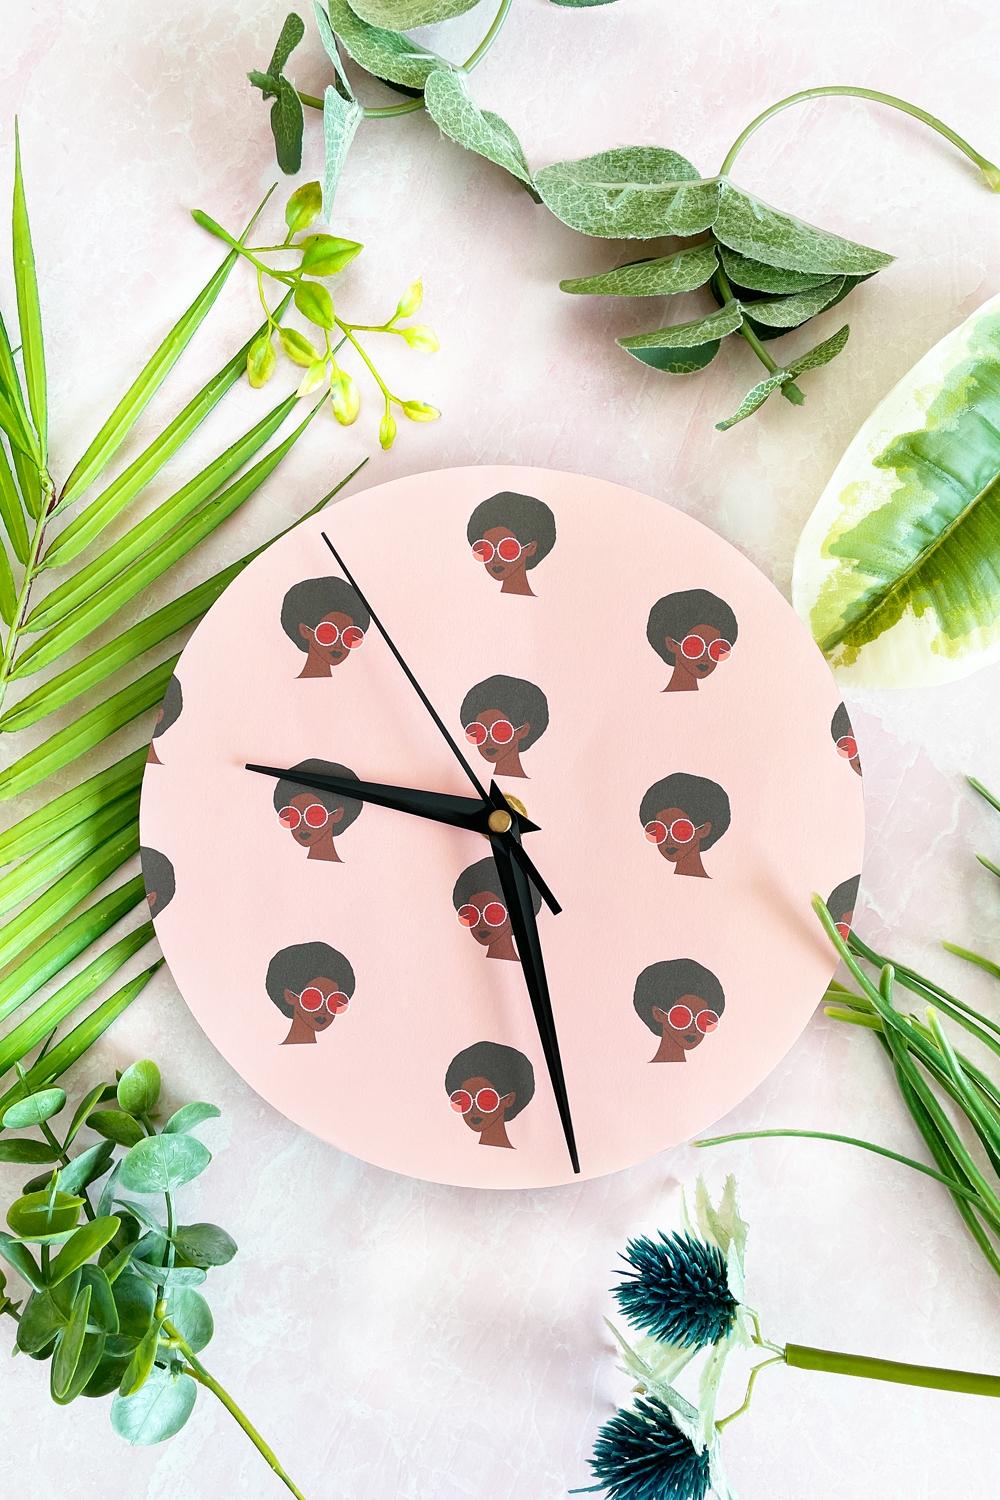
Once you have completed the clock face, assemble the clock onto the face using the instructions that come with the clock kit, and finally – add a battery.
And that’s it! You now have a lovely modern clock that will brighten up any room. The beauty of this DIY is that you can change the face whenever you want, based on season or just for a little refresh!
Looking for some more crafty inspiration? Stay a little longer, and check out my other Home DIYs! Happy Making!