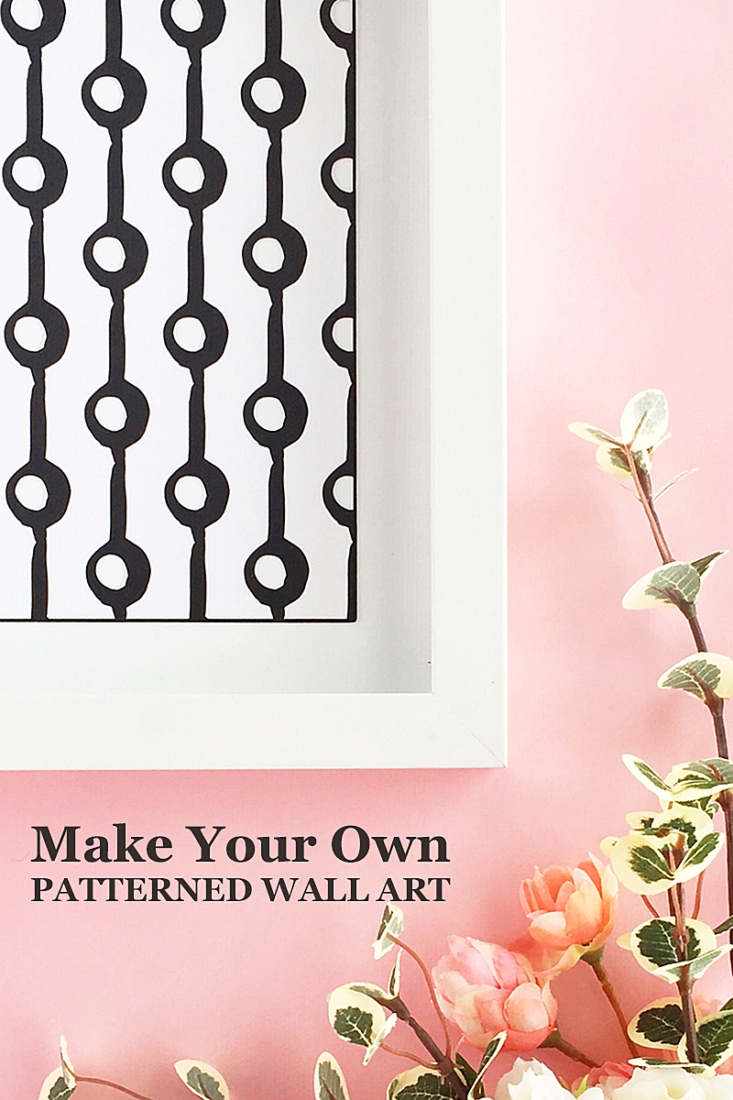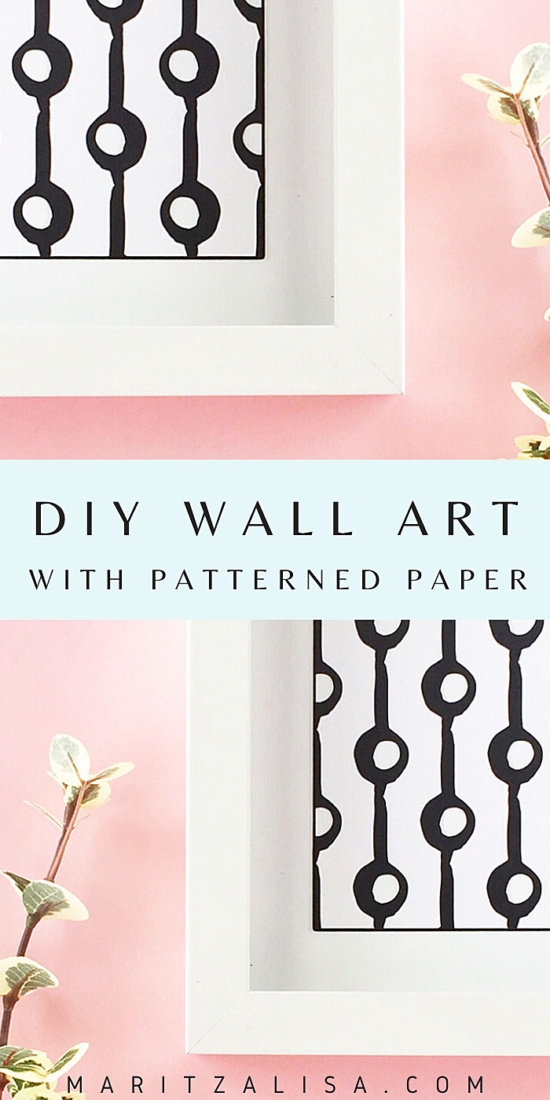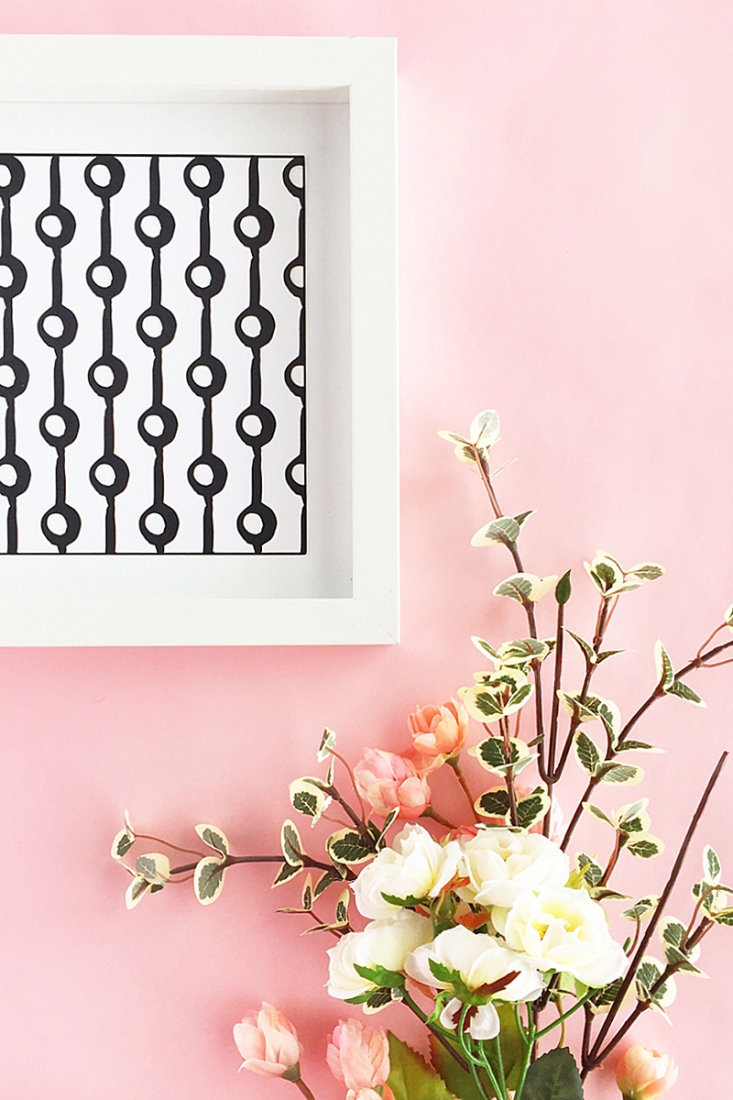
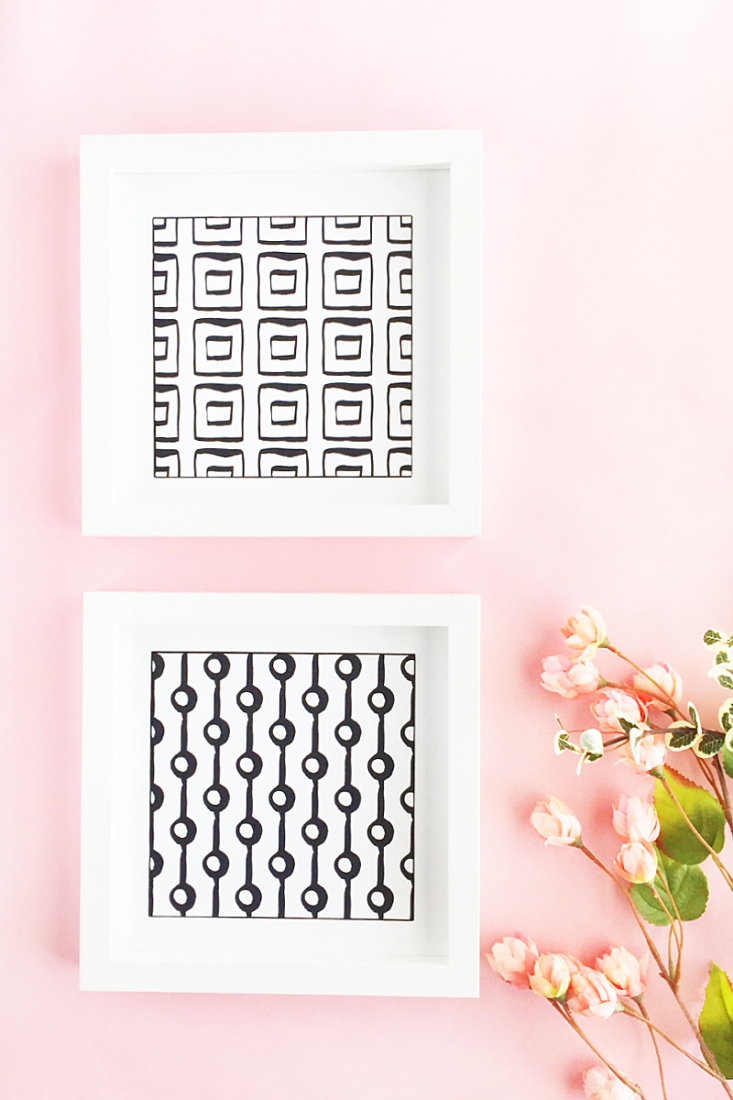
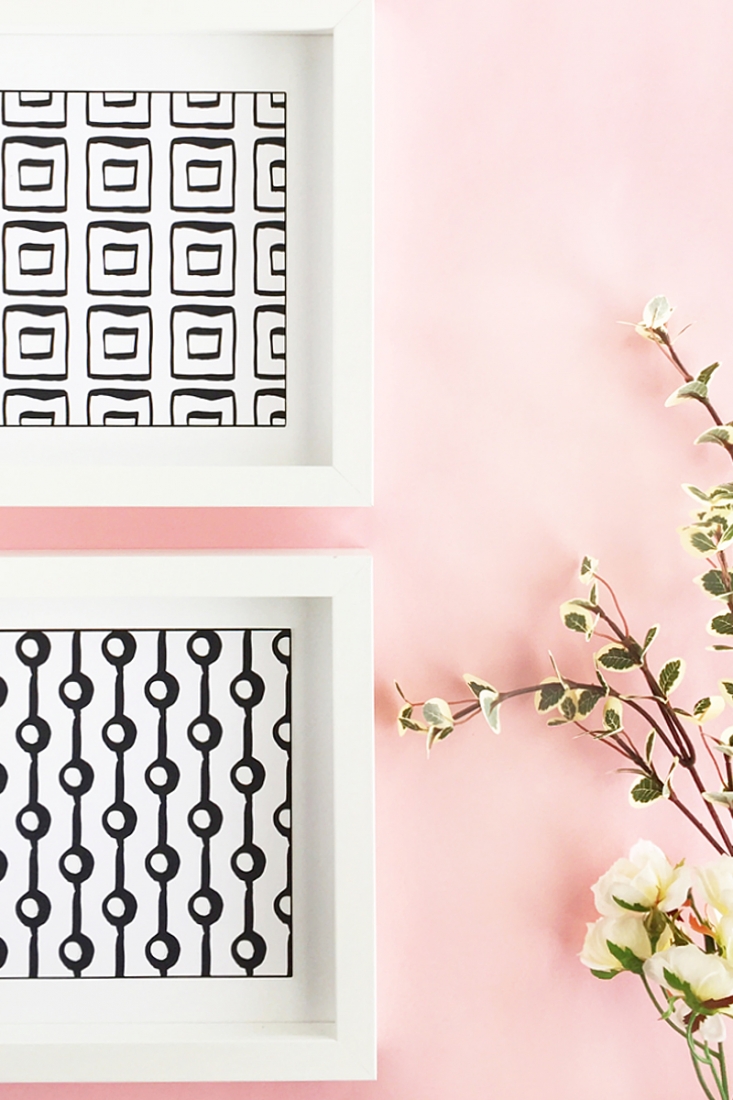
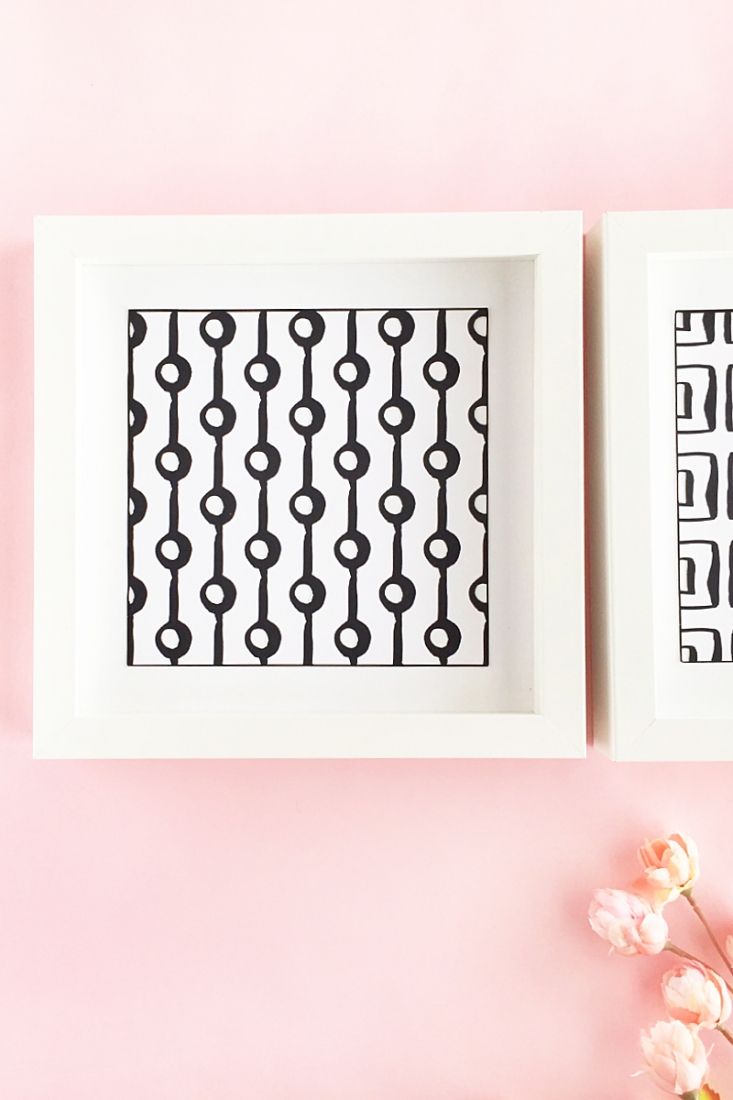
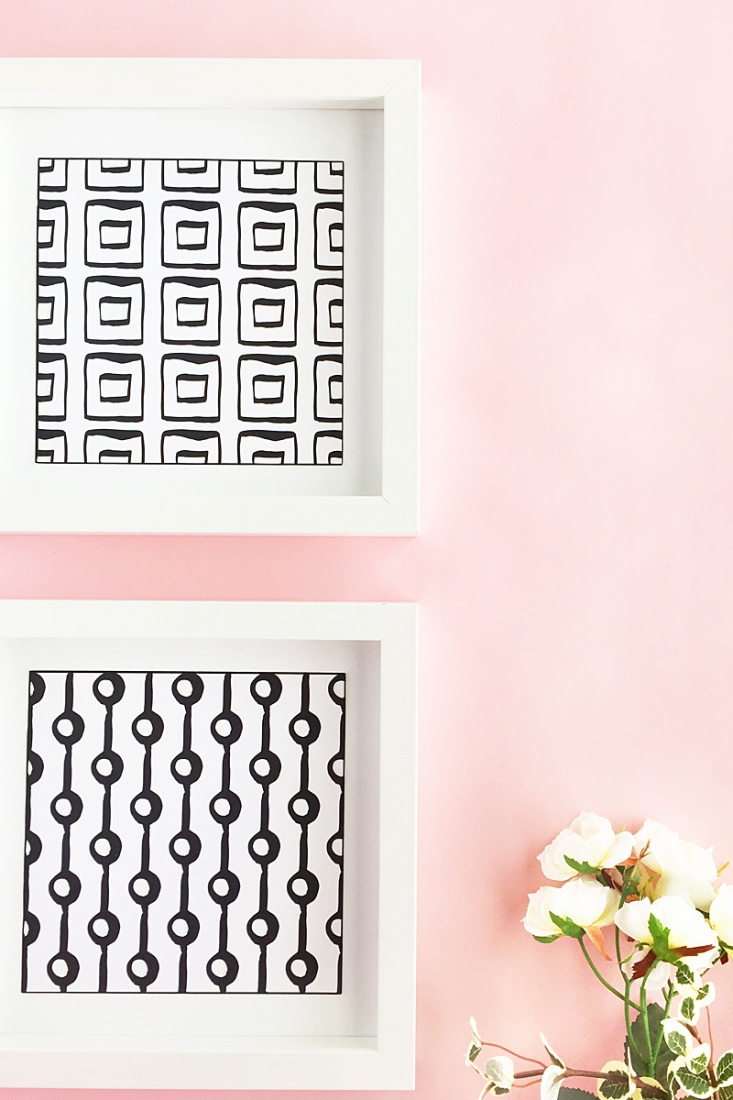
If you like to change things up when it comes to your home or office decor, I always find switching out the artwork makes a big impact with little effort. For instance, these DIY Patterned Wall Art pieces use the same frames I used for the DIY Leaf In Leaf Wall Art. Want to make your own? Let’s get making!
DIY Patterned Wall Art – What You Need
- Silhouette Studio (there is a free version!) or any other graphic software
- Scissors
- Printer
- Black and white geometric pattern. I used these 50 Ultimate seamless textures which are free this week only!
- Bristol paper – this is like a thicker cardstock
- Square display frames (white 8×8 in) – I got mine at Michaels but you can get something similar here online
*This post contains affiliate links for products that I use and love!
DIY Patterned Wall Art – Instructions
- Download and open your geometric pattern or design in Silhouette Studio (I used .png files)
- Resize your pattern (I used 6×6 in)
- Add a square frame using the rectangle tool (thicken the line and change the color to black)
- Center your pattern on your page
- Send to print
- Cut your bristol paper with the pattern to a square (8×8 in) so that it fits perfectly into your frame
- Remove the backing of your square frame and add your black and white artwork
- Reassemble your frame
- Optional – you can remove the glass display too
All you need to do is hang your pretty patterned art on your wall, display on a desk or give as a gift. What will you do with yours? Tell me in the comments below!
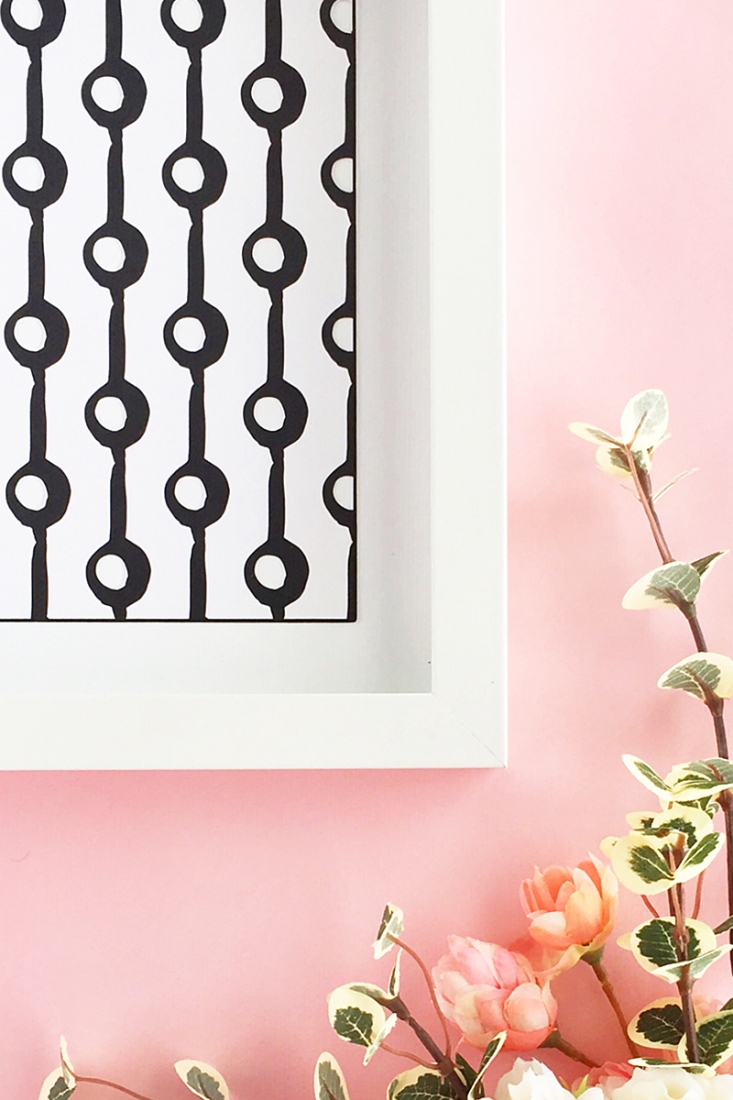
Looking for some more inspiration? Take a look at some of my Silhouette Projects!
