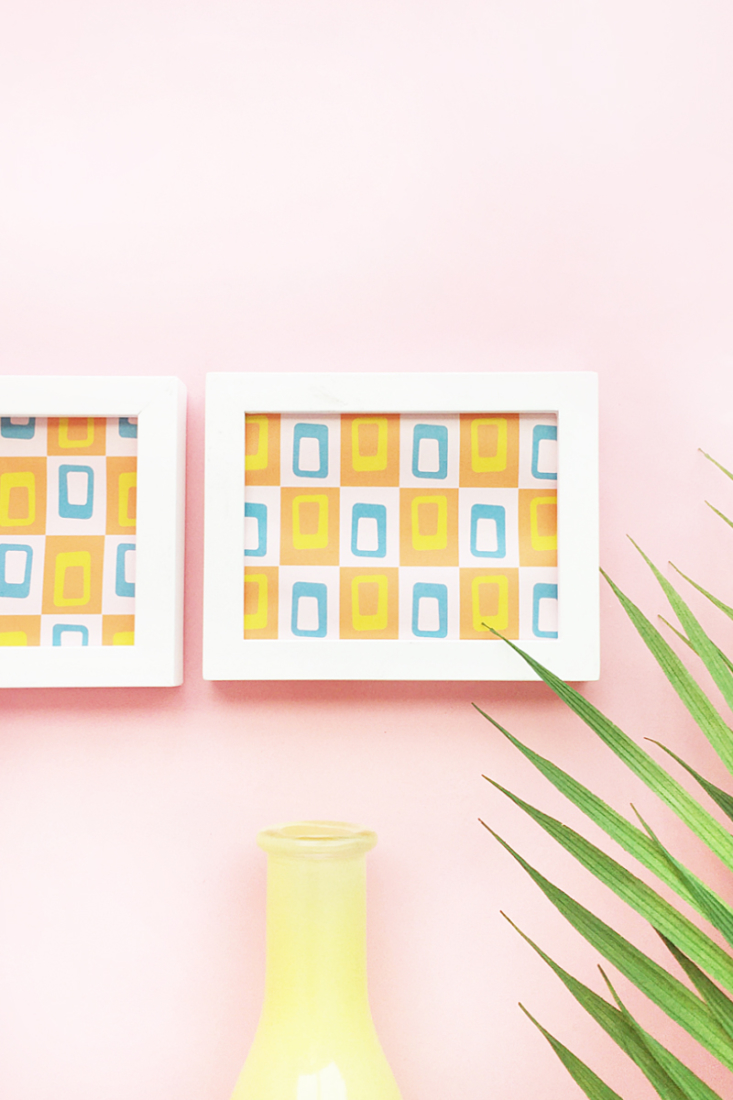
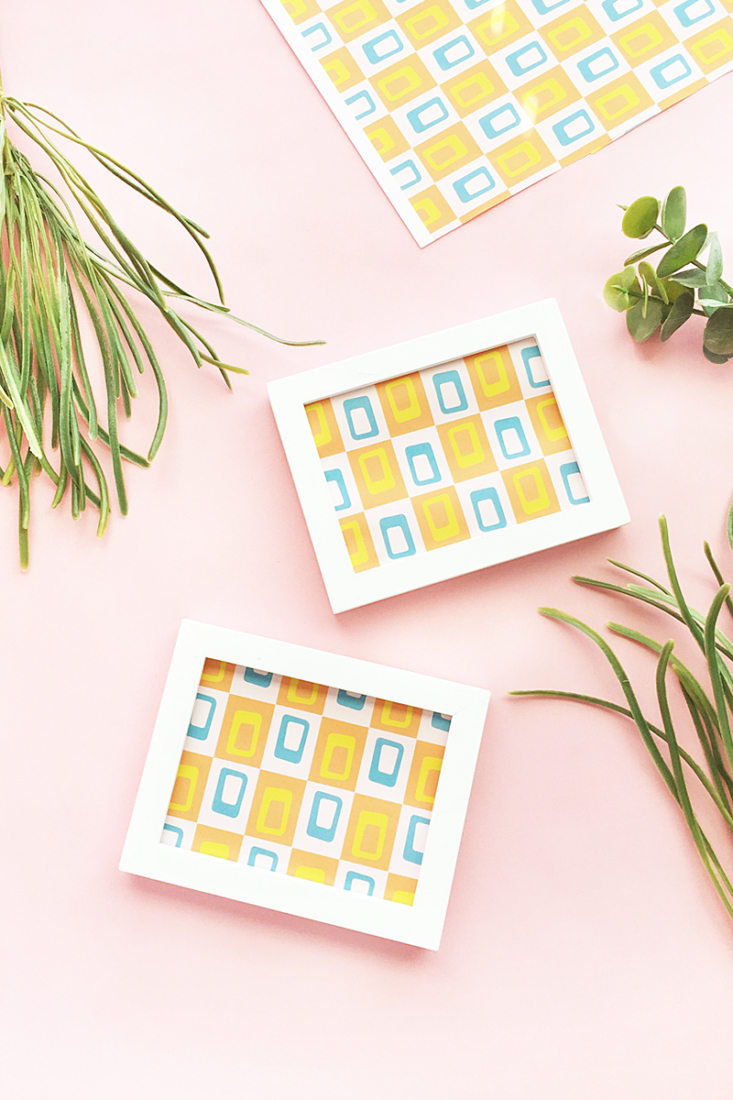
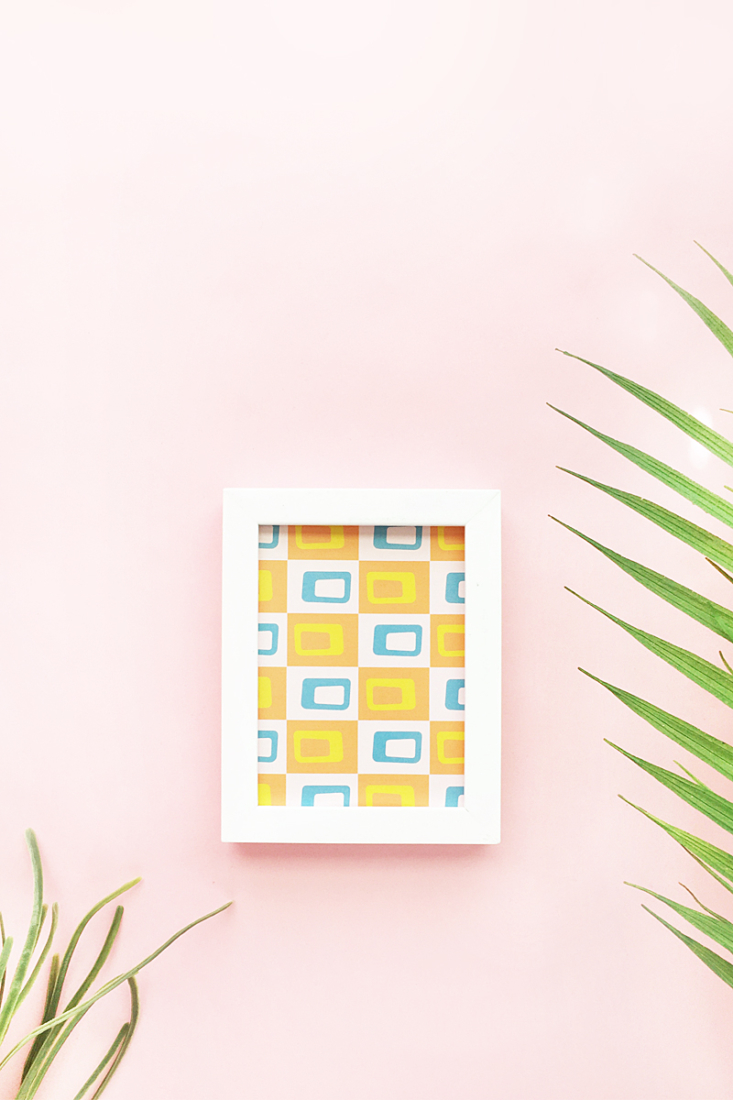
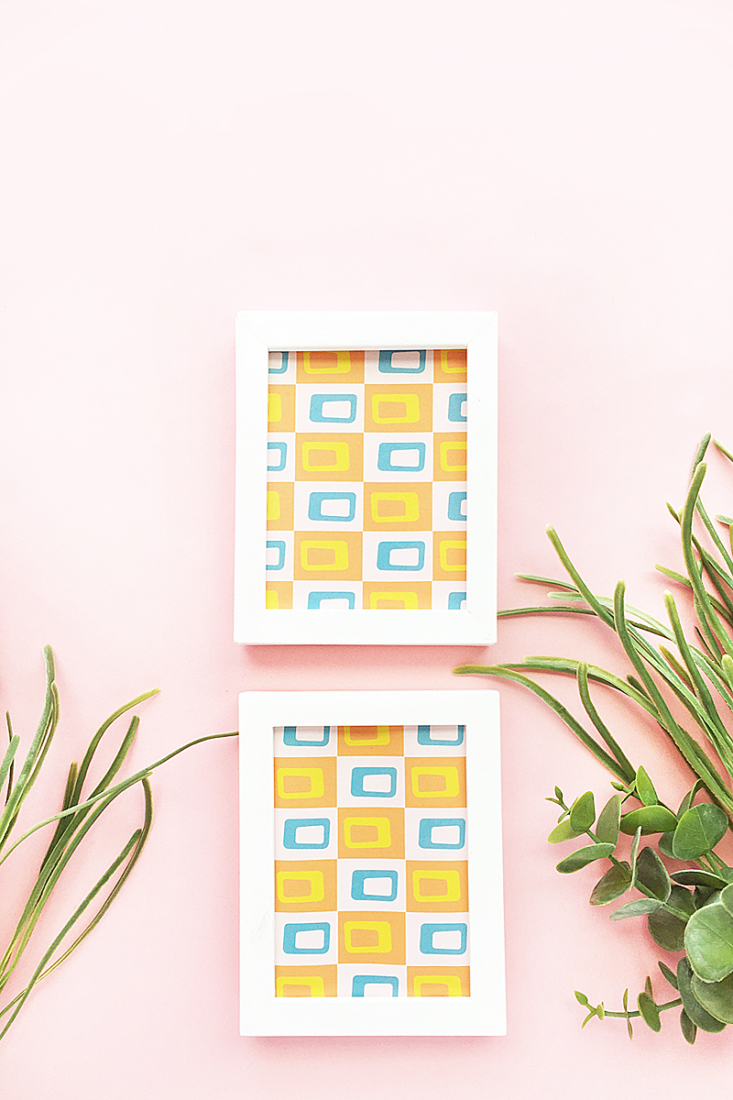
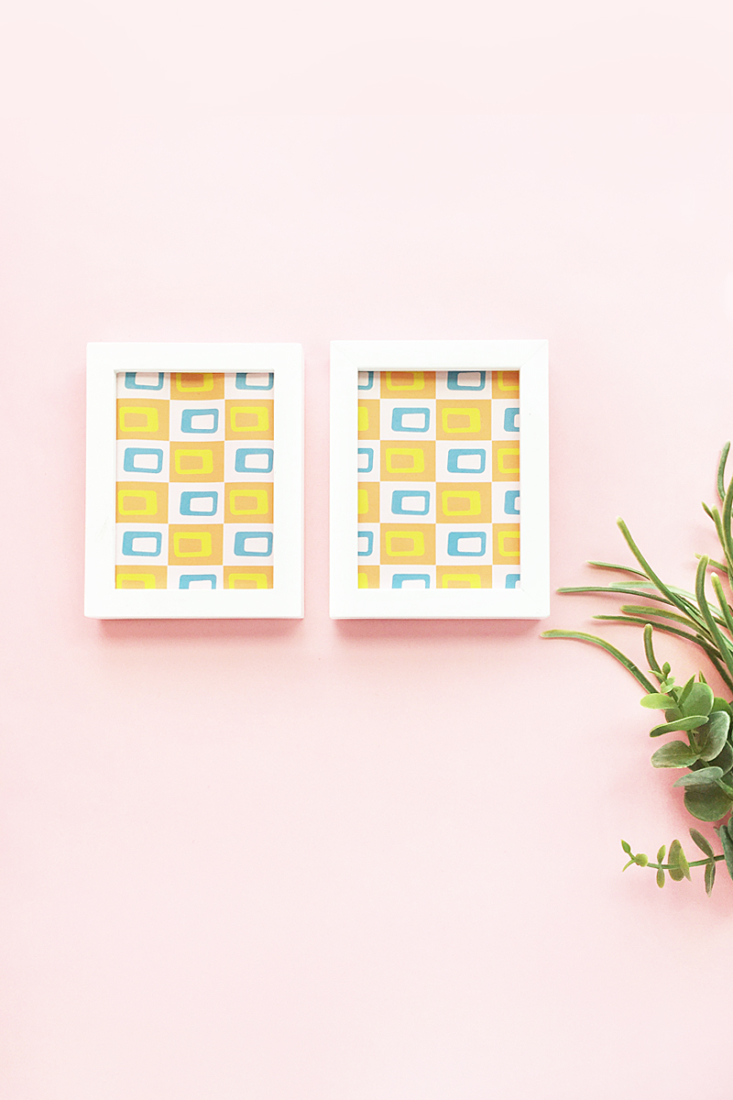
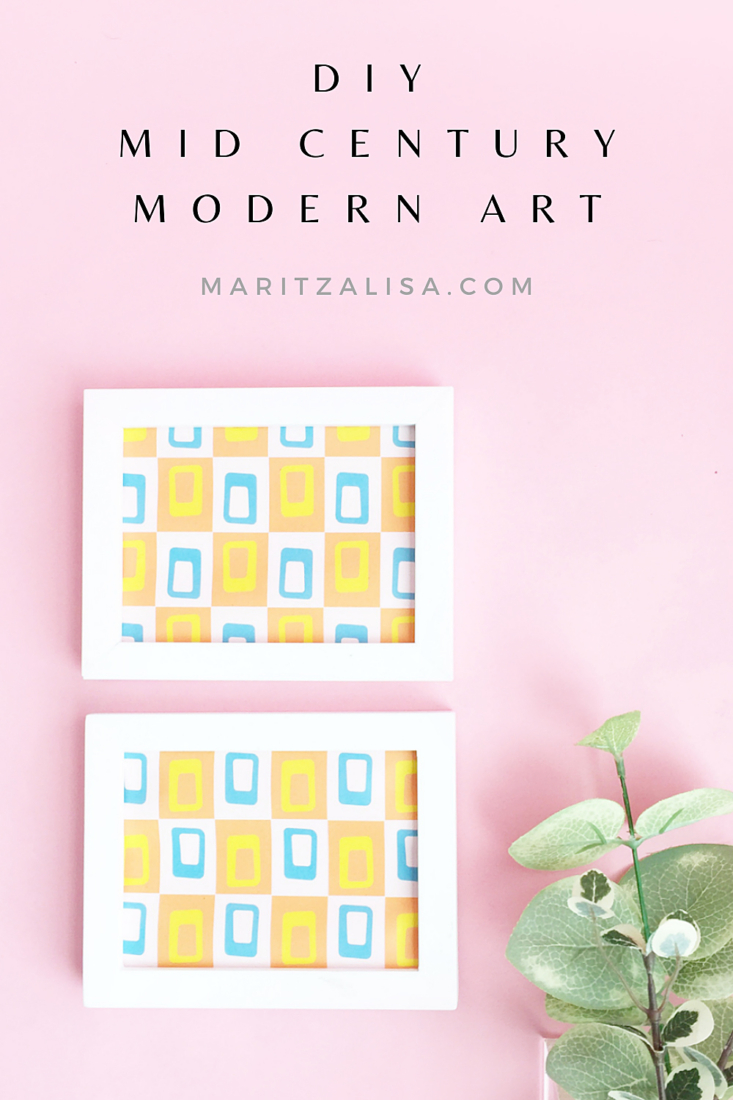
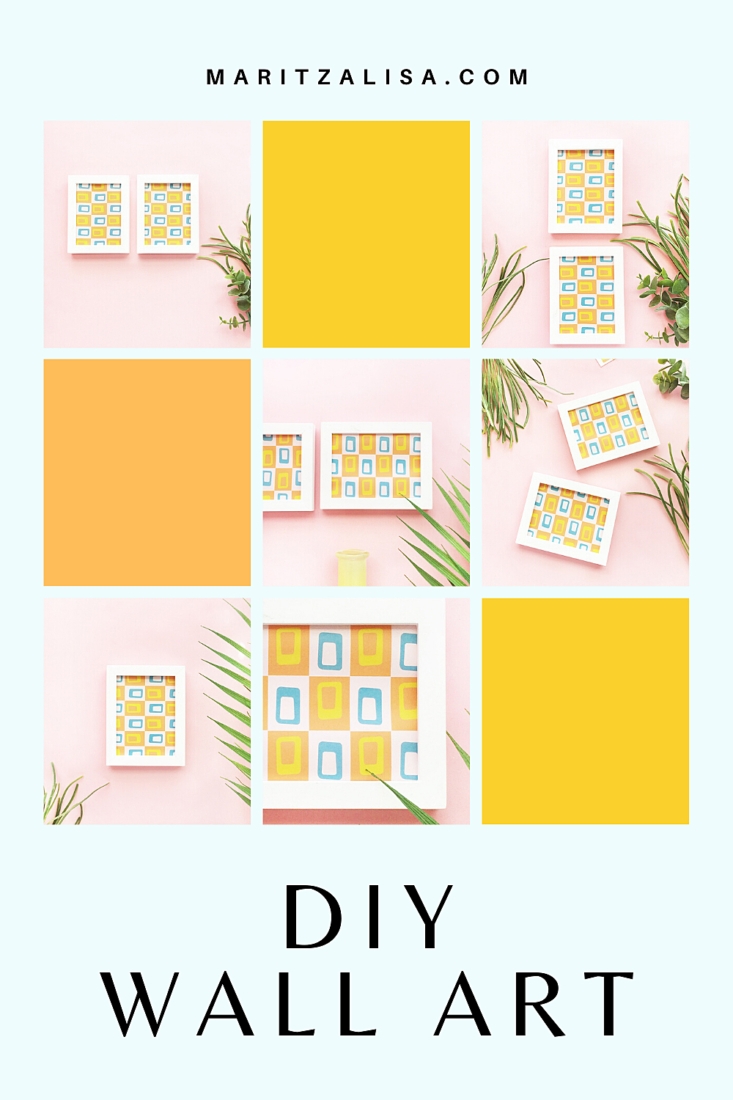
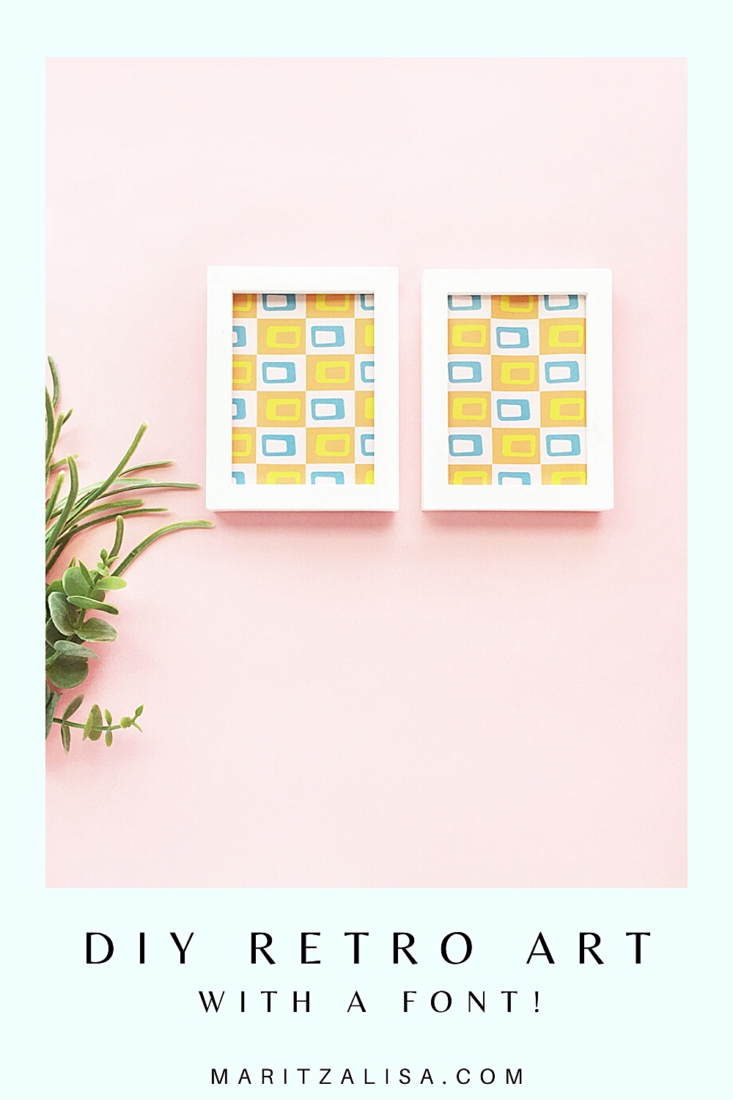
I’ve got a quick and easy tutorial for you today. It involves designing and making your own wall decor with a…. wait for it…. a font! This DIY Mid Century Modern Art was made with the cutest mid century modern font.
Mid Century Modern Art – What You Need
- Any software that will open images and allow you to create patterns – I used Silhouette Studio (there is a free version!)
- Mid-Century Modern Ornaments Font
- Printer
- Picture frames – I got mine at Michaels
- Printer paper or cardstock
*This post contains affiliate links for products that I use and love!
Instructions
- Download and install your font
- Open your software
- Select the text tool and your Mid century font
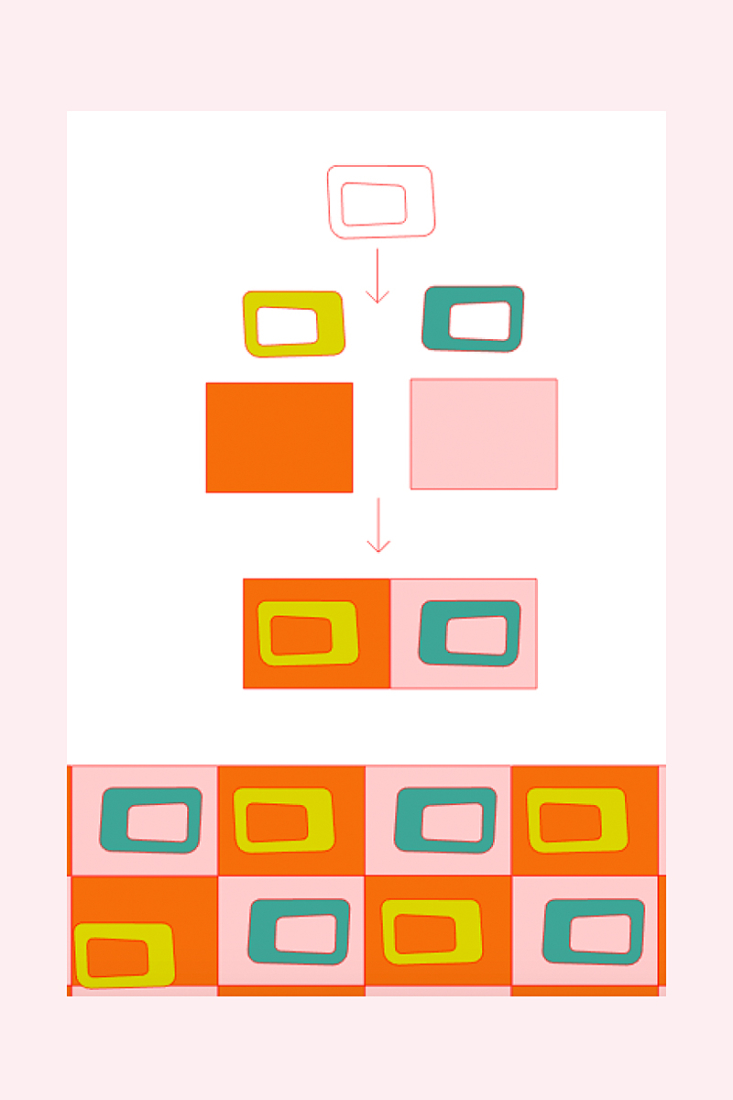
- Create a pattern using the text tool and alternating colors (see below for how I made mine)
- Fill the printable area of your software with your pattern
- Send you pattern to print on printer paper or cardstock
- Cut your printed pattern so that it will fit in your frame
- Put your printed into your frame
This DIY will take you under 30 minutes, I swear. All you have to do now is decide how you want them arranged and displayed in your home or on your walls. Which patterns and how many frames did you use? Tell me in the comments below!
Looking for some more crafty inspiration? Take a look at my other Home Decor DIY projects!
