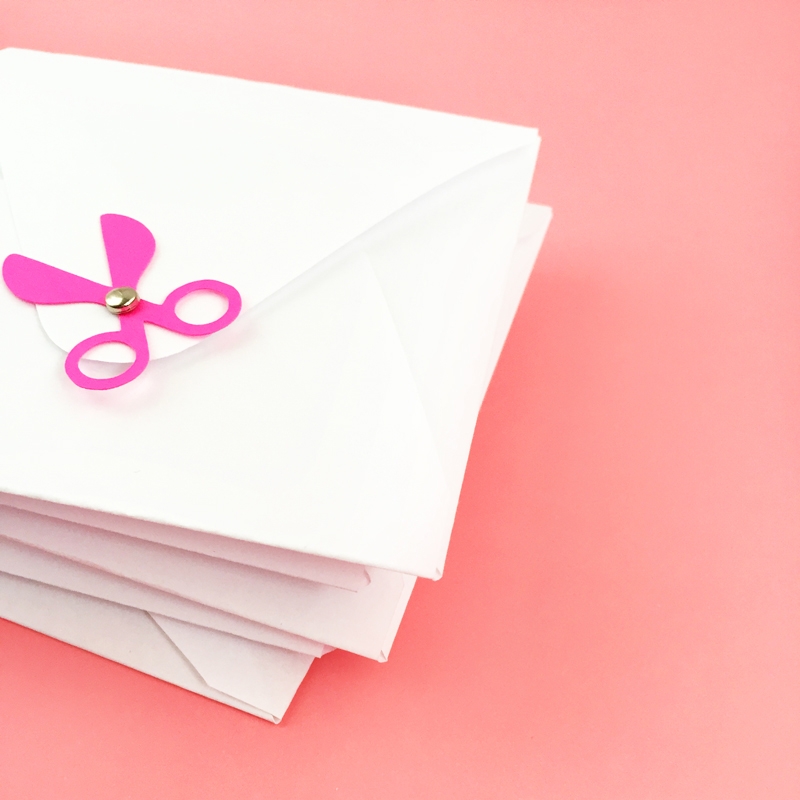
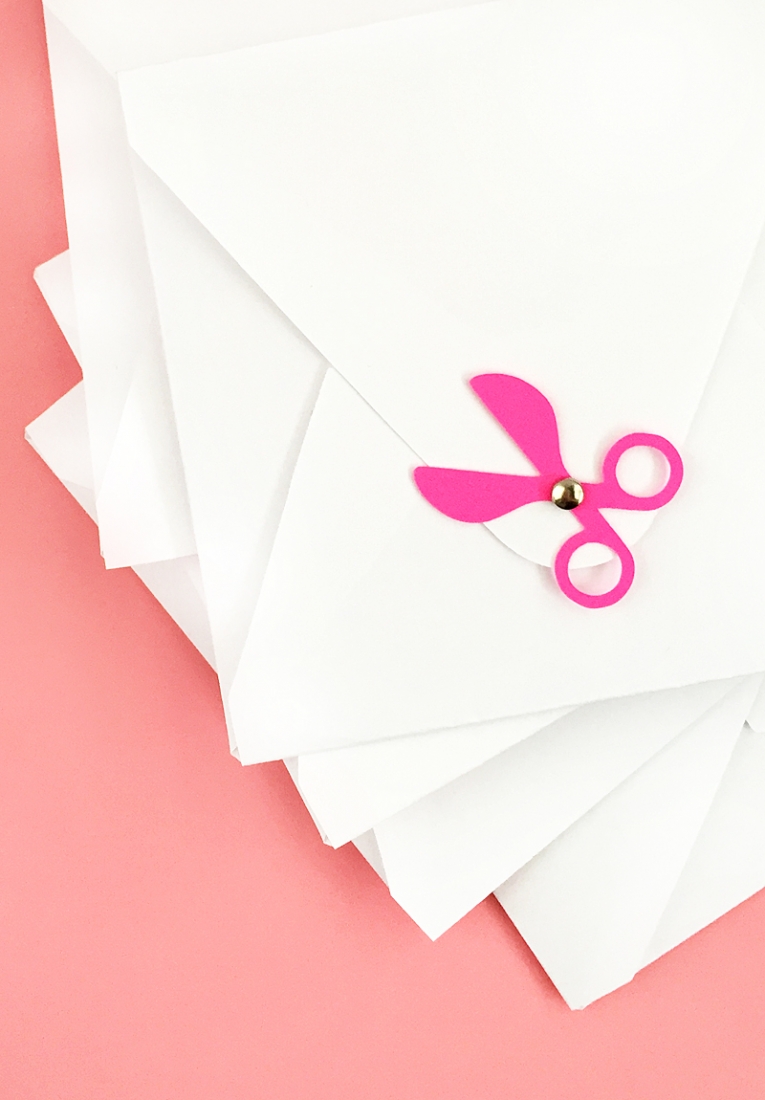
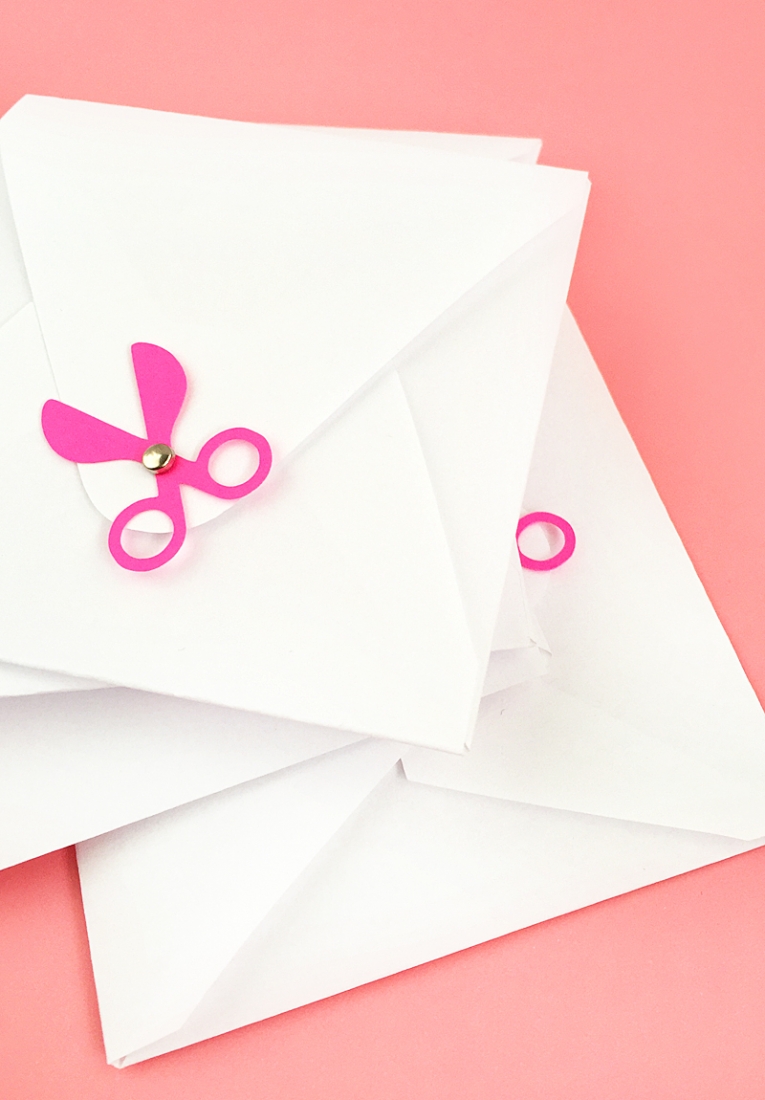
Inspiration for me comes in many forms. My process is chaotic and fly-by-the-seat-of-my-pants. I get asked by friends on what I plan to create for an upcoming week, and I honestly tell them: “I have no idea”. It all depends on what I peruse the day of or the night before at a craft store or Pinterest or Creative Market or Silhouette’s design store, the burger joint around the block… you get the picture. This DIY Scissors Buttons On Envelopes post’s inspiration is no exception. I was not even planning to use any of Creative Market’s free goods this week. Then, as I was checking their blog this week, these cute little icons caught my eye, et voila! A post was born. You can use these icons and embellish your envelopes and packages for all the crafters or teachers in your life. Shall we?
The What
- Silhouette Studio
- Silhouette cutting machine
- Cutting mat
- Cardstock (for the buttons)
- Printer paper or Copy paper (for the envelopes)
- You favorite envelope shape (you can use this free envelope download)
- Flat Icon Set – Education by sidmaydesign (I got mine here for free this week – please read the terms of use)
- Glue
- Bone folder
- Mini brads
- Something sharp and pointed for punching a small hole in the envelope for the brad
The How
- In Silhouette Studio, open your envelope file
- Load your copy or printer paper and send to cut
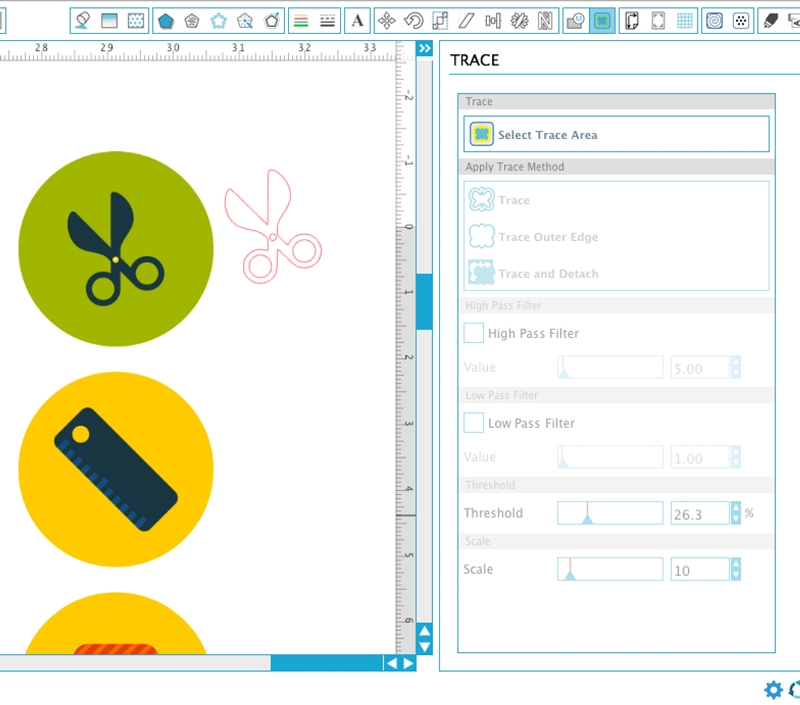
- For the button, merge the flat icon set to your current document
- Trace the scissors icon
- Resize the traced shape so that it fits on the envelope
- Replicate for as many envelopes you have
- Load your cardstock and send to cut using cardstock settings
- Score and assemble your envelopes with glue and the bone folder
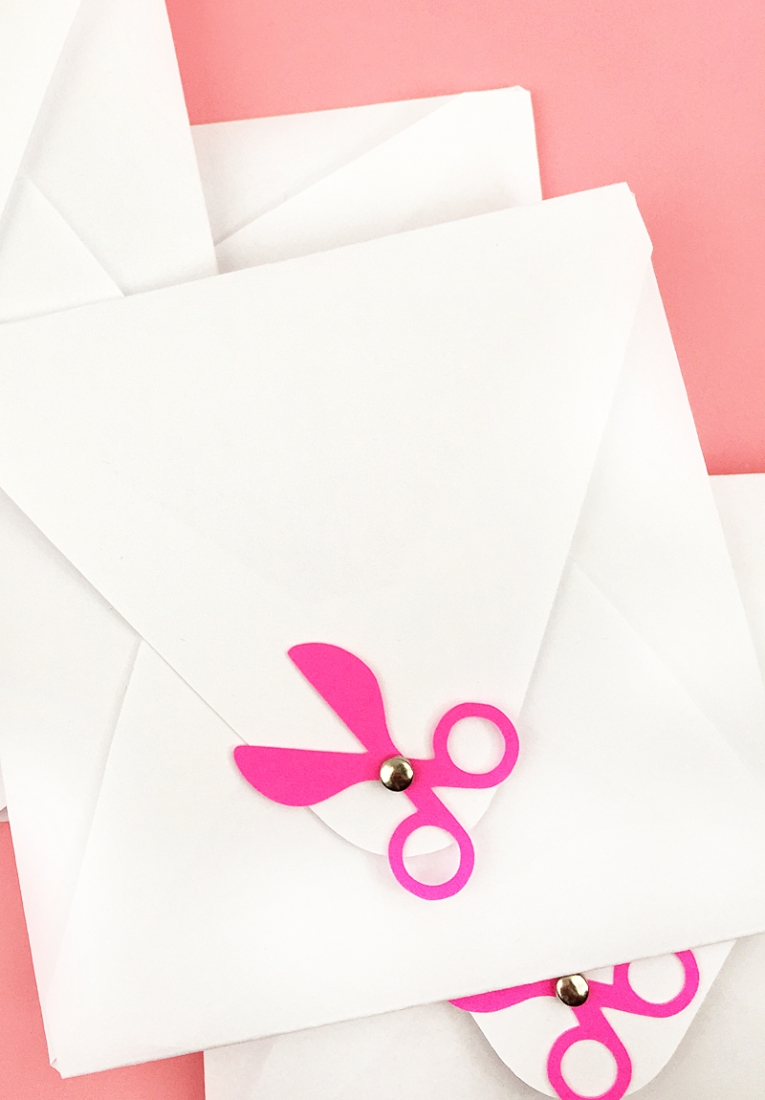
- Secure the buttons with brads on your envelopes
And that’s it – you now have “crafty” little buttons on your envelopes. Perfect for the creatives and teachers in your lives. How did your envelopes turn out?
Looking for some more inspiration? Take a look at my other Silhouette projects.
