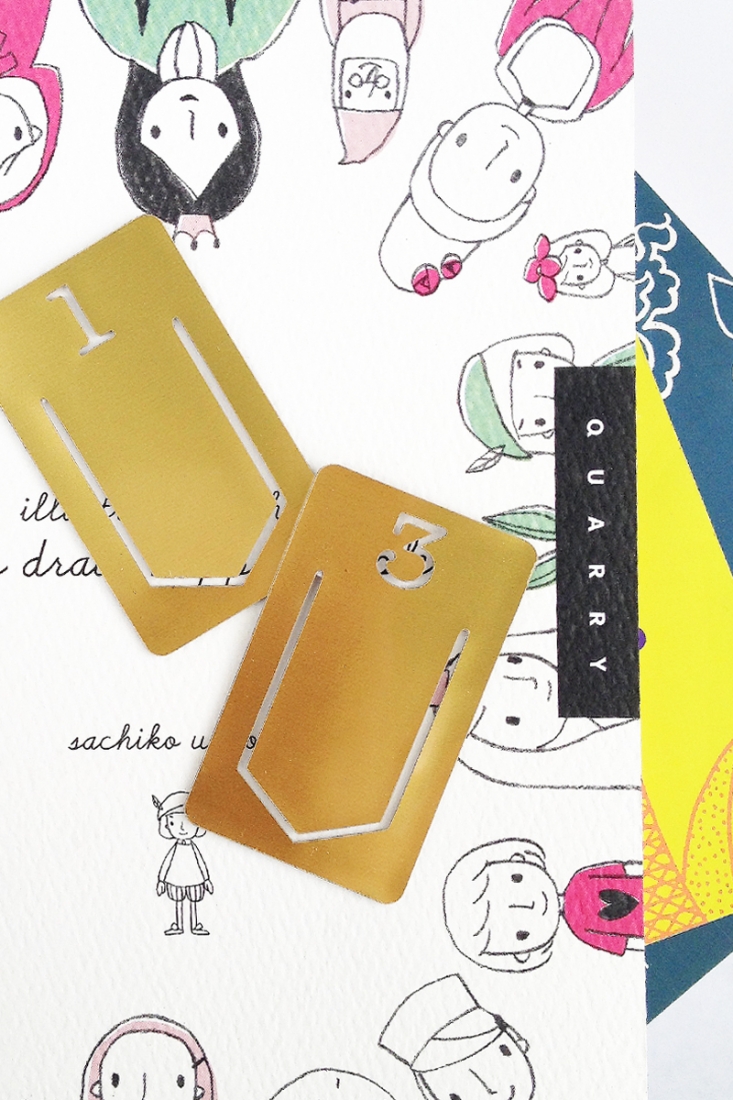
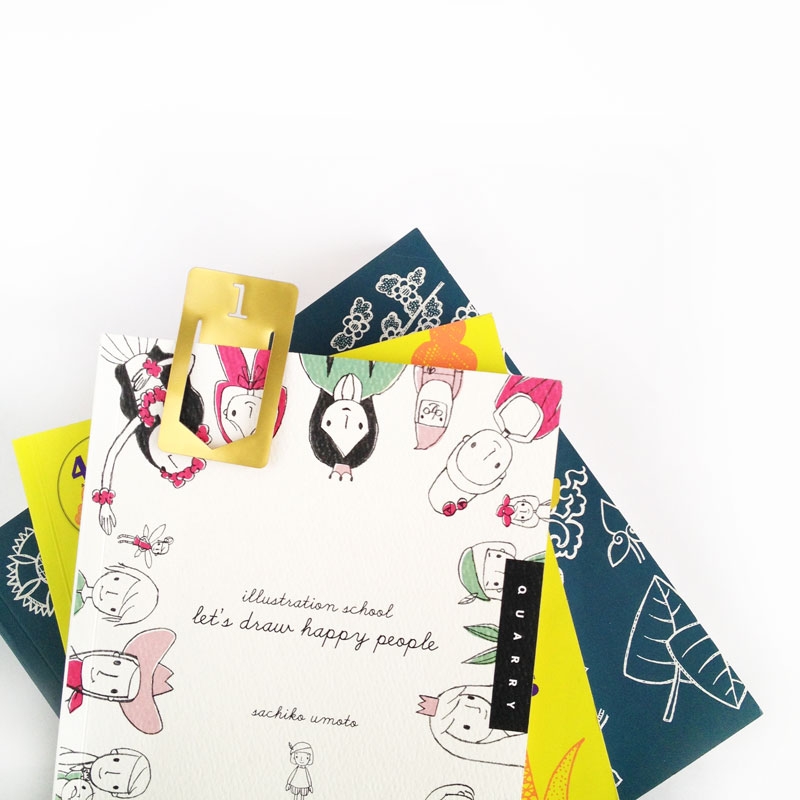
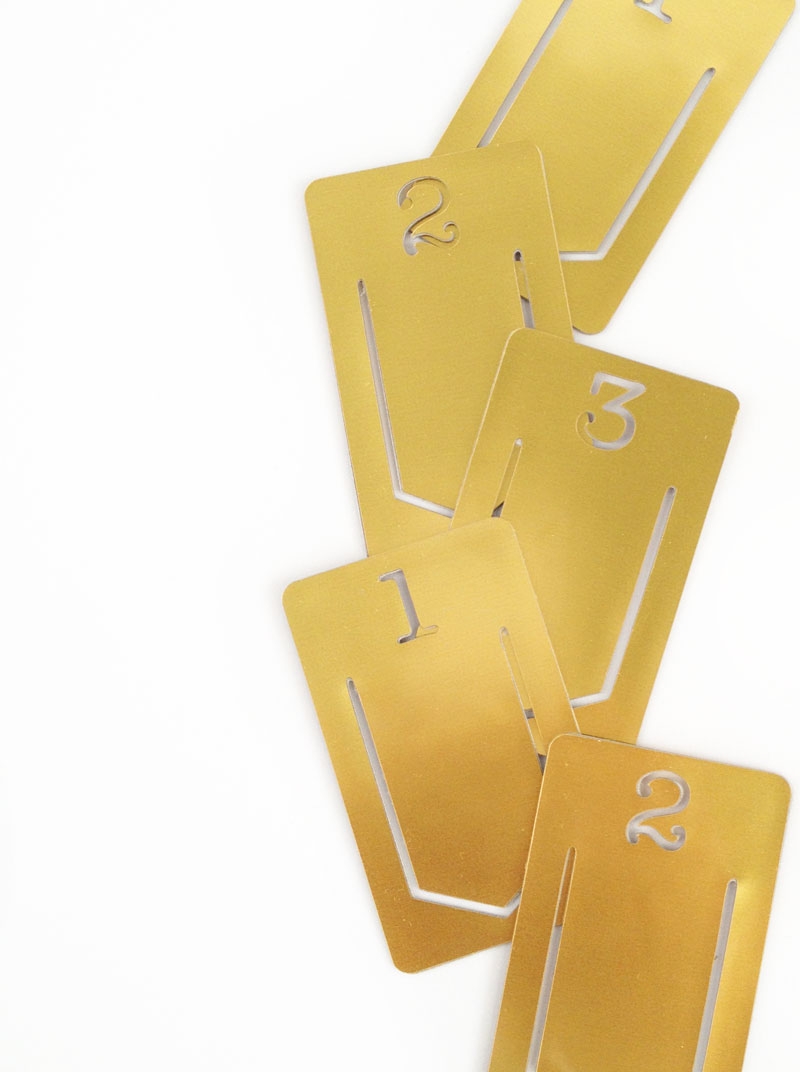
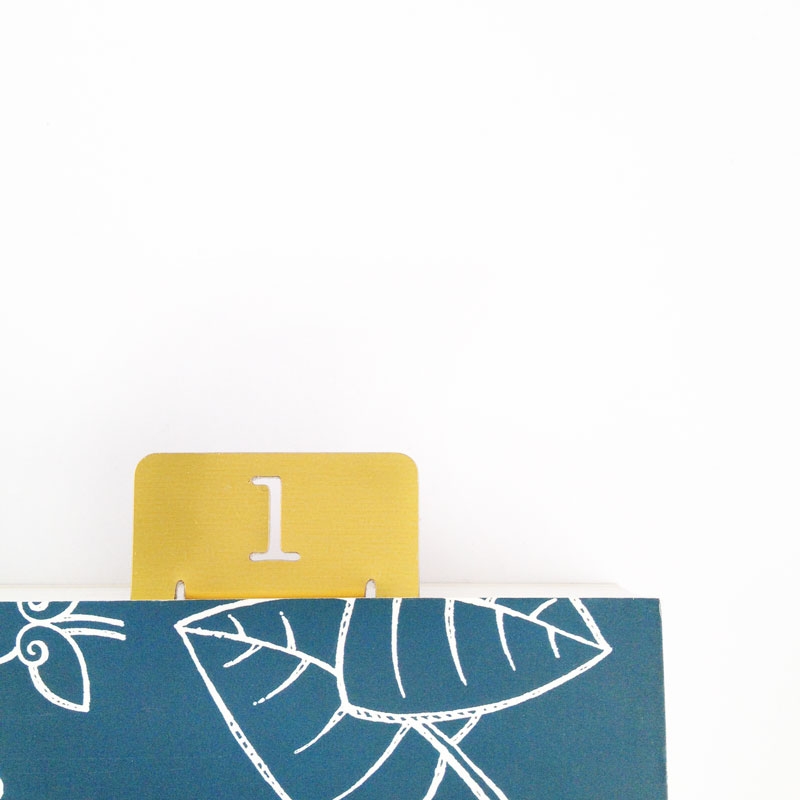
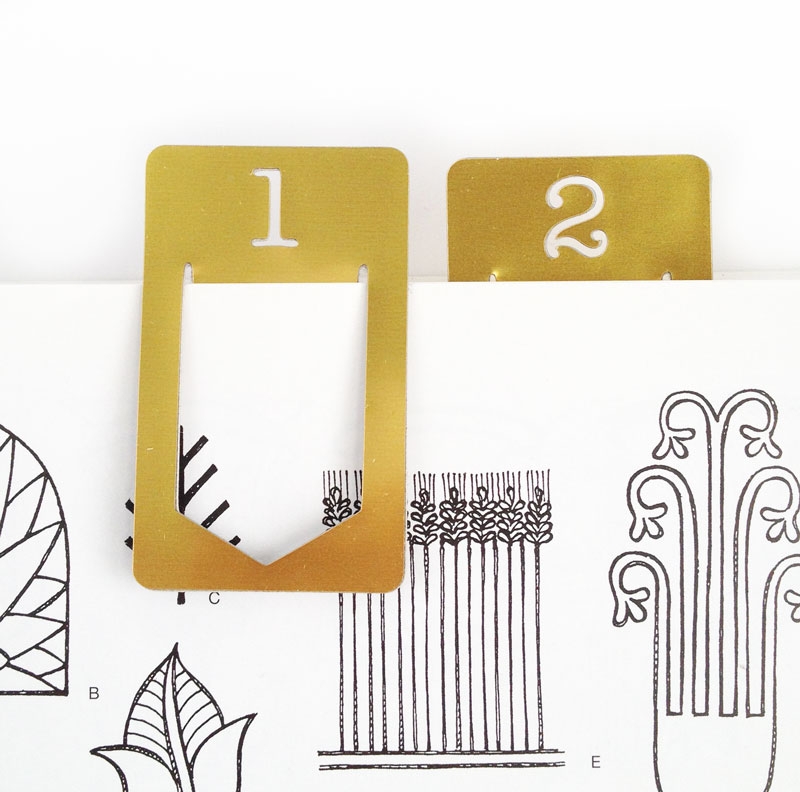
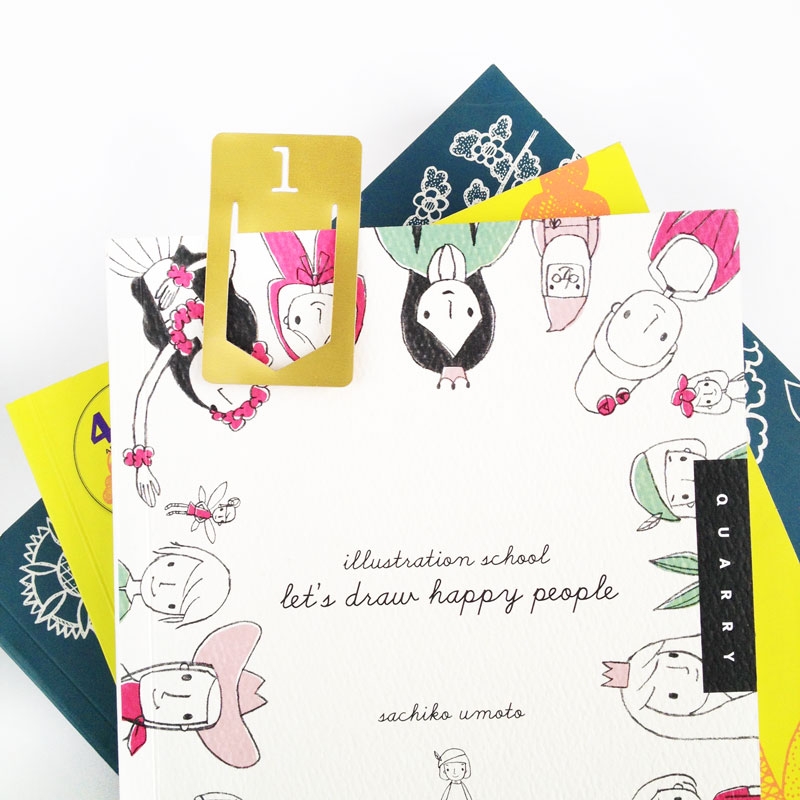
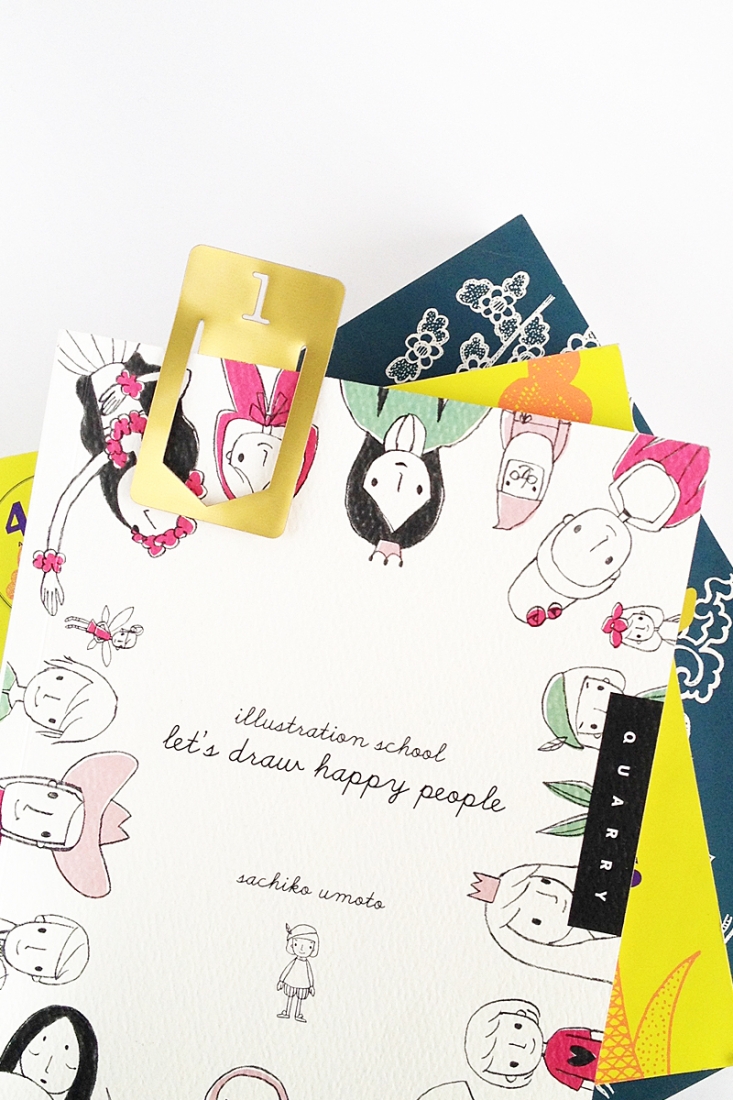
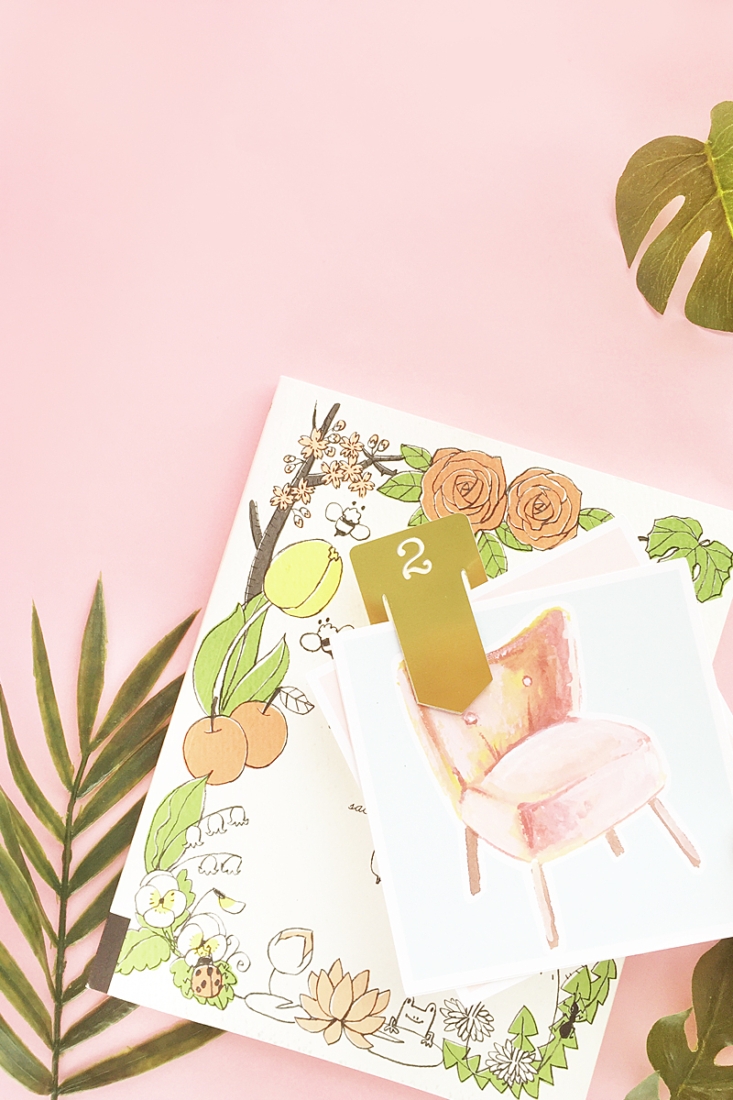
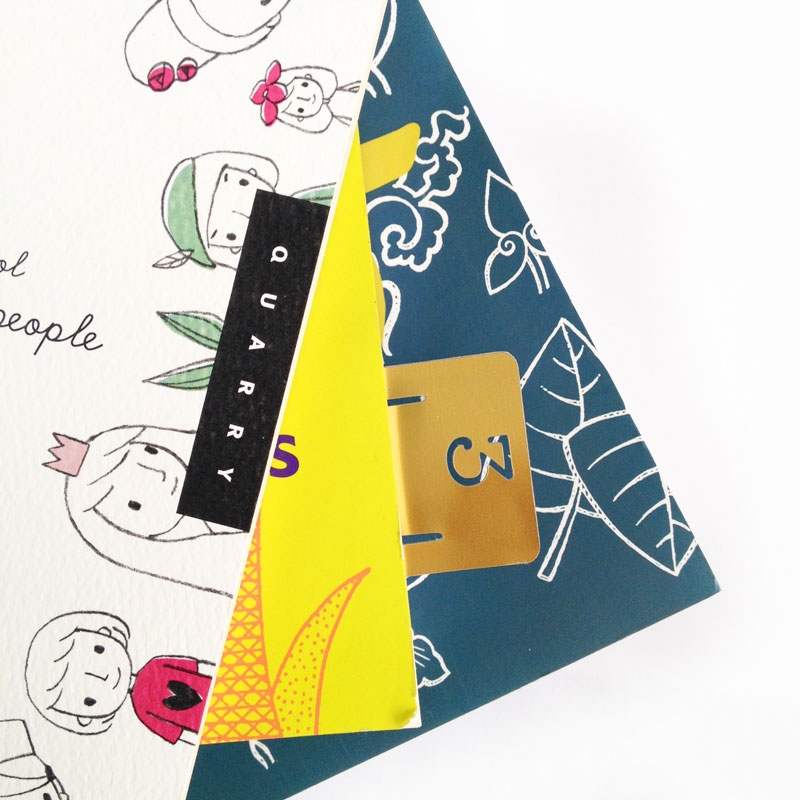
Well hello and where has the bloody week gone? I’ve got another DIY Stationery project to share and it’s all about these gold index clips. I love flipping through books and organizing my stuff, and it’s been way too long since I made something to organize my life. These gold clips are made out of chipboard and printable gold foil. Want to make your own? I’ve outlined how I made the shape below, so that you can make your own too.
The What
- Silhouette cutting machine
- Silhouette Studio
- Cutting mat
- Chipboard or sturdy Cardstock
- Glue
- Gold Foil
*This post contains affiliate links for products that I use and love!
The How
- Open a new file in Silhouette Studio
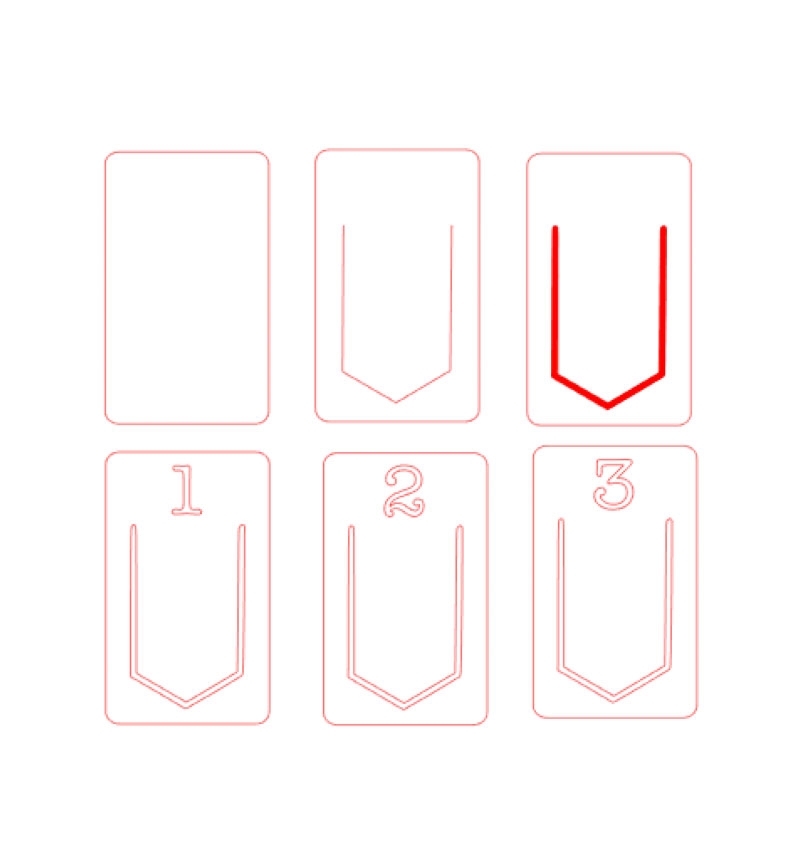
- Create a rounded rectangle. Tip: Play with the points on the left corner to sharpen or round out the edge
- Use the Line tool to create the shape below in the rounded rectangle. Select the lines and Create a Compound Path
- Thicken the combined lines, then trace
- Remove the original line and leave the traced shape
- Use the text tool to add your numbers. I used American Typewriter
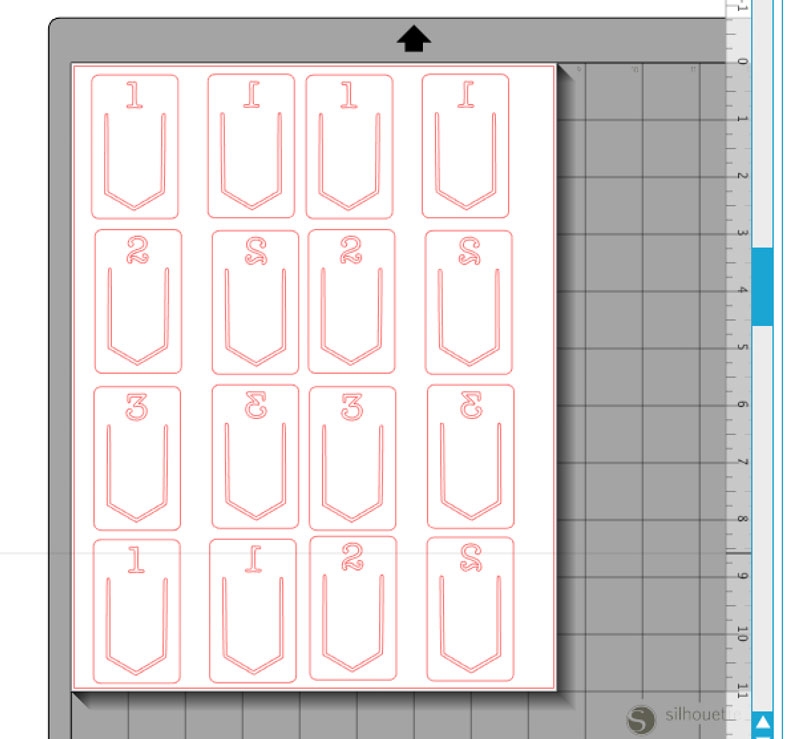
- Arrange on your page and load chipboard onto your Silhouette. Now send to print using chipboard setting(s)
- Now load gold foil. To make your clips double sided, create mirrored images, then send to cut using printable gold foil setting(s)
- Assemble your clips – adhere your gold foil shape onto the matching chipboard clip
Now you have some lovely gold clips to add to your stationery collection! How will you use them?
Looking for some more inspiration? Take a look at my other Silhouette projects.
