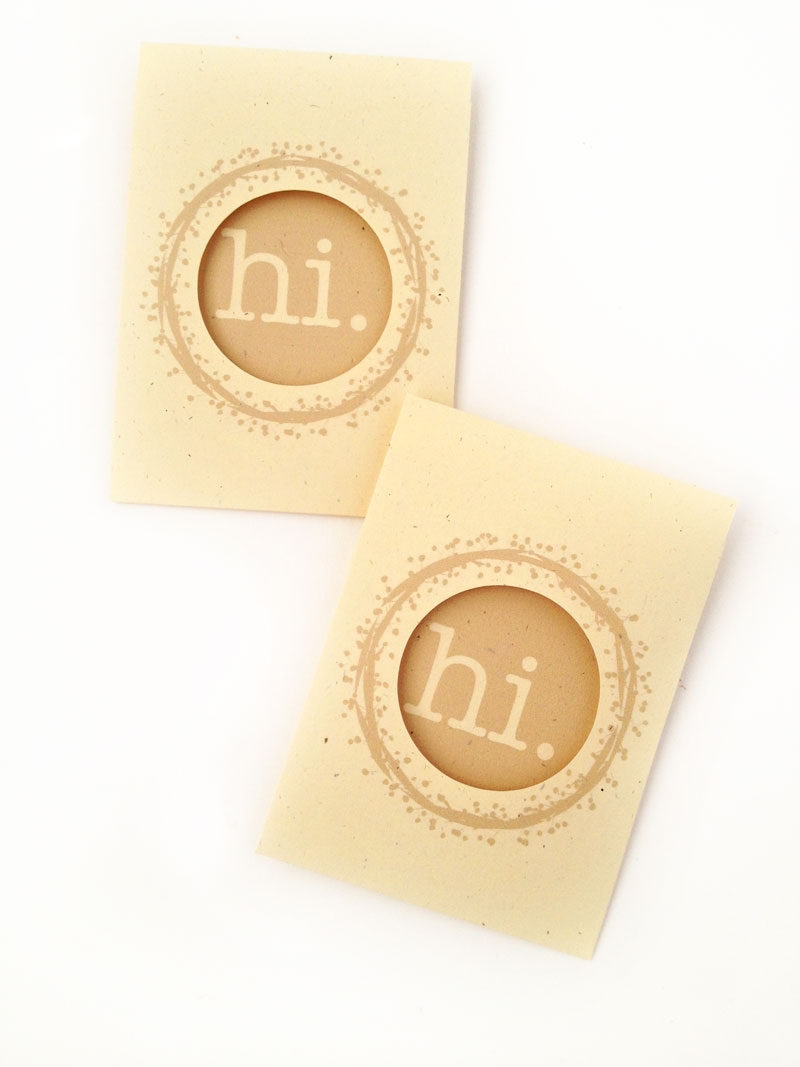
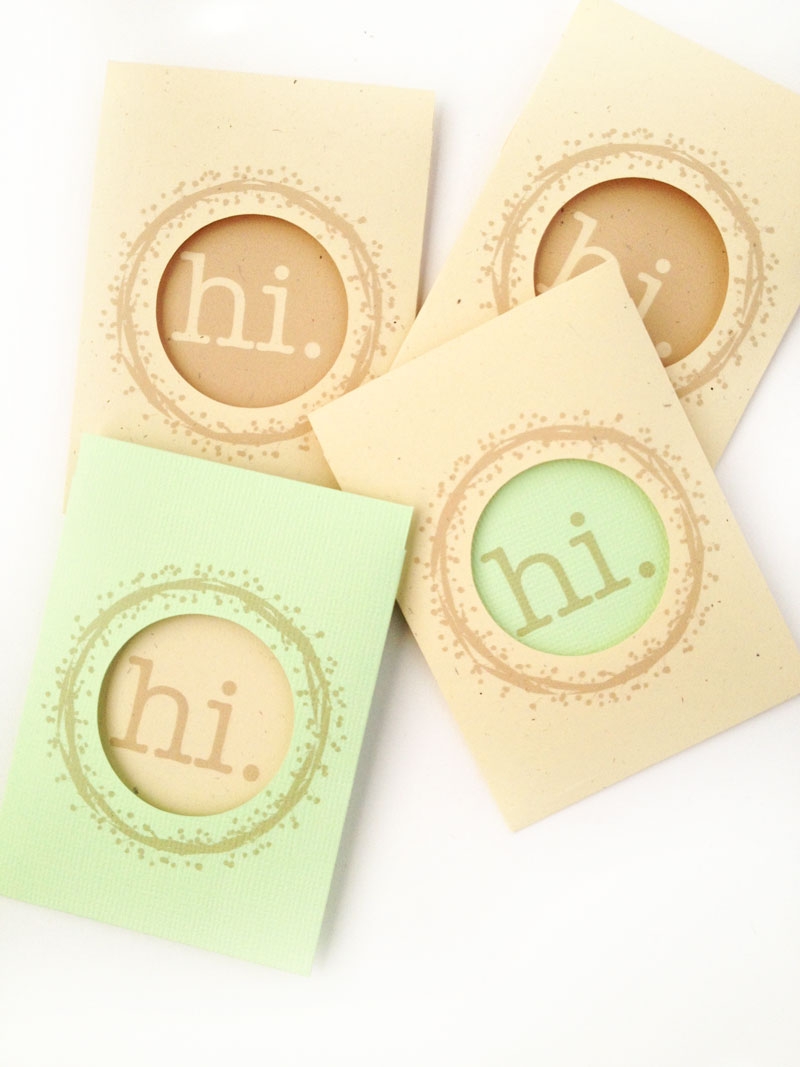
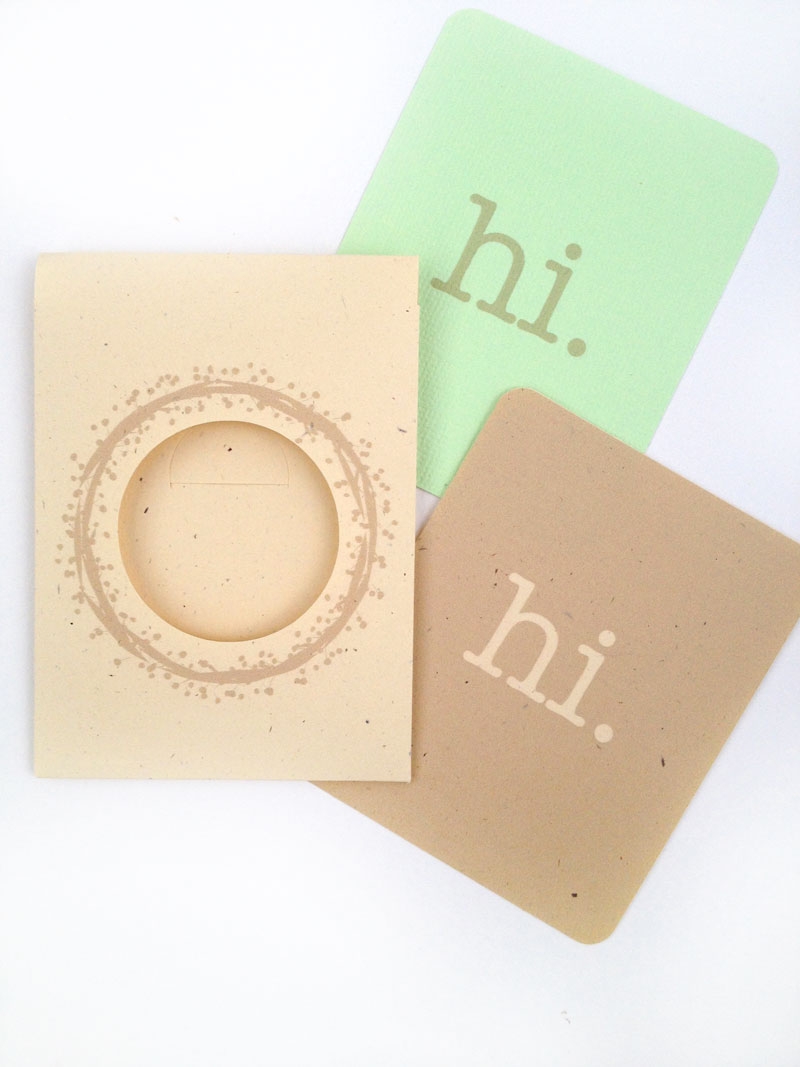
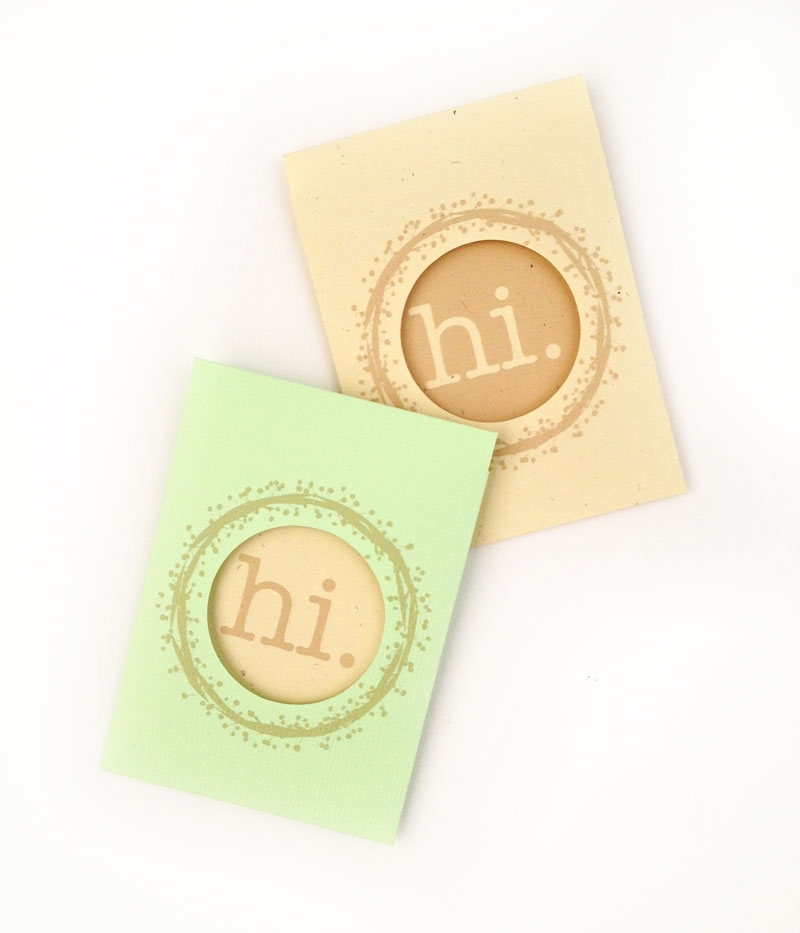
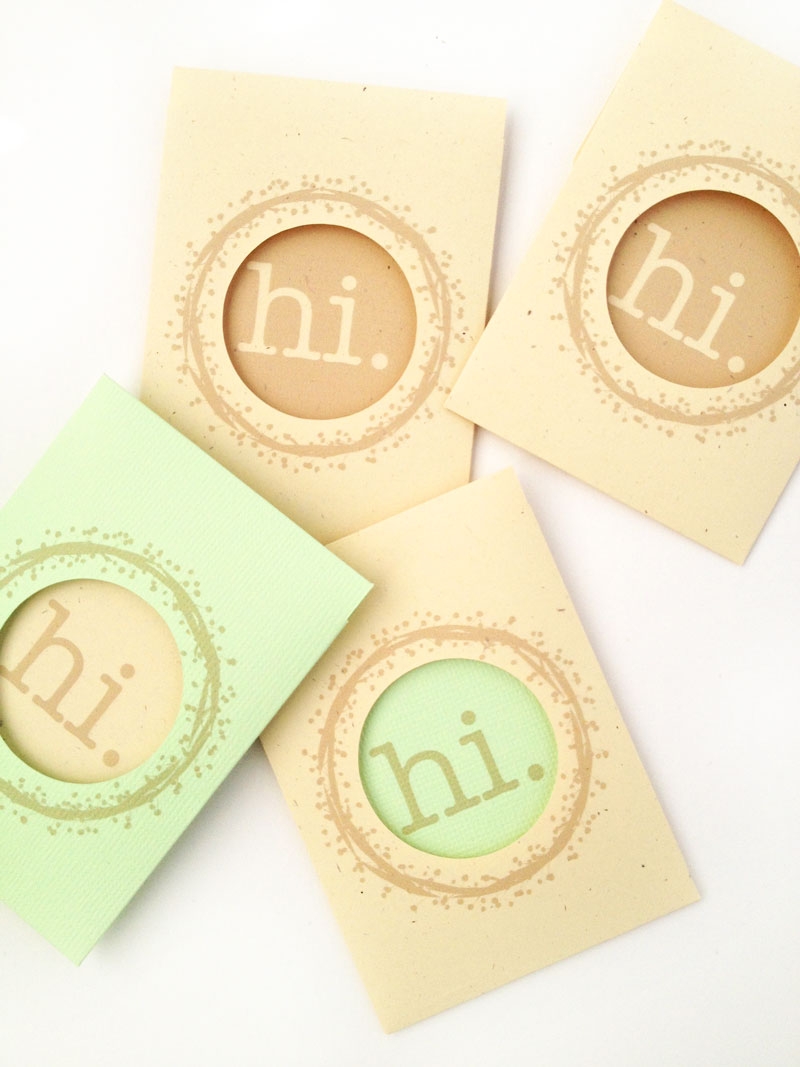
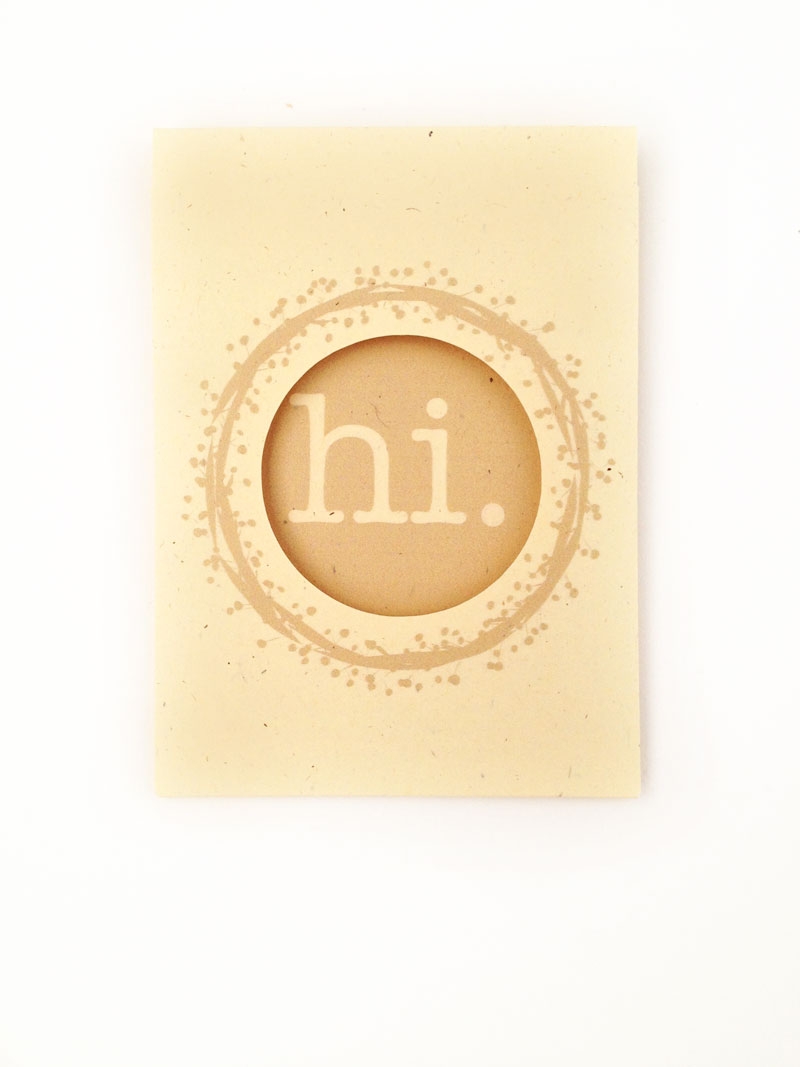
Wow – is it the end of the week already? How on earth did that happen? I had a wonderfully busy one with my Aunt visiting, a trip to the farm with kindergarteners, a Halloween parade and 2 Halloween class parties. Nap time! And, a little diy stationery a.k.a. paper therapy was in order. I’ve been meaning to do another project with Angie’s gorgeous freebies. These little window envelopes and matching tags presented themselves as the perfect project. I used her fall wreath clip art as a border or frame to the window, and created matching greeting tags. Want to make your own?
The What
- Silhouette cutting machine (I own the CAMEO)
- Silhouette Studio
- Cutting mat
- Fall wreath clip art
- Cardstock
- Printer
- Mini flap envelopes
- Glue
The How
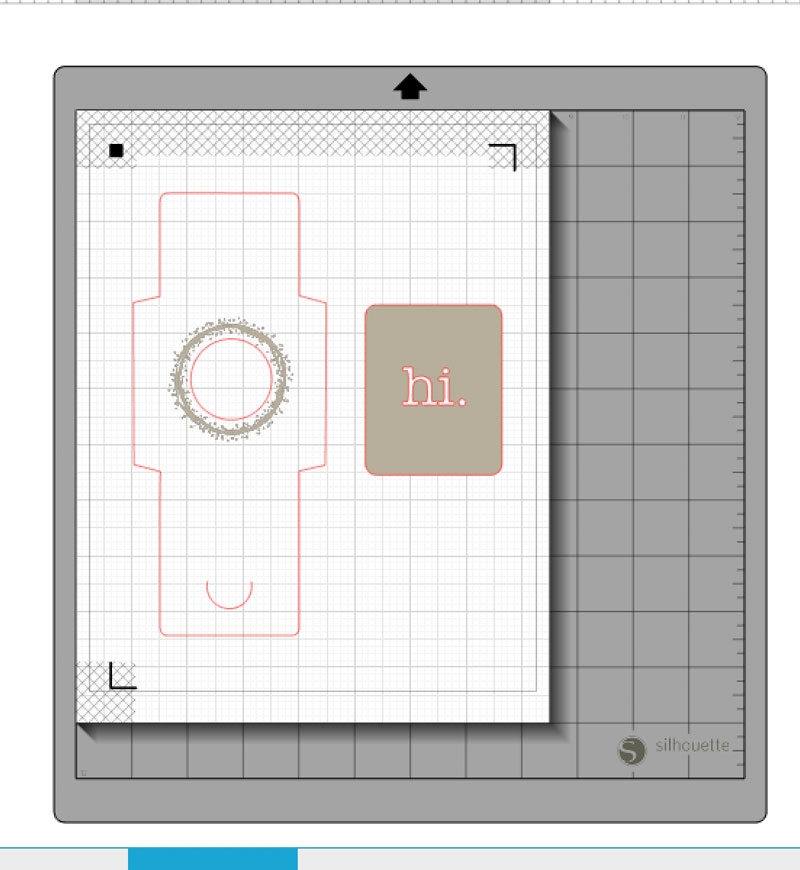
- I merged my mini flap envelopes from this post, and merged one of the wreaths onto my new file
- I added a circle (for the window), then resized and placed the wreath to frame it
- Using the rounded rectangle tool, I created the matching tag and typed “hi.” in the American Typewriter font. I made sure the greeting lined up with window, so that when it was placed inside the envelope you can see it
- Print and cut your shapes, then assemble with glue. Note that the envelope should be folded about 1.5 in from the top, so that it meets the flap perfectly
So, what will wreath will you use for lovely tag set?
Looking for some more inspiration? Browse through my other Silhouette CAMEO projects.
5 Comments on DIY Stationery: Tag Set with Window Envelopes
Comments are closed.
OOOH! I just love these. Nice work. 🙂
Thanks, Angie! Those wreaths are gorgeous!
Just what I was looking for. You always find the coolest freebies and I love that you show me how to use them.
So sweet of you to say, Torrie! Thank you!! 🙂