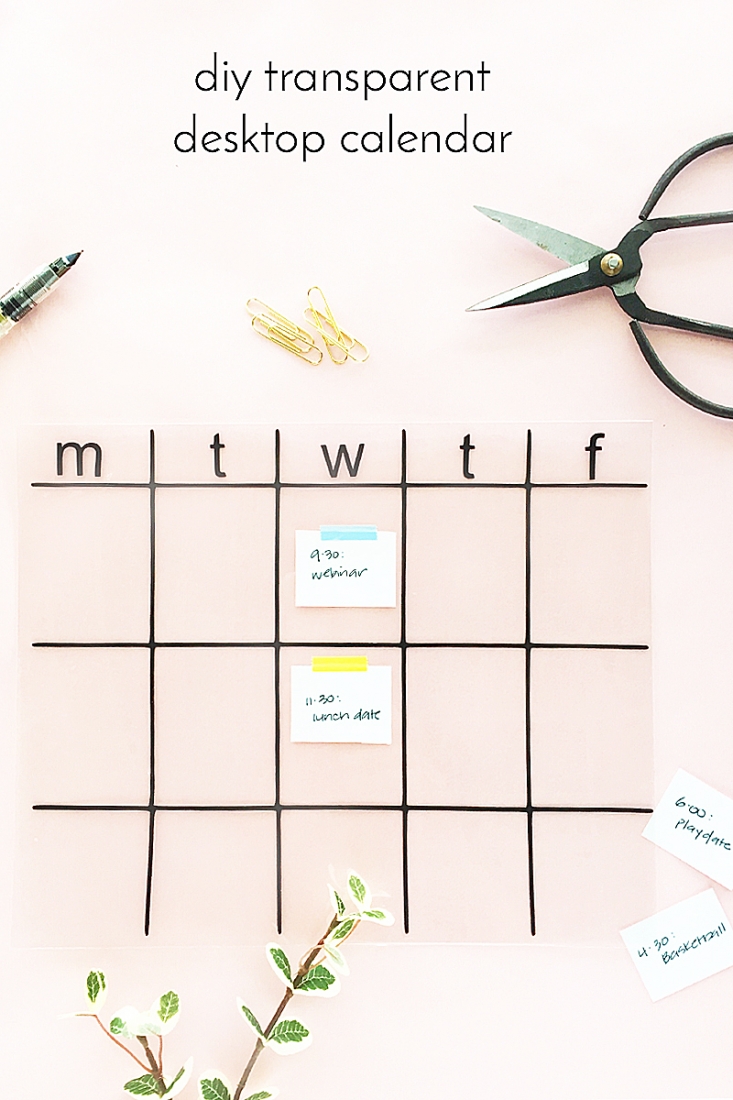
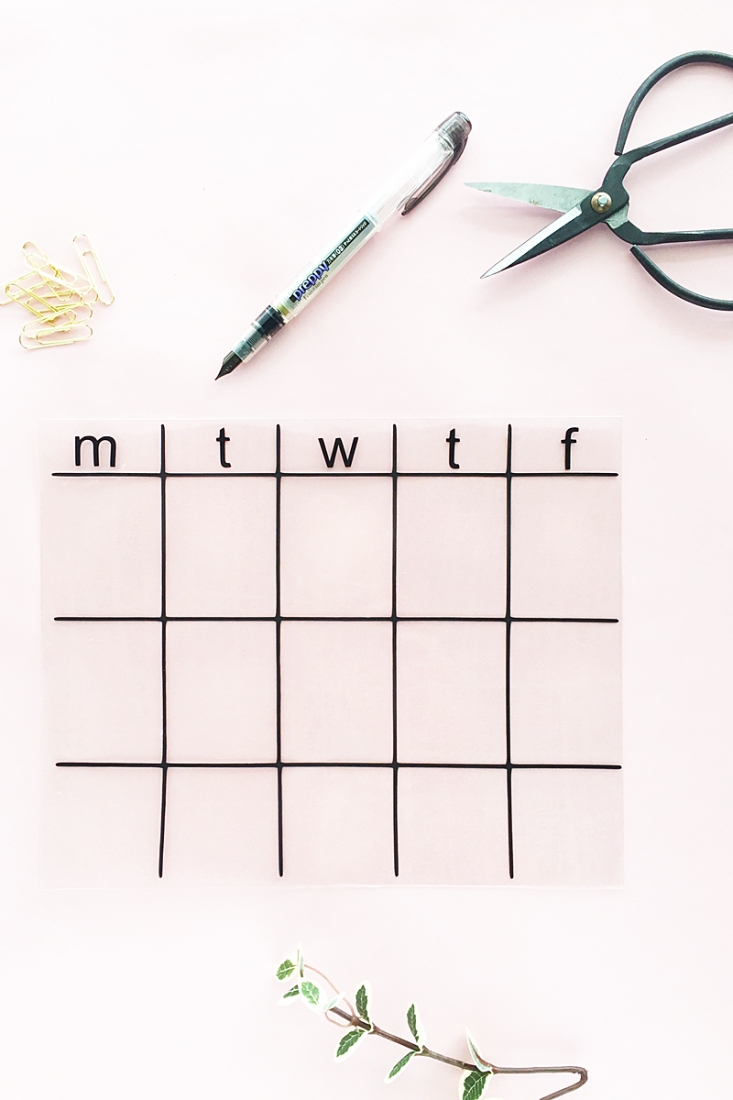
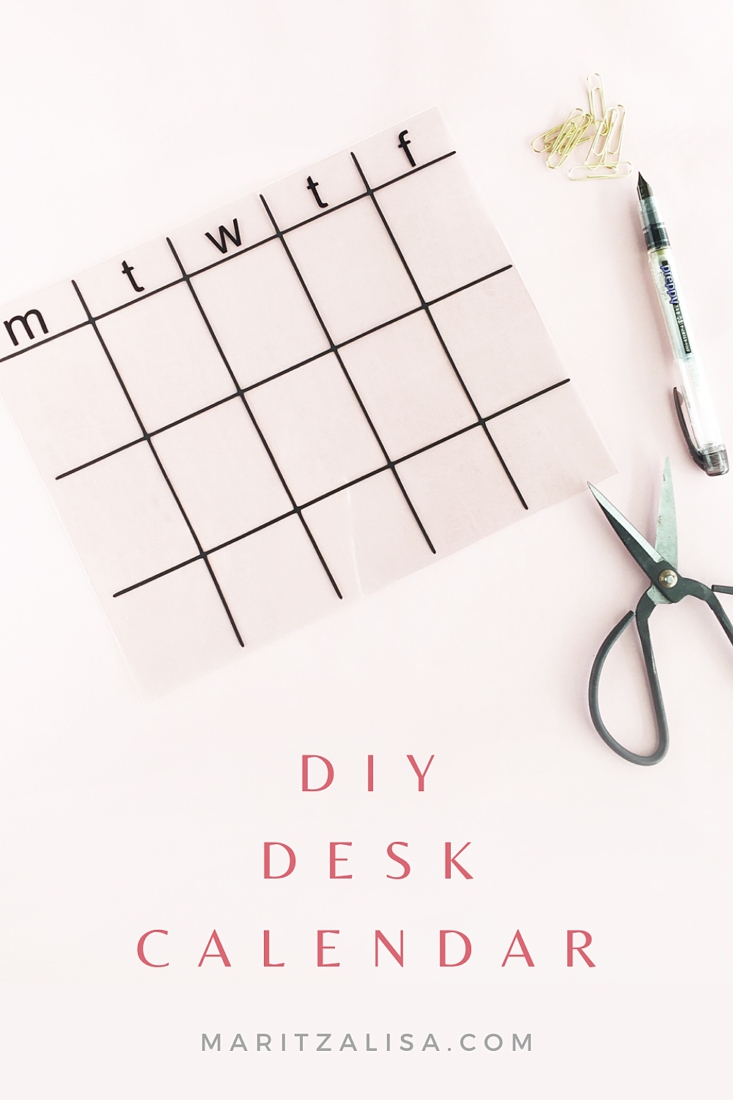
This DIY Transparent Desktop Calendar has been on my list of things to try for quite some time. I’ve hesitated because I was not sure I can pull it off. I knew which materials to use, but I kept putting it at the bottom of the list. Yesterday, I just decided to do it. If it did not work, so be it. My focus was to just put some joy in creating. Lesson learned? Another reminder for me to harness the fear and turn it into something creative and productive. So, that being said – guess what I used to create this cute calendar for my desk? Read on to find out!
What You Need To Make A DIY Desktop Calendar
- Silhouette Studio (there is a free version!)
- Silhouette cutting machine ( I used my CAMEO 3)
- Black cardstock
- 2 sheets of Clear Sticker Paper (yep, that’s the secret ingredient!)
- Glue
- Scraper
- Weekday Grid (free for personal use!)
- Large cutting mat
*This post contains affiliate links for products that I use and love!
How To Make A DIY Desktop Calendar
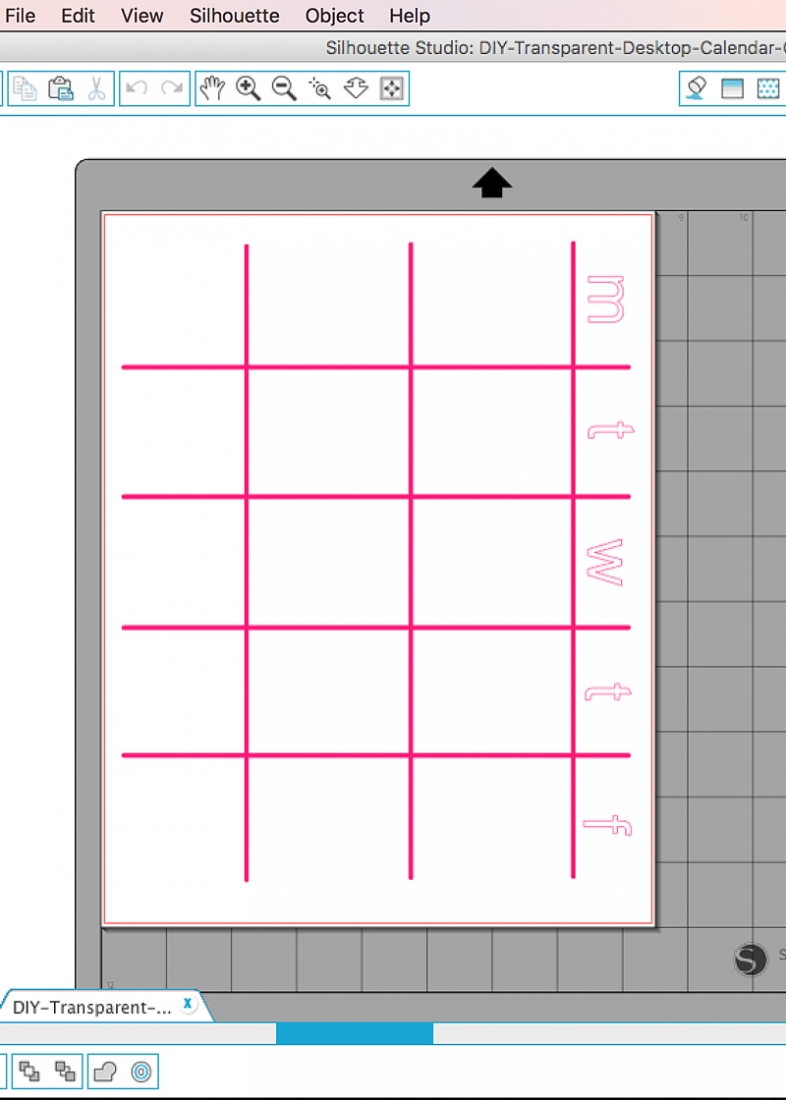
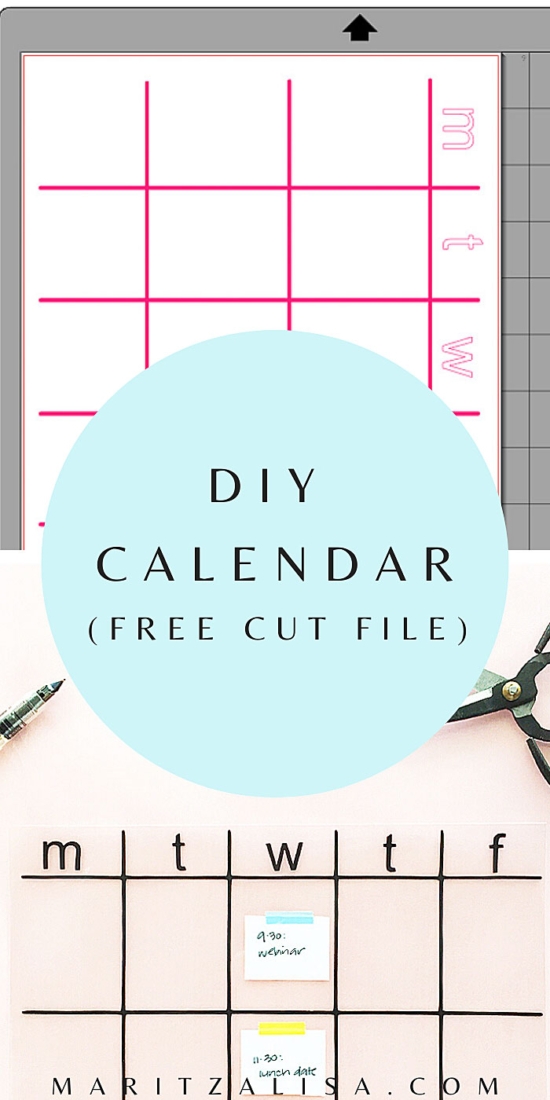
- Download and open the Weekday Grid in Silhouette Studio
- Before cutting, ensure the grid itself is set to Cut Edge
- Load your black cardstock onto your Silhouette cutting machine and send to cut using cardstock settings
- Take the 2 sheets of clear sticker paper, and remove the backing
- Carefully stick the 2 sheets together so that the sticky backings face each other
- Smooth out with a scraper
- Cut the combined sticker sheets into a 8×10 to create a clear rectangle
- Add glue to your grid and adhere to the clear rectangle
- Add glue to the day letters and adhere to the clear rectangle
Tip: Use the large cutting mat’s grid to help you glue the weekday grid to your clear rectangle
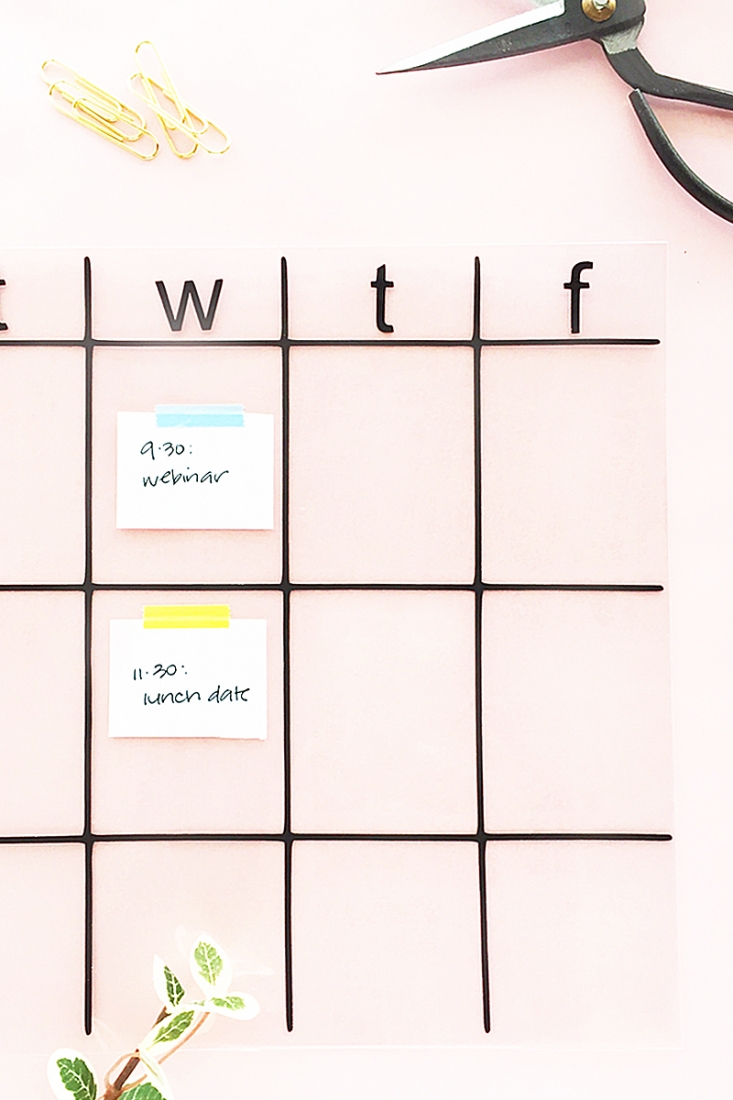
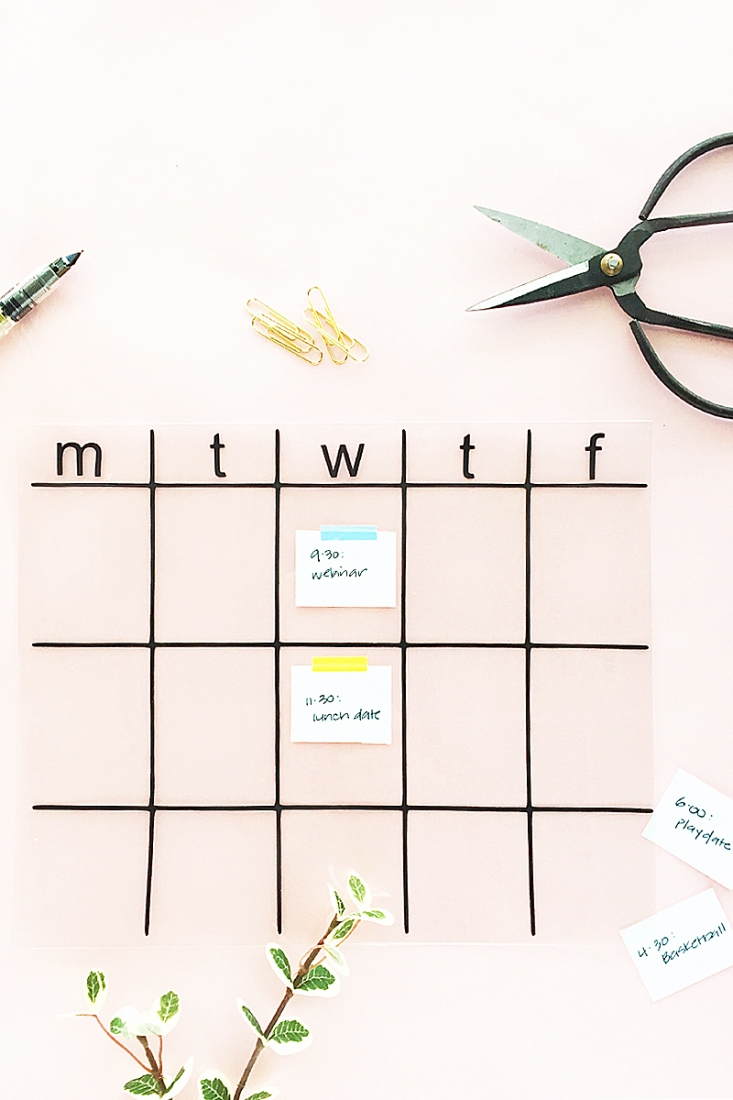
All you need to do is fill your grid with your appointments with cute note paper and washi tape!

Looking for some more crafty inspiration? Take a look at my other Silhouette projects!
2 Comments on DIY Transparent Desktop Calendar
Comments are closed.
So awesome that you pushed aside your fear…..love this!
Thanks, Theresa! It’s a work in progress – lol! xoxoxox