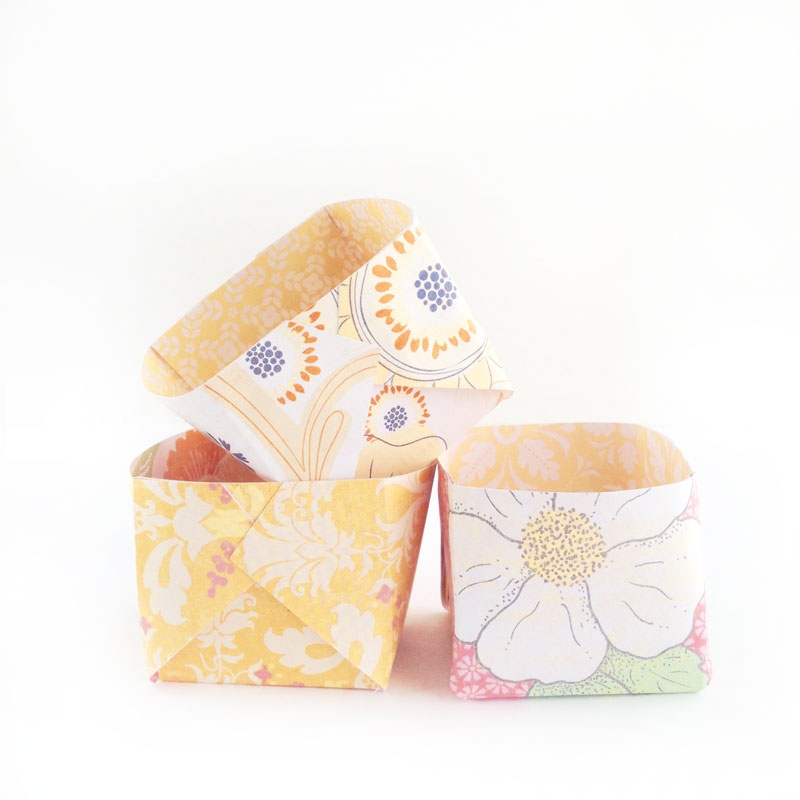
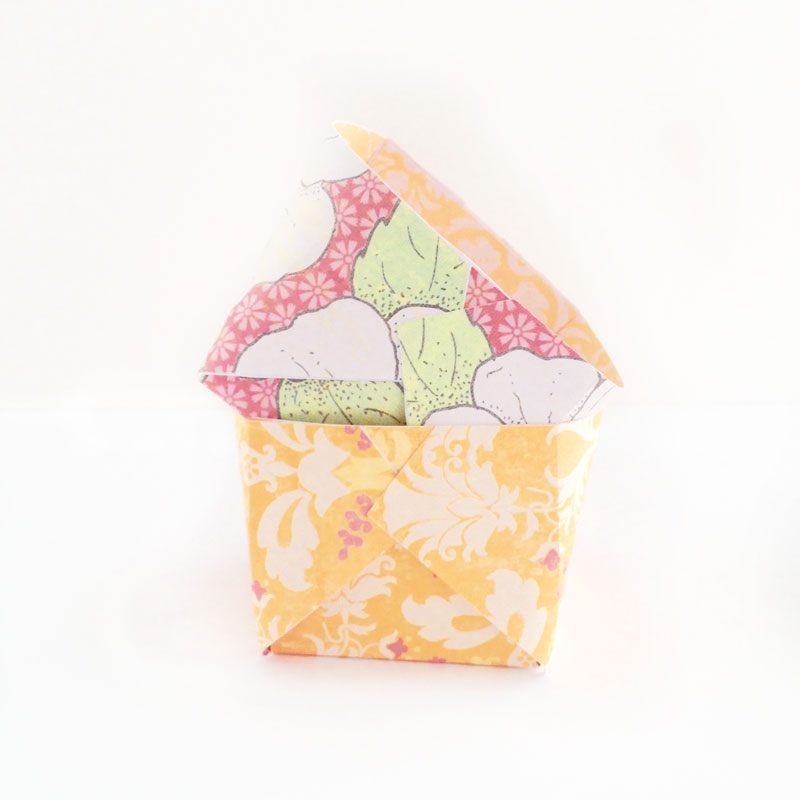
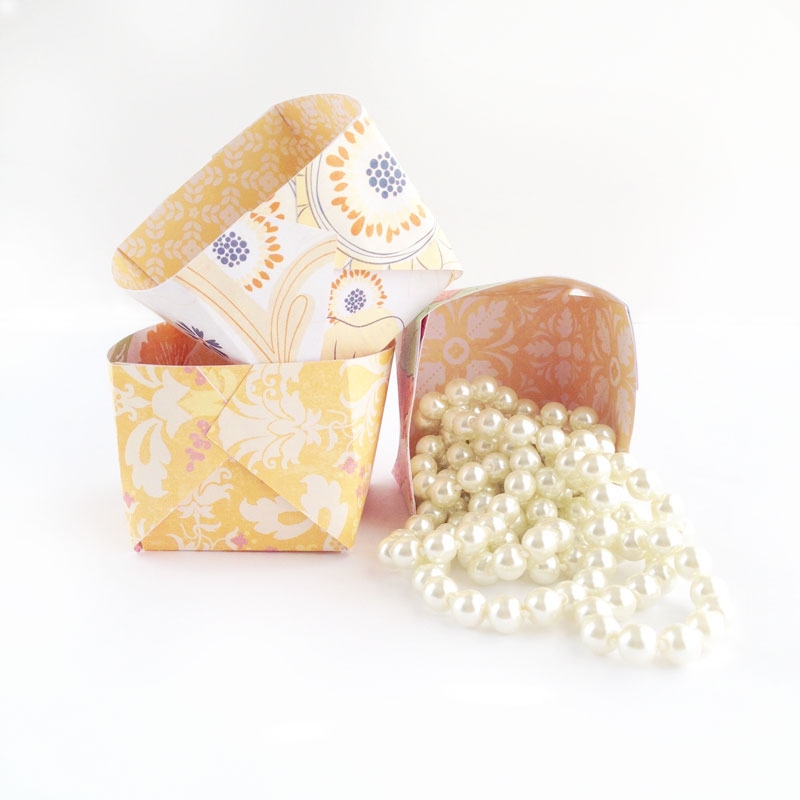
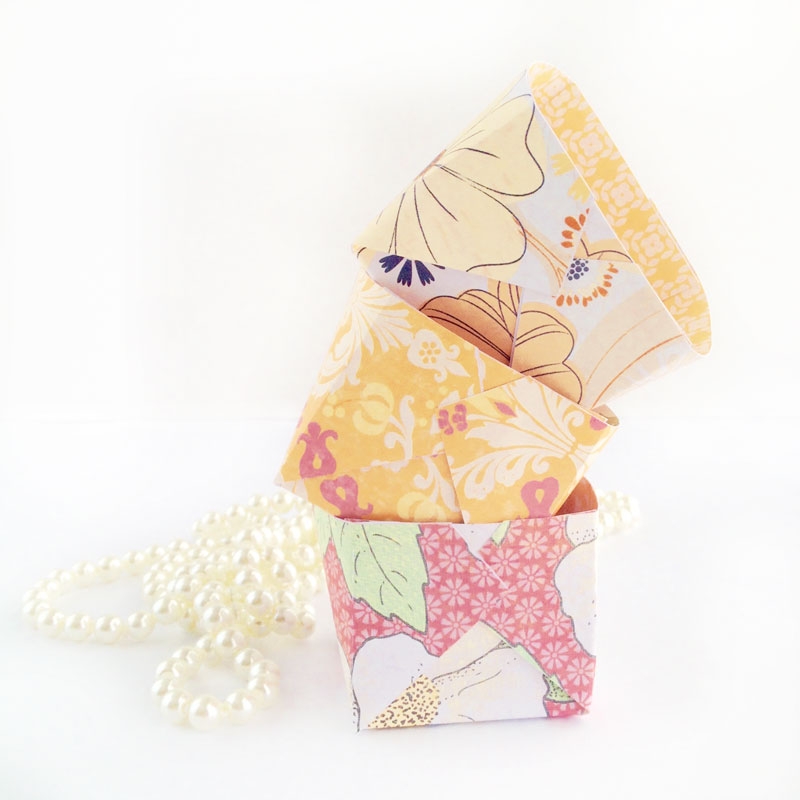
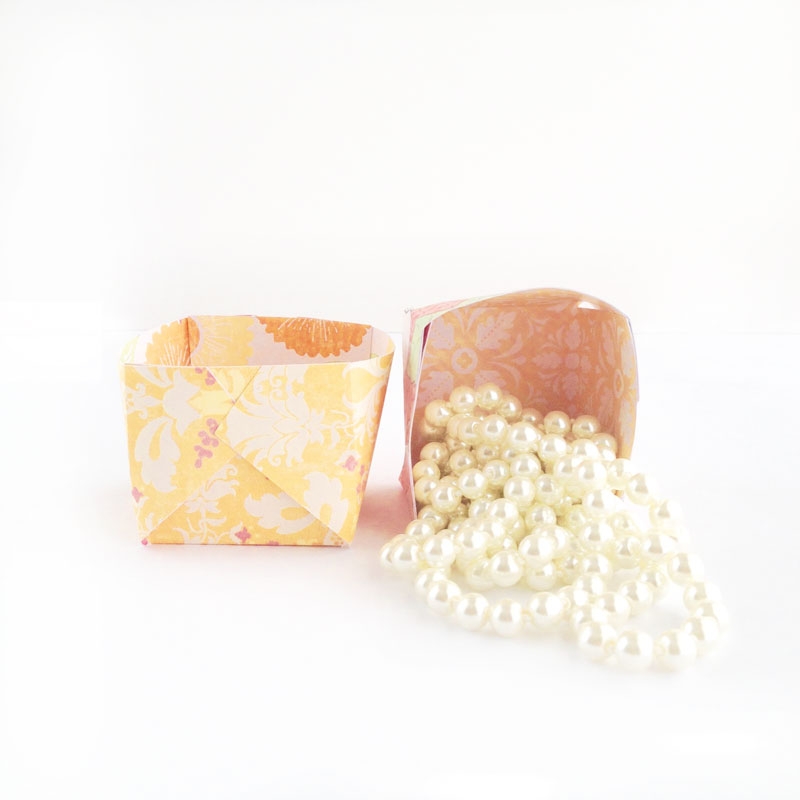
You’ve come to the right place if you’re looking for another DIY treat box project. I’ve been loving these treat boxes (remember?) and could not wait to post another variation of it. This time, it’s a little more square with the side flaps on the outside. An origami-ish flair, if you will. Add a little double-sided patterned paper action, and you’ve another sweet treat box! I’ve included the cut file below for you to play with. Shall we?
The What
- Silhouette cutting machine
- Silhouette Studio
- Cutting mat
- Glue
- Patterned Paper
- Bone folder
- Treat box cut file (below)
The How
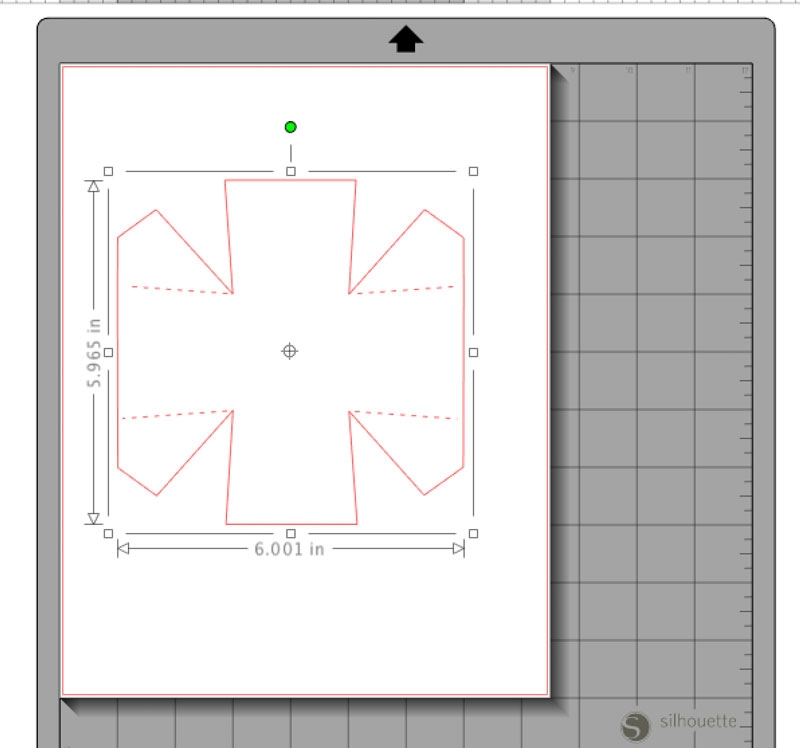
- Download and open your treat box cut file
- Cut multiple copies using different patterned paper sheets (copy paper settings)
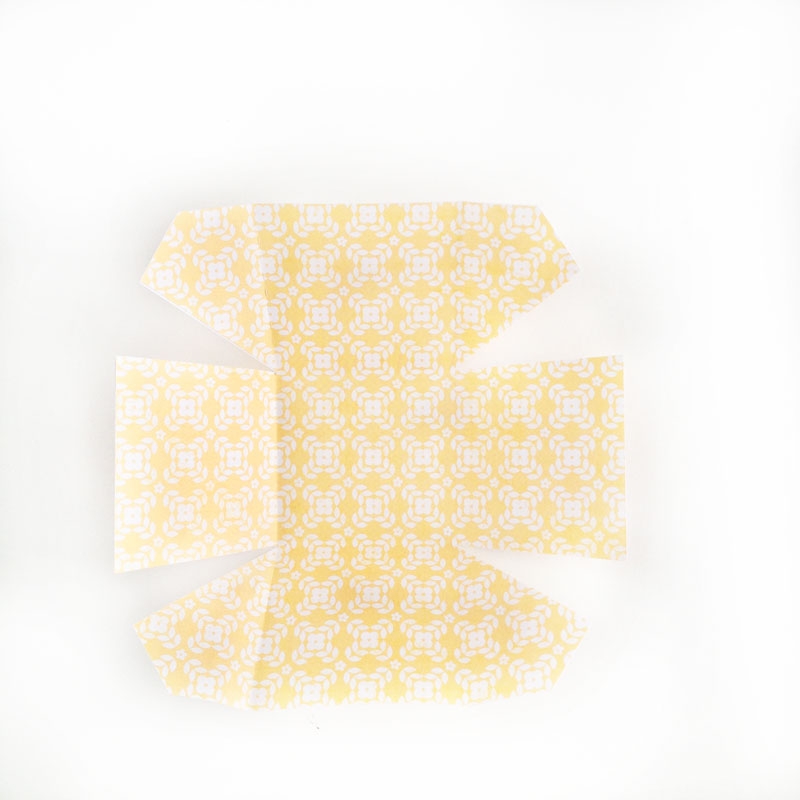
- Glue 2 of the cut shapes together so that the patterns are on the outside
- Fold and glue
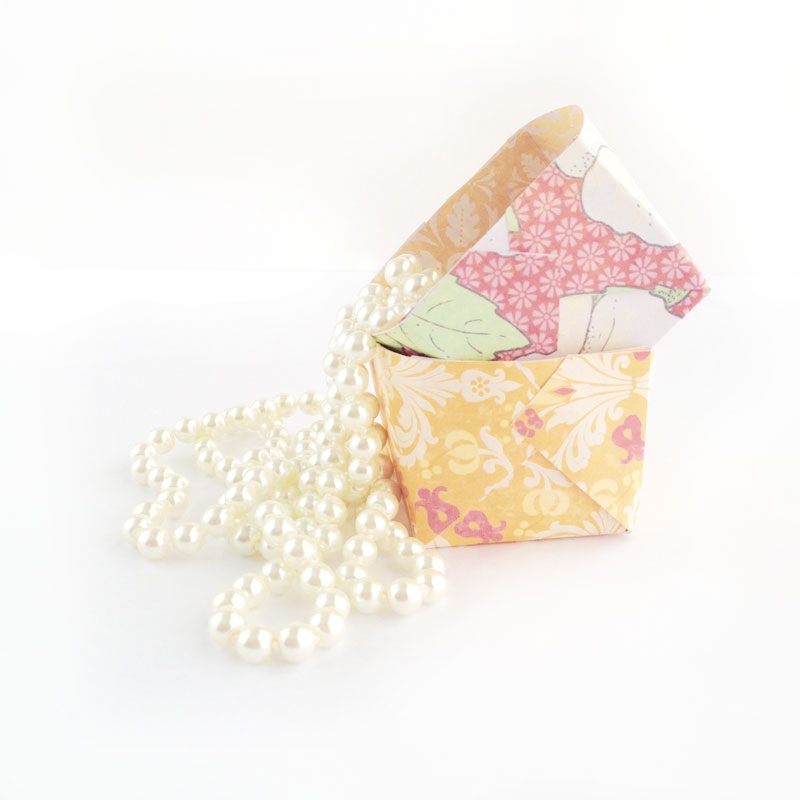
And you’re done! These are perfect for favors, storage and of course – treats! What will you use your treat box for?
2 Comments on DIY Treat Box: Patterned and Lined
Comments are closed.
Hi Maritza!
I love treat boxes, they are always a great detail. Thank you for the tutorial, the patterns are beautiful.
I found you through the SITS link up party, happy october 🙂
Thanks, Elba! Happy October to you too!