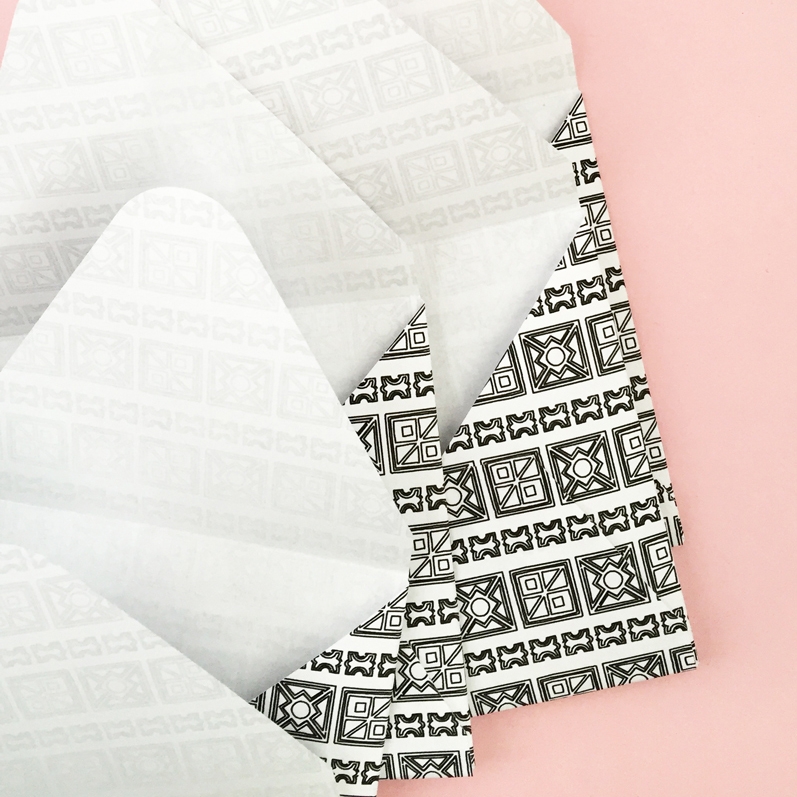
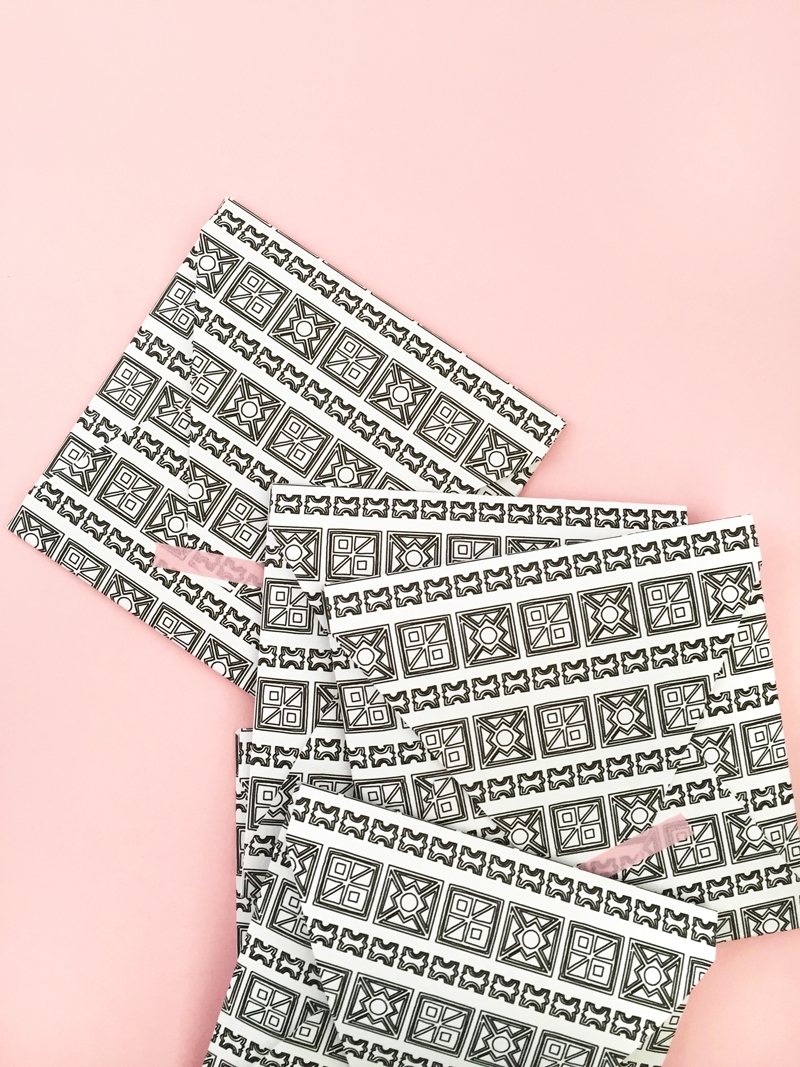
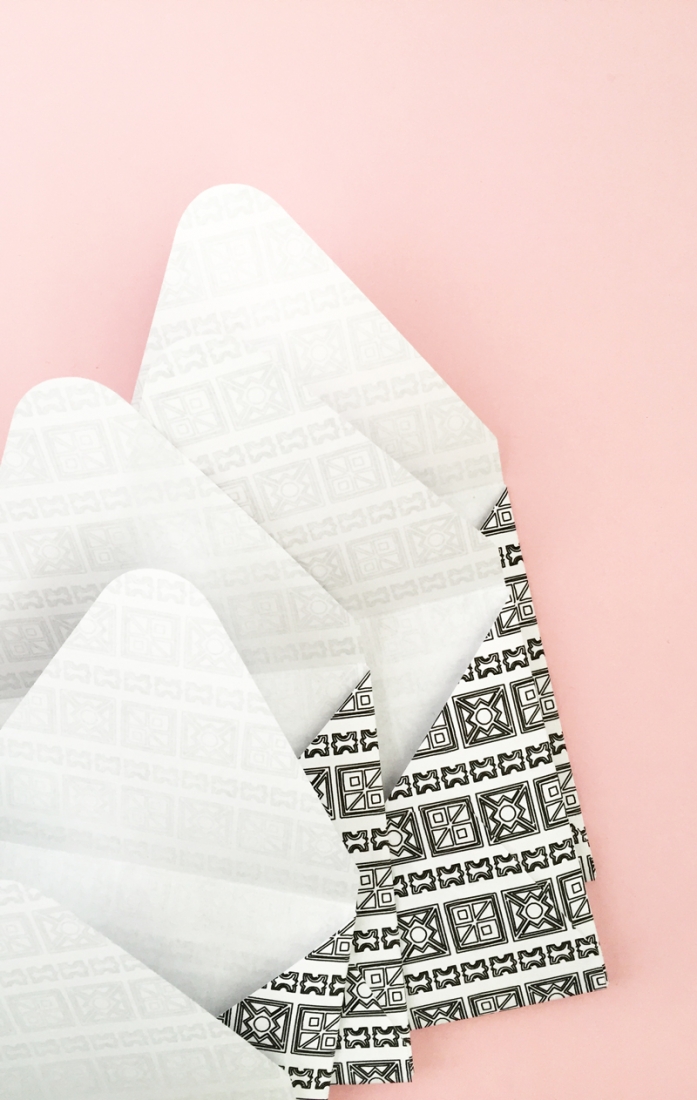
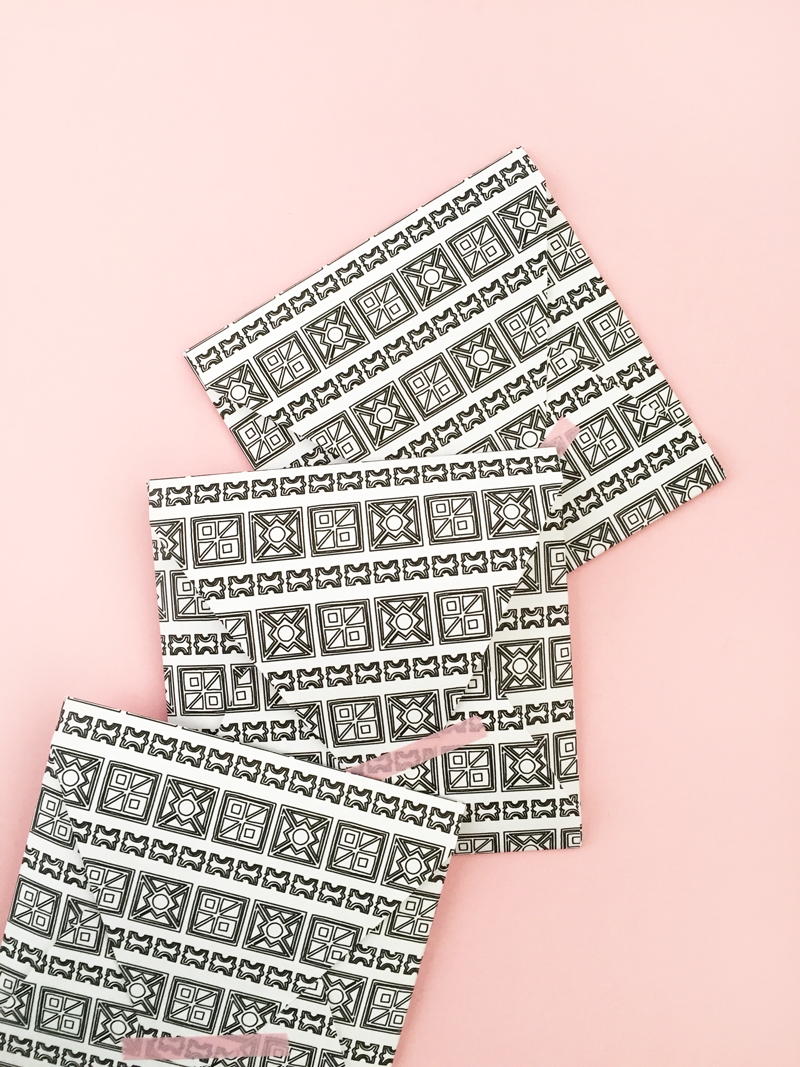
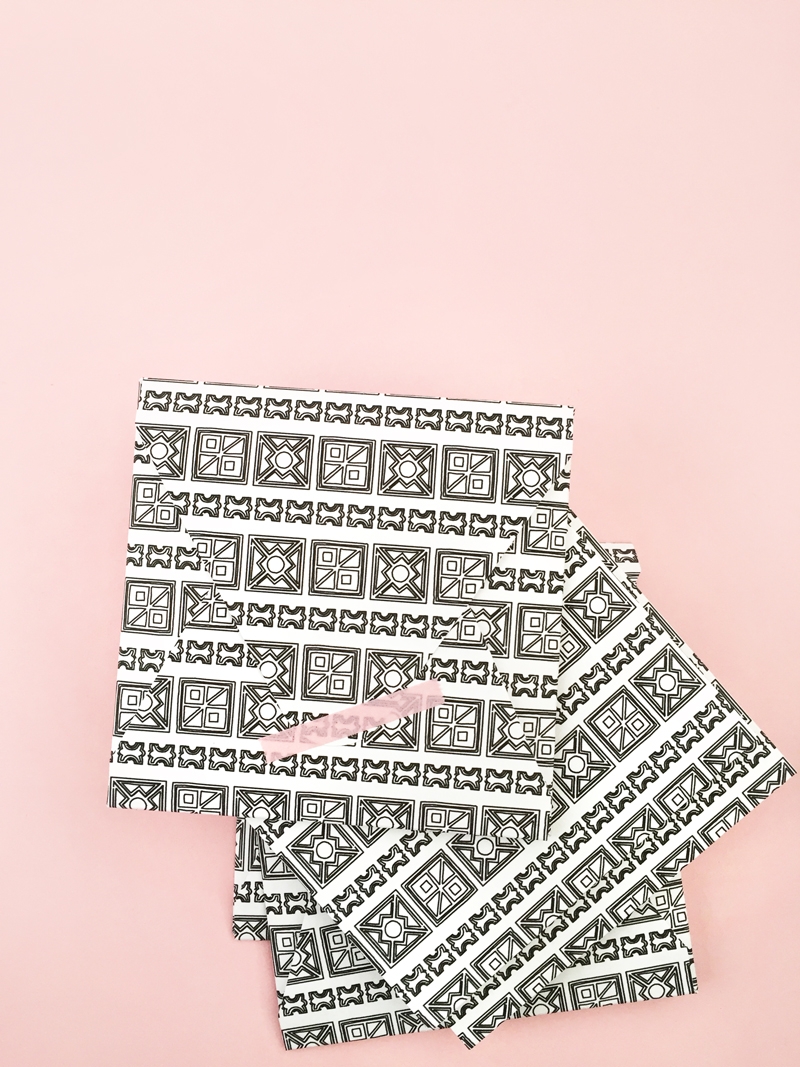
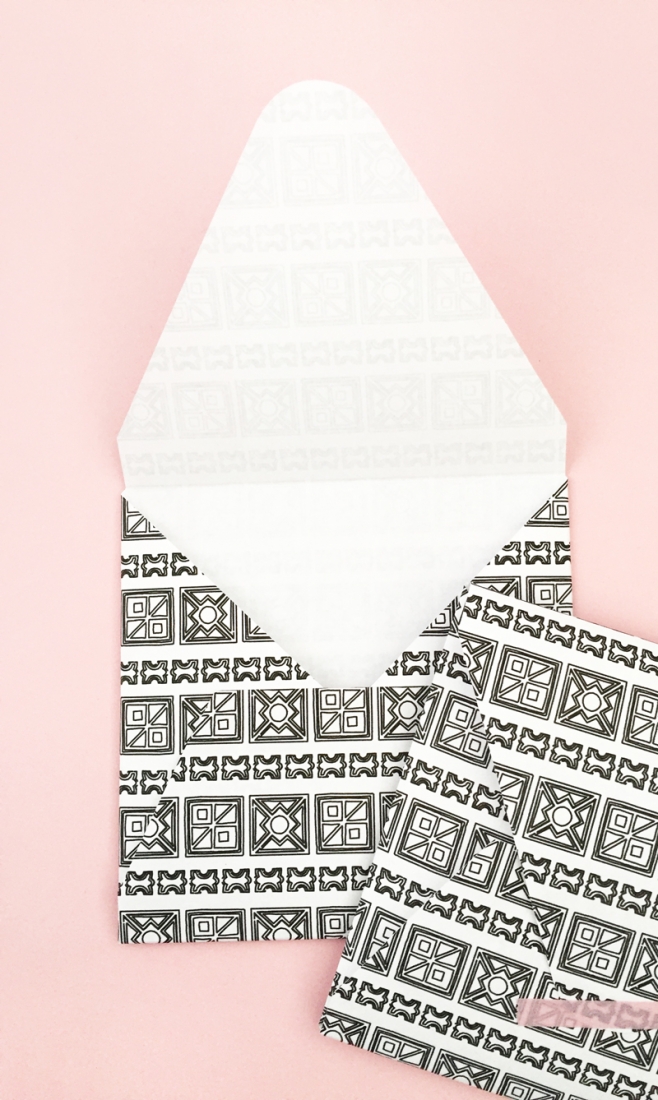
I am obsessed with ponchos, capes and basically anything that does not have fitted sleeves. This obsession started in 2004. They are ideal for the cooler months, ‘cuz all you need is a poncho and some leggings, a cute pair of boots and off you go. This fall, I am not ashamed to admit that I have already bought 4 ponchos (okay, maybe there is a little shame). Where am I going with this? They all have tribal patterns on them. Tribal patterns are the icing on my poncho. So, here is where my inspiration this week kicks in – tribal patterns. Let’s start with this DIY tribal pattern and apply it to your favorite DIY stationery shape… Shall we?
The What
- Silhouette Studio
- Silhouette cutting machine
- Cutting mat
- Printer or copy paper
- Printer
- You favorite stationery shape (you can use this free envelope download)
- Tribal font (I got mine here for free – please read the terms of use)
- Glue
- Bone folder
The How
- In Silhouette Studio, open your envelope file
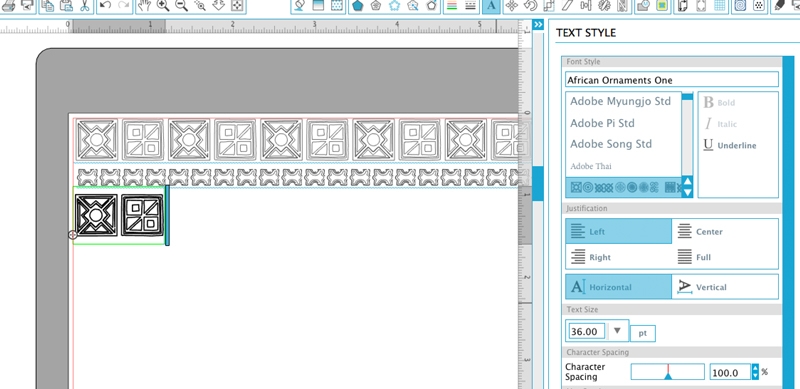
- Using the text tool, select your tribal font (using your line color of choice), and type your pattern across the page
- Optional – create an alternate pattern for the 2nd line
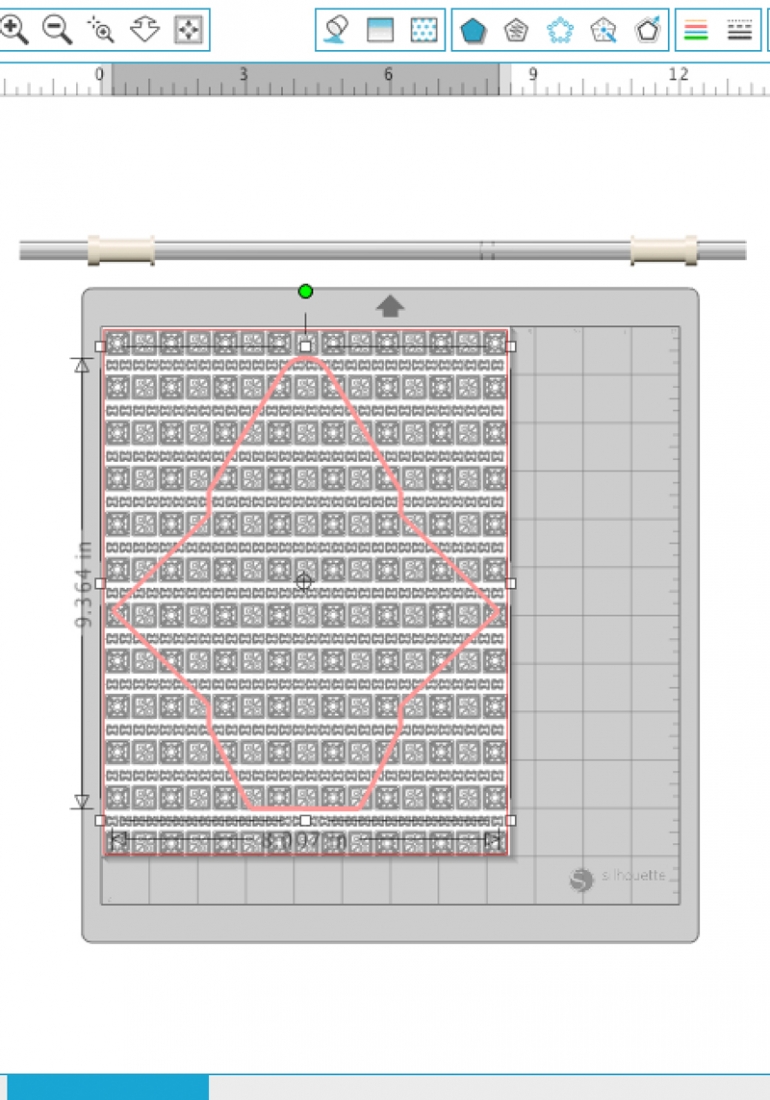
- Once your page is full, group your lines together and set to No Cut
- Print your design
- Place your envelope shape on your page
- Load your machine with the tribal pattern and send to cut using copy paper settings
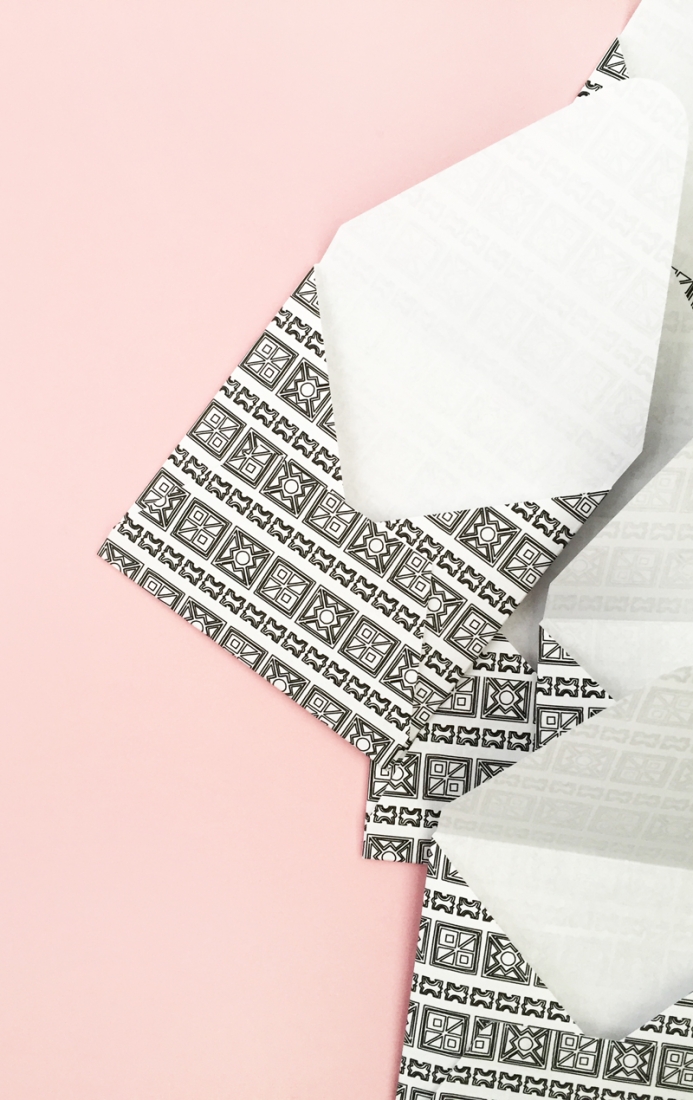
- Score and assemble your envelopes with glue and the bone folder
And that’s it! You now have a modern set of tribal envelopes for your stationery collection. For my pattern, I used uppercase A and F for the top pattern, and uppercase K for the bottom pattern. Which letters or did you use to create yours?
Looking for some more inspiration? Take a look at my other Silhouette projects.
