I hope you all had a wonderful holiday season and wish you nothing but the best for 2019! We stayed close to home this year and had such great family time and friend time too. I thought I’d kick off the year with this cute little DIY Vase With A White Flower. Although I’ve used printable tattoo paper before, I was new to the printable white version. Instead of printing the image, I decided to just use the plain white paper. Read on for the full tutorial!
DIY Vase With A White Flower – What You Need
- Silhouette Temporary Tattoo Paper (white)
- Silhouette Studio (there is a free version!)
- Silhouette cutting machine ( I used the CAMEO 3)
- Wet towel
- Clear sealant (optional)
- Scissors
- Glass vase – I got mine at Michaels but you can get them online at Amazon too
- Floral Elements – I got mine at Creative Market which are free until this Sunday!
*This post contains affiliate links for products that I use and love!
DIY Vase With A White Flower – Instructions
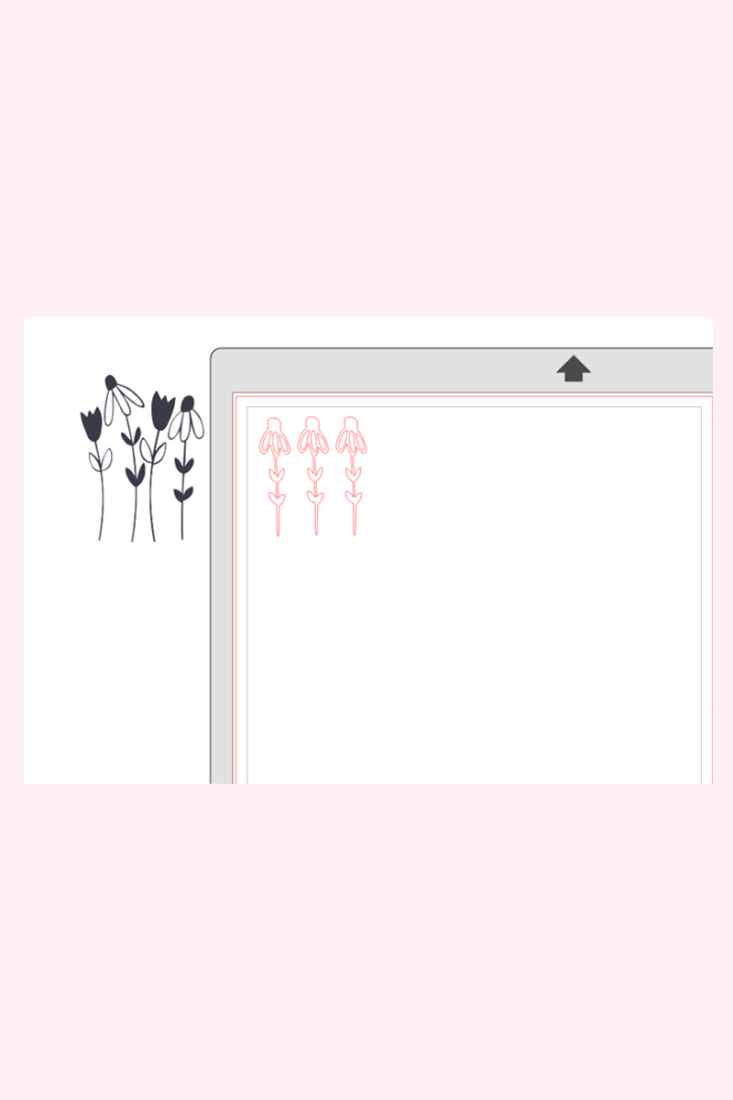
- Download and open a .png image of your flower in Silhouette Studio
- Use the trace tool to trace the flower
- Mirror the traced flower
- Before loading the tattoo paper, be sure to apply the adhesive sheet that comes in the printable tattoo package
- Send the mirrored image to cut on your Silhouette cutting machine using printable tattoo settings
- Once your flower is, remove the clear adhesive paper from the flower and apply the flower tattoo face down to the glass vase with a wet towel
- Optional: apply a clear sealant to protect the tattooed strip (this will help make the tattoo last longer)
Cute, right? Simple, sweet with very little effort. Perfect little update for your home. I’d love to hear how yours turned out – tell me in the comments below!
Looking for some more inspiration? Check out my other tattoo paper projects and craft a little longer with me!
2 Comments on DIY Vase With A White Flower
Comments are closed.


Cute!
Thanks, Theresa! Happy 2019! xoxoxox