Happy Spring! It’s here – finally, and um… hopefully? We have blue skies and sunshine in our little corner of Maryland – I’ll take it over the snow any day. I may whip out my flats and take a walk to pick up Big from school this afternoon – well, it’s a good thought…
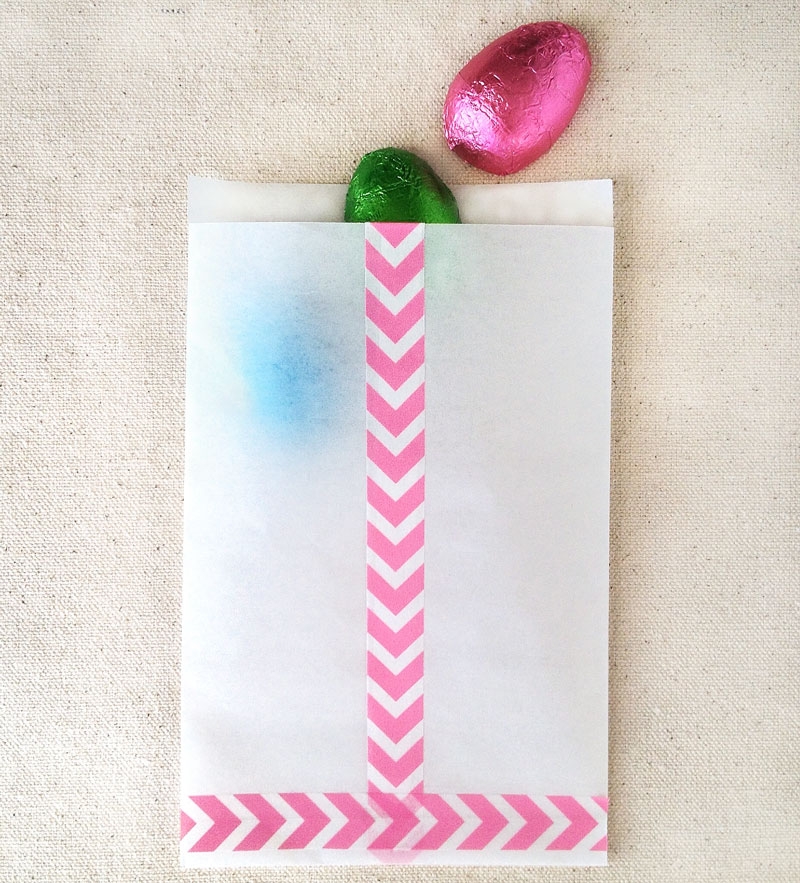
Today’s DIY is washi inspired. Washi tape is everywhere and I wanted to share with you a little treat bag project that will utilize this happily patterned tape. What’s this washi tape, you ask? It’s basically a patterned tape that is used as regular tape and/or used to decorate anything it can stick to. This project will use it as both, cuz that’s how I roll.
The What
- Tracing Paper – cut into 8″x9.5″ rectangles
- Washi Tape
- Scissors
- Ruler
The How
Step 1: Place your tracing paper in the landscape position, and fold

Step 2: Cut out the corner pieces

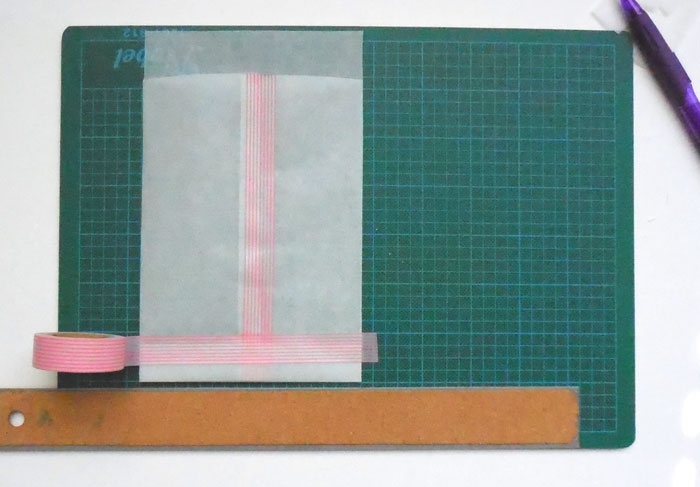
Step 3: Fold in the left and right sides, then place your washi tape along the vertical seam

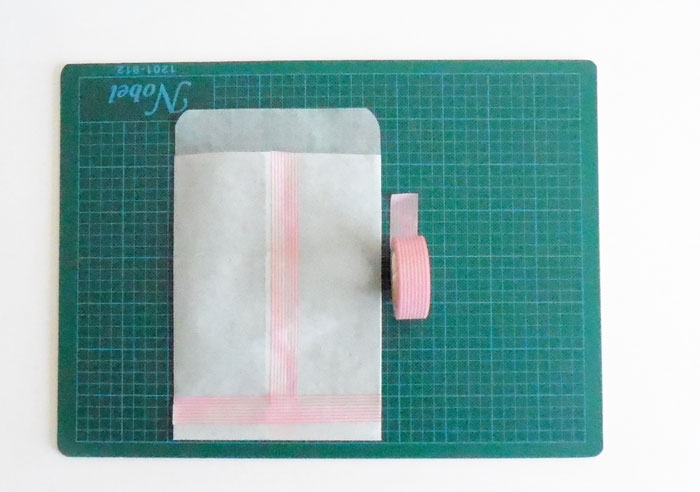
Step 4: Fold in the bottom piece and apply the washi tape along the horizontal seam
Step 5: Trim off any excess tape, then you can round out the corners on top. I do not recommend using a paper punch on tracing paper (I learned the hard way), but if you are using copy or print paper to make your treat bags, then go crazy! Enjoy!!
Comments are closed.