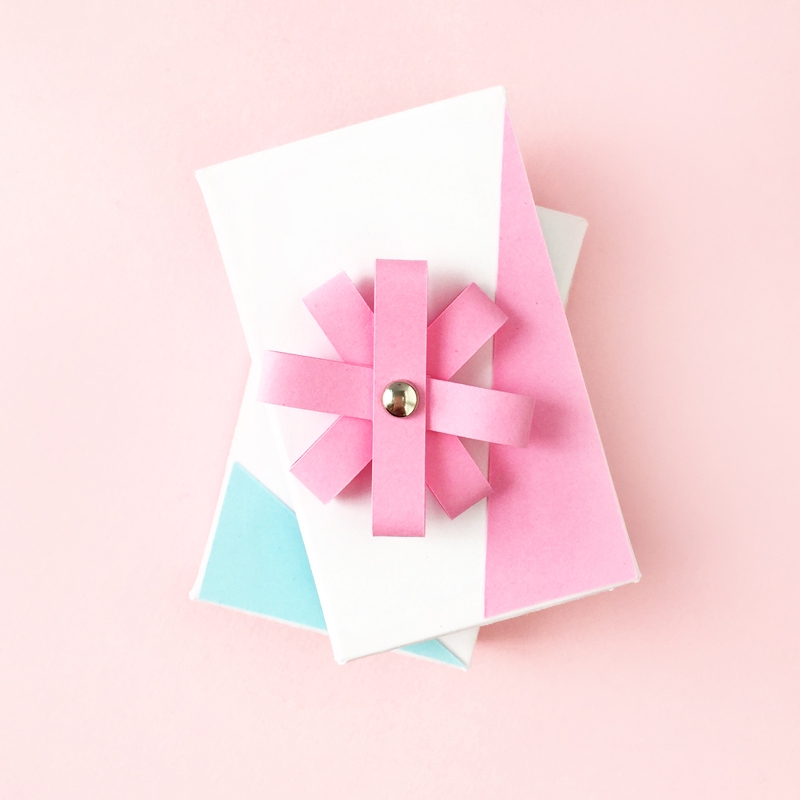
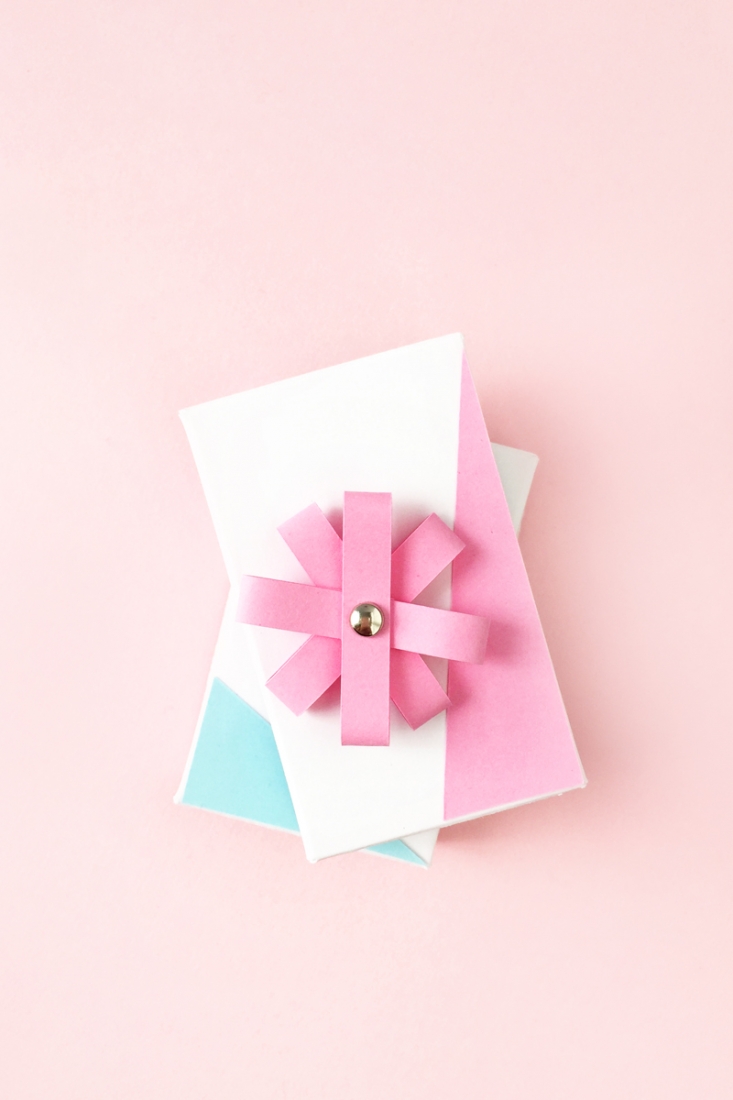
It’s been a while since I’ve done a Paper Flowers with Simple Shapes post. These sweet and easy DIY Paper Flower Toppers came to mind. The simple shape? A rectangle. I love it when a simple design comes together. These little flowers will be perfect as bows or gift toppers on your pretty packages. Want to make your own? As I do with most of my projects here, I used my Silhouette cutting machine to cut the shapes. However these can totally be done by hand. Shall we?
The What
- Silhouette cutting machine
- Silhouette Studio
- Cutting mat
- Cardstock
- Hole punch (if making by hand)
- Ruler (if making by hand)
- Hole punch (if making by hand)
- Scissors (if making by hand)
- Mini Brads
The How
To cut the shape with the Silhouette cutting machine:
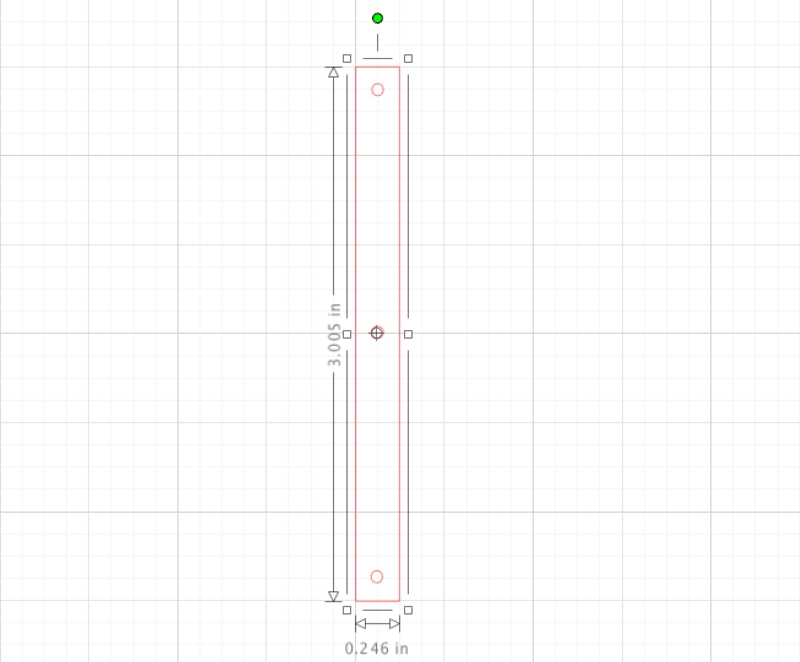
- In Silhouette Studio, create a new document with the grid shown
- Create a rectangle with circles as shown below. Make sure the circles are wide enough for your brads
- Use the Replicate tool to fill the page
- Load your cardstock onto your Silhouette mat, and cut your shapes using cardstock settings
To cut the shape by hand:
- Draw and cut rectangles as shown below
- Use your hole punch to punch holes at the middle and ends of each rectangle
To assemble a flower (each requires 4 rectangles):
- Put a brad through the middle hole of a rectangle
- Lightly fold (without creasing) one end of the rectangle towards the middle and feed through the pointed end of the brad
- Repeat for the other end
- Using your fingers to keep the ends in place, do the same for the other 3 rectangles
- Secure the brad and arrange your petals so that they look like a flower
- Repeat for as many flowers you need

And that’s it! You now have the cutest floral gift bows to put on your pretty packages. How did yours turn out?

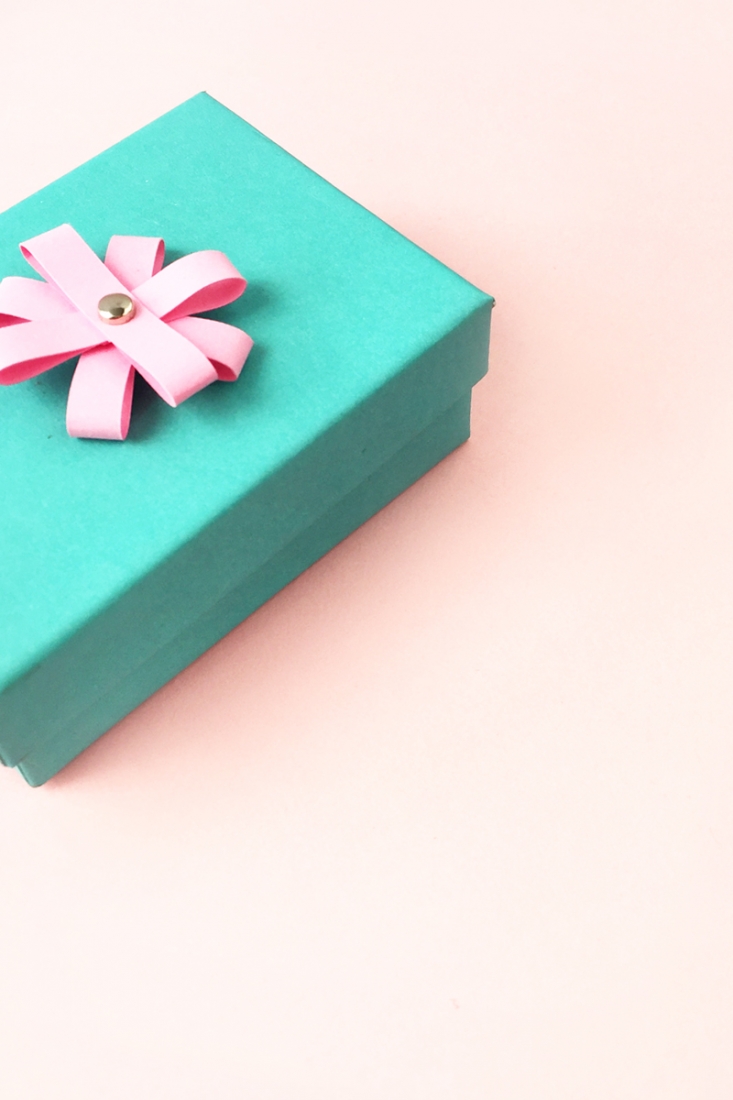
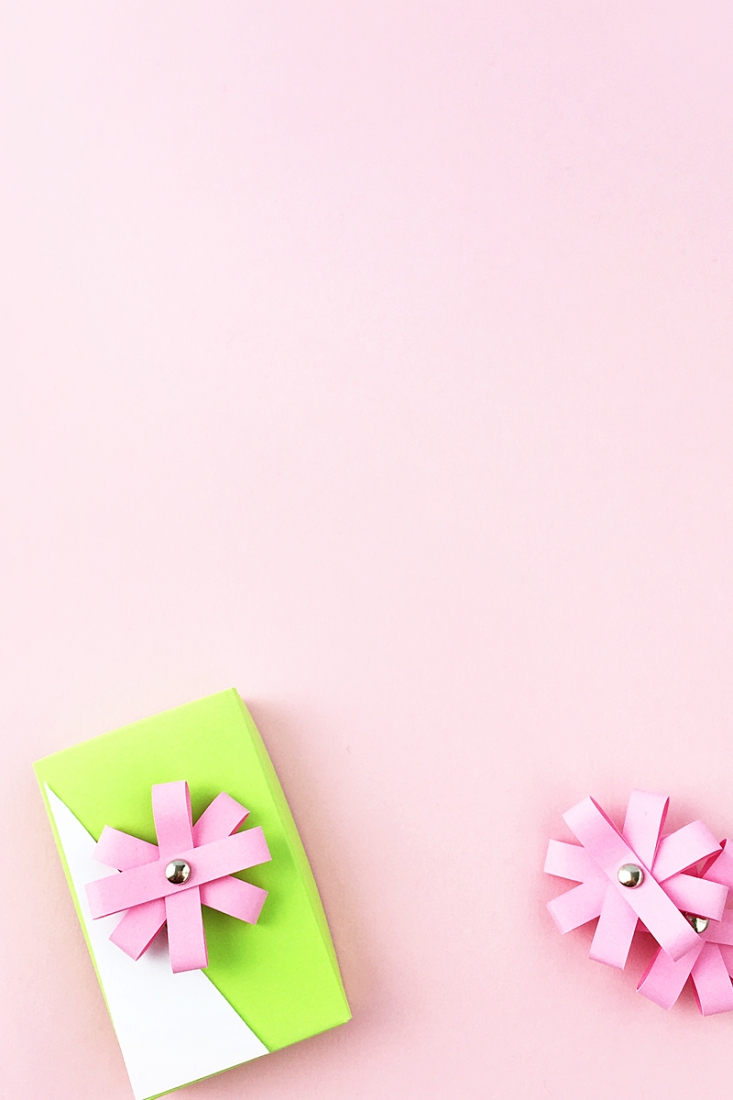



Looking for some more inspiration? Take a look at my other Paper Flowers with Simple Shapes.
2 Comments on Easy DIY Paper Flower Toppers
Comments are closed.
These are adorable, Maritza!
Thanks so much, Marwa! ?