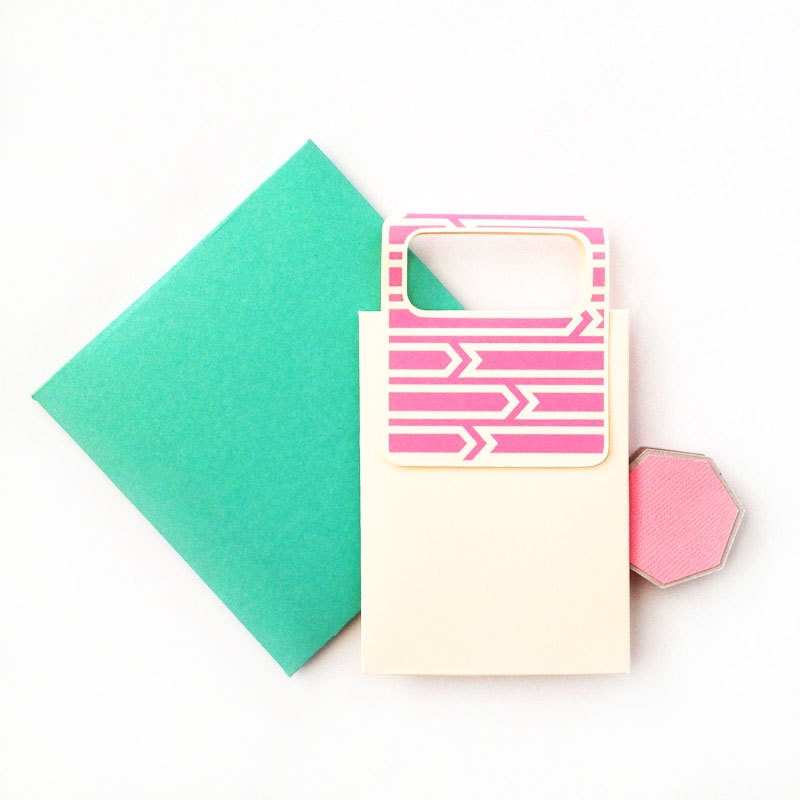
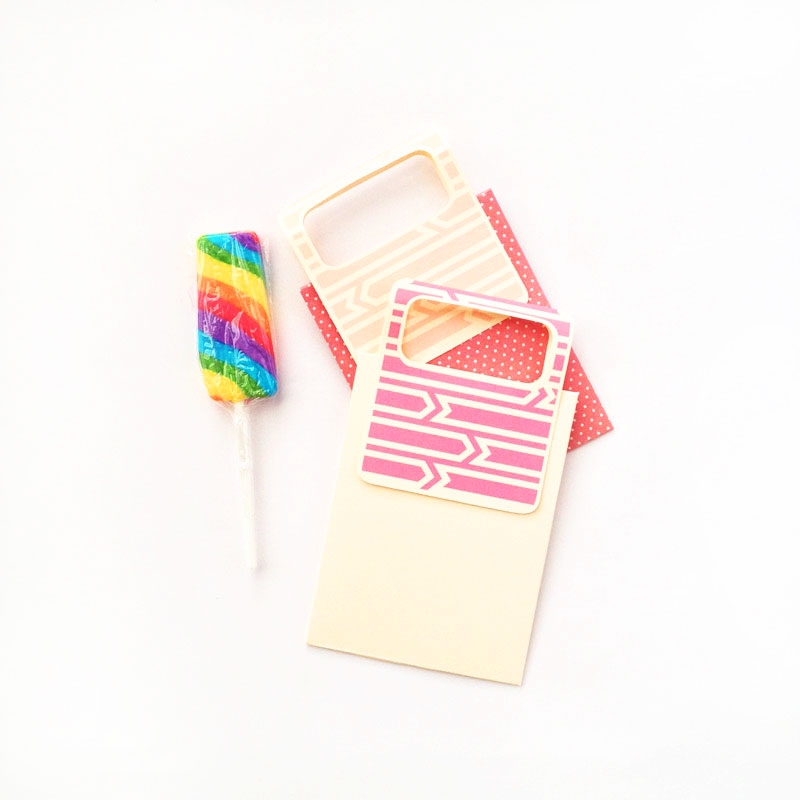
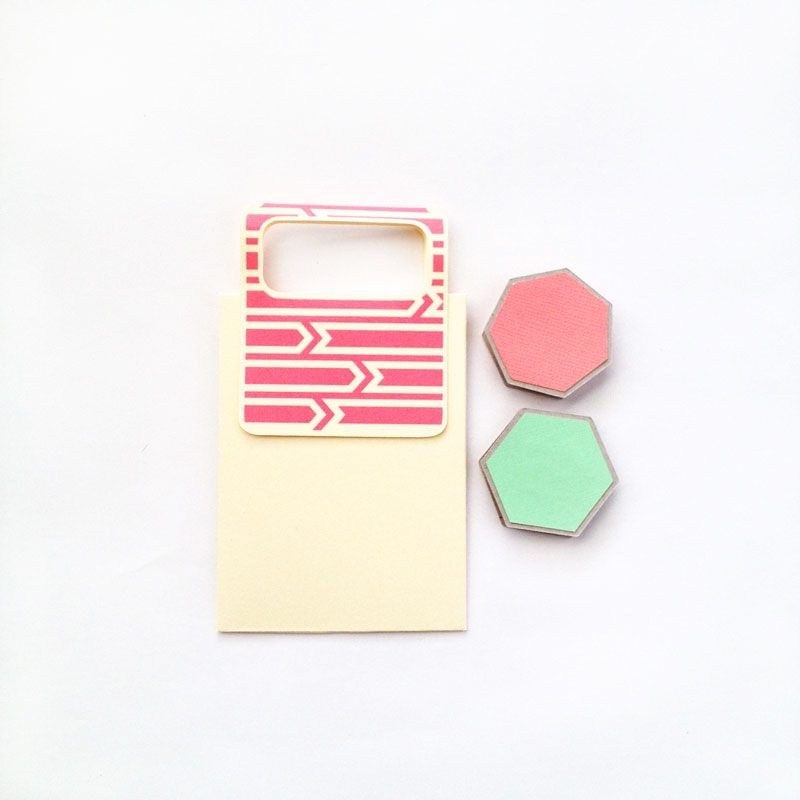
Arrow handles for treat bags, folks! Sometimes your treat bags just need that extra touch and with the free shape from Silhouette this week, we have ourselves a project. These little handles are perfect for little and not-so-little hands. Pair them up with the treat bags we made the other day, and you have yourself a sweet little bag waiting to filled with goodies.
The What
[row] [span columns=”5″]- Silhouette cutting machine
- Silhouette Studio
- Cutting mat
- Arrows (free shape)
The How
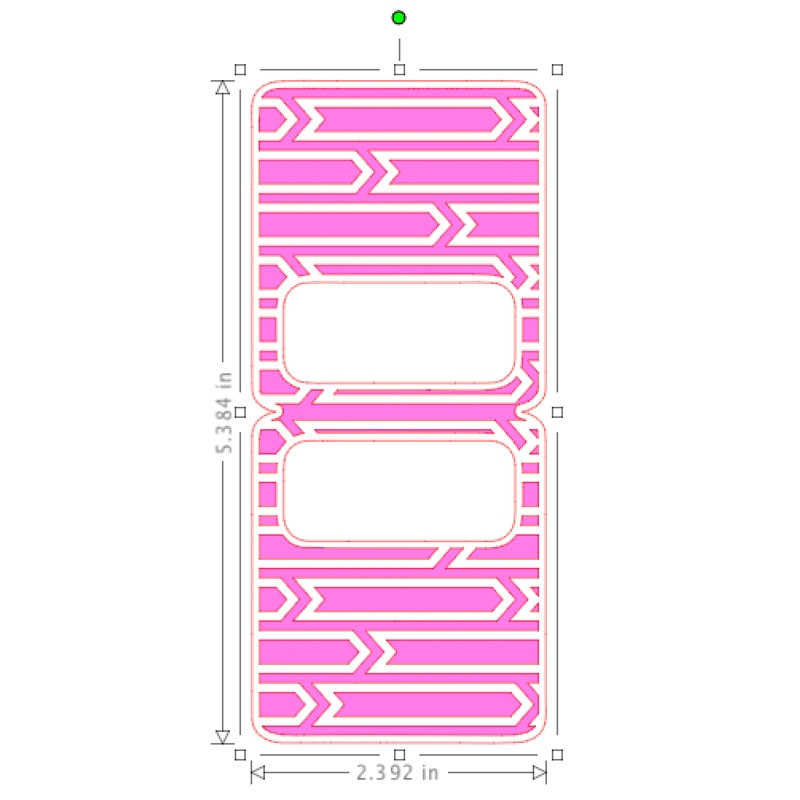
Step 1: I opened the Arrows shape in Silhouette Studio, and put it to the side. I started my handle shape by creating one rounded rectangle within another and created a compound path (top image). Then, I made a mirror copy above the original shape (with a small overlap) and welded the 2 shapes together (bottom image). I also used the internal offset to hold my arrow pattern
Step 2: I colored, resized and duplicated my image so that it would be big enough to fit over my internal offset
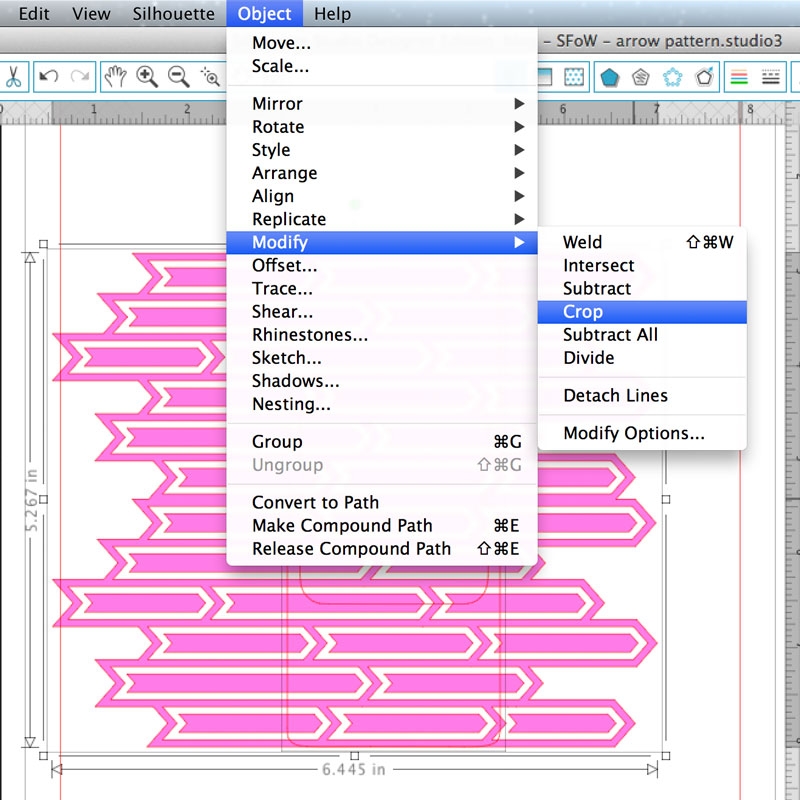
Step 3: By placing the internal offset over my pattern and cropping, I was able to shape the pattern so that it can fit within my original handle shape. I then grouped everything together (the cropping leaves the shape in little pieces)
Step 4 : Once cropped and grouped, I aligned the pattern with the original shape
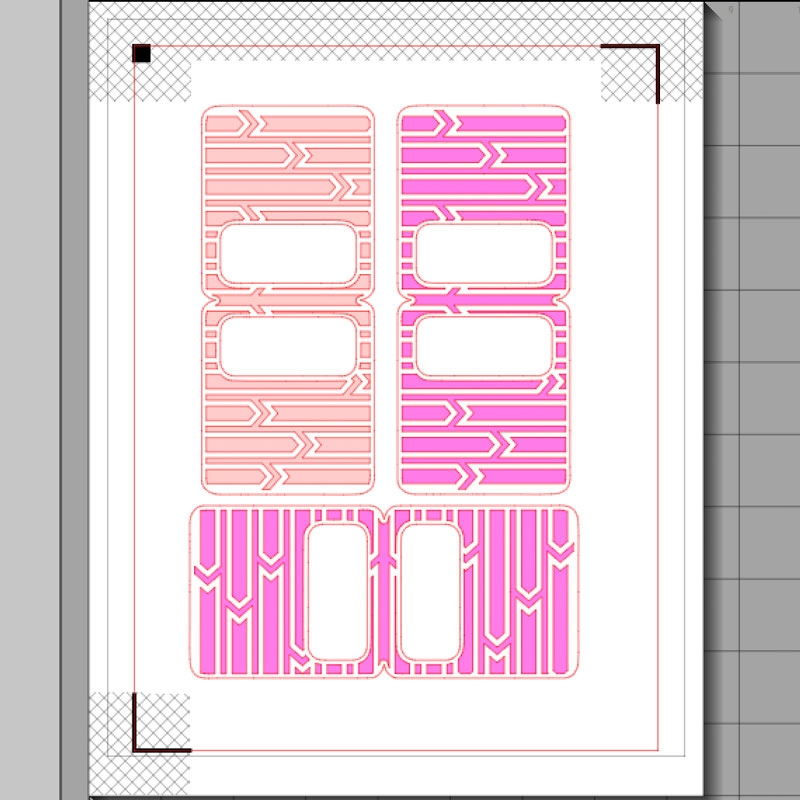
Step 5: I then used the Print and Cut feature (don’t forget the registration marks!) with the cardstock settings. The handles were then folded and glued to these treat bags and are now ready to be filled with goodies!
A reminder that this month’s Silhouette promotion ends very soon! Grab the deals and use promo code MARITZA before July 31!
4 Comments on DIY Arrow Handles and a Promo Reminder!
Comments are closed.



Thanks for all your help with the Designer Software. This project is awesome! I can’t wait to try it. Thank you for sharing!
Happy to help! Enjoy the Designer Edition! 🙂
Great idea. Keep them coming. Wonderful.
Thanks, Mom!!