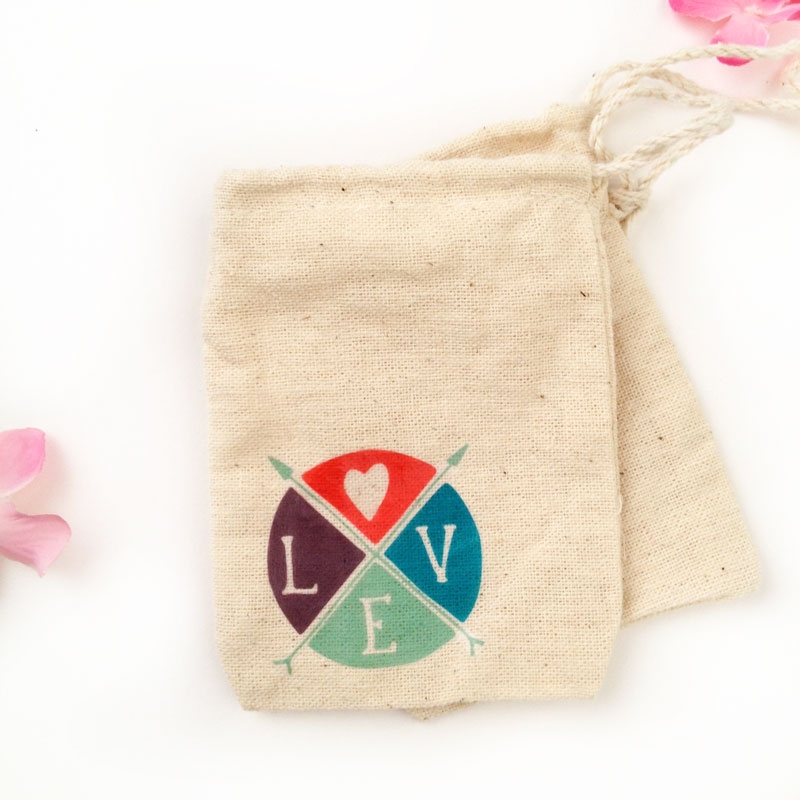
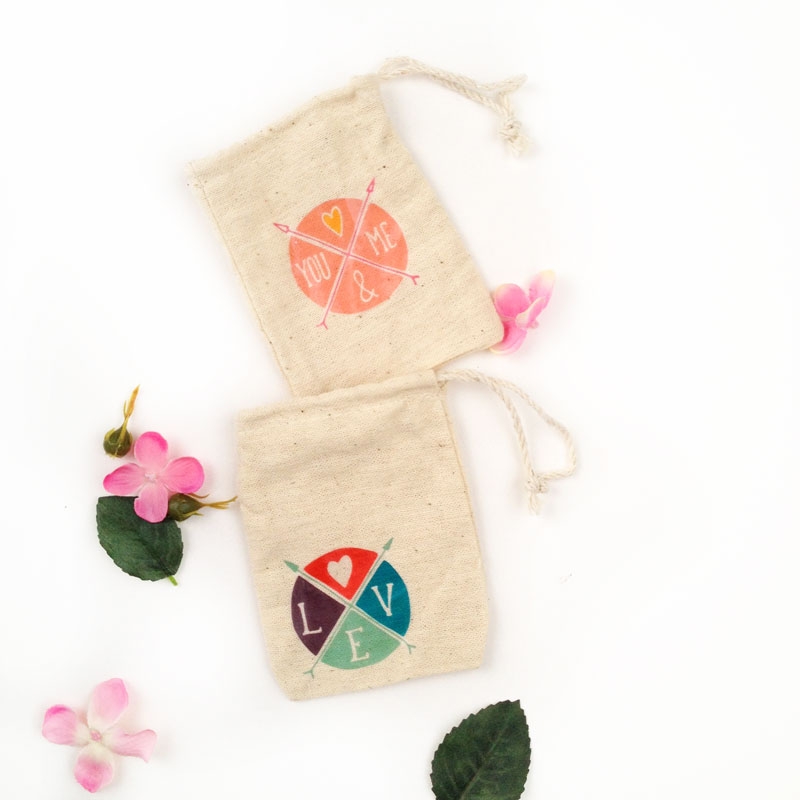
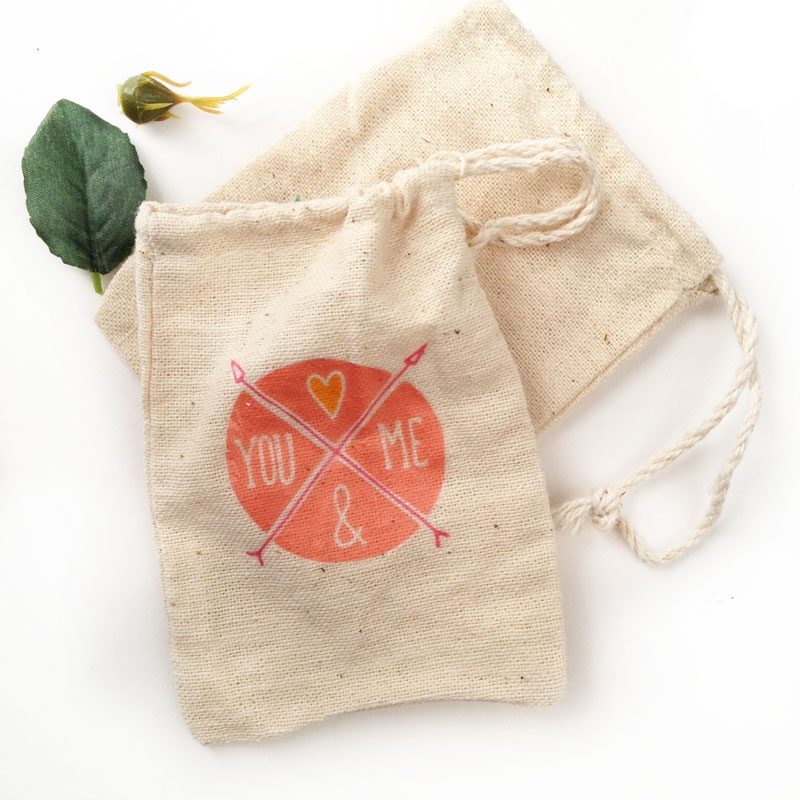
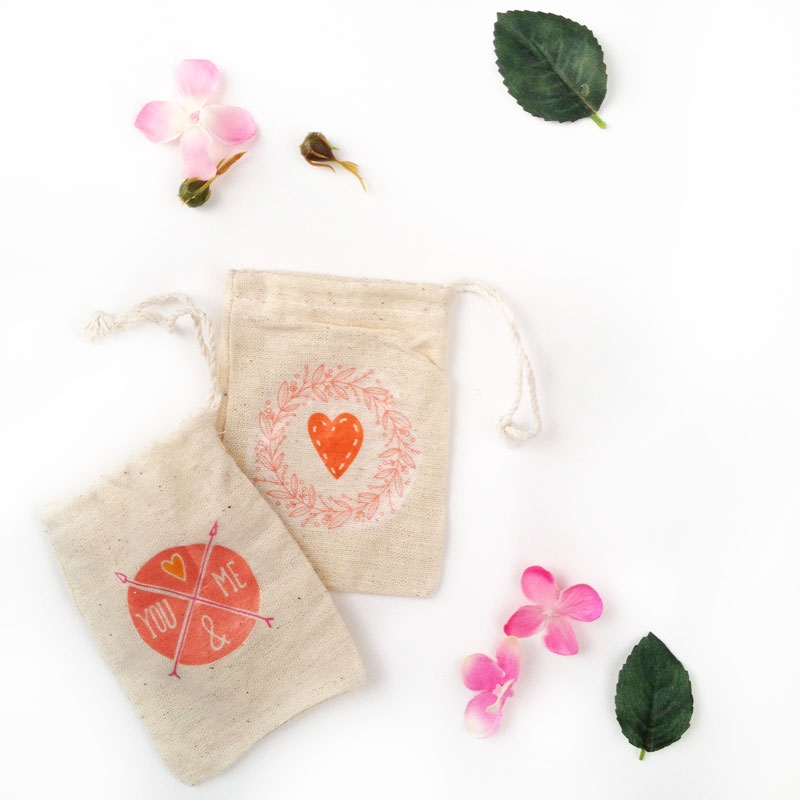
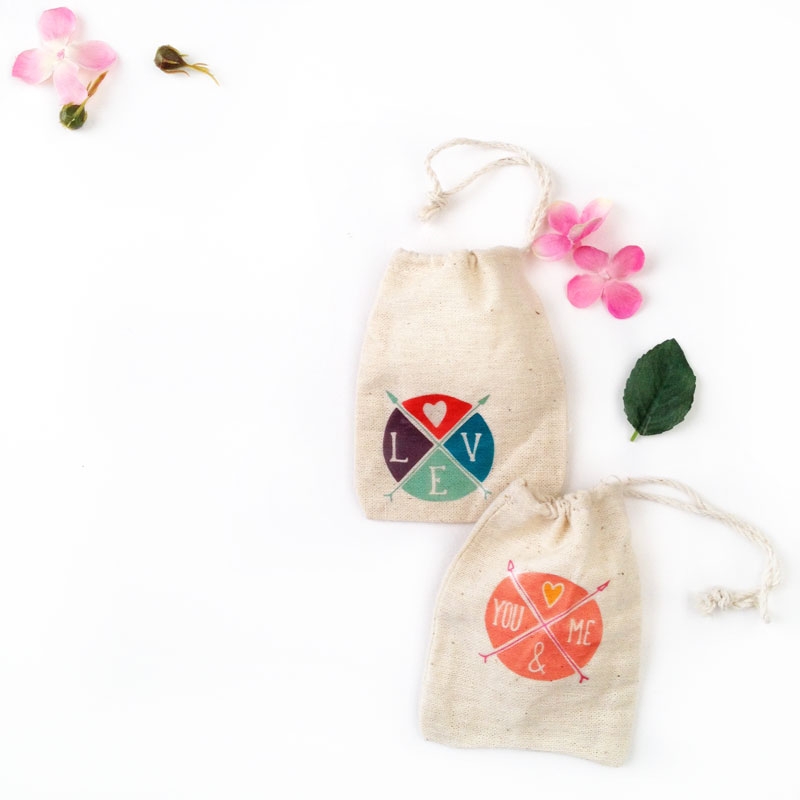
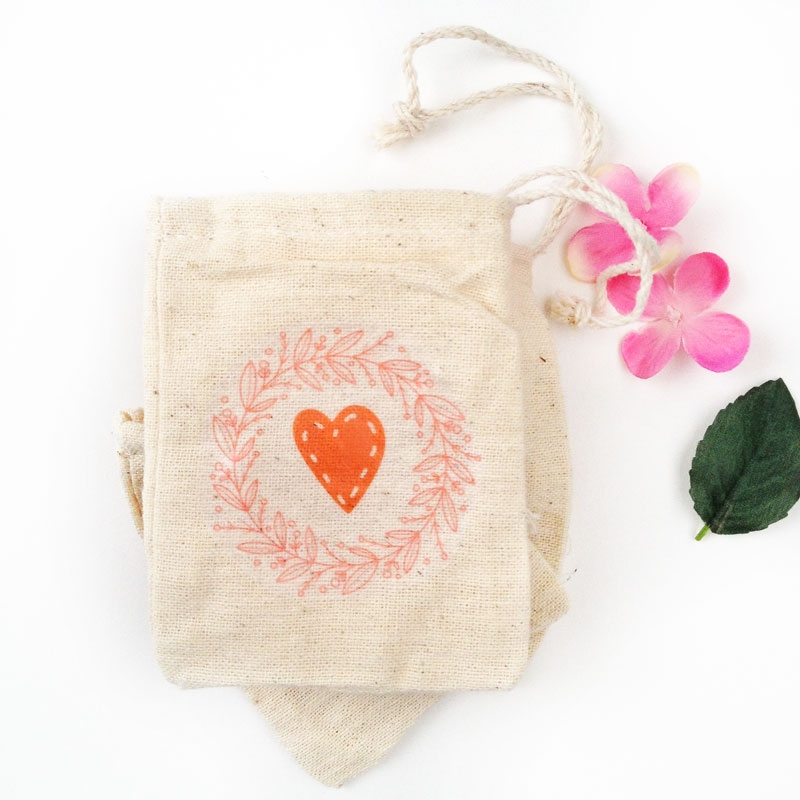
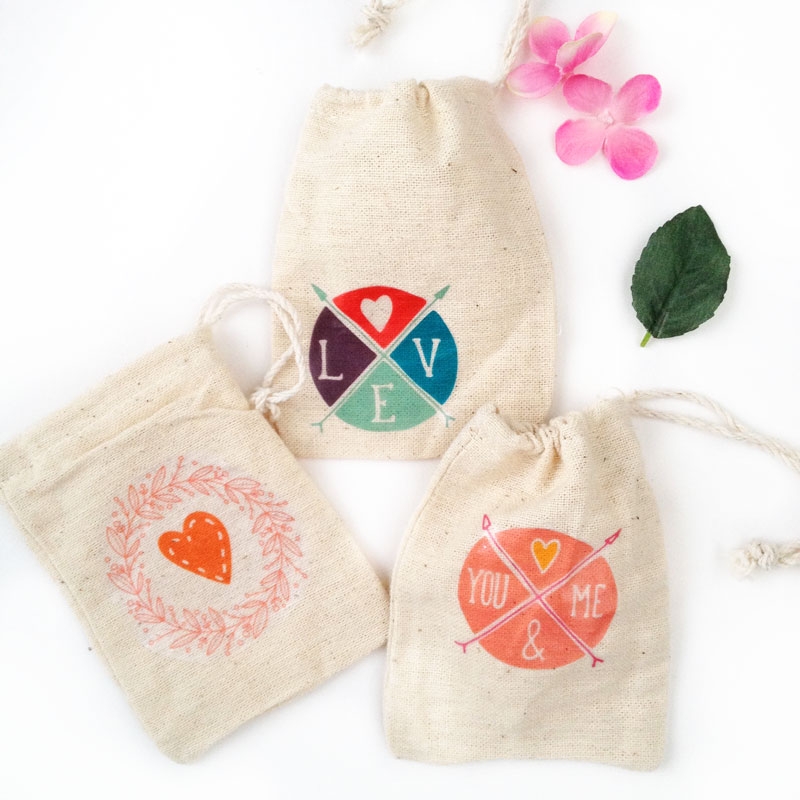
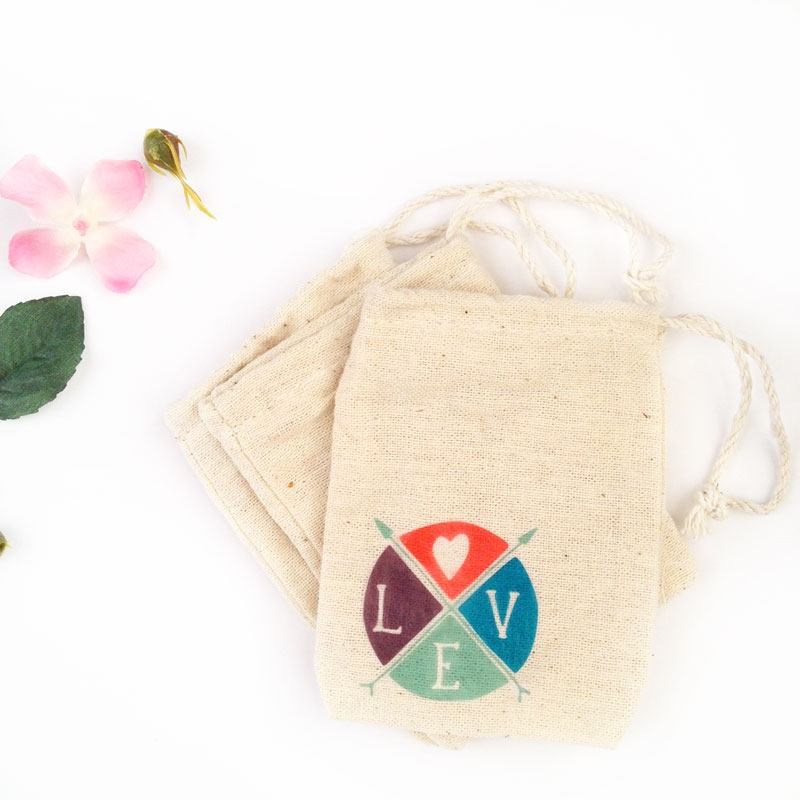
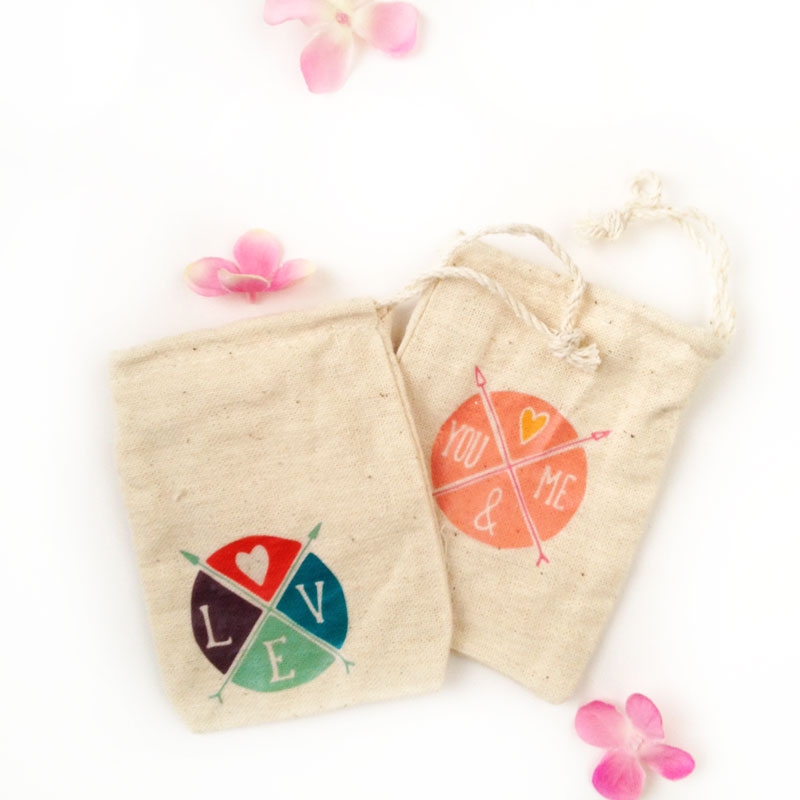
Hello February! To celebrate the month of love, why don’t we kick things off by making some pretty Valentine’s gift bags? The method is much like the ones we made with our floral monograms and spider webs, but this time we will use Valentine’s clip art. I got mine from Creative Market which has this Valentine’s pack available for free this week. For other lovely free resources, check out The Graphics Fairy or Angie Makes.
The What
- Silhouette cutting machine (I own the CAMEO)
- Silhouette Studio
- Cutting mat
- Clip art – I used this Valentine’s pack
- Temporary Tattoo Paper
- Wet towel
- Scraper
- Muslin bags (3×4 in)
- Printer
The How
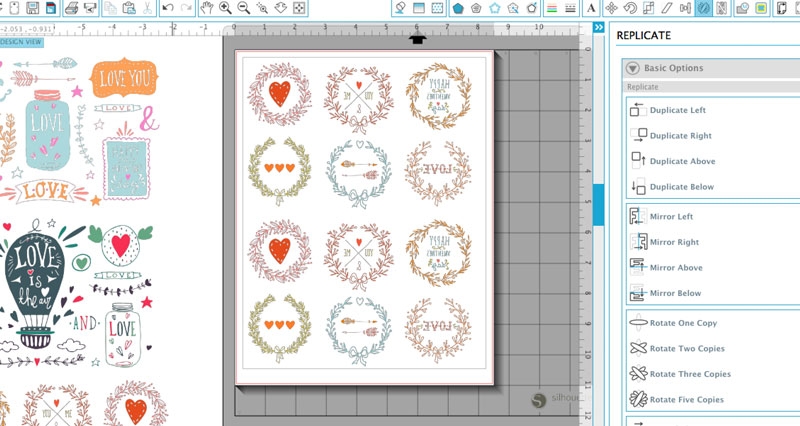
- Open your clip art in Silhouette Studio
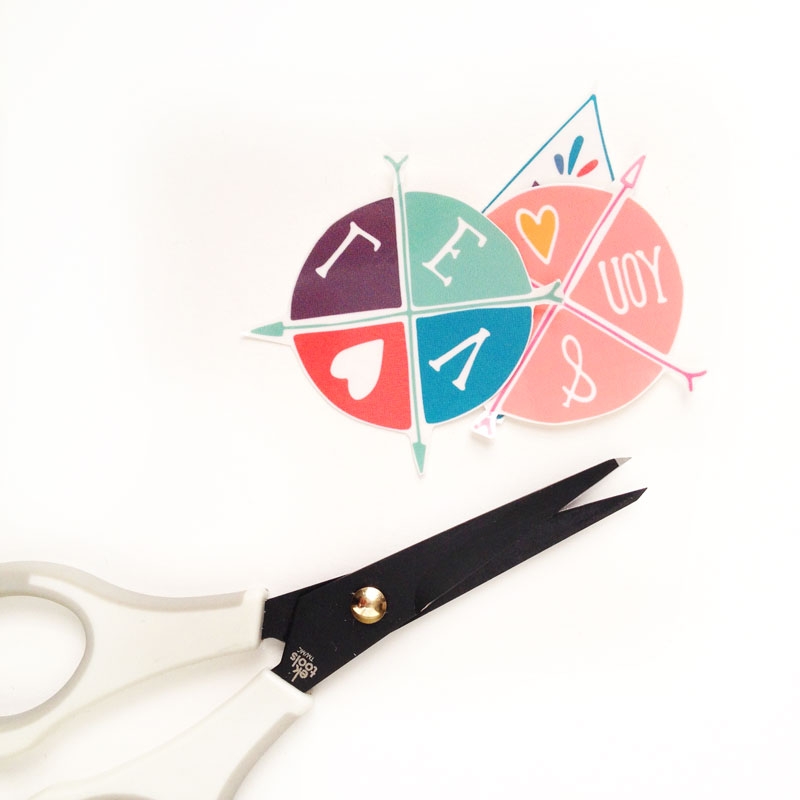
- Mirror the images you want to use (so that they show up the right way when the tattoo is applied to your bag)
- Print onto tattoo paper and let the ink dry for a few minutes
- Apply the adhesive sheet (which comes with your tattoo paper) onto the top of the tattoo paper (ink side up). Using the scraper to smooth it out
- Cut around the image, then peel away the clear adhesive layer and applied face down with a wet cloth
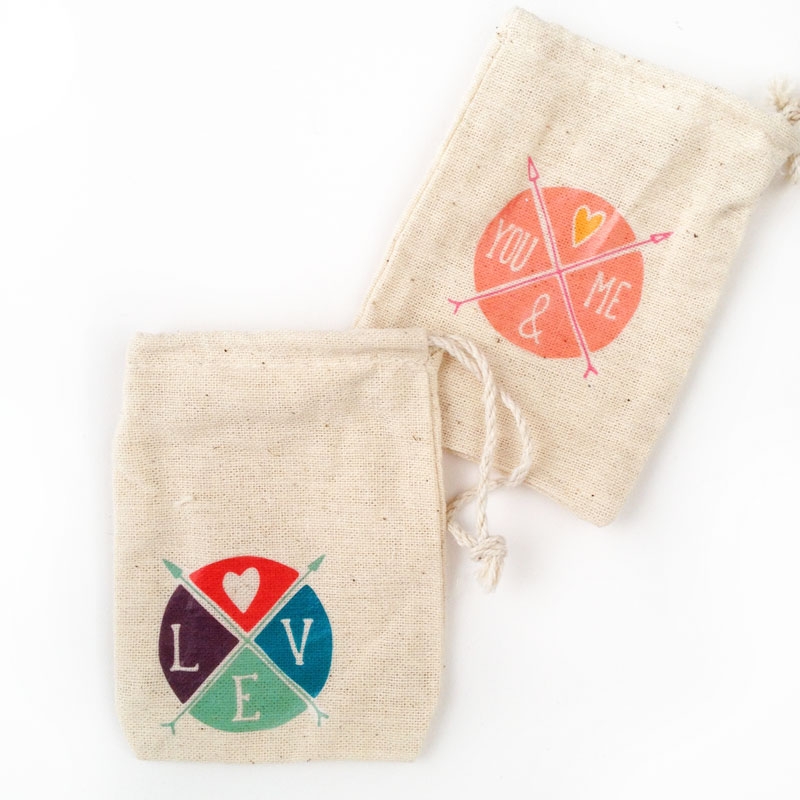
Now your gorgeous bags are ready to be filled with all sorts of goodies. Which graphic images and resources did you use?
10 Comments on Gifting: Valentine’s Gift Bags
Comments are closed.
I cannot tell you how much I loveeee these bags! I would be happy just getting these with no gift inside! So I think it’s official – I’m buying myself a Cameo machine for Valentine’s day. Pinning for my first project! 🙂
Yay, Anne Marie! I can’t wait to see what you make. Thanks so much for your kind words! 🙂
These are so adorable! And the use of tattoo paper is really clever! Glad I found this post through the BlogHer Facebook Share Thread. Pinning now!
Thanks, Katie! So nice of you to stop by!
I never would have thought to use tattoo paper to transfer images to gift bags! They look amazingly clear and adorable. Does the design hold up well, or would you only use it for something temporary like a gift bag? Pinned to try later on my Cameo. 🙂
Thanks, Stephanie! 🙂 … I think it depends on the surface you apply it to. For hard surfaces, I would recommend applying a seal (like mod podge) to make it last longer
Oooh Tattoo Paper! One more thing to add to my wish list Maritza.
I’ve stamped and coloured with Copics to calico bags but these images look so much clearer. Thanks once again for the inspiration 🙂
Oh yay! So glad you like it, Sue! 🙂