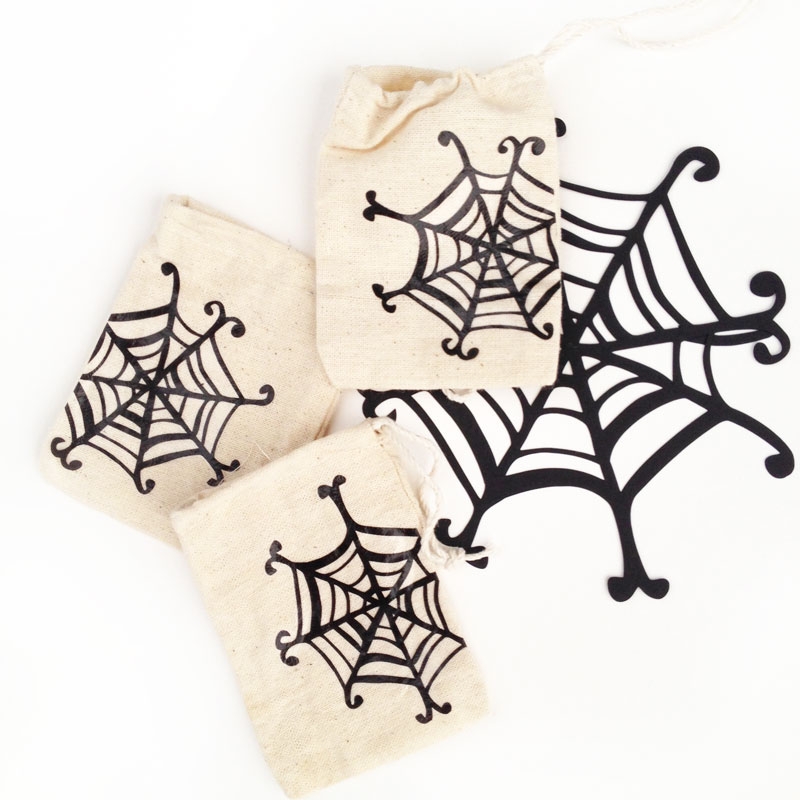
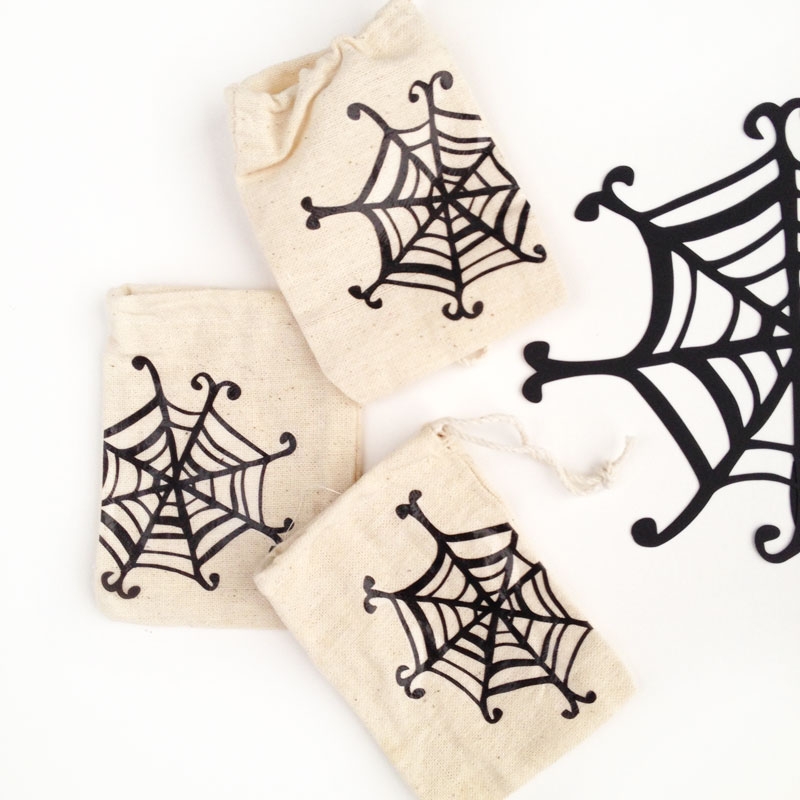
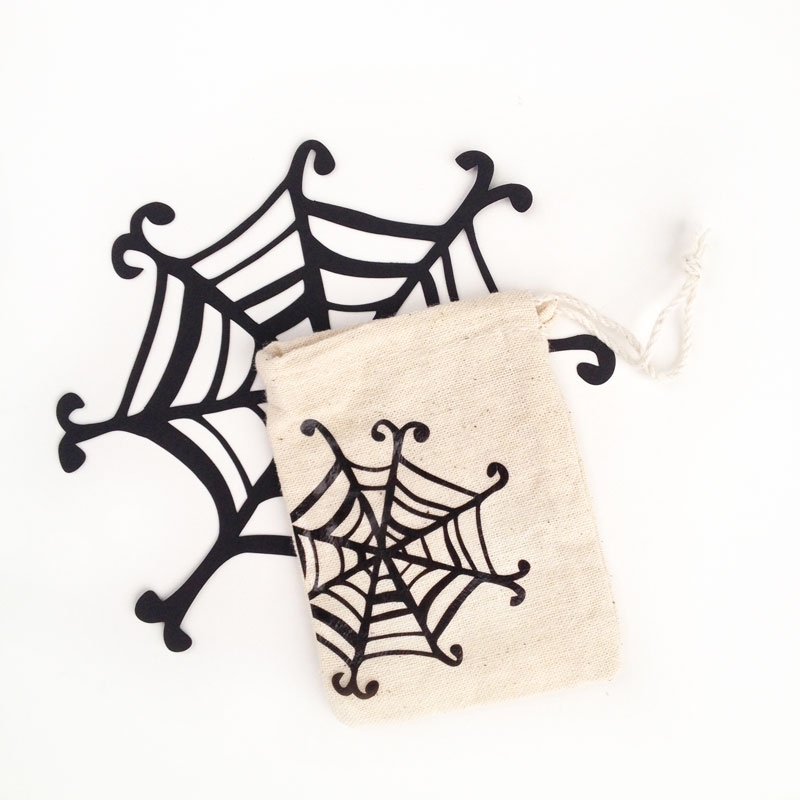
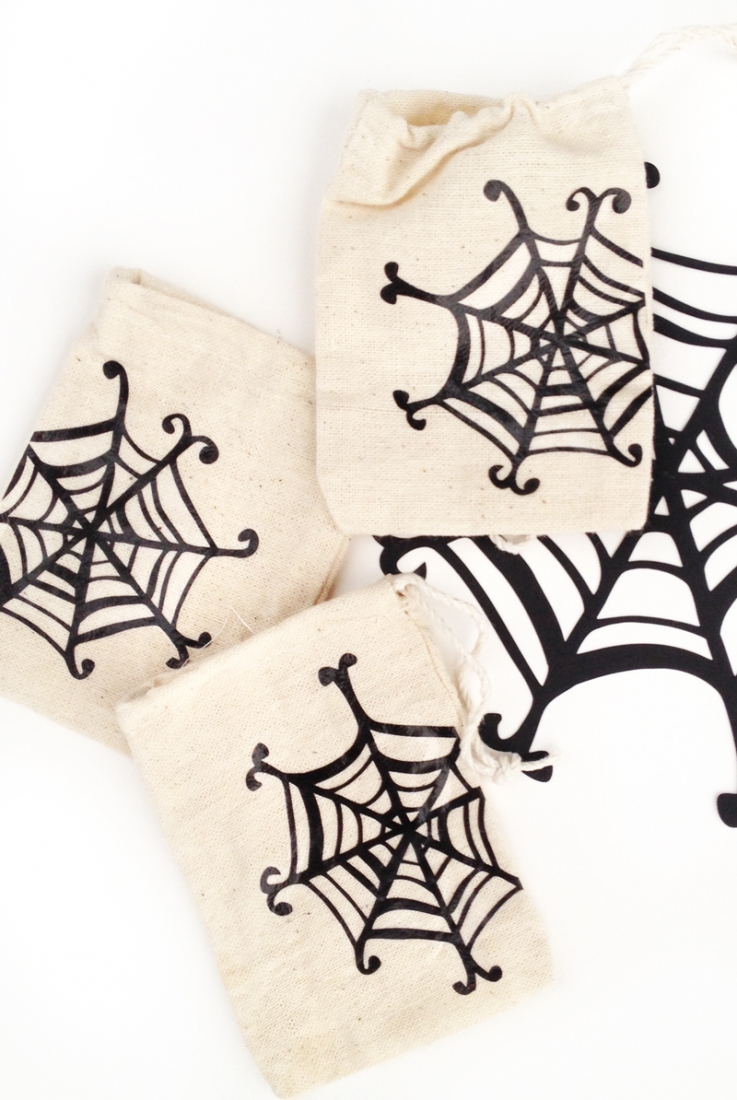
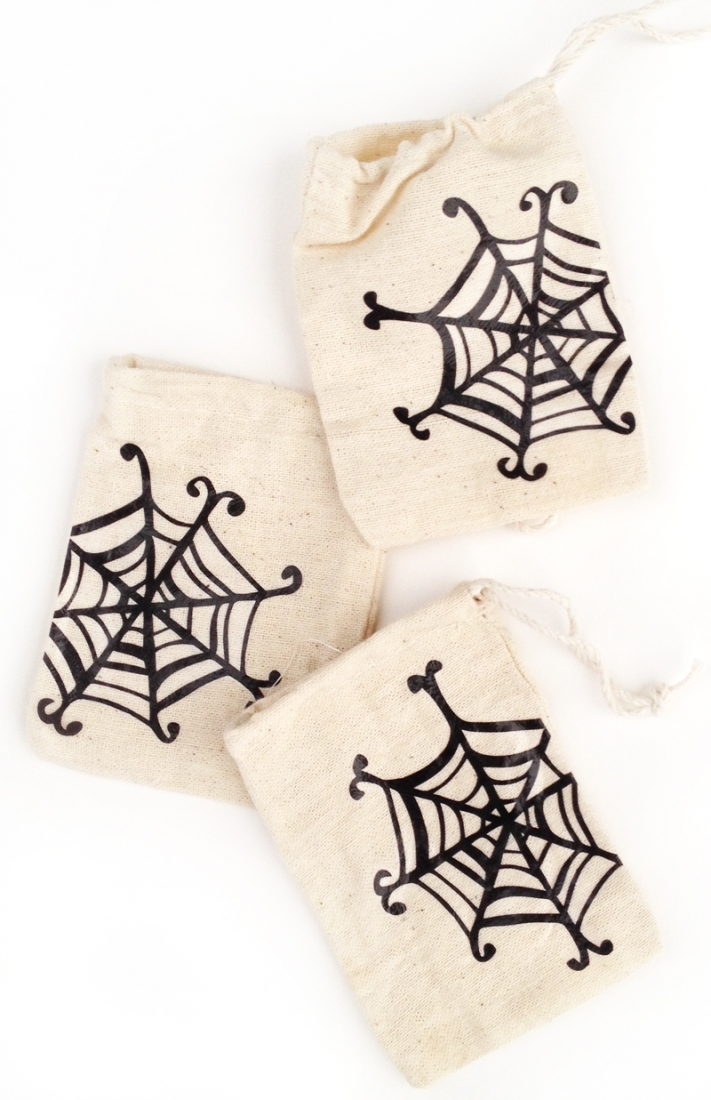
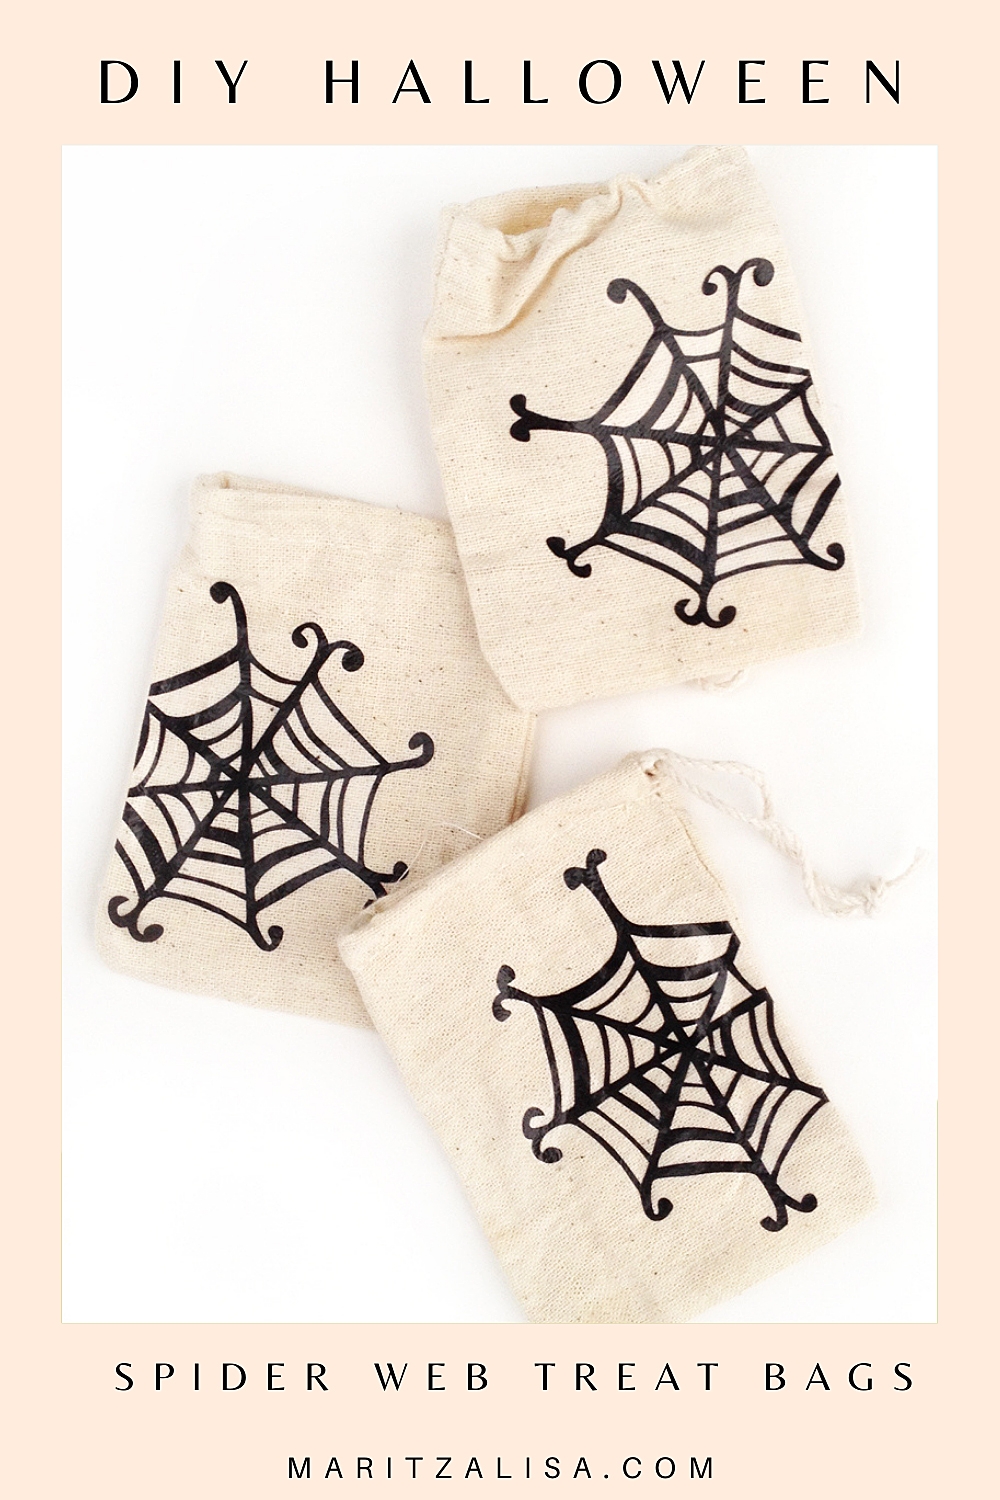
Happy Friday! How about a little DIY Treat Bags today? All in the name of Halloween, yes? The Silhouette online design store is having a sale on their on Halloween shapes, so naturally I had to check it out. This little halloween whimsical spider web shape called me and I answered. Taking the same approach I did for my floral treat bags, I used temporary tattoo paper to transfer the images. Want to make some too?
The What
- Silhouette Studio
- Halloween spider web design
- Temporary Tattoo Paper
- Wet towel
- Scraper
- Muslin bags (3×4 in)
- Printer
The How
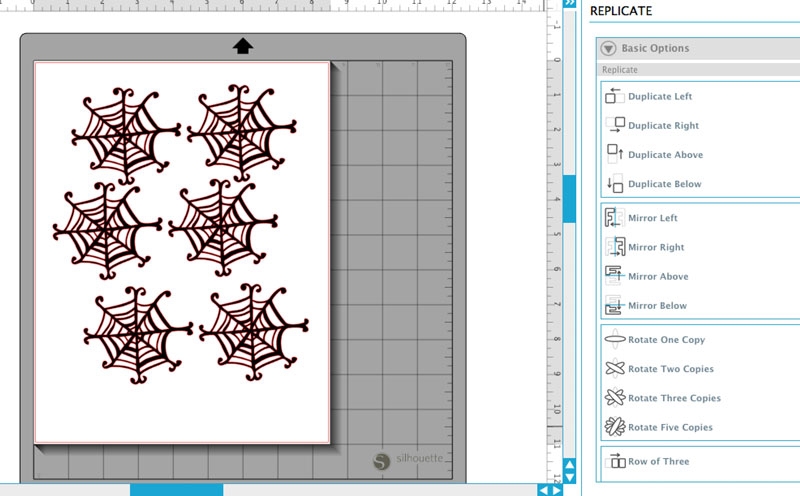
- Download and open the spider web shape in Silhouette Studio
- Use the Replicate tool to fill your page with your spider web shape
- Print (on the shiny side) of your tattoo paper
- After the ink dries, apply the adhesive sheet onto the top of the tattoo paper (ink side up), using the scraper to smooth it out.
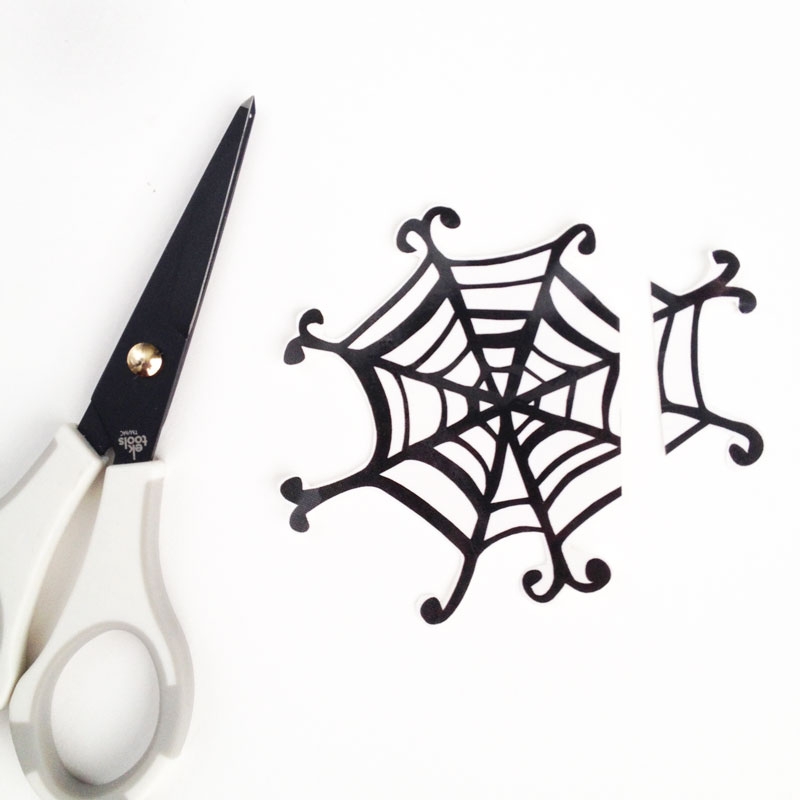
- Cut around the shape. Peel away the clear adhesive layer. Finally, apply the image face down and dab with a wet cloth
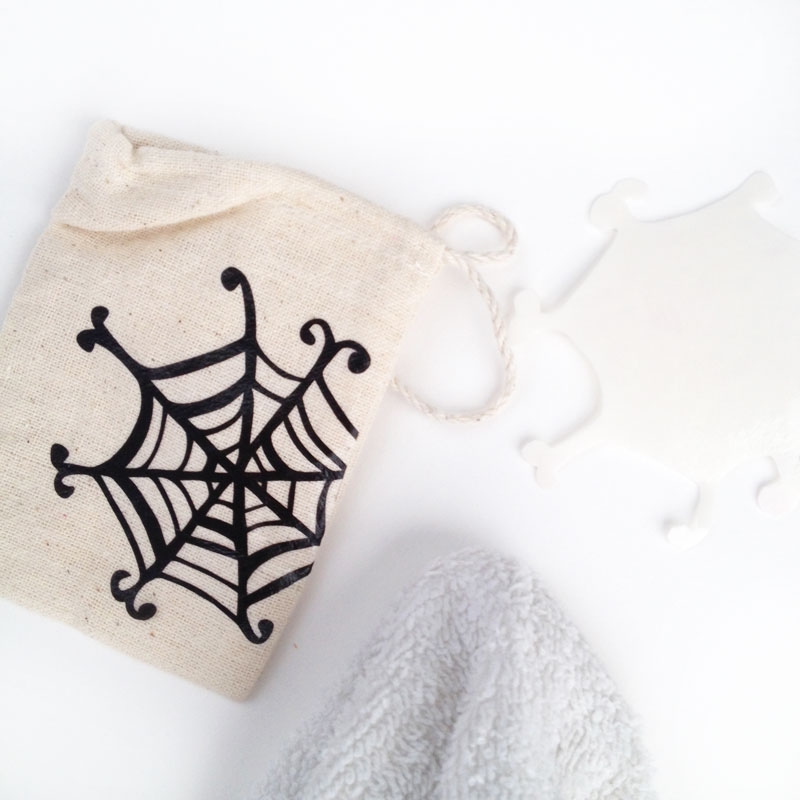
And you’re done! How will you fill your cute spooky treat bags?

 Have a browse through my other tattoo paper projects and craft with me!
2 Comments on DIY Treat Bags: Spider Webs
Comments are closed.
So glad that Linda from The Paper Boutique posted about your website. I’ve not had a lot of time to look through, but I’m REALLY loving what little I’ve seen so far and can’t wait to come back when I have more time. Great website!!
Yay! Thanks, Cindy. I’m so happy that both you and Linda found my site – happy crafting!