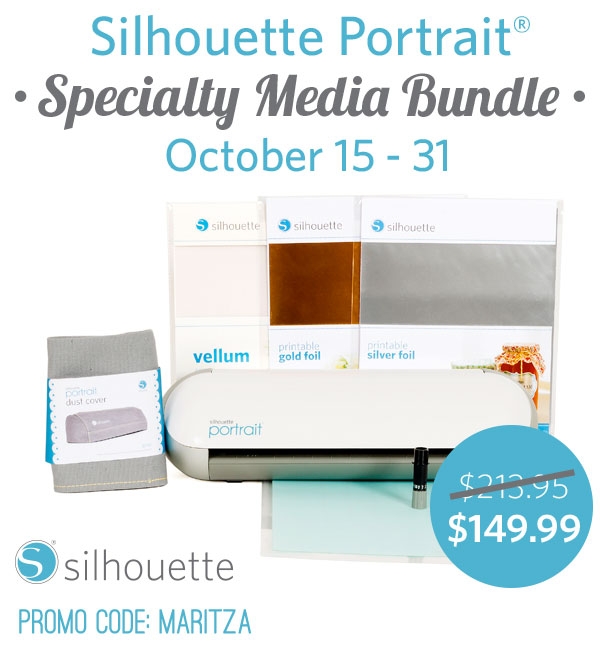
It’s that time, Friends! Silhouette is offering and awesome bundle this month – all about the Portrait cutting machine and a great selection of specialty media! The Portrait machine does everything a CAMEO can do but just in a smaller package (& price!)
To take advantage of this awesome deal, click the image below and enter promo code MARITZA at check out (offer ends October 31 2014)
Aaaaaaaand…… Silhouette ships to Canada!
Disclosure: This post is brought to you by Silhouette America. I adore my Silhouette CAMEO and all the products that I have used from Silhouette. I am proud to be an affiliate (a member of the Silhouette Circle) which also allows me to share fun projects, great bundles and deals like this one.
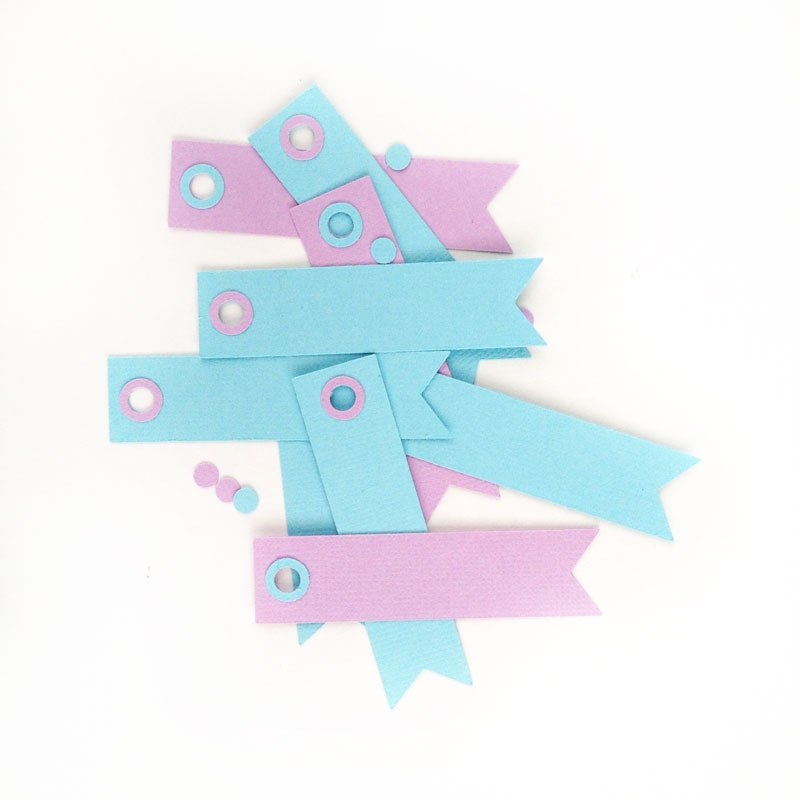
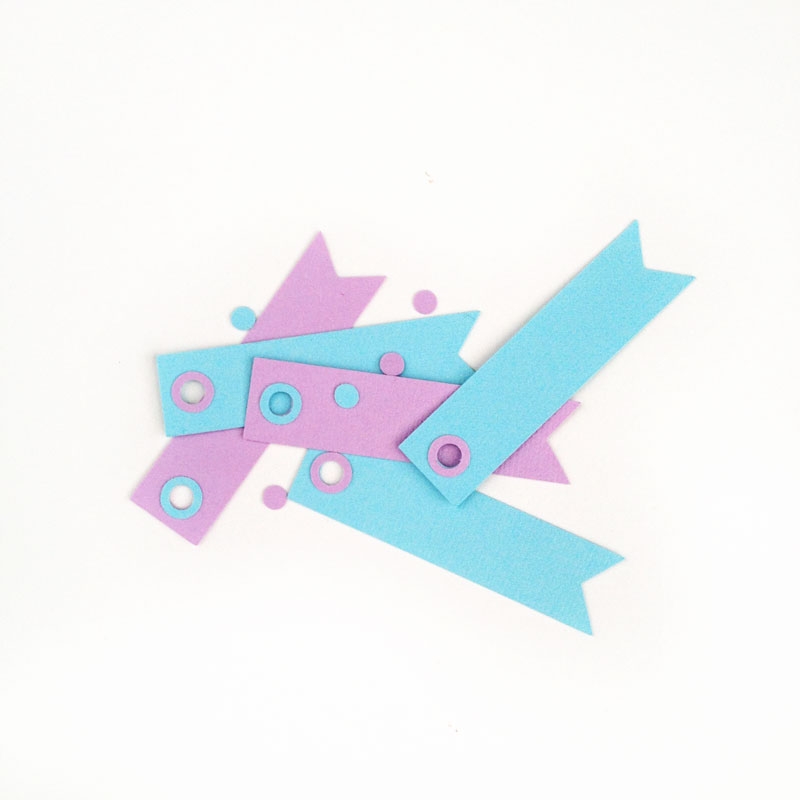
Looking for a project to do with your new Portrait? Here’s a little tutorial to create simple pennant labels.
The What
- Silhouette Cutting Machine (CAMEO or Portrait)
- Silhouette Studio
- CAMEO light hold cutting mat
- Cardstock
- Glue
The How
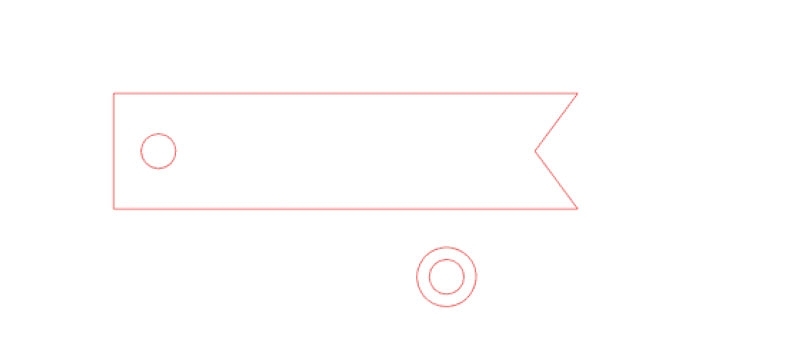
1. In Silhouette Studio, create a circle and rectangle (the size of your tag). Double-click the rectangle to get into point-editing mode. Add a point on the right side of the rectangle
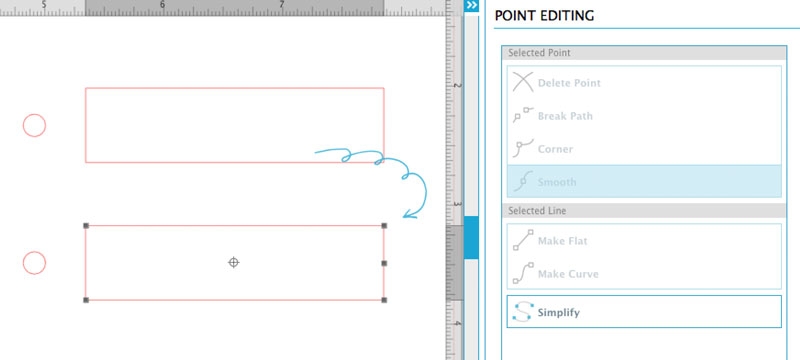
2. Drag the new point in to complete the pennant shape

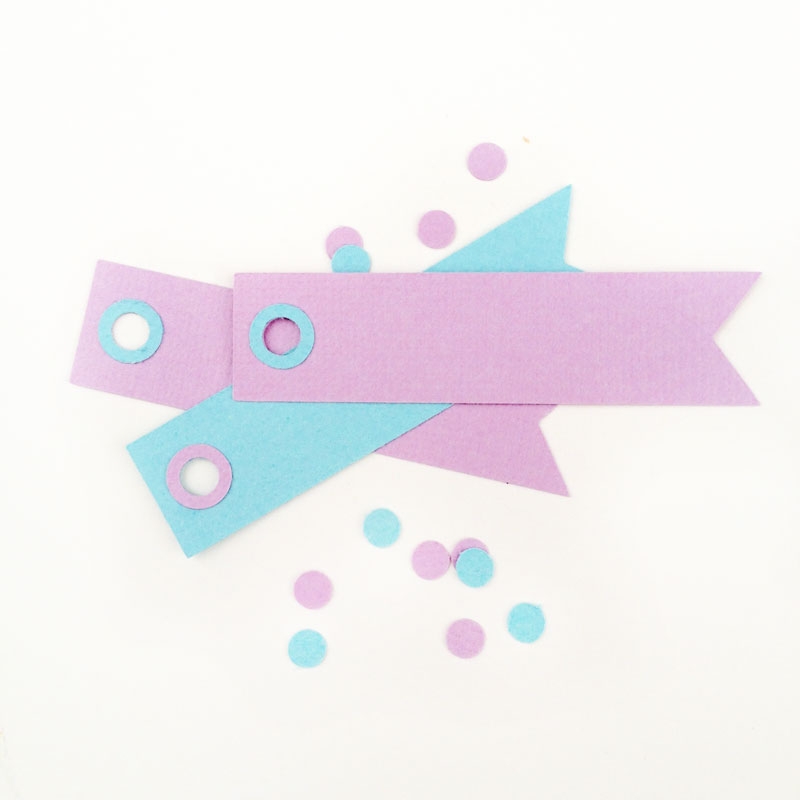
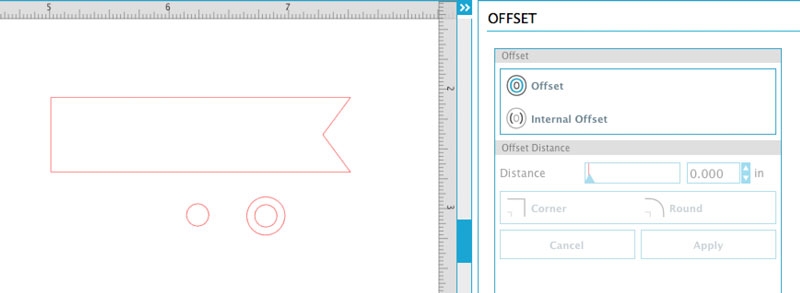
3. To create hole protectors, make a copy of your circle and while it is selected, use the offset tool to create an outer circle. Select them both, and select Object > Make Compound Path
4. Place your circle in your pennant, select them both, then select Object > Make Compound Path. Load your cardstock, and sent to cut using cardstock settings. Glue your hole protectors on, and now you have the sweetest little tags for all your gifts and favors!