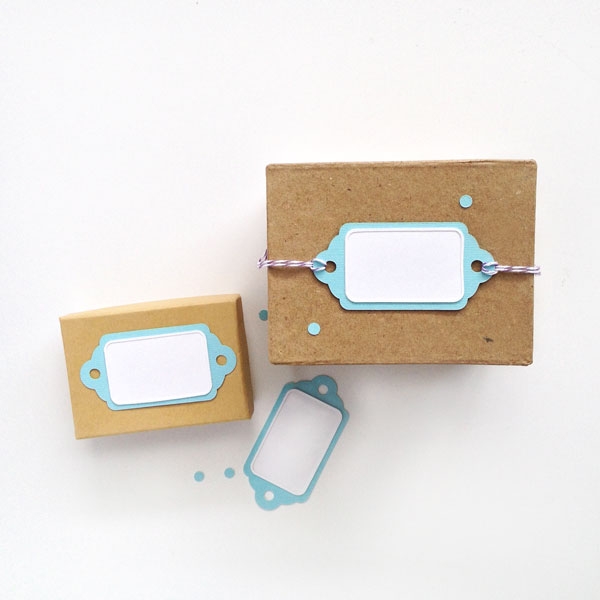
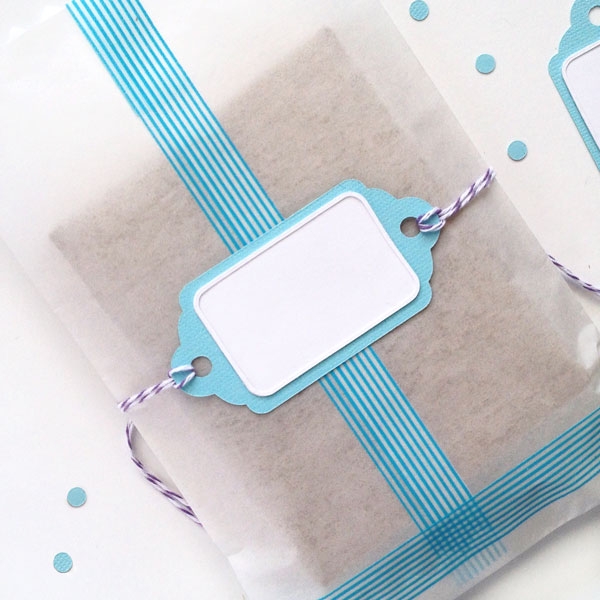
Happy Tuesday, Friends! We’re taggin’ it up with Silhouette’s Free Shape this week – a Thank You Tag. This is a great shape (actually, it’s many shapes) on its own, but I thought I’d show you how to manipulate it into a slider tag with a faux emboss detail – Ready? Let’s do this!
The What
- Silhouette cutting machine
- Silhouette Studio
- Cutting Mat
- This week’s Free Shape
- Cardstock
- Sticker Maker or Glue
The How
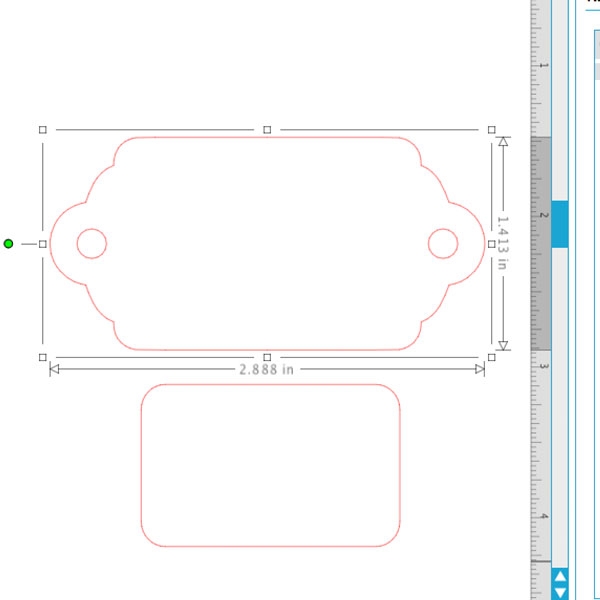
Step 1: Open your free shape and ungroup (Object>Ungroup) in the Silhouette Studio software
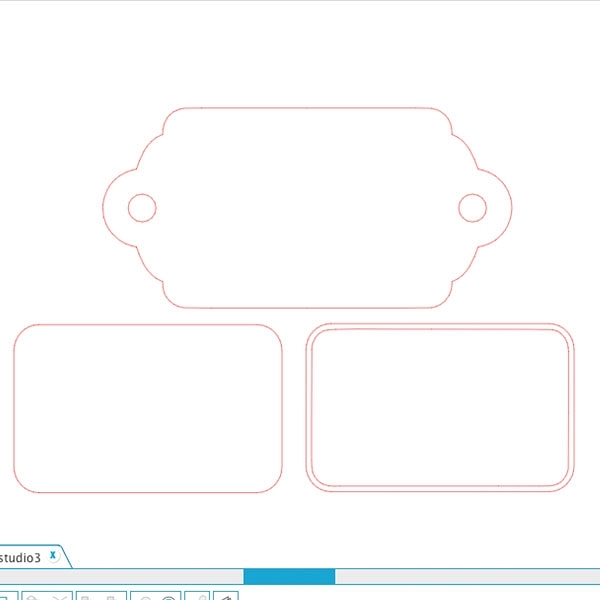
Step 2: Take the free shape and Mirror Right (via the Replicate window), then overlap as shown below
Step 3: Select the 2 shapes and weld (Object > Modify > Weld)
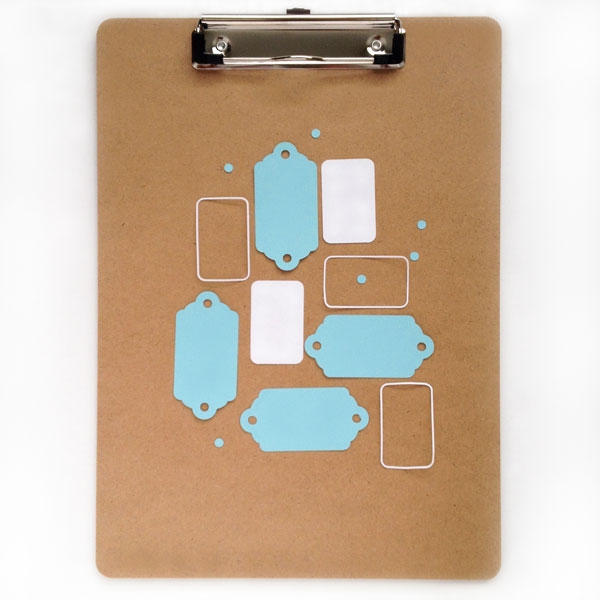
Step 4: For the inner tag (faux emboss) – use the rounded rectangle shape that was included, and the internal offset to create a skinny frame. When you cut, cut the inner tag and frame using the same color cardstock to achieve the faux emboss effect
Step 5: The shapes should look similar to what I have below
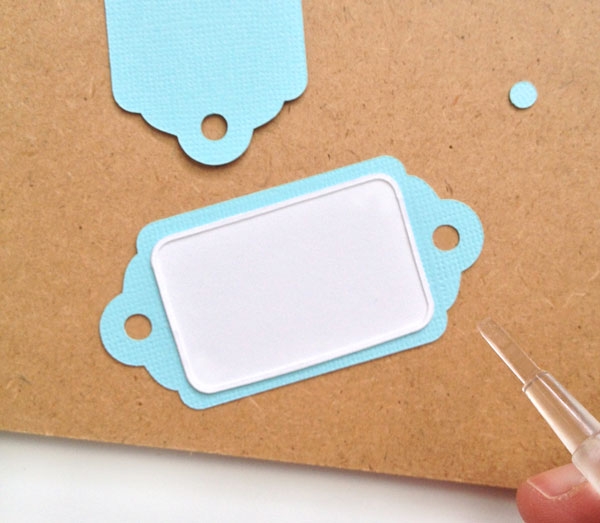
Step 6: Assemble using your glue/sticker maker
Add some string, and you are now ready to dress up your gifts with your new slider tags!
Looking for some more inspiration? Take a look at my other Silhouette projects.


