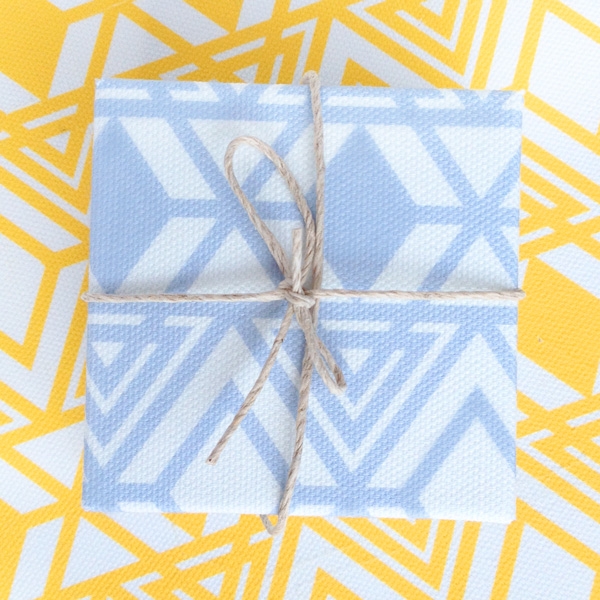
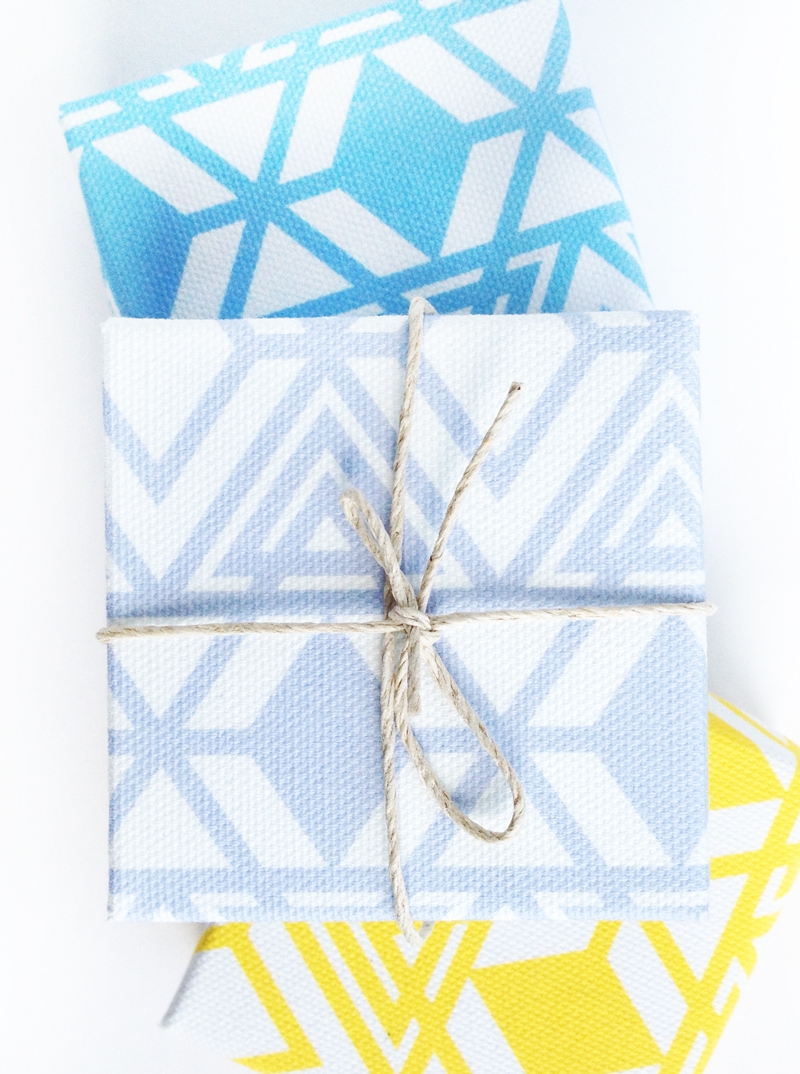
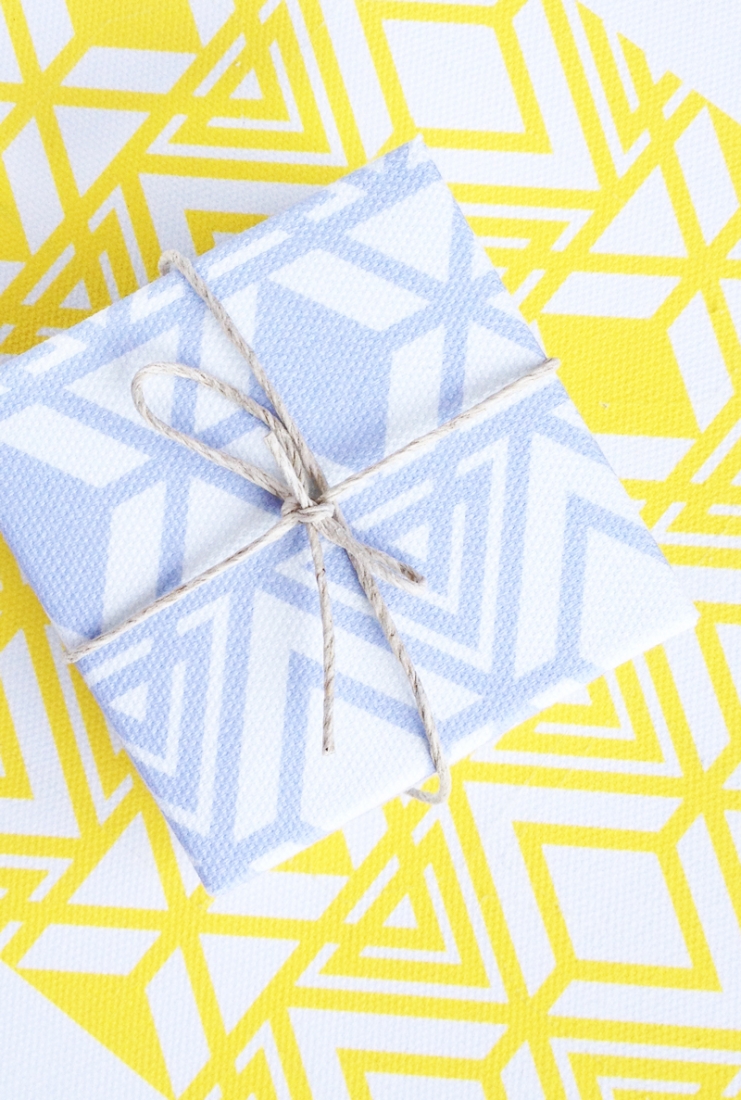
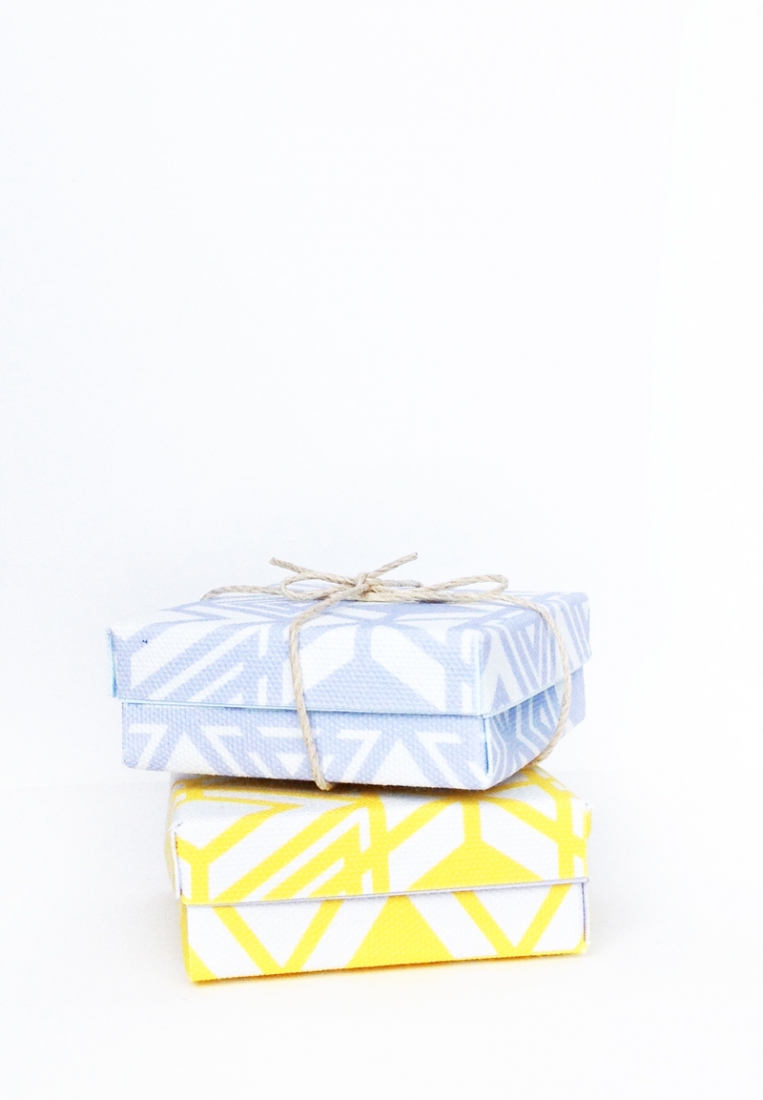
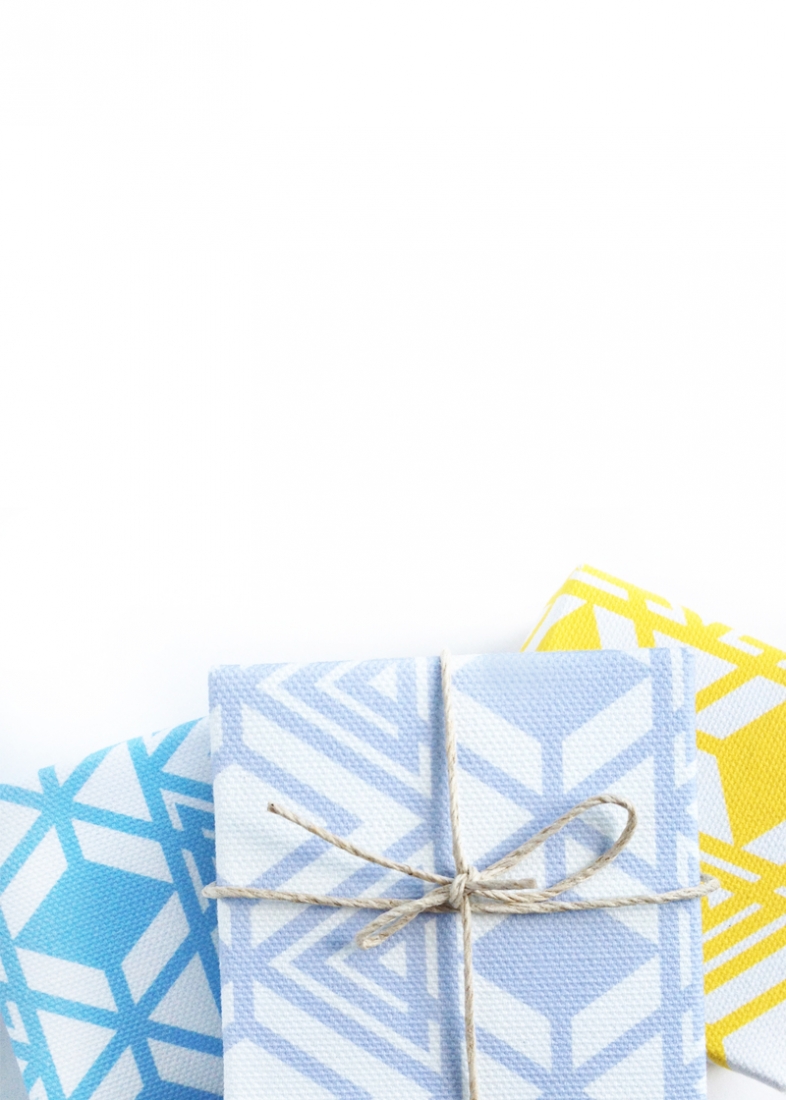
Megan from Silhouette America sent me a wonderful box of goodies (THANK YOU, Megan!!!) over the weekend. Needless to say, there were many jumpy-claps (real) and cartwheels (imaginary) involved. One of these goodies (which I’ve been wanting to try for a while) is the Printable Cotton Canvas. What’s so awesome about this project is the timing – because this week’s free shape is a lovely geometric pattern that looks gorgeous when printed on the canvas. I used the gift box shape from this project and shrunk it down, cut it out in cardstock, then cut it in the canvas and stuck the 2 materials together to make these cute boxes that can be used as gift boxes or storage for your little bits of craft supplies.
Before we start the project, a couple of notes:
- Pay close attention to how you feed the canvas sheet into your printer. It is basically cotton canvas on a backing similar to printable sticker paper sheets
- I recommend using the blue fabric blade when cutting the canvas
The What
- Silhouette cutting machine
- Silhouette Studio
- Cutting mat
- Glue
- Box and Flower Tag
- Free Shape of the Week – Geometric Pattern
- Cardstock
- Fabric Blade
- Printable Cotton Canvas
The How
Step 1: Open up your free shape and box shape in Silhouette Studio
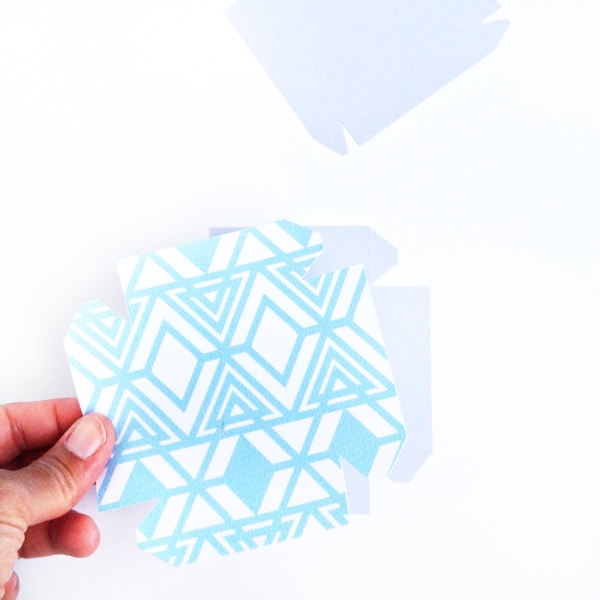
Step 2: Cut your shape in cardstock (using your regular blade and default settings)
Step 3: Fill your geometric shape with color, duplicate below, and change the page orientation to letter and print (you can alternatively print and cut)
Step 4: Your geometric shape should be set to “No Cut”, and your box shape from step 1 should be set to “Cut”. Now you can:
- Place your box shape over your geometric shape
- Change the settings to Printable Cotton Canvas
- Load your newly printed canvas into your Silhouette machine
- Change your blade to the blue fabric one with the recommended setting
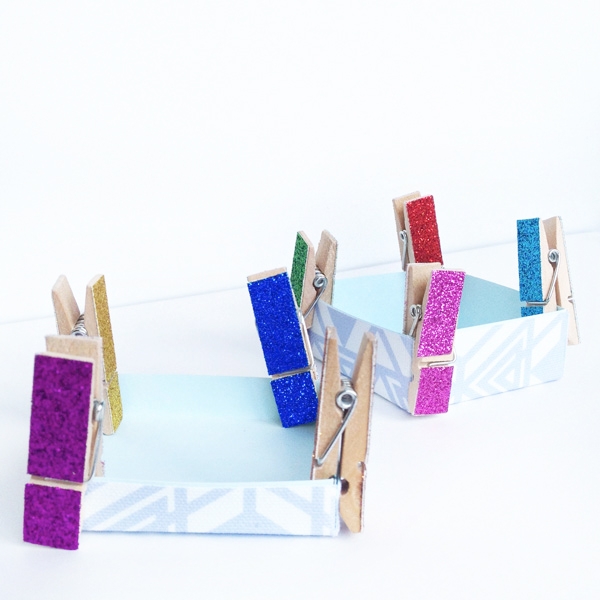
Step 5: Peel the backing off the canvas and stick on to the matching cardstock version, fold along the dashed lines and glue the tabs
Tip: I used a tacky glue then held together with pins for about 20-30 minutes
Once dried, you can use your lovely fabric boxes as gifts or storage!
Looking for some more inspiration? Check out my other Silhouette tutorials.
4 Comments on DIY Fabric Gift Boxes
Comments are closed.


These are really cute. thanks for the idea.
Thanks, Lynne!
Love the colours on the boxes – and your pins are too cute!! Did you make them?
Thanks, Ras!! Can’t take credit for the pins. Michaels can 🙂