Flower Tabbed Envelope DIY

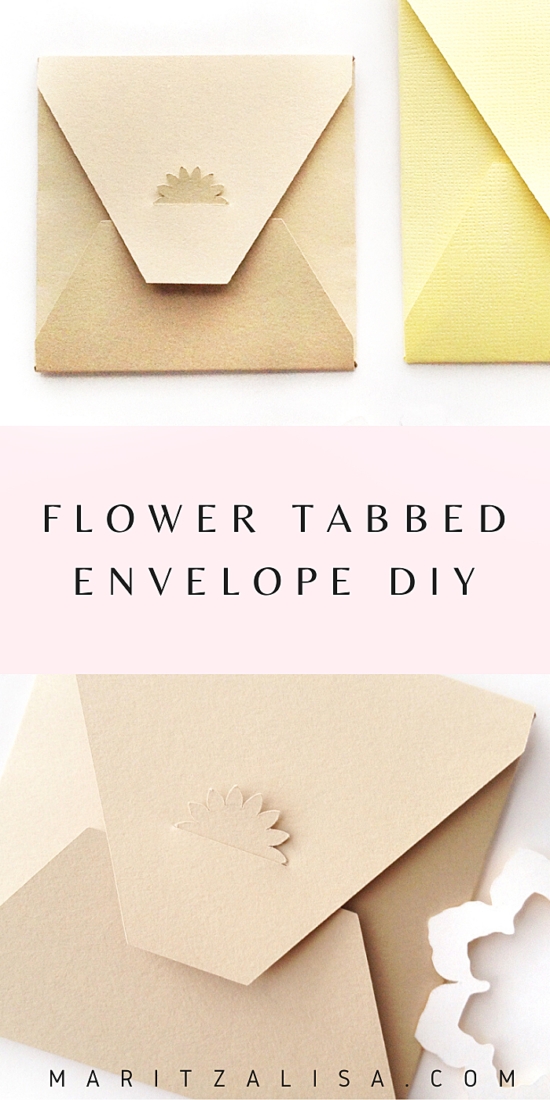
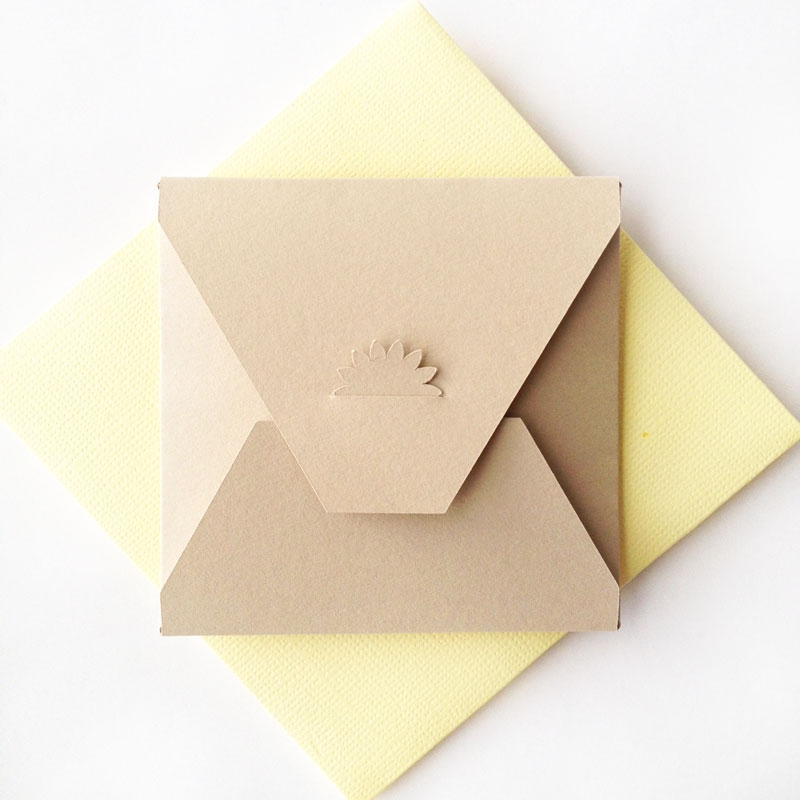
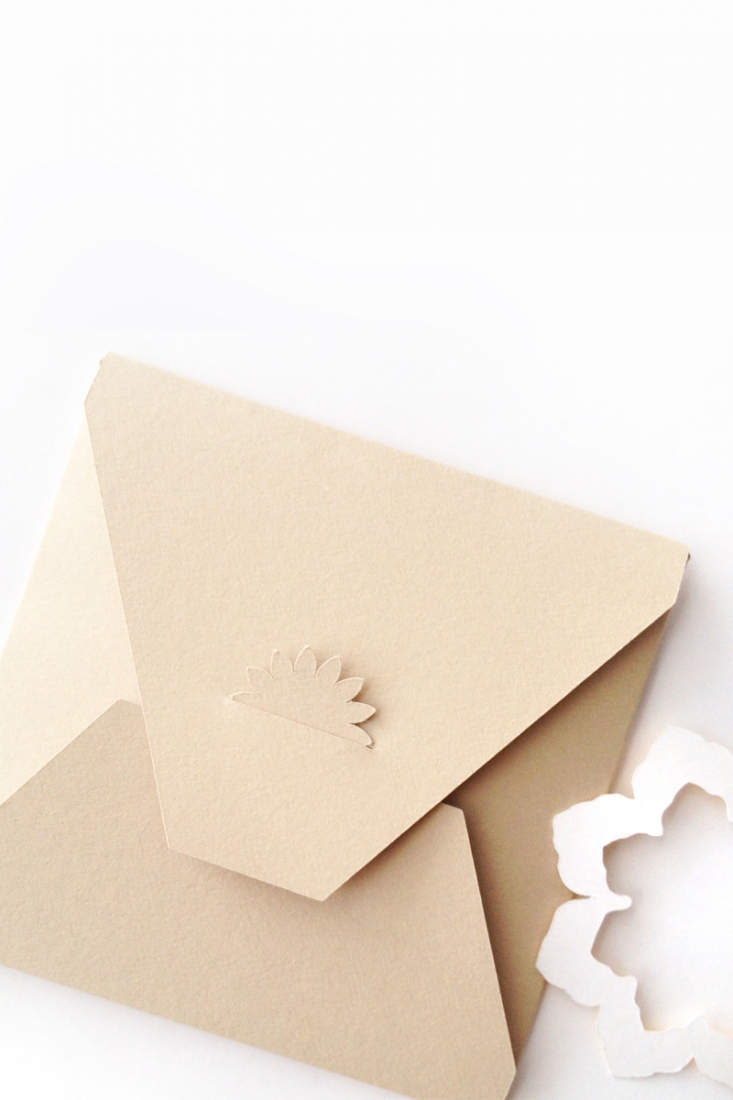
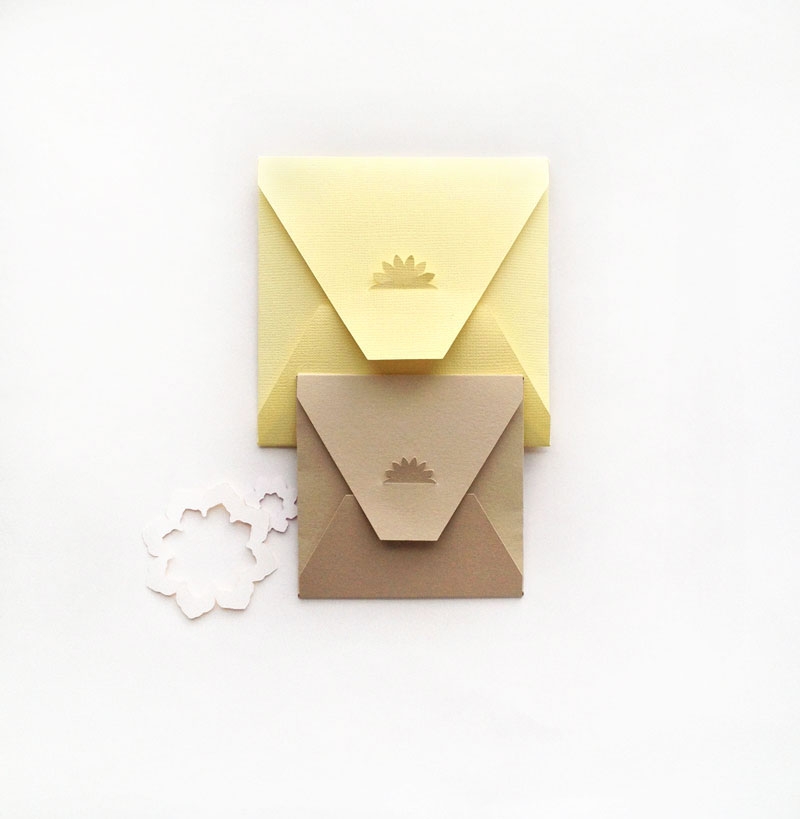
Flower Power Envelopes! I was a teeeeeensy bit inspired by take-out boxes. I freely admit to having a problem. I go into restaurants and examine take-out containers. Especially when they are cute. There. I said it. Inspiration comes in many forms – at least that’s what I’m telling myself. So, want to see how I made these cute DIY Flower Tabbed Envelopes?


The What

[row] [span columns=”5″] [/span] [span columns=”5″] [/span] [/row]

The How

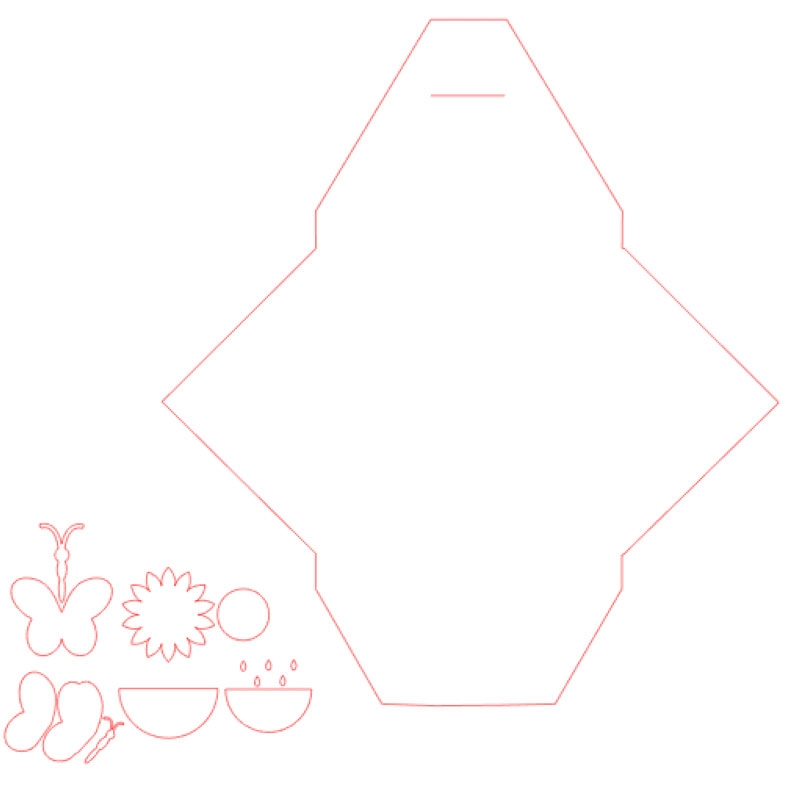
Step 1: Download the Summer Shapes from the Silhouette Online Store, and my cutting file (at the bottom of this post)

Step 2: Create a new document with these shapes (from Step 1). Ungroup the summer shapes and resize the flower outline to just under 1x1in

DIY Flower Tabbed Envelopes - Maritza Lisa: Create your own stationery with this envelope tutorial. These little envelopes are perfect for little notes and greetings. Click through for the tutorial | Silhouette Studio

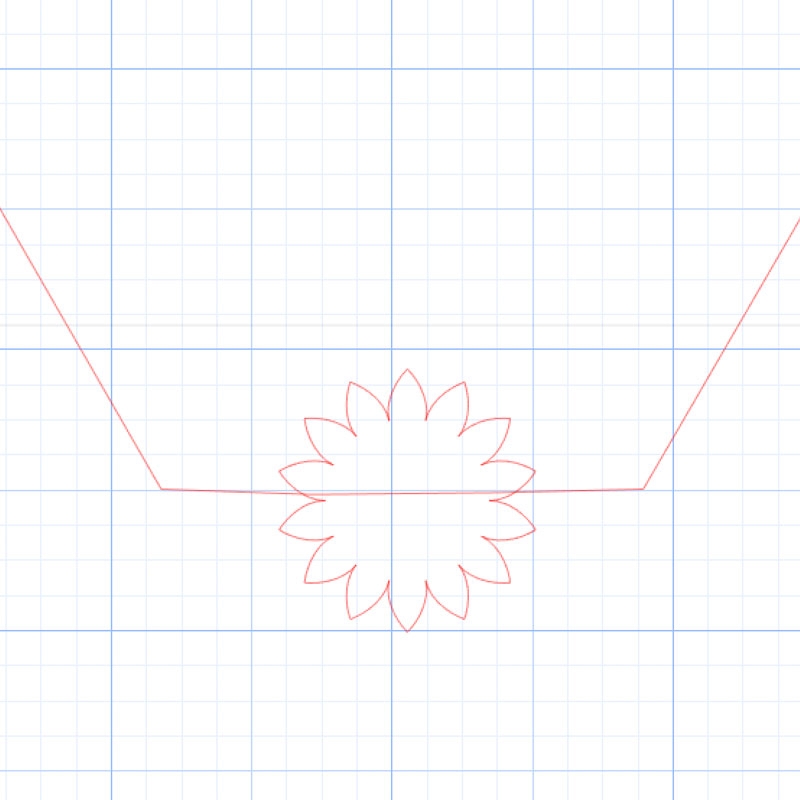
Step 3: Place the flower at the bottom of the envelope, select both shapes, and center (Object>Align>Center)

DIY Flower Tabbed Envelopes - Maritza Lisa: Create your own stationery with this envelope tutorial. These little envelopes are perfect for little notes and greetings. Click through for the tutorial | Silhouette Studio

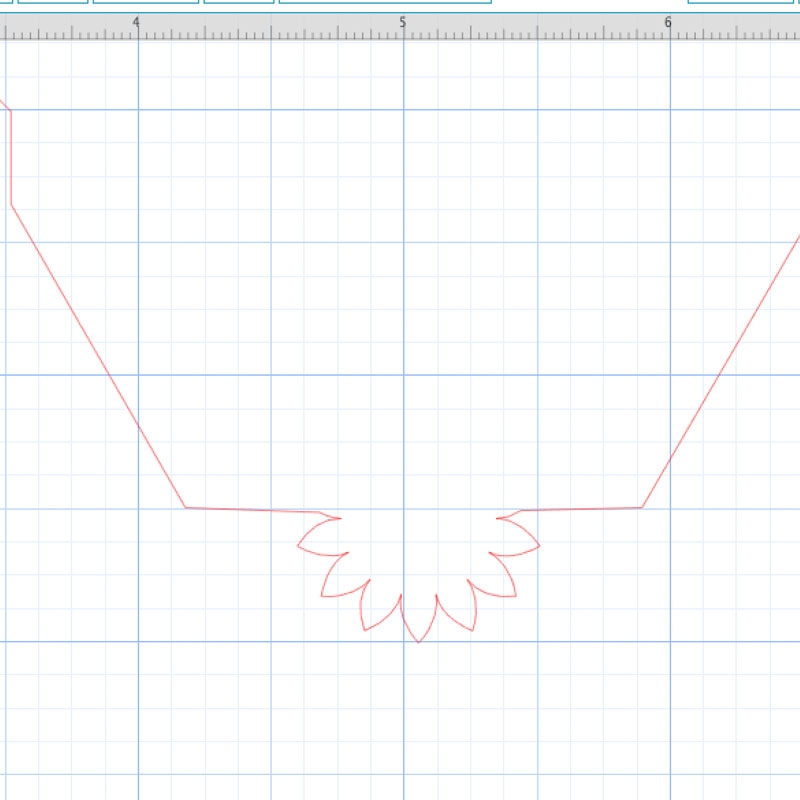
Step 4: With both shapes still selected, use the weld tool to merge into one shape. The weld action separates the slit from the rest of the shape, so you will need to select everything and Make a Compound Path. You may also need to double-click and use the Point Editing tool to remove some jagged points in the shape

DIY Flower Tabbed Envelopes - Maritza Lisa: Create your own stationery with this envelope tutorial. These little envelopes are perfect for little notes and greetings. Click through for the tutorial | Silhouette Studio

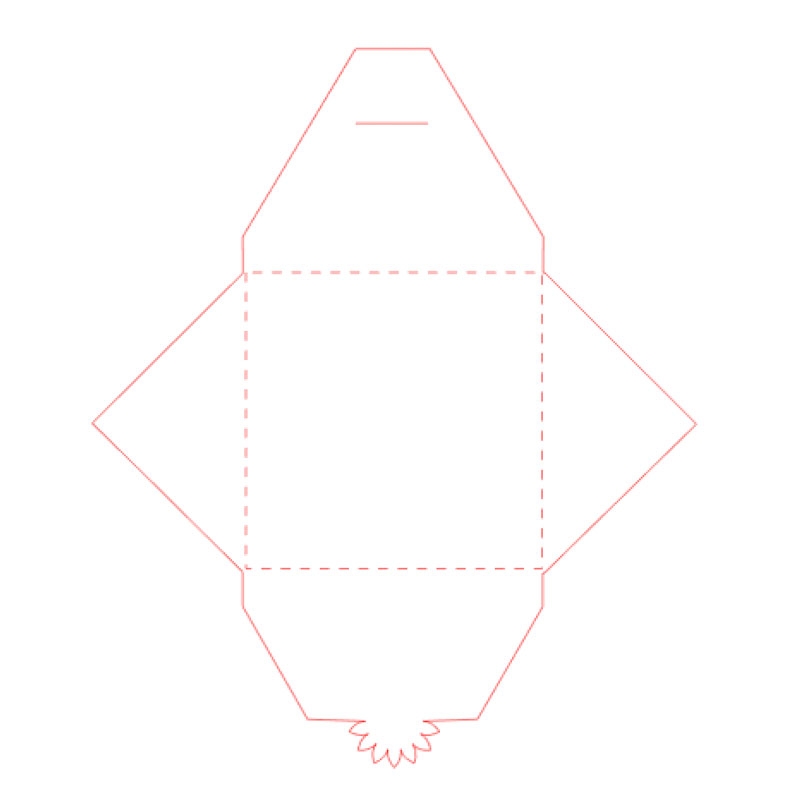
Step 5: Send your image to cut using cardstock settings. An option here is to add a square with dashed lines to help with the folding

DIY Flower Tabbed Envelopes - Maritza Lisa: Create your own stationery with this envelope tutorial. These little envelopes are perfect for little notes and greetings. Click through for the tutorial | Silhouette Studio

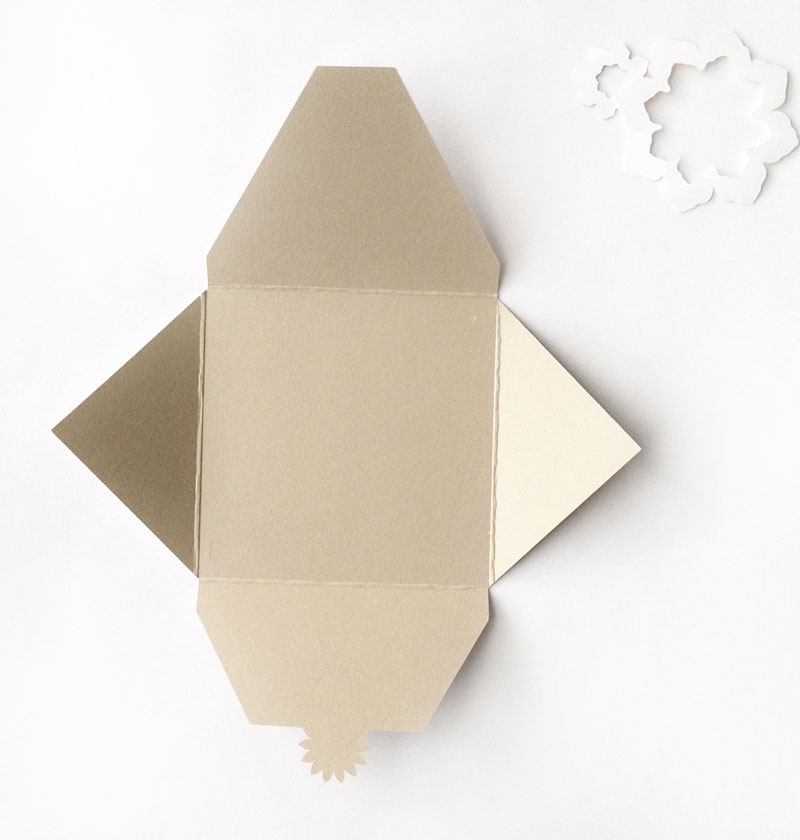
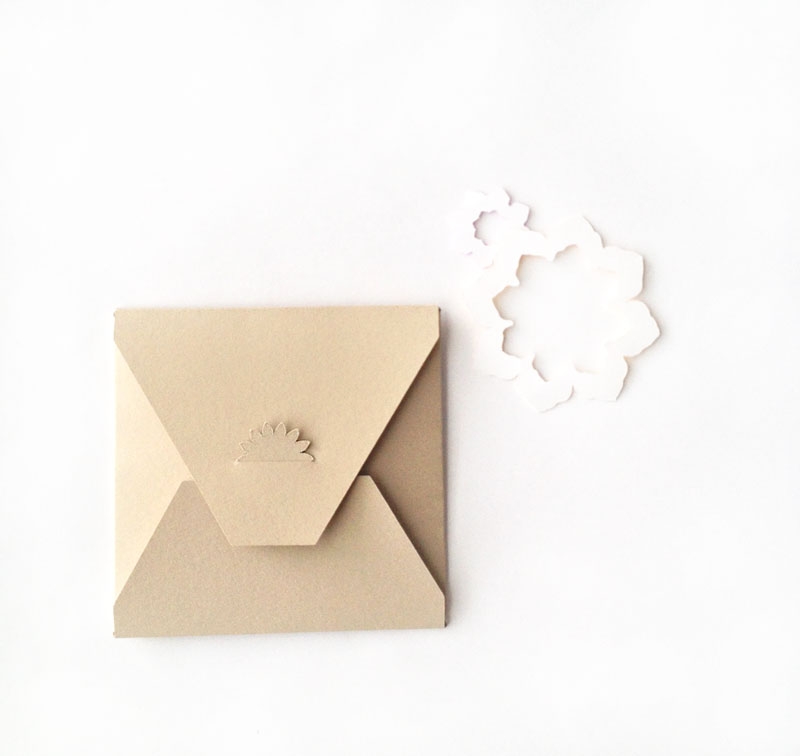
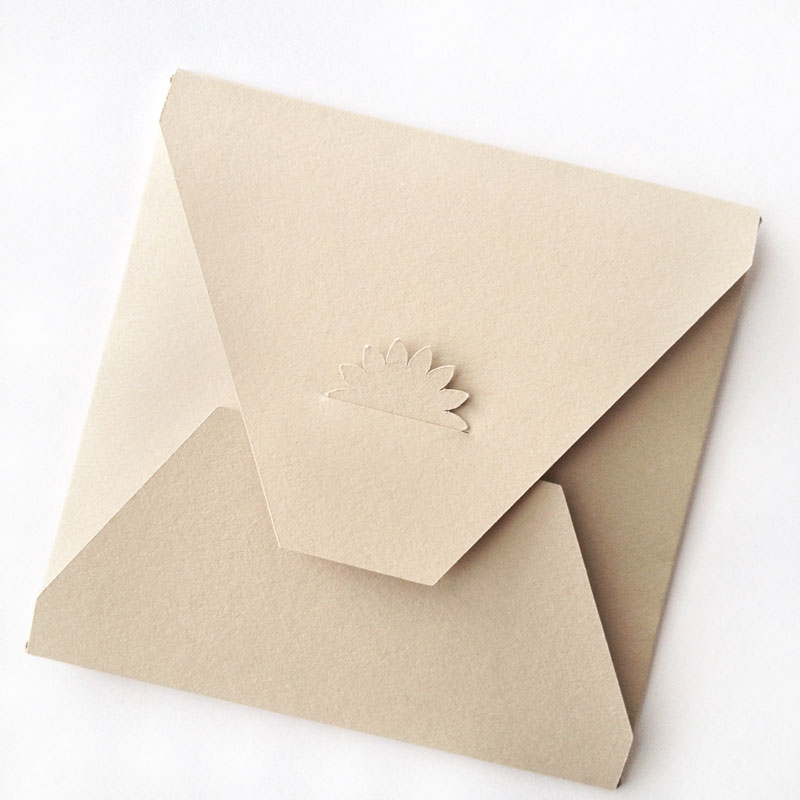
Step 6: Score and fold. The side flaps need to be folded first, then tuck the flower tab through the slit. And you are done! These DIY Flower Tabbed Envelopes will be perfect for any little message your want to send to loved ones!
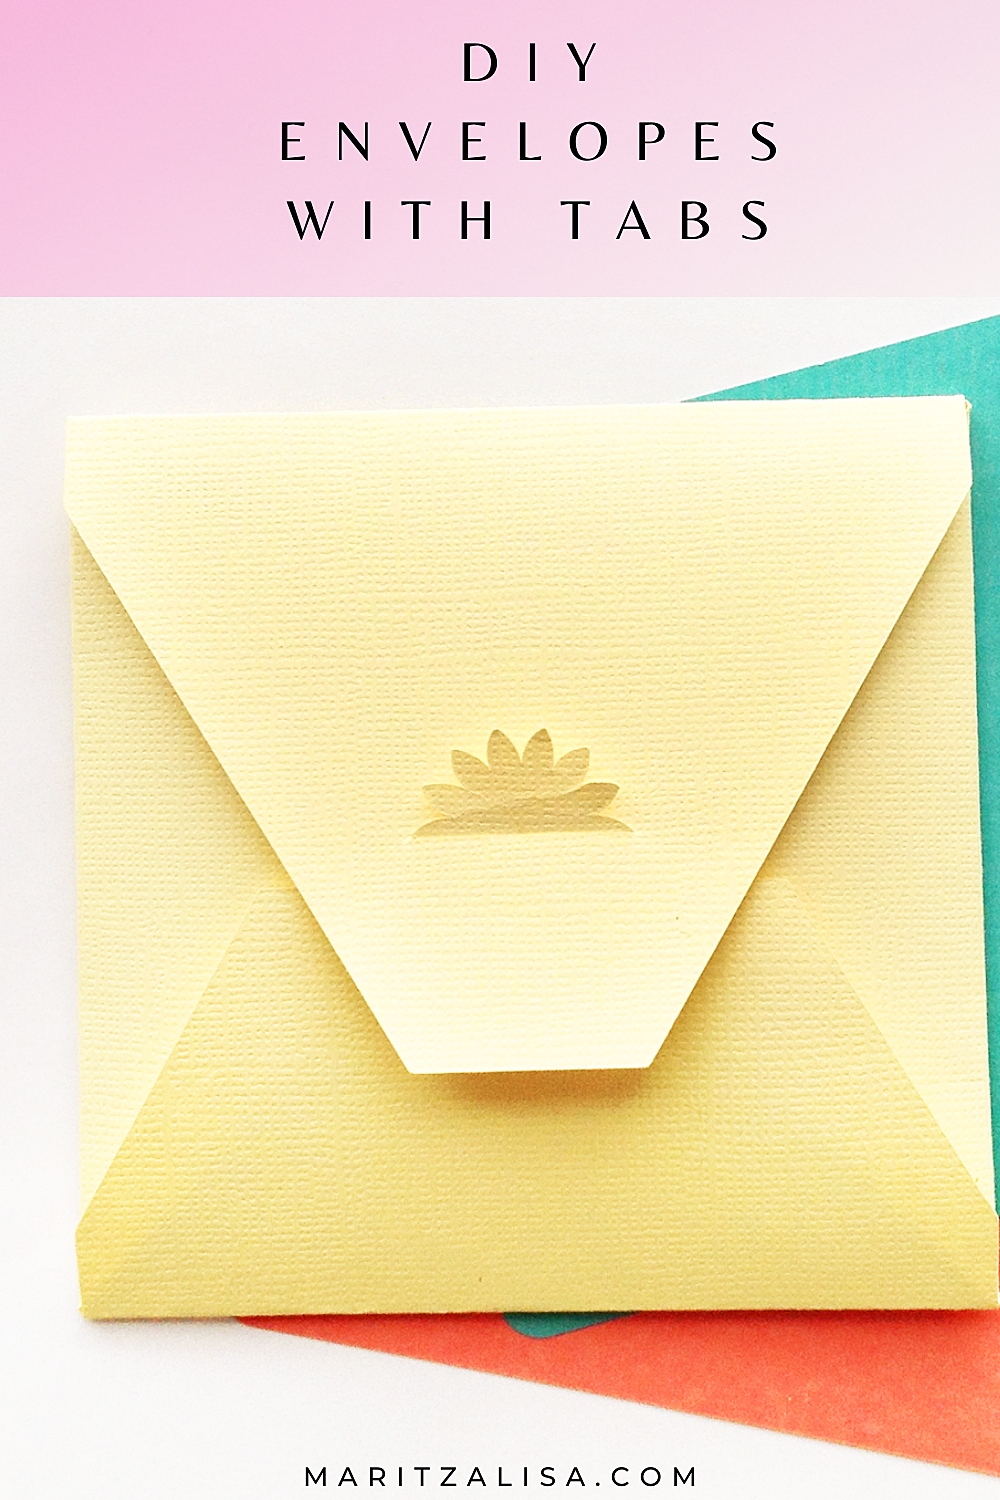
DIY Flower Tabbed Envelopes - Maritza Lisa: Create your own stationery with this envelope tutorial. These little envelopes are perfect for little notes and greetings. Click through for the tutorial

DIY Flower Tabbed Envelopes - Maritza Lisa: Create your own stationery with this envelope tutorial. These little envelopes are perfect for little notes and greetings. Click through for the tutorial

DIY Flower Tabbed Envelopes - Maritza Lisa: Create your own stationery with this envelope tutorial. These little envelopes are perfect for little notes and greetings. Click through for the tutorial

DIY Flower Tabbed Envelopes - Maritza Lisa: Create your own stationery with this envelope tutorial. These little envelopes are perfect for little notes and greetings. Click through for the tutorial

DIY Flower Tabbed Envelopes - Maritza Lisa: Create your own stationery with this envelope tutorial. These little envelopes are perfect for little notes and greetings. Click through for the tutorial

DIY Tabbed Envelopes

DIY Flower Tabbed Envelopes - Maritza Lisa: Create your own stationery with this envelope tutorial. These little envelopes are perfect for little notes and greetings. Click through for the tutorial

4 Comments on DIY Flower Tabbed Envelopes

Comments are closed.