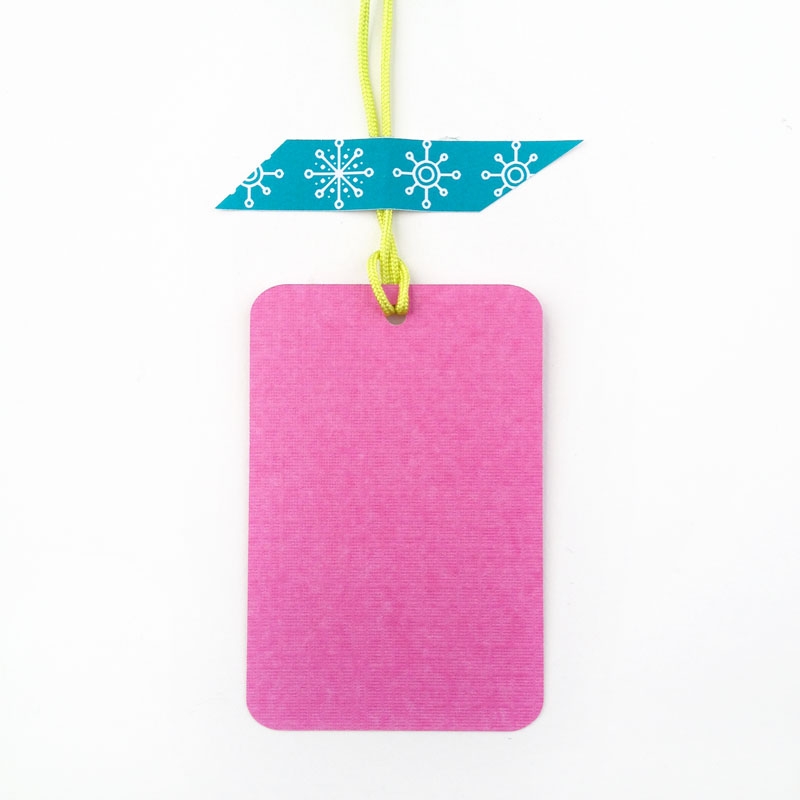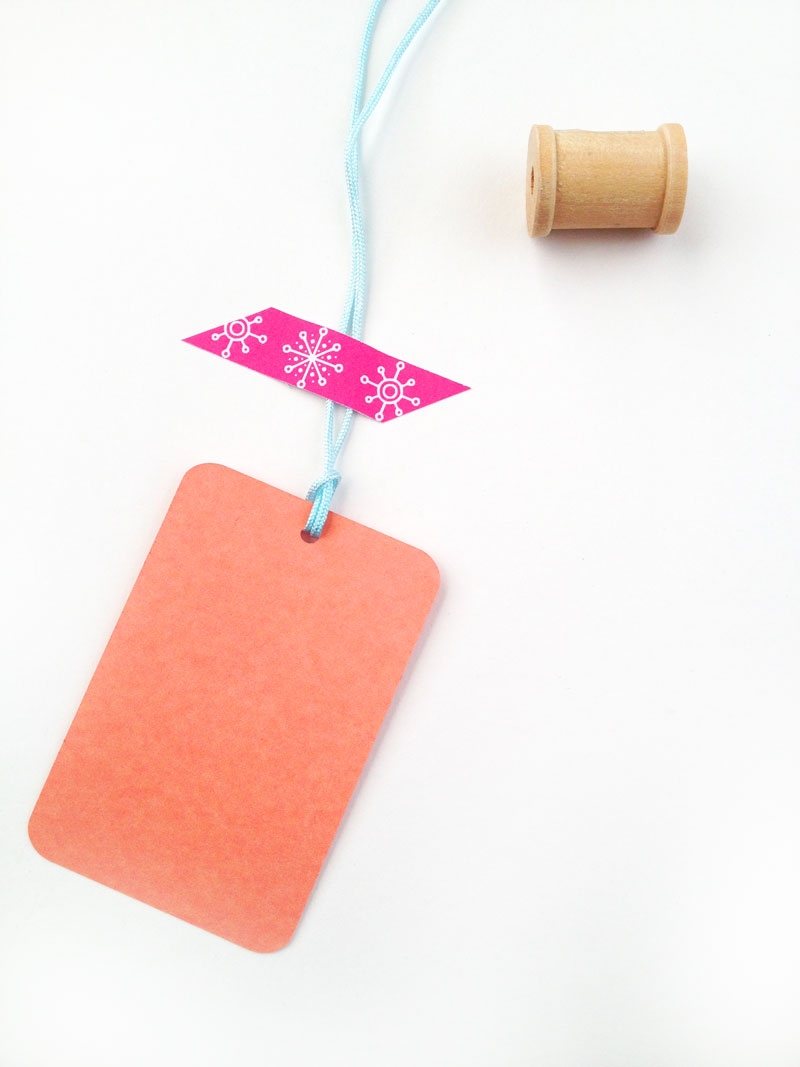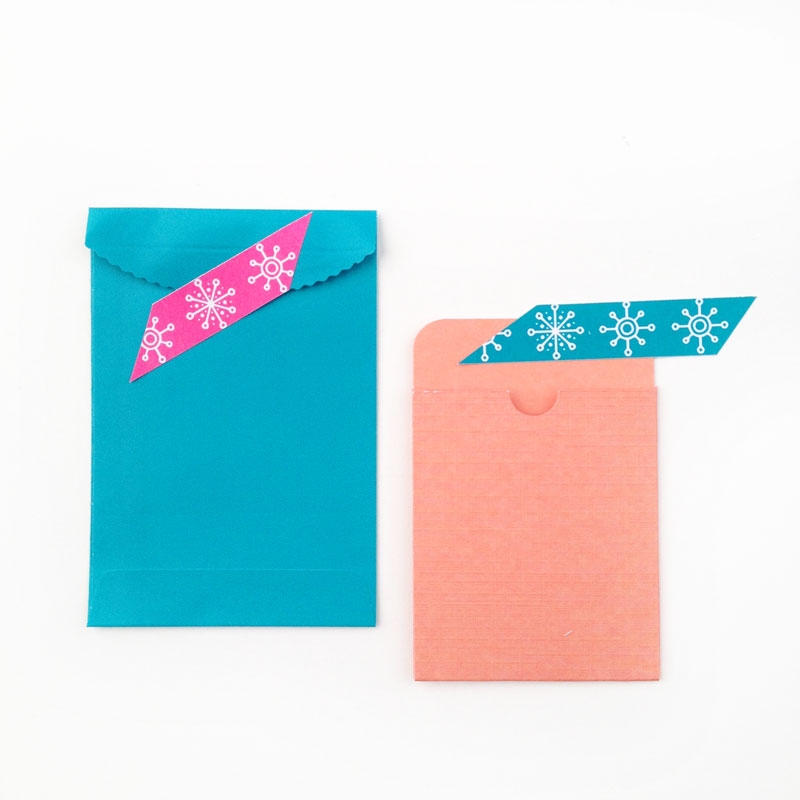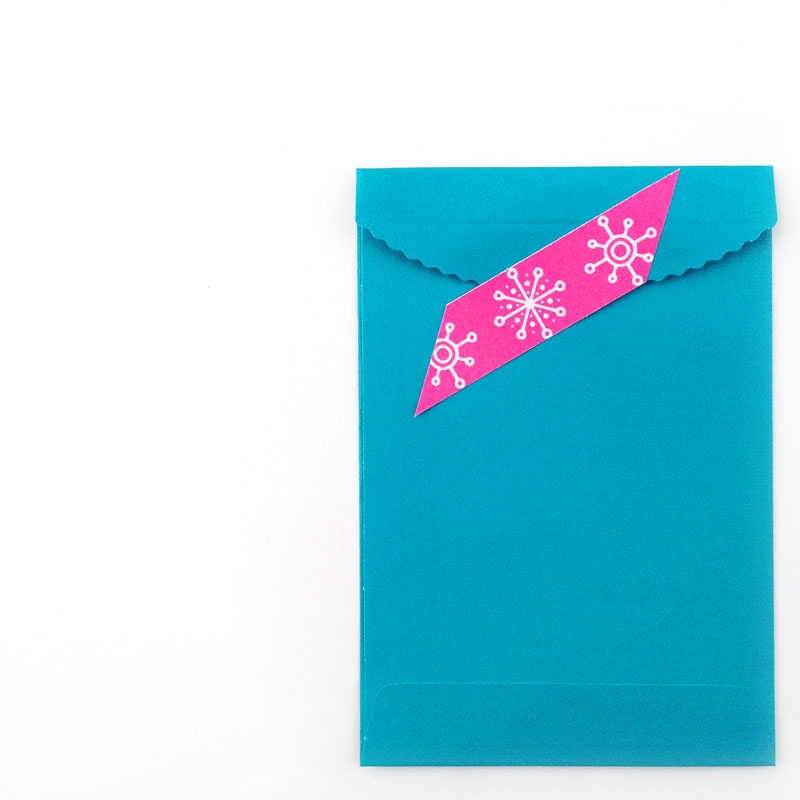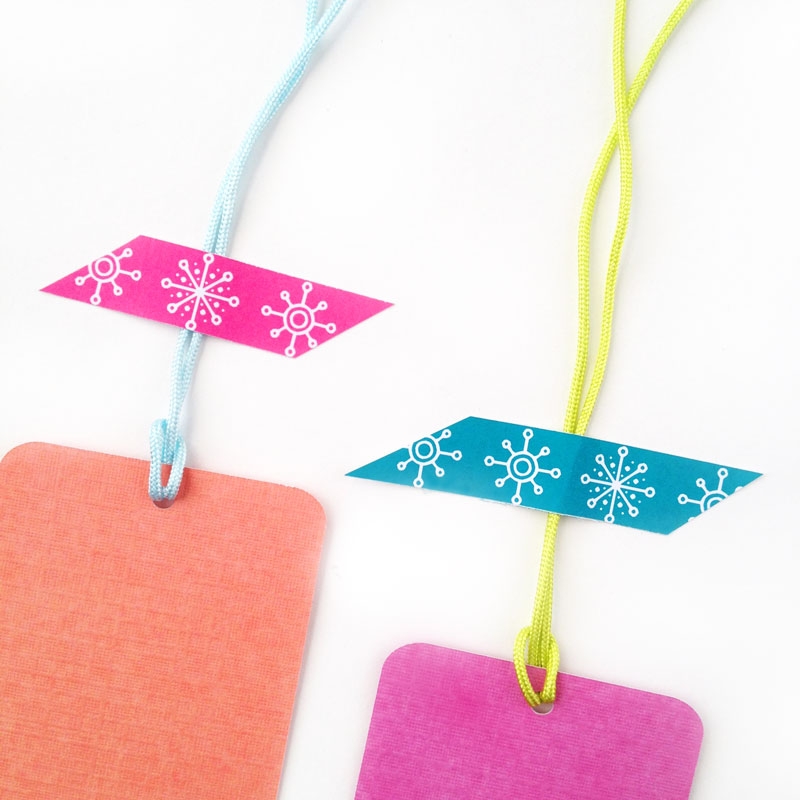
Hello! It’s been quite a morning. I’m bugged and it’s taking all my energy not to throw a little hissy fit. Technical issues, but not your problem. As my Momma always tells me (and I chant to myself) – this too shall pass. Now – happy festive decorative tape? Much more fun. I love all things festive, Christmas, Holiday – however you call it – it’s a lovely time of year. So, I thought I’d ease in with some DIY decorative tape. How cute will your tags and gifts look with these cute snowflakes sticking everything together? I got my snowflakes from the DJB Doodled Bits Dingbat font that is free for personal use, and thought they would be perfect for this project.
The What
- Silhouette cutting machine
- Silhouette Studio
- Cutting mat
- Printable white sticker paper
- Doodled Bits Dingbat font
- Printer
The How
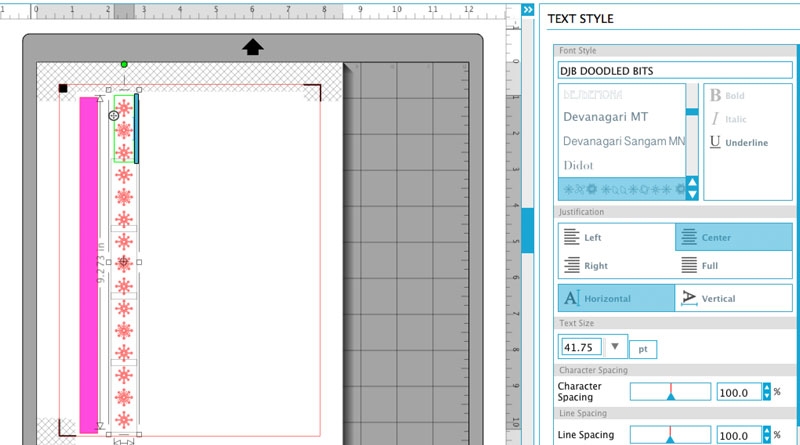
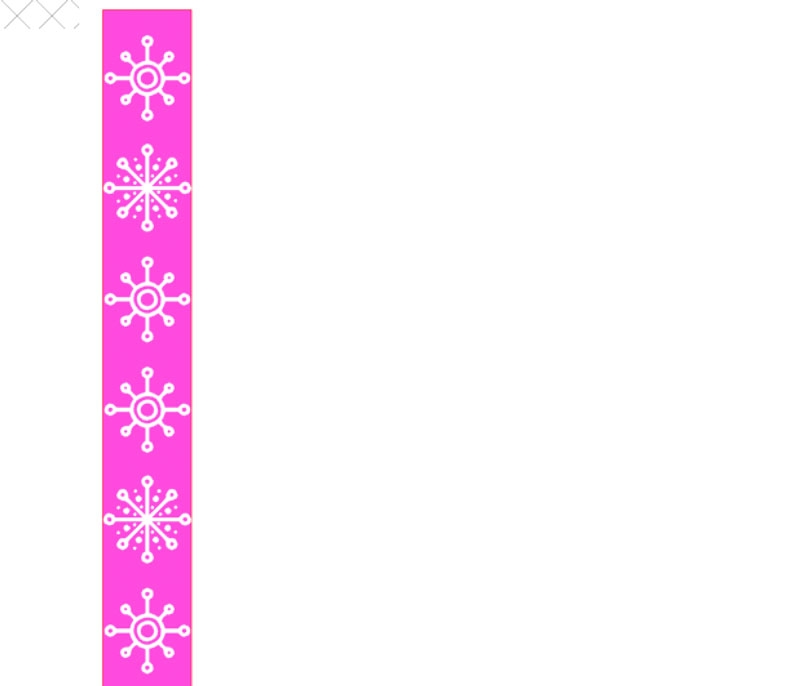
1. Download, install your font and open Silhouette Studio. If you already have it open, you will need to close the application and re-open it. Create a rectangle and fill it with color. My width was about .5 in. To get the snowflakes (I used) type uppercase D and E as shown below and center the text in a column as long as your rectangle
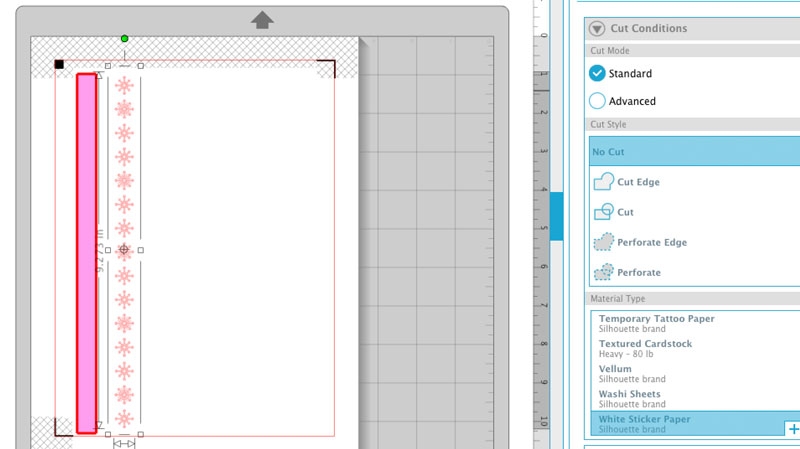
2. Fill/Color your snowflakes white and set to “No Cut”
3. Now move your snowflakes onto the rectangle and Object > Align > Align Center-Middle
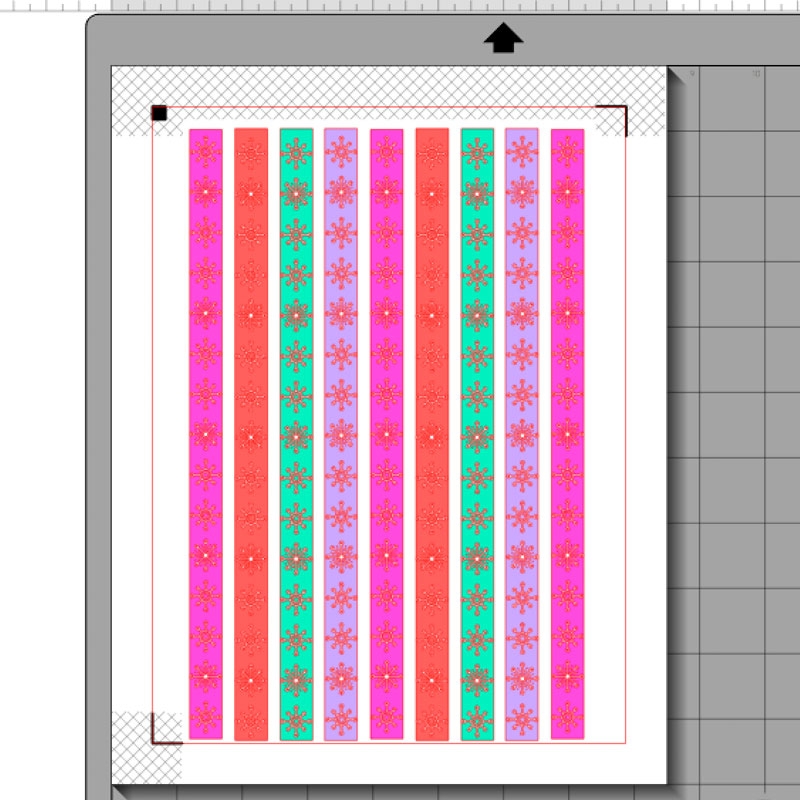
4. Add Registration Marks and fill the page with your snowflake tape rectangles. Send to Print and Cut using white sticker paper settings. To cut right through the paper into strips, use a higher blade setting
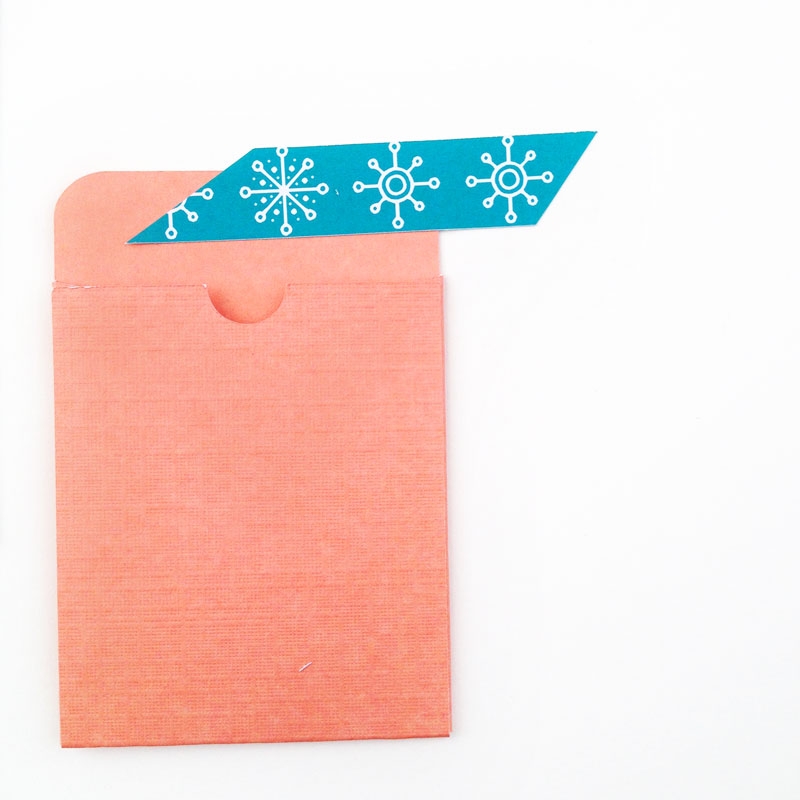
And you’re done! Your tape can be stored for later use using these little spools. How will you design your festive tape?